

- Home
- Photoshop ecosystem
- Discussions
- Can't get PS to export the 2048 x 1152 image
- Can't get PS to export the 2048 x 1152 image
Can't get PS to export the 2048 x 1152 image

Copy link to clipboard
Copied
I have tried to change the size of the image in PS and Save As, and it keeps saving the image as smaller.
I don't know what I am doing wrong.
I am experienced with Illustrator but not the recent version of CC PS.
Every time I put in the Custom Size of 2048 x 1152, it reverts back to 1920 x 1080, no matter so many settings I seem to try.
Thanks!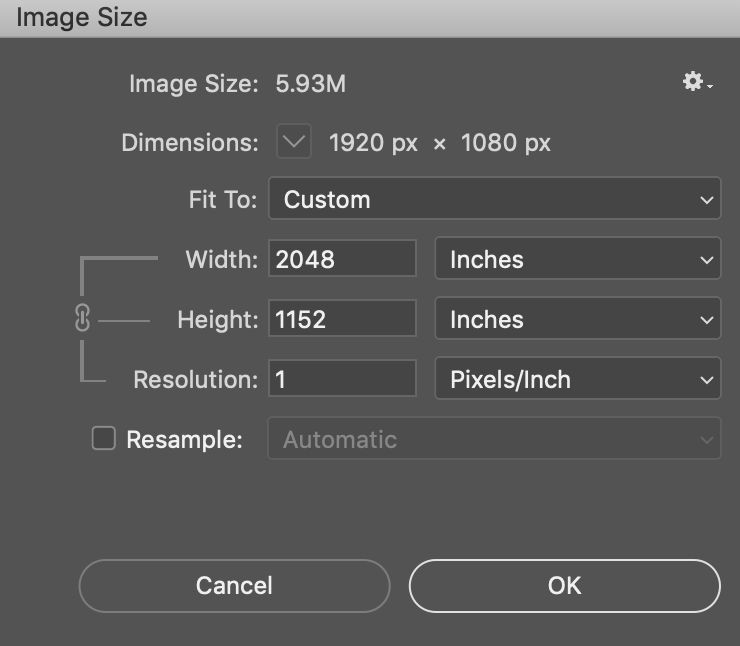


Explore related tutorials & articles
 15
Replies
15
15
Replies
15

Copy link to clipboard
Copied
Hi
Try changing the Width and Height to pixels instead of inches and why is the resolution set to 1px/inch, also put a check mark in Resample

Copy link to clipboard
Copied
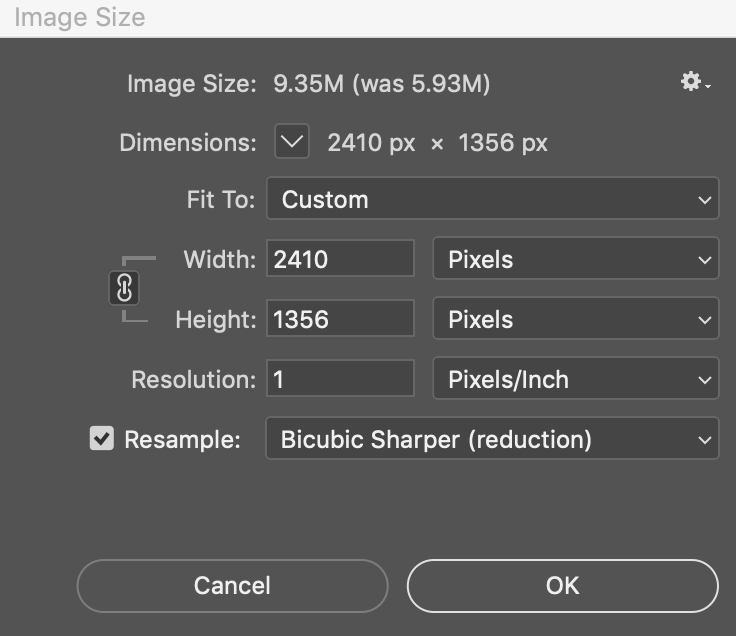
I did have it set to pixels.
That screen shot was before I changed it to pixels and I also selected Resample box and Resolution at 1.
The Image size I need has to be less than 6M, and the size is staying at 9.35M
How do I get the size to be less than 6M?
Thanks!
Copy link to clipboard
Copied
as45120527 wrote
How do I get the size to be less than 6M?
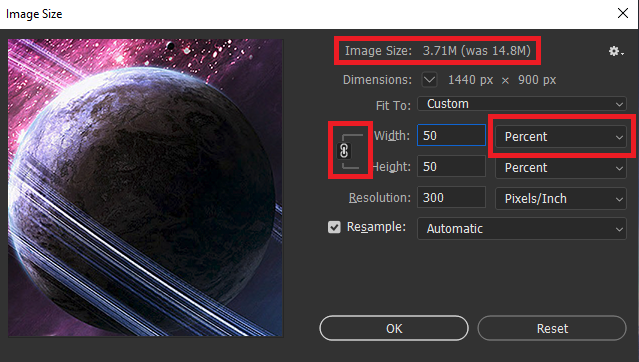
Open your image and leave the default settings in the Image size dialog and click on the chain link icon and change the percent value to suit

Copy link to clipboard
Copied
as45120527 wrote
How do I get the size to be less than 6M?
Just leave the pixel size as is, and increase the jpeg compression a notch.
Resolution at 1 ppi is totally meaningless by any measure. In any case, if this is exported for screen use (not print), the ppi number is moot and irrelevant. That's why Save For Web and Export both strip the ppi value entirely from the file.
A jpeg at those pixel dimensions should normally be far below 6MB, it should be around 500kB - 1MB, depending on content and compression level. So if this is a jpeg, the file probably has excessive metadata. Export/SFW will strip this out and bring the file size down.
Copy link to clipboard
Copied
Hi,
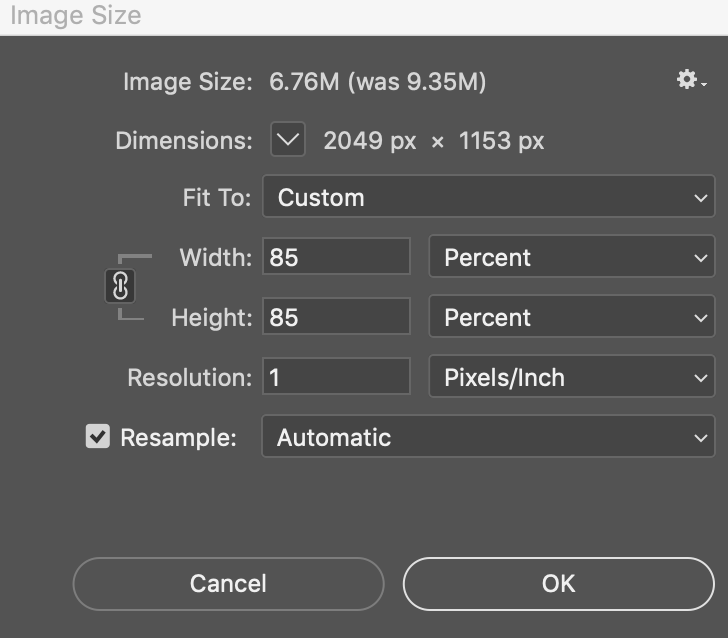
The problem remains that when I lower the percentage, it makes the image smaller in pixels dimension, and I have to have the minimum 2048 x 1152 and no more than 6M, because Youtube requires this for a channel graphic.
Thanks!
Copy link to clipboard
Copied
OK
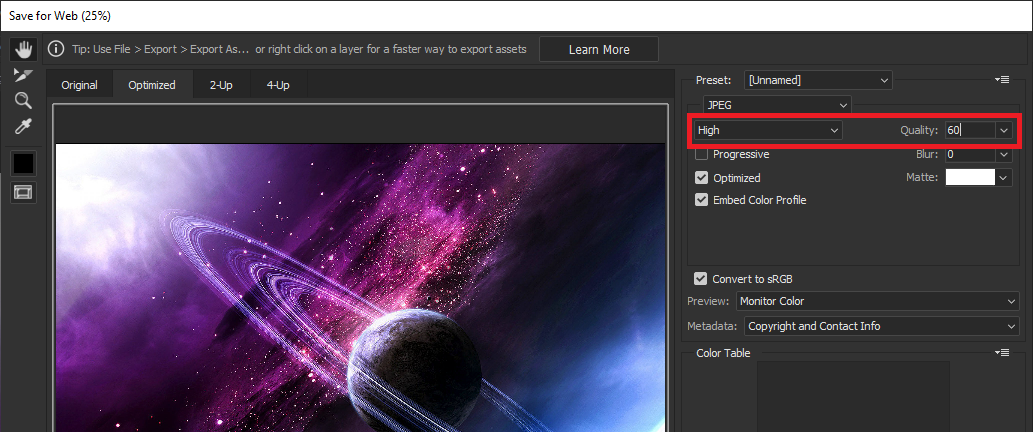
Use File > Export > Save for Web (Legacy) and change the quality value to suit
Copy link to clipboard
Copied
I am having a problem because the image is being cropped - because it looks right in PS but when I upload it to Youtube for Channel Art, it cuts off the image, so I tried to zoom down  the image and I can't get it to save at a new zoomed down look, with more open black background look.
I can't figure out how to scale the center of the image down with leaving the background full size of the image at what is required at minimum 2048 x 1152.
Thanks!
Copy link to clipboard
Copied
Let's get this clear:
What is the pixel size of your original? 1920 x 1080?
What is the pixel size required by youtube? Is that 2048 x 1152?
If these sizes are correct, put those numbers in the Image Size dialog, and check "Resample". Just as Ged showed you. At 1920 width, your original is a little too small, and you need to scale it up a little, AKA resampling.
You're lucky here because aspect ratios are the same, so you don't need to crop anything to fit. Just resample.
Then, with the pixel size correct, we can look at file size. Jpeg compression is intended to reduce file size while leaving pixel dimensions the same. As a PSD or TIFF this file would be around 12MB, but jpeg compression can bring this down to a tenth or twetieth of that. Just move the "Quality" slider as far down the scale as you need to get the file size you want. Again, just as Ged showed you.
Copy link to clipboard
Copied
Hi,
The point about pixel size is not the current problem.
I do have resample checked of course. That was easy!
I am now talking about how to make the image zoom down to become visually smaller and yet remain the same for the requirements of 2048 x 1152 minimum.
In other words, zooming out just shows me what I would like to see. So I screen shotted the zoomed out image and re-exported it, but now it looks not good because there is a huge empty space on both right and left of the central image.
THat allows me to not have Youtube Channel Art cut off the image, but it looks not good being like a postage stamp in the center of a cinematic wide box, if that makes sense.
Thanks!
Copy link to clipboard
Copied
I think you need to show this, I can't visualize what you mean.
Copy link to clipboard
Copied
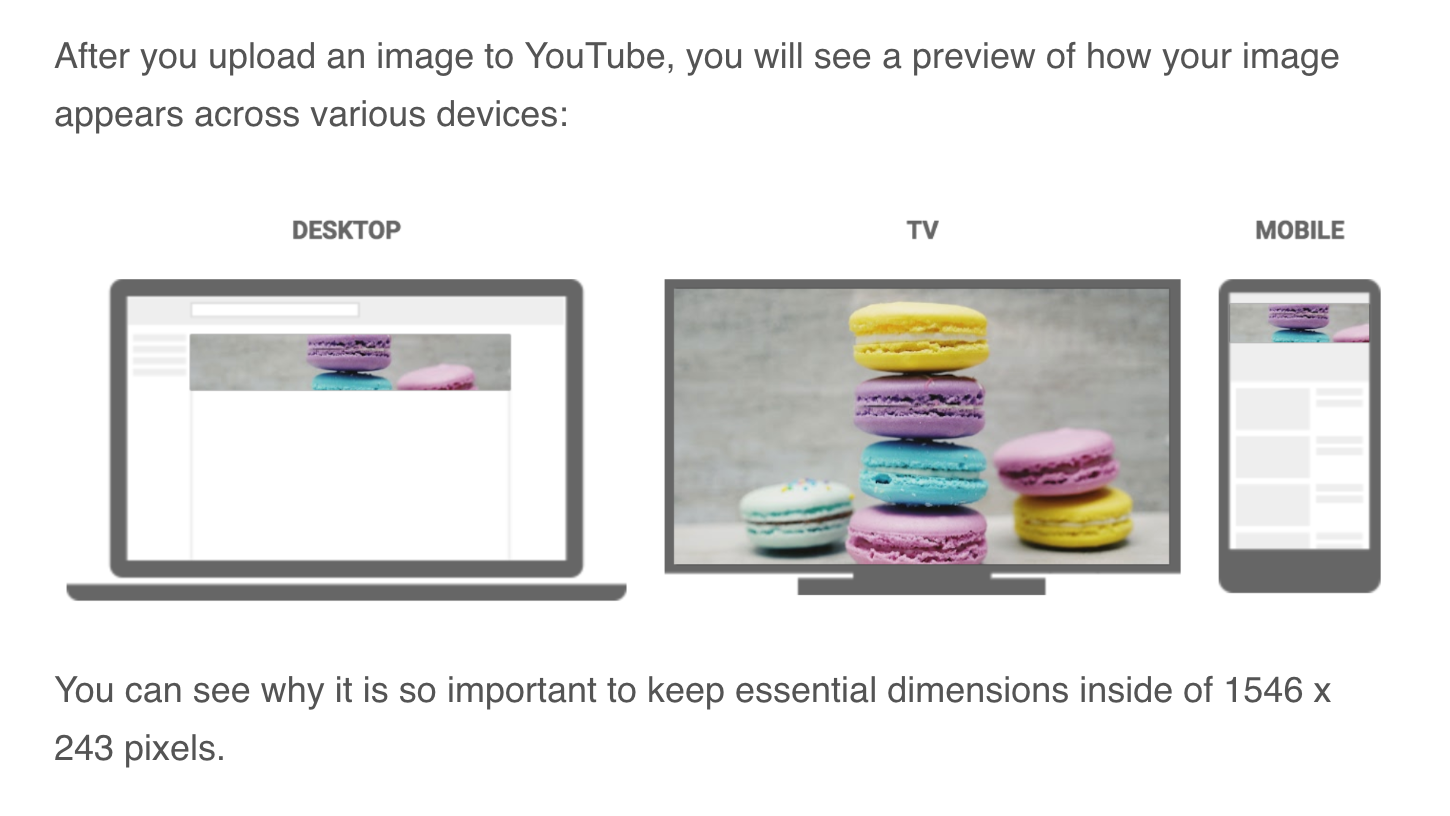
Here it shows how on the TV center image you can see the whole image, but it is cut off on desktop and mobile and there is a smaller 1546 x 243 pixels visible area in a larger 2560 x 1440.
I am trying to shrink the image in PS so that the content is visible within the 1546 x 243 while keeping the whole image size (with the "blank" background) at the larger size of 2560 x 1440.
Thanks!
Copy link to clipboard
Copied
Correction: That pixel dimension is actually 1546 x 423 - not 243
How to use the PS tools and settings to shrink the image I am working with, to a size that fits in the central region of that 1546 x 423 pixel dimension is what I can't figure out.
Thanks!
Copy link to clipboard
Copied
Set up a new document at 1546 x 423.
Place your image as a Smart Object so that you have a little flexibility until you commit to a final version.
The obvious problem you have to solve here is that aspect ratios are so different. You basically have three options:
- crop top and bottom
- scale down, and add extra space on the sides
- Squash the image to fit
This is something you have to decide for yourself. In practice a combination of all three might be the best solution.
Copy link to clipboard
Copied
Right. I think maybe I misunderstood and you actually need all three - just with the important content in the central 1546 x 423 region.
It can be done quite easily using Photoshop, but it needs to be clear that this isn't strictly a Photoshop problem. It's a problem of how you want to organize your image, given these outside requirements. Once you have that settled in your head, you can use Photoshop to get there.
Set up the full sized document, and use guides to define the critical region within it. Then convert the image to a smart object so that you can transform repeatedly without any cumulative damage. Scale the image as needed to fit within the central region.
This leaves empty space around it, and you have to decide how you want to fill that. It's really not possible to tell you how to do it. It depends on the image and what you want. Options are scaling back, content-aware fill, content-aware scale, lots of things you can do.
But basically, and this is probably not the answer you want - it's much easier to prepare the image from the start to fit these requirements. Taking an existing image and trying to post-fit is always orders of magnitude more difficult.
Copy link to clipboard
Copied
Thanks but I am stuck because I have used illustrator years ago and my experience with PS is not helping me now.
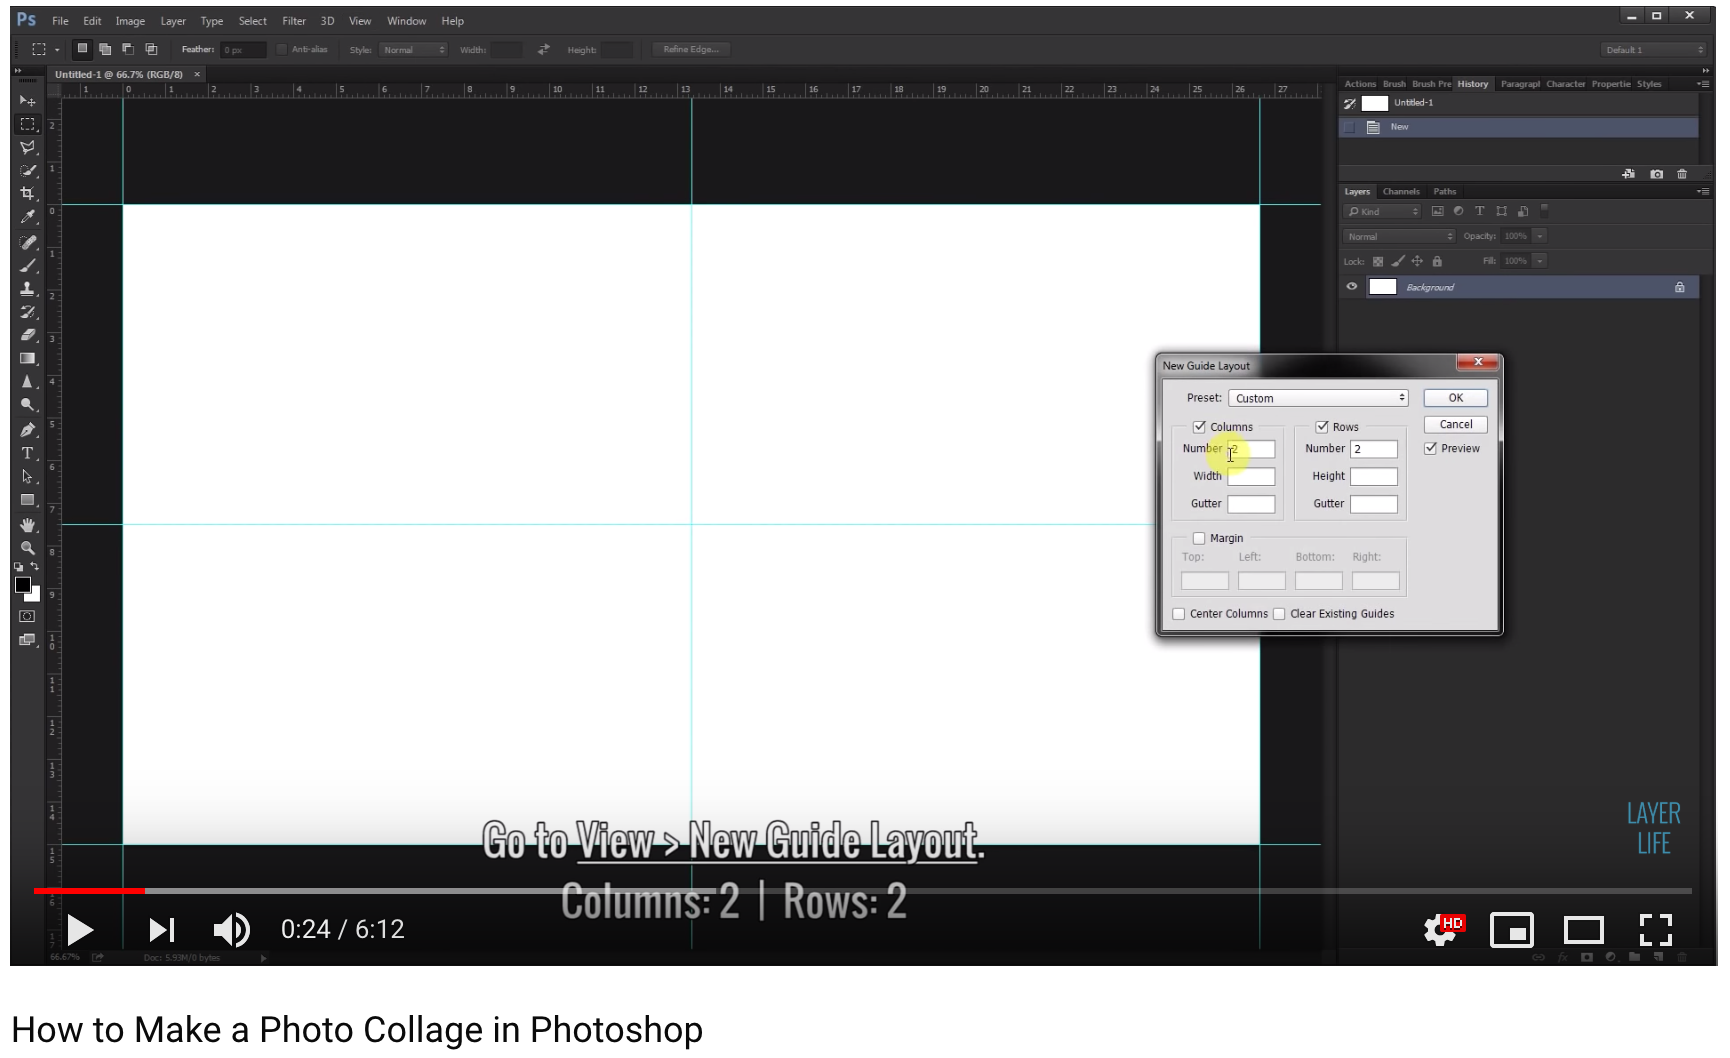
I watched a Youtube tutorial and it's from 2017 and I can't figure out how to get the same thing on the screen of PS as they show on the video.
The View> New Guide Layout is very different.
On the "make a photo collage" tutorial video it shows a simple two intersecting lines like a cross on the screen when you set the New Guide Layout to 2 columns and 2 rows but on my PS it shows many more (8) multiple lines. (See pics below)
I just want to be able to import like 4 pics and arrange them and re-size them and keep them in the Youtube Channel art visible range and I'm having a bugger of a time because I can't figure out how to make the images movable without them cutting off. (see pic below)
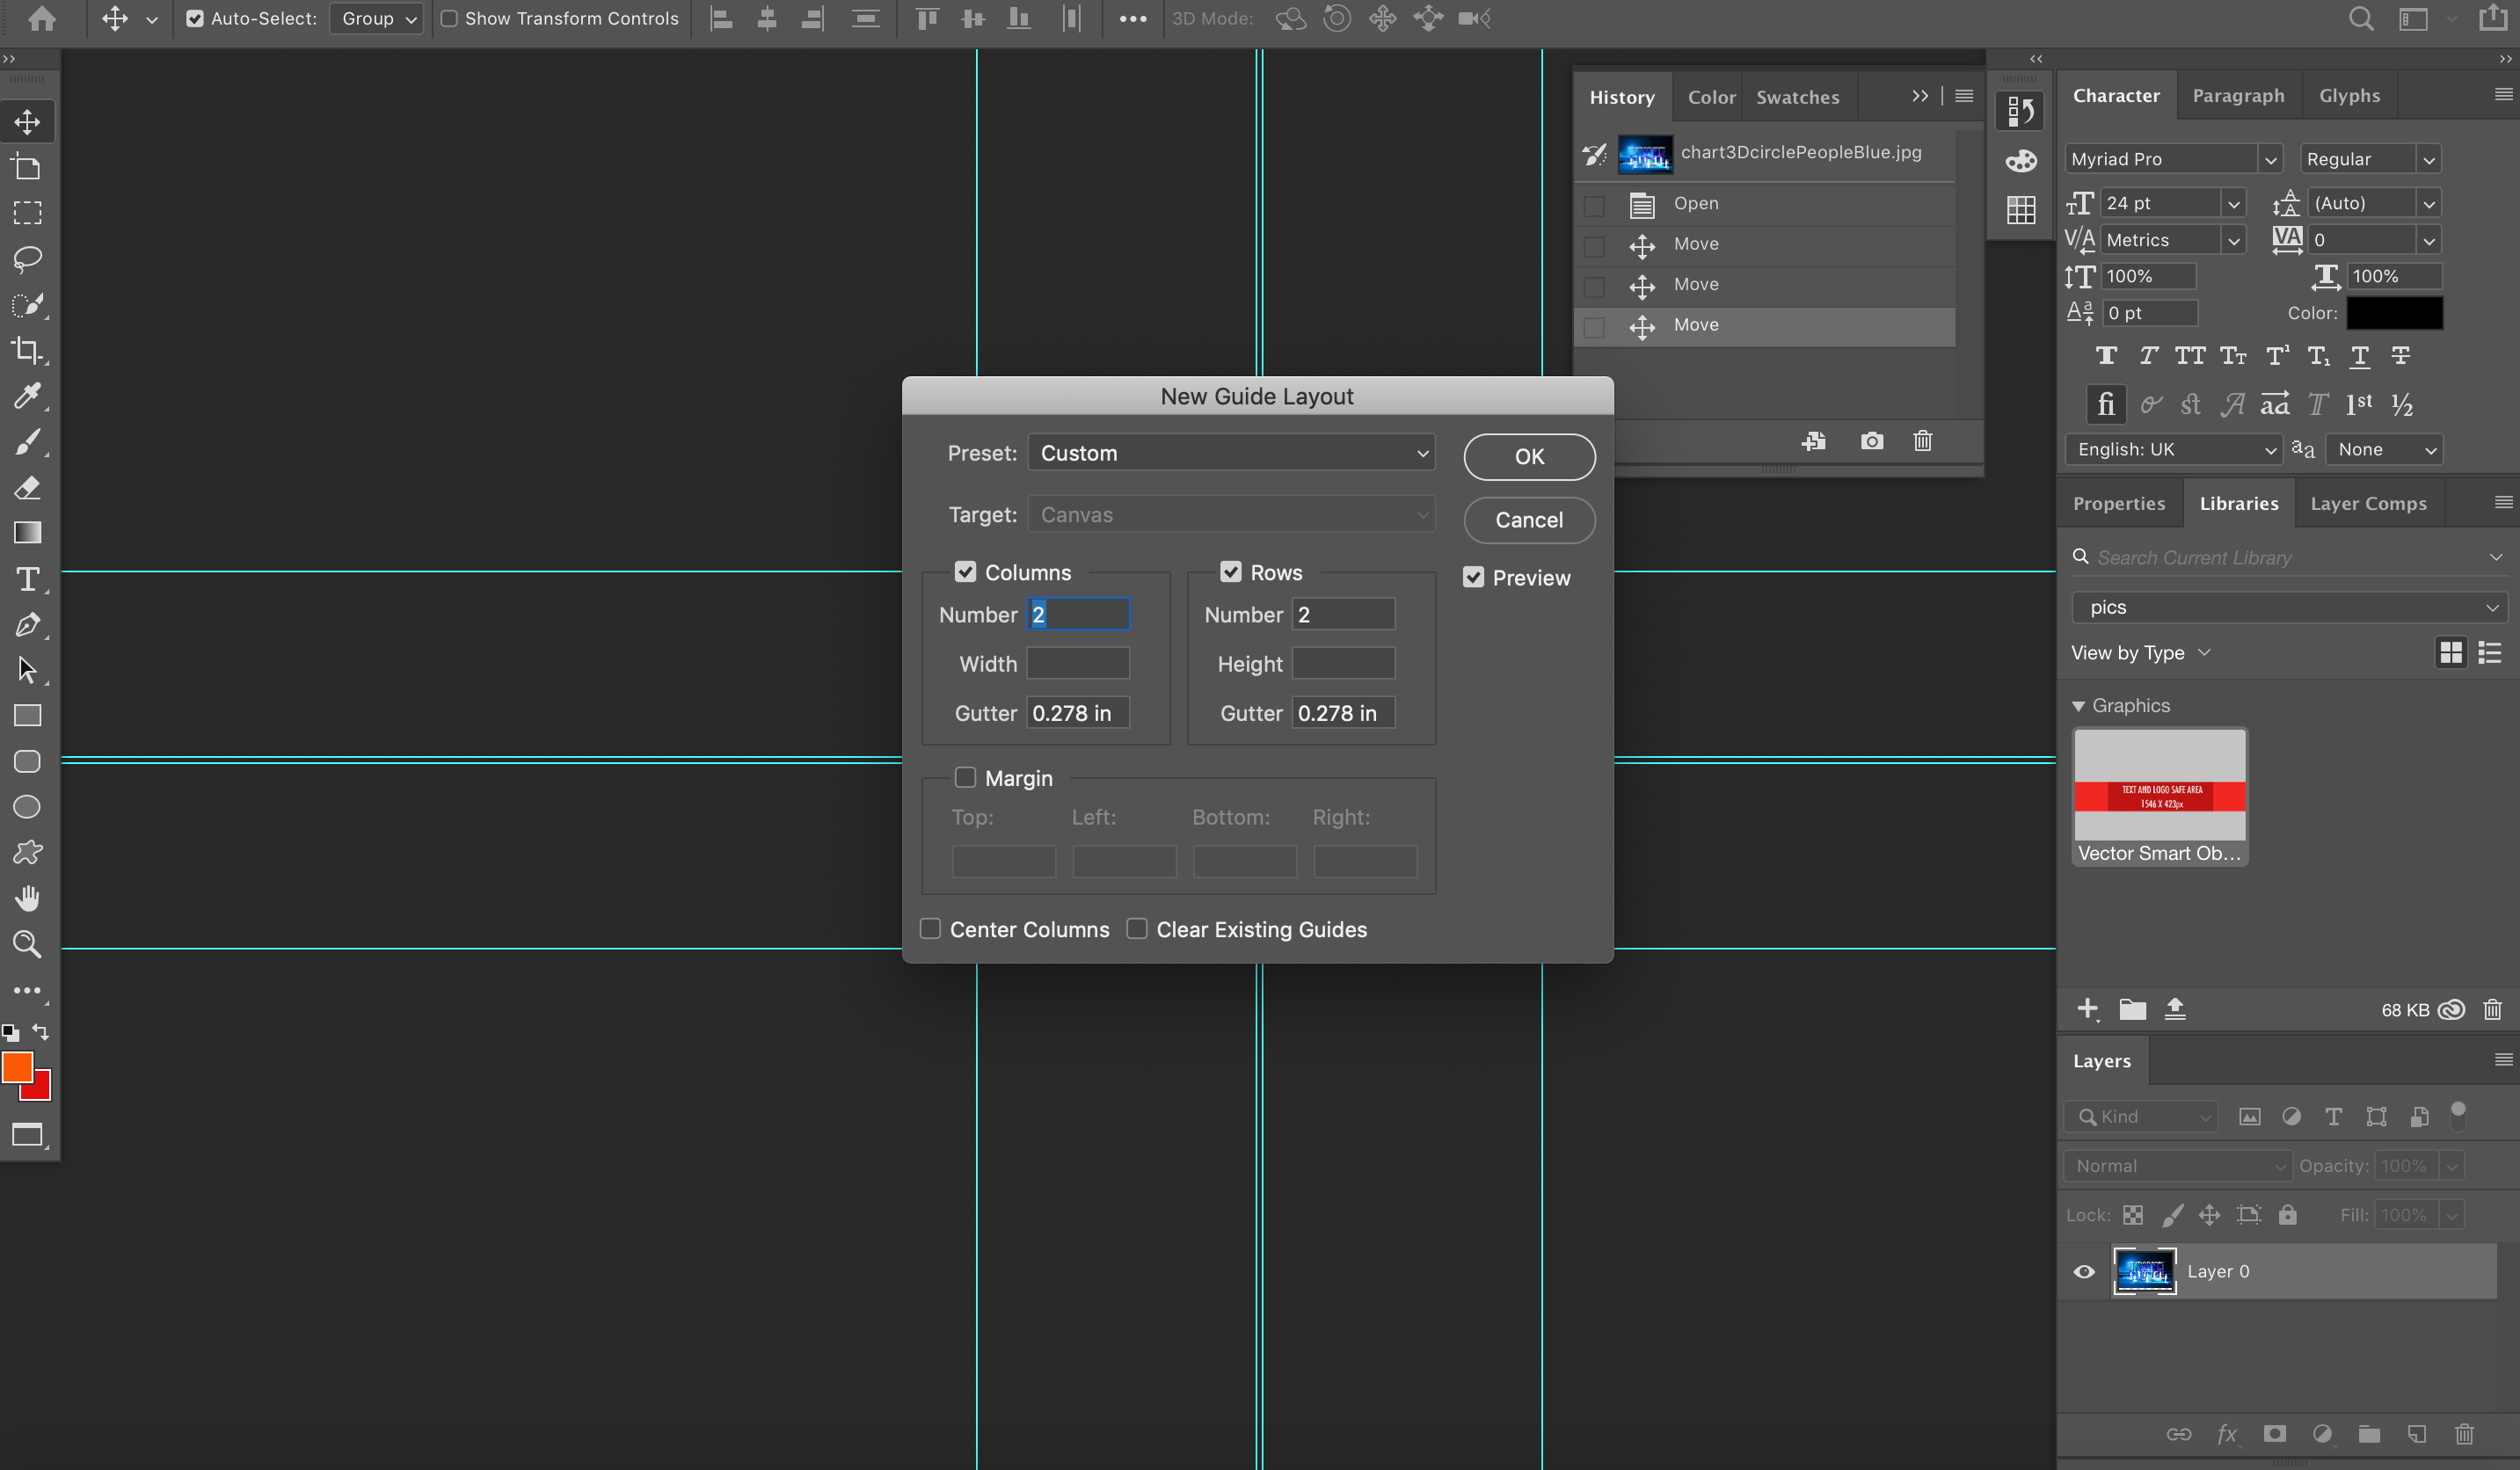
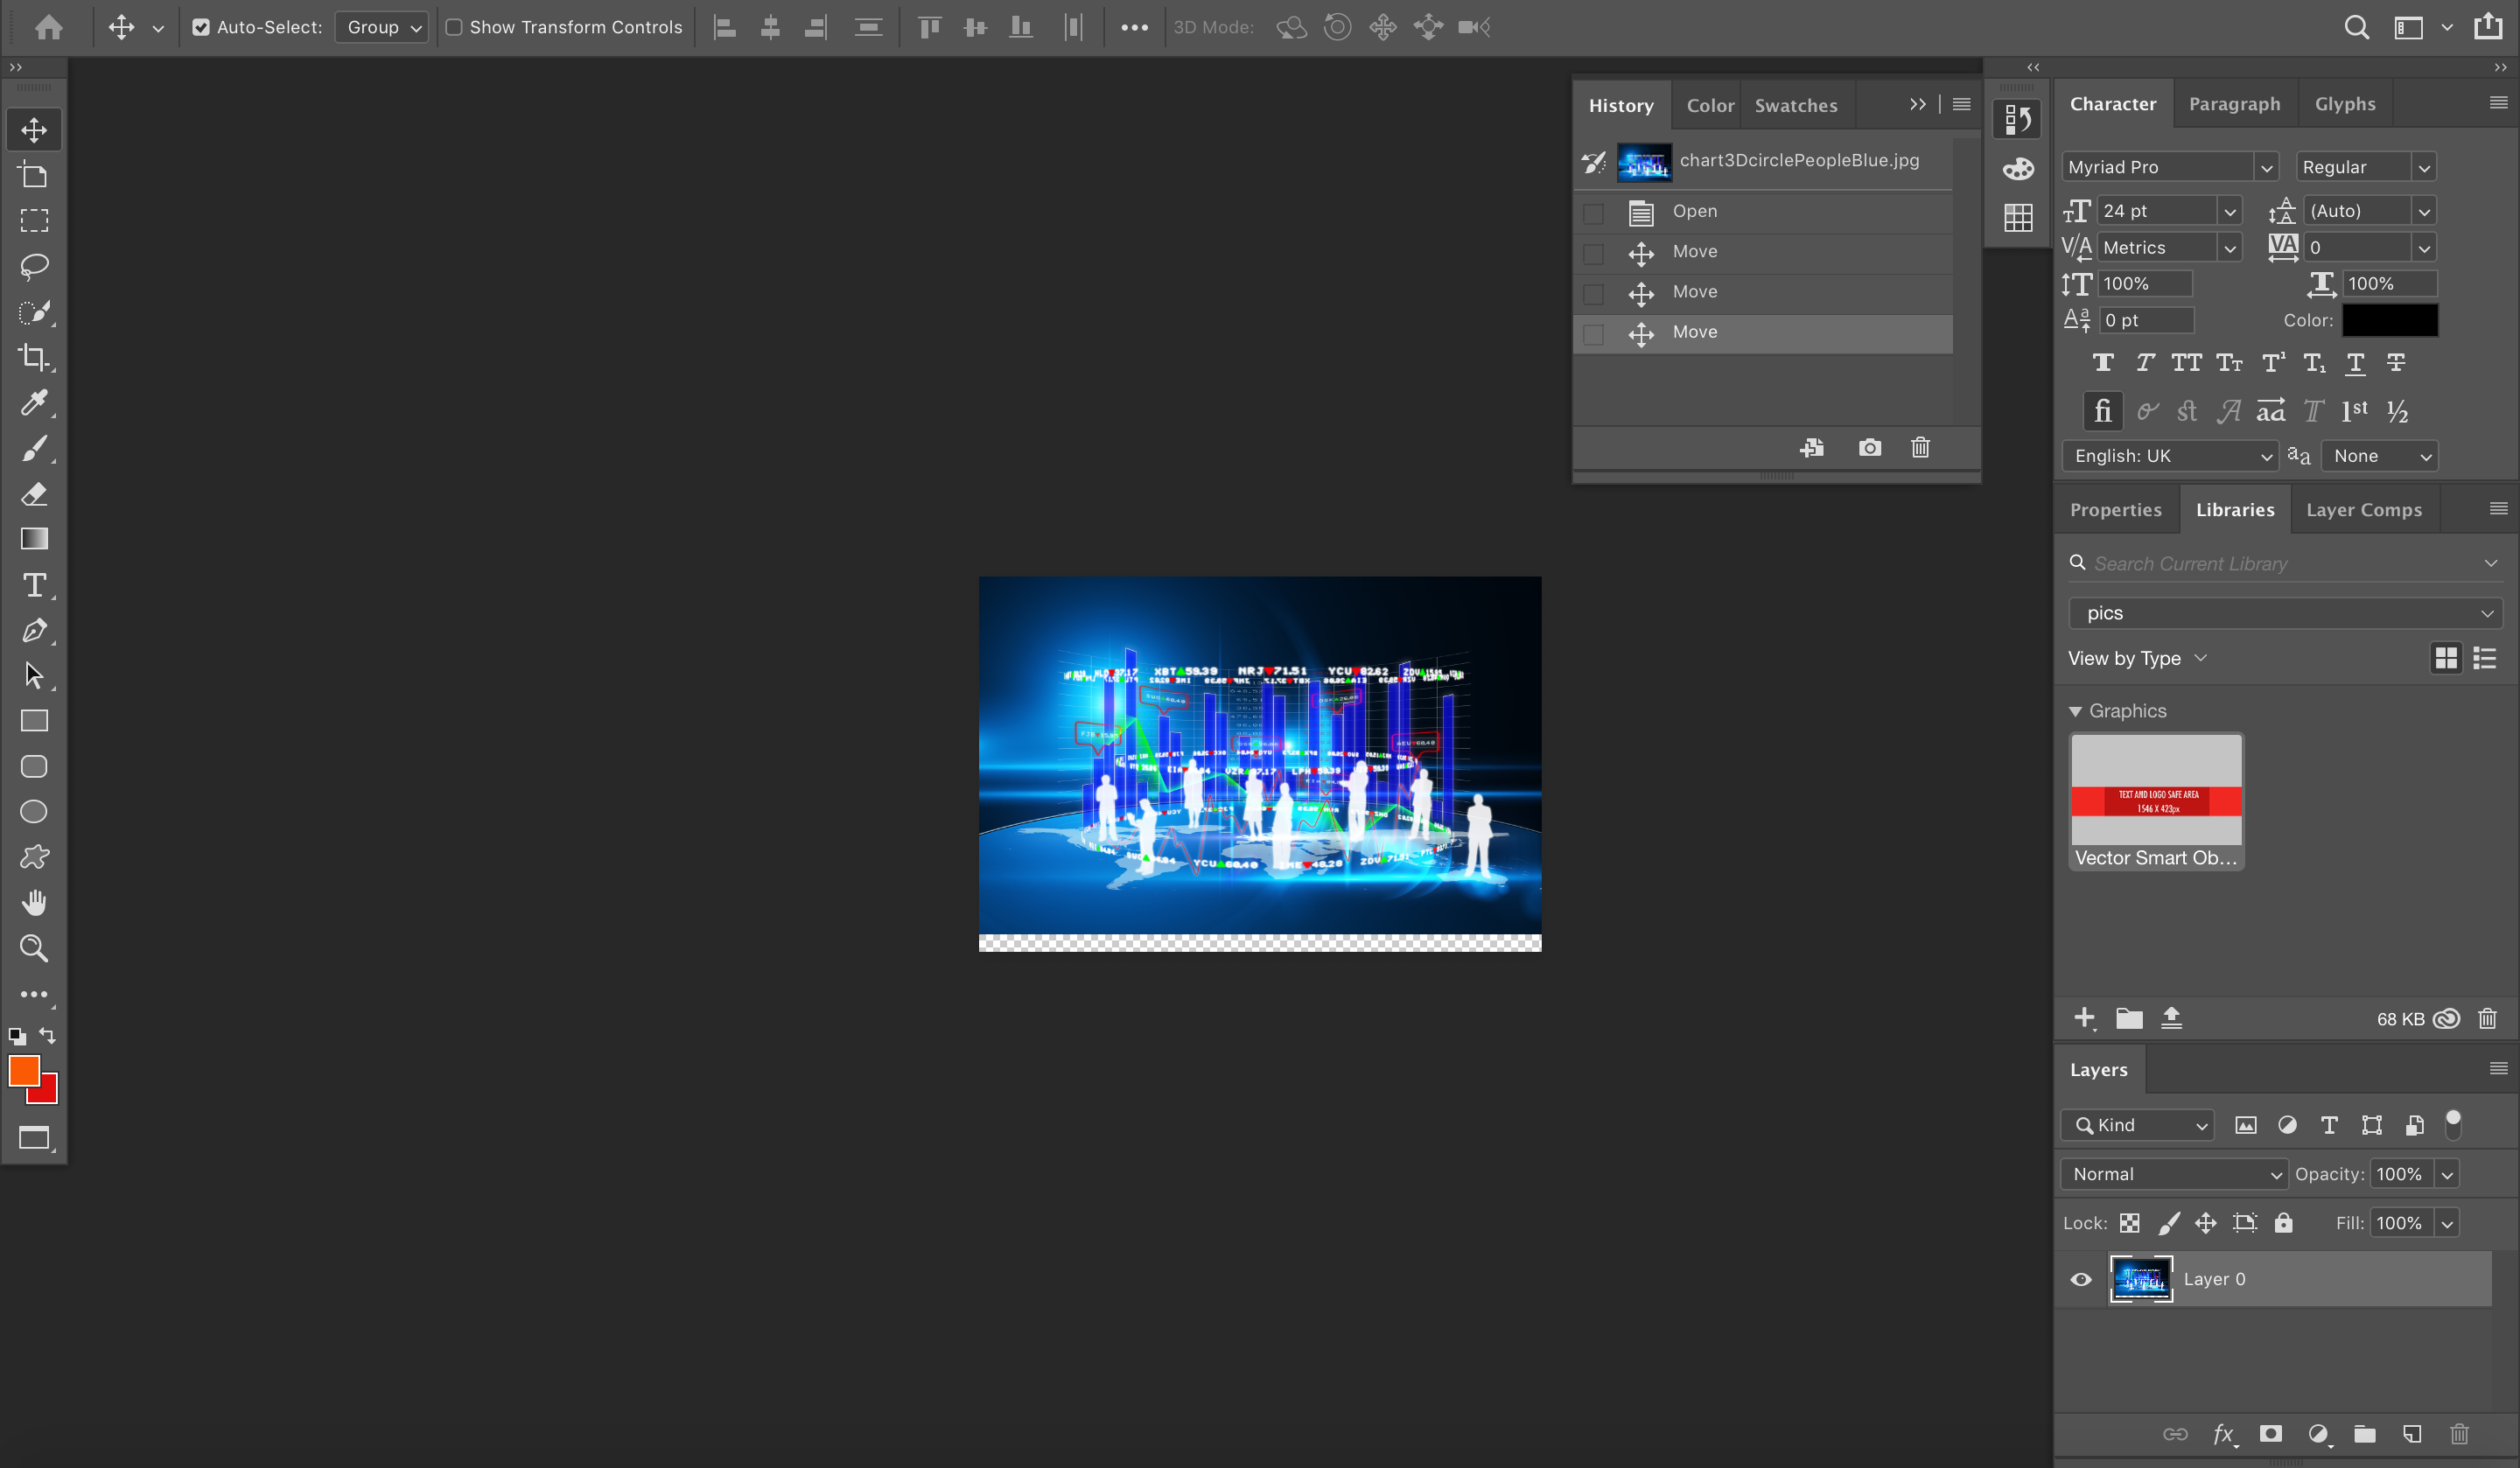
You can see here above that when I dragged the imported Adobe Stock image, it shows an area right at the bottom of the image because I dragged the image up and this grey patterned area at the bottom border shows, as if there is a "mask" of somekind and the image is sitting in a cut-out and when I drag it, the image is sliding "behind" the black "mask".
I think I don't understand how to create and control the Layers or something. I know there are Layers at the bottom right, and there is an "eye" icon, but I don't understand how to get what I want to happen.
Thanks!

Find more inspiration, events, and resources on the new Adobe Community
Explore Now
 AdChoices