Copy link to clipboard
Copied
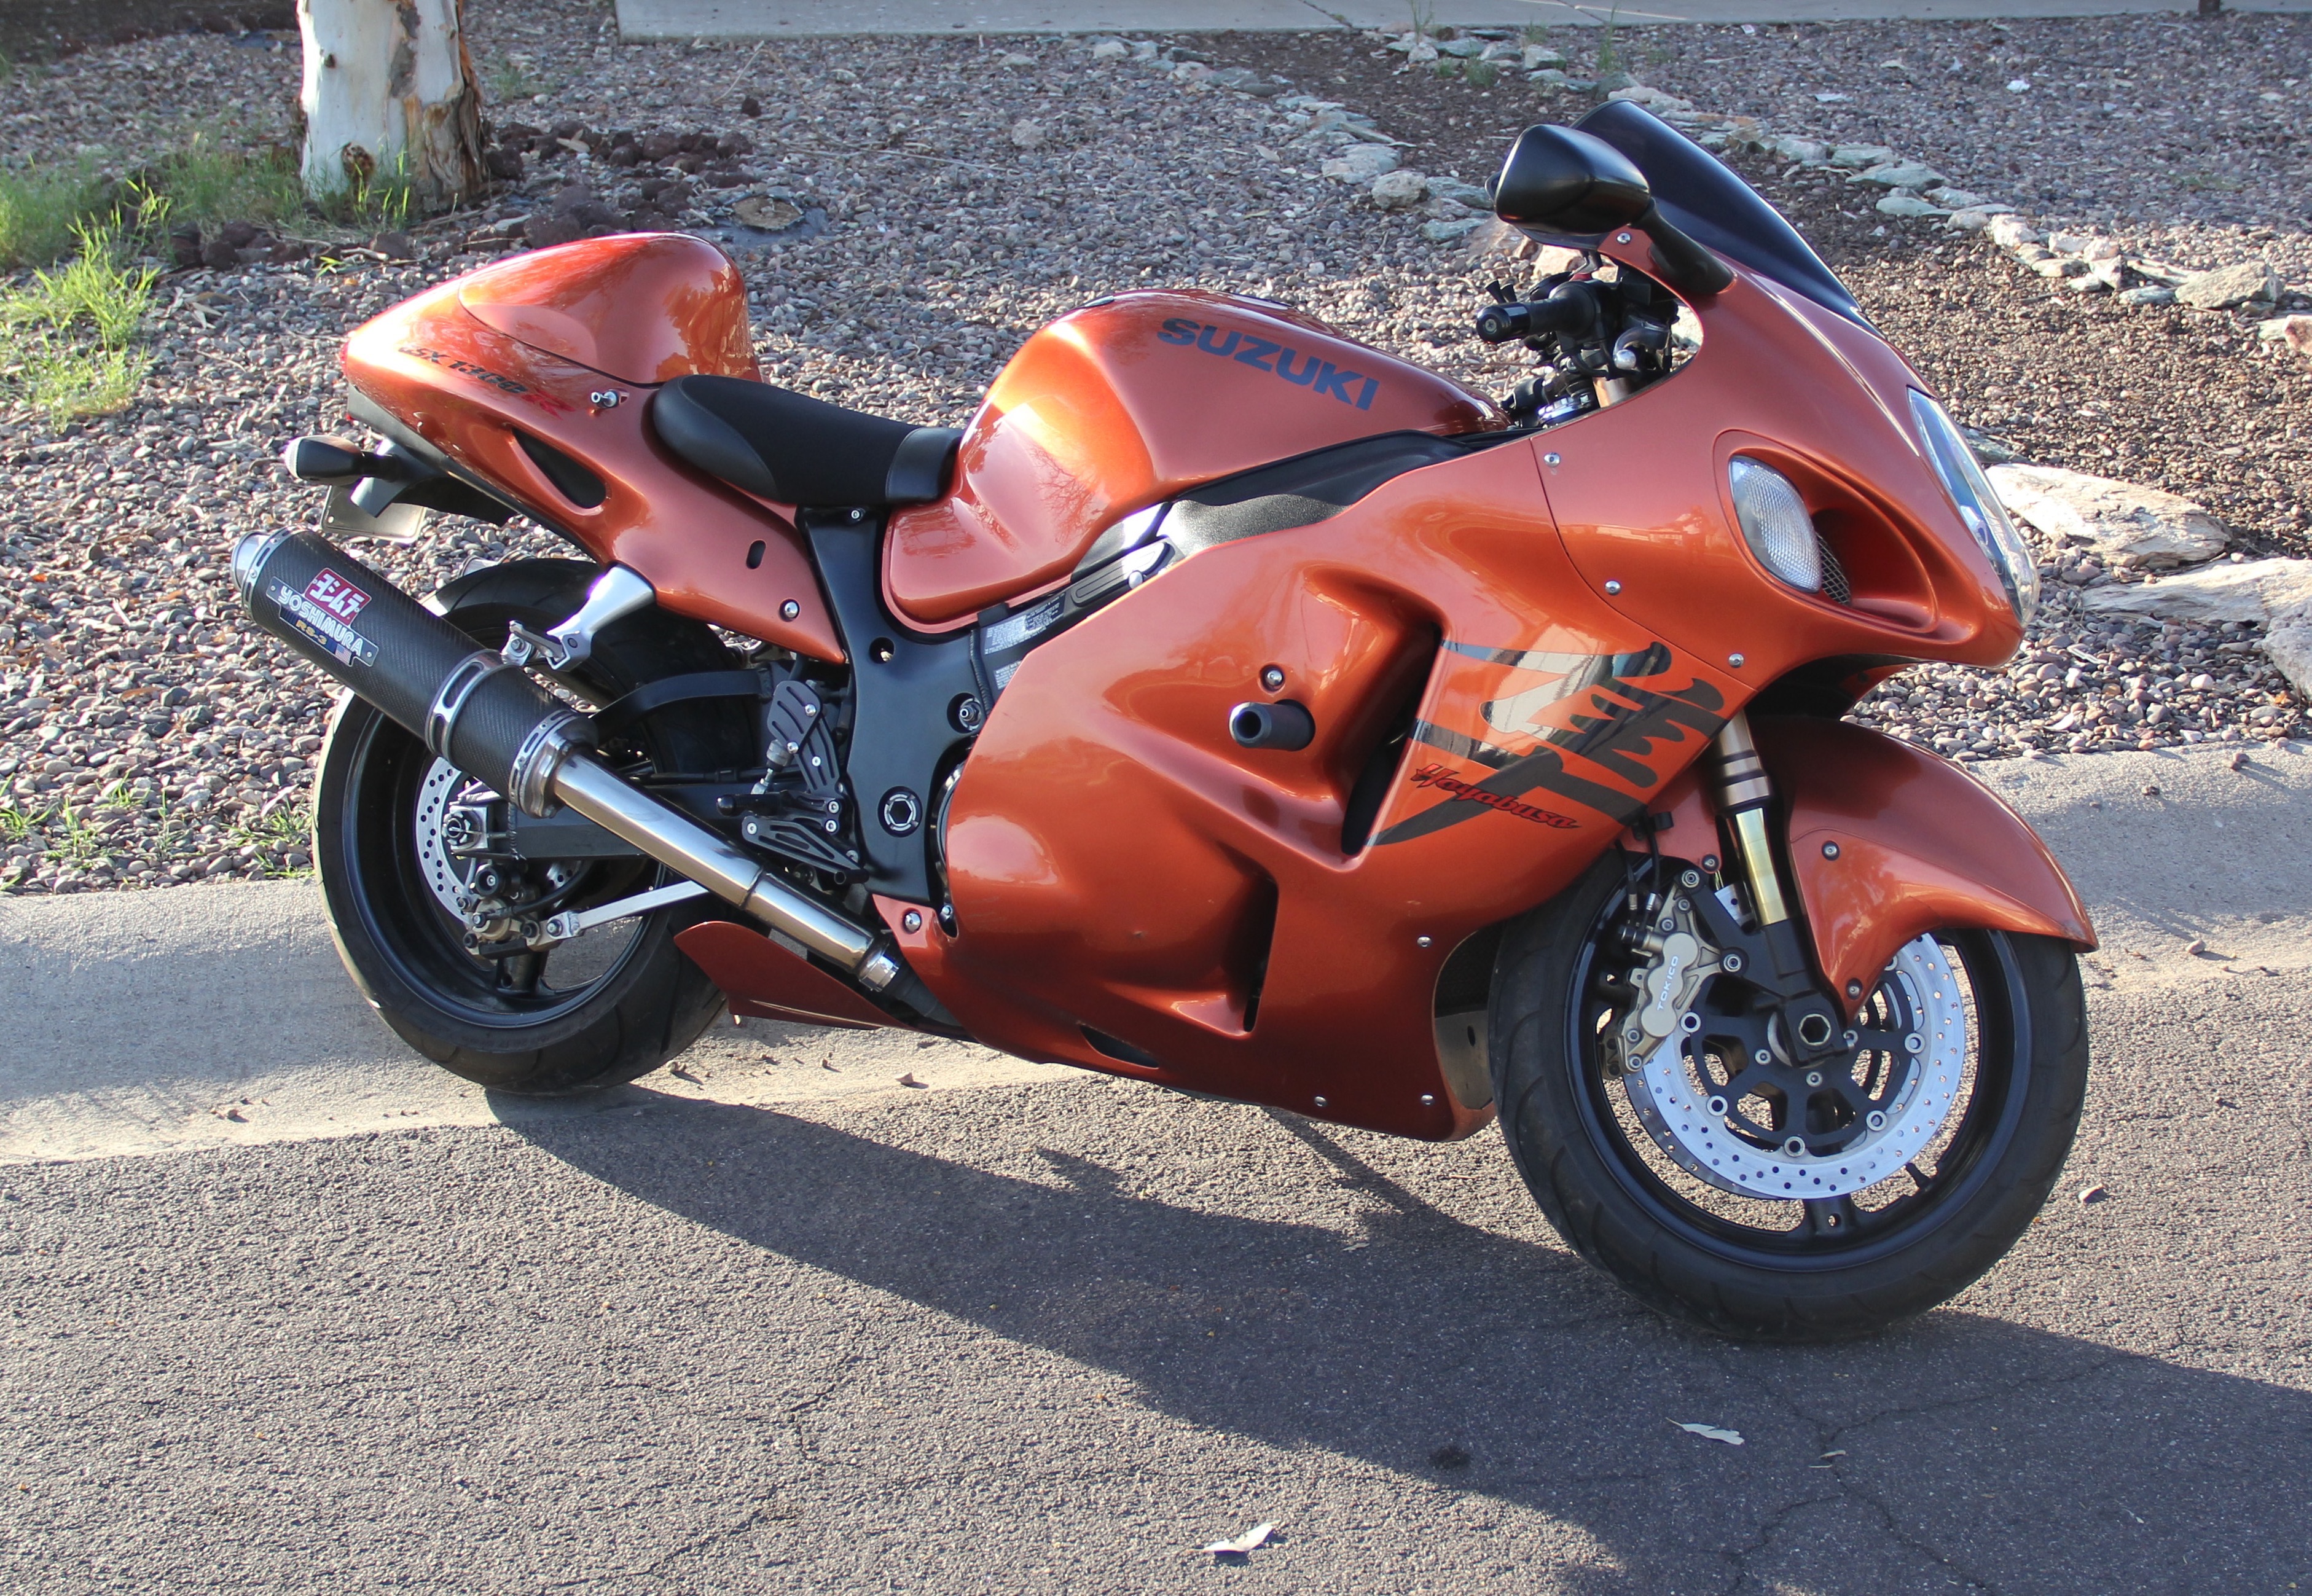
I was wondering if anyone knows how to change the orange to pearl white and the black writing to red. Also, I need the code for the pearl colors.
 1 Correct answer
Hi
Be careful with just using a Hex color. There are two issues. The first is that those hex numbers mean nothing without the context of a color space. The second is that in real life, paint takes on colours from it's surroundings.
You could try this
If I describe the layers from the bottom up:
The bottom layer is your bike image
The first layer group is masked to affect the orange panels and contains:
A black and white adjustment layer - with the reds and yellows raised to lighten that colour.
...
Explore related tutorials & articles
Copy link to clipboard
Copied
Try this tutorial: Photoshop Tutorial: How To Paint A Car - Hongkiat
"Pearl White" like all paint names depends on who makes it, so here's a guide.
Copy link to clipboard
Copied
#f0efec is a nice 'Pearl White' used by Porsche. (Perlmutt Weiss 90374 L947)
Copy link to clipboard
Copied
Hi
Be careful with just using a Hex color. There are two issues. The first is that those hex numbers mean nothing without the context of a color space. The second is that in real life, paint takes on colours from it's surroundings.
You could try this
If I describe the layers from the bottom up:
The bottom layer is your bike image
The first layer group is masked to affect the orange panels and contains:
A black and white adjustment layer - with the reds and yellows raised to lighten that colour.
A curves layer to bring up the white whilst keeping the shadows
A color Fill layer with a creamy white set to Color blend mode - this is what sets the paint colour
A hue and saturation layer at low opacity. Just to get the wanted colour to sit in the image
The next group is masked to the reds and just contains:
A curves layer to set the luminosity
A Hue and Saturation layer - set to colorize with a red colour


You will need to play around with the colours and curves to get the effect you want - but hopefully this gets you started
Dave
Copy link to clipboard
Copied
Oh man that is awesome. Thanks for not just letting me know how to do it but doing it. that looks nice. Now I'm going to try and find a blue for the frame. and copy your red to the rims. Thanks
Copy link to clipboard
Copied
I believe much can be accomplished by first going to Lab Color. Then:
1. Make a duplicate layer.
2. Choose Channels and drag the a channel down to create a copy of the a channel
3. Use Curves to increase contrast and follow with easy brush work. It will produce what will be the mask.
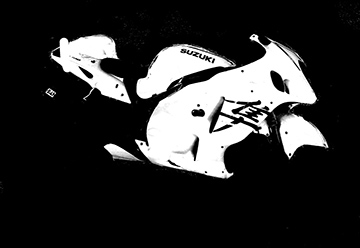
4. Drag the mask (a copy) down to the Load Channel as Selection symbol
5. Choose the Layers panel and click on the Mask symbol. It will place the mask alongside the copy of the background layer
6. Return to the Channels panel and adjust the a and b curves as shown below: horizontal midpoint flat curve to produce a neutral gray without affecting modeling.
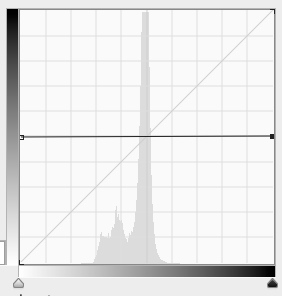
7. Also, bend the L curve to increase contrast (by making the quarter tones lighter).
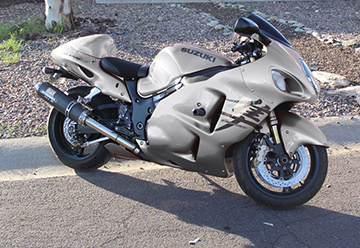
7. Change the Mode to RGB Color and adjust Color Balance to meet your criterion for "pearl white"
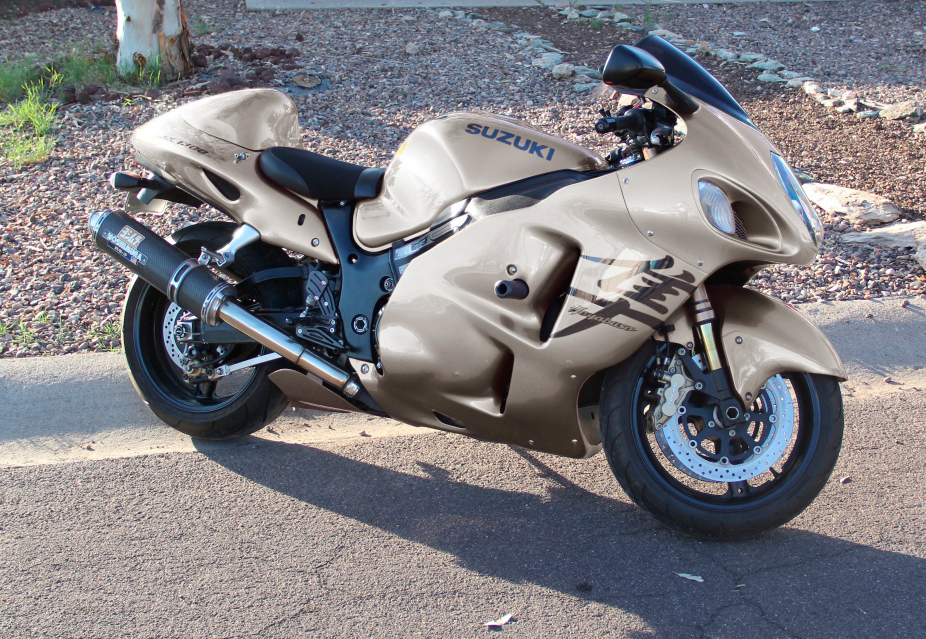
I suggest you keep the three quarter tones a bit heavy (as shown) because the length of the shadow suggests a late in the day photograph.

