Copy link to clipboard
Copied
I'd be interested in ideas for the most effective way of tweaking the colour/tone of the highlights down the centre of the chair (see attached image) caused by yellowish light above? Any other critique (with solutions) also welcome!
Copy link to clipboard
Copied
Please Edit your post to Include, Insert, your image into the body of the post. you do that by going to More... Edit Message then click the Insert Photos icon in the tool bar and then Choose File button and browase to where that image is stoed on your computer. Slect it and then Open and when the Done button comes back alive click that. Also clcik the Red X to the left of the file you have attached to you post.
Thanks.
Copy link to clipboard
Copied
Are you looking to get ride of the shadows from the pillows?
I suspect that tripod is holding some kind of lighting?
IMHO you need better lighting, maybe not better but more lighting. Something to place light on the front of the chair.
You could try using the Camera RAW filter in PS and do a Auto adjustment. And then use the Adjustment brush. Here is what I did in just a few minute in LR Classic. Which has the same feature set as the Camera RAW filter in PS and or in the ACR plugin called by Bridge.
This is after I used the Auto option in the Basic panel and used 2 control point for the adjustment brush but before I went back to the Basic panel and did an Over all Exposure raise.
This is after the over all exposure raise.
All of that is Quick and Dirty so with more time and a better, larger, image size, in both File Size and Pixel dimension, it could be better.
But in the end more/better lighting would solve 99% of the problems.
Copy link to clipboard
Copied
With this example, I woulde just reduce the yellow saturation to zero. See if that helps.
Copy link to clipboard
Copied
You could add a layer above it and set the blend mode to color, then paint the color you want, sampled from the chair.
Or you could use frequency separation to separate out the texture of the chair, then use the mixer brush to blend in the color of the rest of the chair.
Or you could use color range and select the offending pixels that are yellow and use curves to bring them inline with the blues. Lots of ways to do this.
Copy link to clipboard
Copied
The Hue/Saturation dalog is where I'd start
I'd actually make a hue/ saturation adjustment layer [layer / new adjustment layer / hue saturation]
select any colour from the pulldown list to get a "selective colour" operation, say blue
now if you alter hue wildly [temporarily!] you can see what are is being selected and, therefore, adjusted
set the sliders back to a zero.
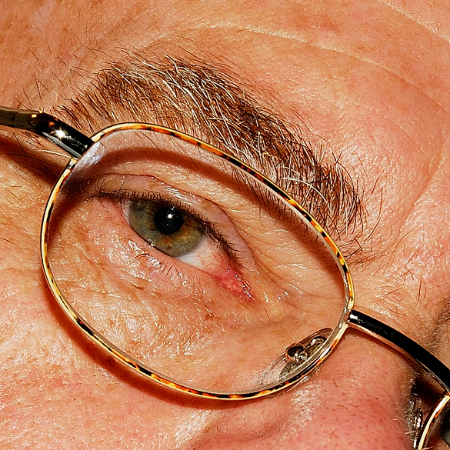
now use the eyedropper with the + to select the problem area
change the hue slider to reduce yellow
this is one easy way of using a smooth edged selection (based on the original colour) to localise adjustment
if too great an area is being adjusted after your + click, a - click in an unwanted area of adjustment will reduce the selected area (based on the original colour).
I usually try the wild hue adjustment again. just so I definitely see all the areas where adjustment is happening
The adjustment layer is better than a simple adjustment for may reasons, you can mask areas you want to exclude from the adjustment,
you can alter the overall layer effect to reduce the correction if you'd like to
if you save a file with the layers intact you can go back later an readjust without damaging the image
and yeah, better lighting would help too
I hope this helps
if so, please "like" my reply and if you're OK now, please mark it as "correct", so that others who have similar issues can see the solution
thanks
neil barstow, colourmanagement.net
[please do not use the reply button on a message in the thread, only use the one at the top of the page, to maintain chronological order]
Copy link to clipboard
Copied
Thank you very much - lots of useful suggestions to experiment with!
Get ready! An upgraded Adobe Community experience is coming in January.
Learn more