 Adobe Community
- Home
- Photoshop ecosystem
- Discussions
- Changing a black icon (transparent png) to be half...
- Changing a black icon (transparent png) to be half...
Changing a black icon (transparent png) to be half blue

Copy link to clipboard
Copied
How do I change a transparent png icon that is currently all black to be half blue? I could only find the steps to turn the complete image blue, but I only want the right half of it blue and the other half to remain black.


Explore related tutorials & articles
 9
Replies
9
9
Replies
9

Copy link to clipboard
Copied
Using selection tools, Select the area you need to change color regardless the background selected or not.
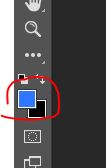
Choose the color you need in the Foreground Color.
Press Alt+Shift+Backspace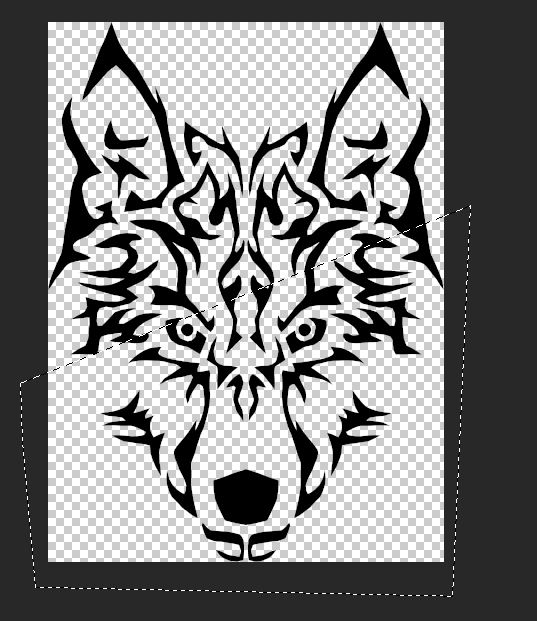
Copy link to clipboard
Copied
It worked, thanks! I knew there had to be an easy way to do it.
Lisa Z
[Personal Data removed by moderator ]

Copy link to clipboard
Copied

1. Change Image Mode from Grayscale to RGB
2. Click on the Transparent Lock (to the right of the word Lock:) at the top of the Layers panel
3. Use the Rectangular Marquee tool to create marching ants to frame the right half of the illustration.
(Move the frame if necessary using the keyboard arrow keys)
4. Edit > Fill with blue
Copy link to clipboard
Copied
I seem to be missing some steps.
I can get to step 4, but when I go to Edit>Fill How do I choose the blue color I have in my library? This is what pops up. I must need to change something because I select OK and it stays black.
Lisa Z
[Personal data removed by moderator - please do not put phone number details in this public forum]

Copy link to clipboard
Copied
Hi
1. Convert your image to RGB colour mode (Image >Mode)
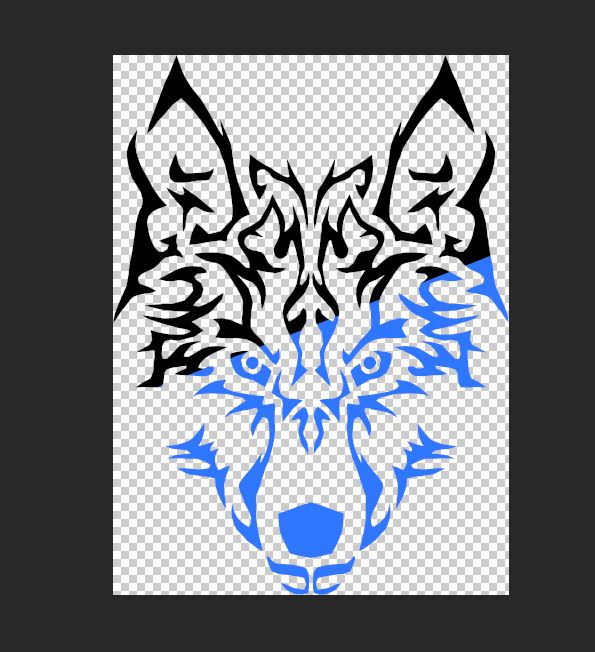
2. Add a colour fill layer set to blue (Layer >New Fill Layer)
3. In the layers panel Alt +Click on the border between the color fill layer and the wolf layer so that it clips to the wolf layer (a small down arrow appears)
4. Draw a rectangular selection around the half you want black and click on teh mask for the colour fill layer. Then Edit>Fill the rectangle with black.
Dave
Copy link to clipboard
Copied
I am sorry, but I could not seem to get this to work with your instructions, however, Omar’s answer seemed to work for me.
Thank you for your quick response, though.
Lisa Z
[Personal Data removed by moderator - please do not include telephone numbers in this public forum]

Copy link to clipboard
Copied
Maybe the easiest method is using FX > Color Overlay option in Layers panel
Just select your layer and choose fx> Color Overlay and set your destination color -. This way you can easily adjust color using double click on effect name in Layers panel
Copy link to clipboard
Copied
But that would apply to the entire layer not half of it.
Lisa - if you have found a way that works for you - then great, use it.
The advantage of the colour fill and mask method is that it is easy to readjust the colour - or the area affected by the colour at a later point. It is non - destructive in that your original layer is untouched.
Dave

Copy link to clipboard
Copied
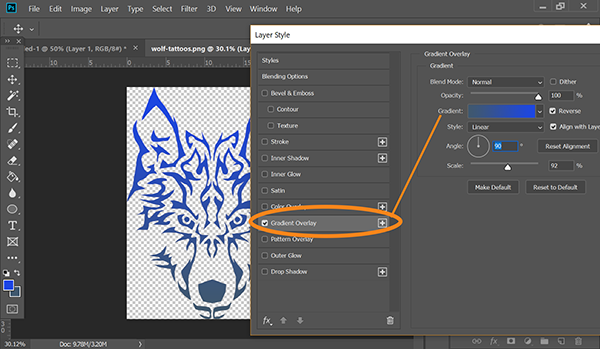
Layers Styles are a good option. After converting the Image mode from Grayscale to RGB, you could apply a Gradient overlay such as this.
Alt-Web Design & Publishing ~ Web : Print : Graphics : Media

 AdChoices