Copy link to clipboard
Copied
I'm cleaning the product using the smudge tool and the selection tool.
If i do this then the texture goes away.
How can i bring back the texture?

There are a few things wrong with that image.
If you want to clean marks on a textured product try frequency separation. To do that :
1. Make 2 duplicates of your image layer
Name the lower - "Low frequency"
Name the Higher - "High Frequency"
2. Select the Low frequency layer and use Filter Gaussian Blur (around 6.0)
3. Select the High frequency layer
Go to menu Image > Apply Image
Set the source layer to Low Frequency
Set the blending mode to Subtract
Set Scale to 2 *
Set offset to 128 *
Click OK
4. Cha
I like Dave's instructions for using frequency separation. Even if you don't take that route, you might like to bookmark this page for future reference. But the bottom line here is that the smudge tool is not a good choice because it smears the pixels. Liquify is a much better fit.
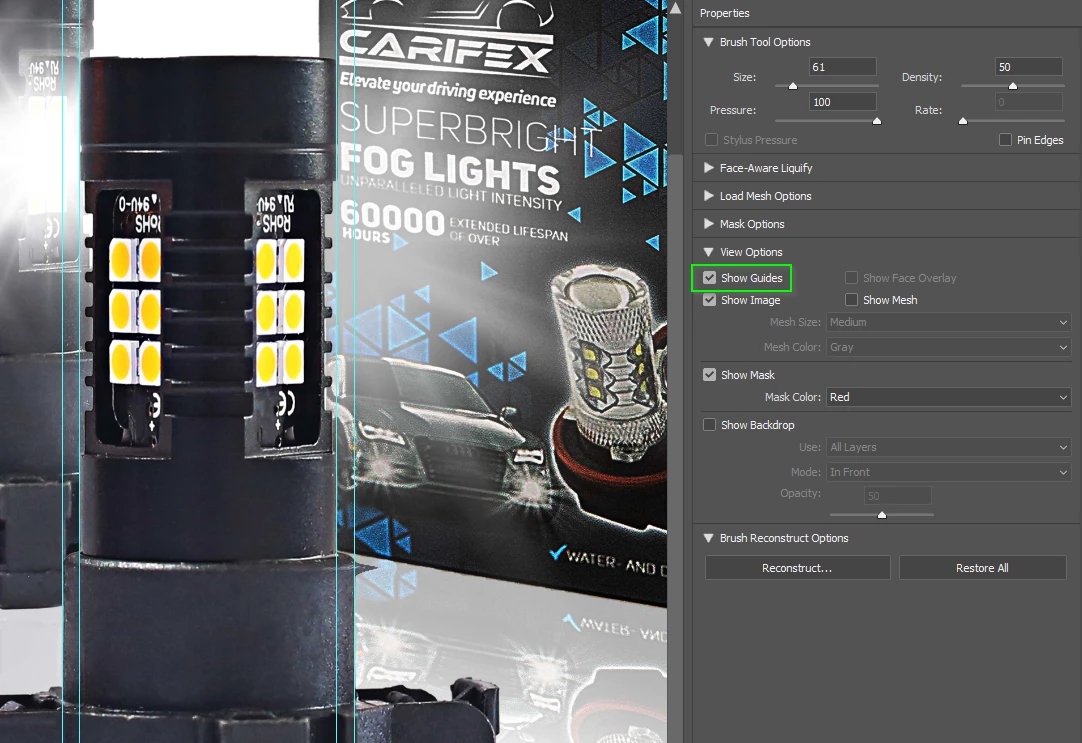
You can make Guides visible in the Liquify UI which is useful
What I like to do in thios sort of situation, and assuming the objects are on separate layers, is to select the outline of the object you are resha
...Copy link to clipboard
Copied
What do you mean by "cleaning"? The smudge tool smudges the pixels.
Copy link to clipboard
Copied
There are a few things wrong with that image.
If you want to clean marks on a textured product try frequency separation. To do that :
1. Make 2 duplicates of your image layer
Name the lower - "Low frequency"
Name the Higher - "High Frequency"
2. Select the Low frequency layer and use Filter Gaussian Blur (around 6.0)
3. Select the High frequency layer
Go to menu Image > Apply Image
Set the source layer to Low Frequency
Set the blending mode to Subtract
Set Scale to 2 *
Set offset to 128 *
Click OK
4. Change the blending mode of the high frequency layer to Linear Light
5. Now you can clone out sharp blemishes blemishes on the high frequency layer and lighten or darken areas on the low frequency layer
* Note - the above steps are for 8 bit/channel images. For 16 bit/channel step 3 changes slightly
3. Select the High frequency layer
Go to menu Image > Apply Image
Set the source layer to Low Frequency
Check "Invert" next to channel
Set the blending mode to Add
Set Scale to 2
Set Offset to 0
Click OK
Now carry on with step 4 above
Other issues though are :
a. The reflections are just inversions of the image and as such the perspective of them is incorrect. Real reflections do not work like that. You should see a lower view of the product and would not see the top of the ridge around the product in that reflection.
b. The perspective of the box and the two products do not match, making it look so obviously a (quite bad) composite.
Dave
Copy link to clipboard
Copied
How would you correct blemishes that are on the edge or the edges where there is a transition between 2 surfaces/colours/textures?
Copy link to clipboard
Copied
for example
Copy link to clipboard
Copied
I use the healing brush and clone stamp.
Copy link to clipboard
Copied
I like Dave's instructions for using frequency separation. Even if you don't take that route, you might like to bookmark this page for future reference. But the bottom line here is that the smudge tool is not a good choice because it smears the pixels. Liquify is a much better fit.
You can make Guides visible in the Liquify UI which is useful
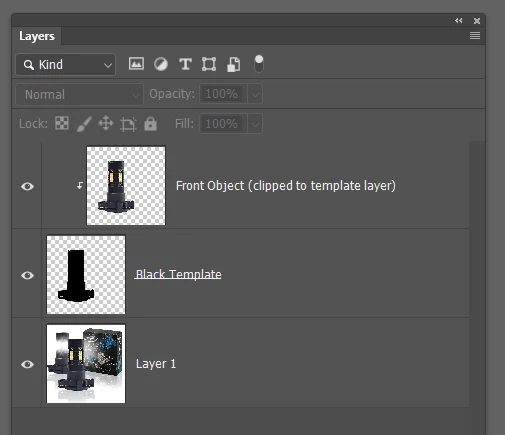
What I like to do in thios sort of situation, and assuming the objects are on separate layers, is to select the outline of the object you are reshaping, and fill it with black in a new layer below the object layer. I then clip that to the template layer so it retains the correct outline after dragging things around with Liquify. You can do the same thing with an unlinked layer mask.