- Home
- Photoshop ecosystem
- Discussions
- Re: Cleaning up line-drawing scans in Photoshop
- Re: Cleaning up line-drawing scans in Photoshop
Cleaning up line-drawing scans in Photoshop
Copy link to clipboard
Copied
Hi folks,
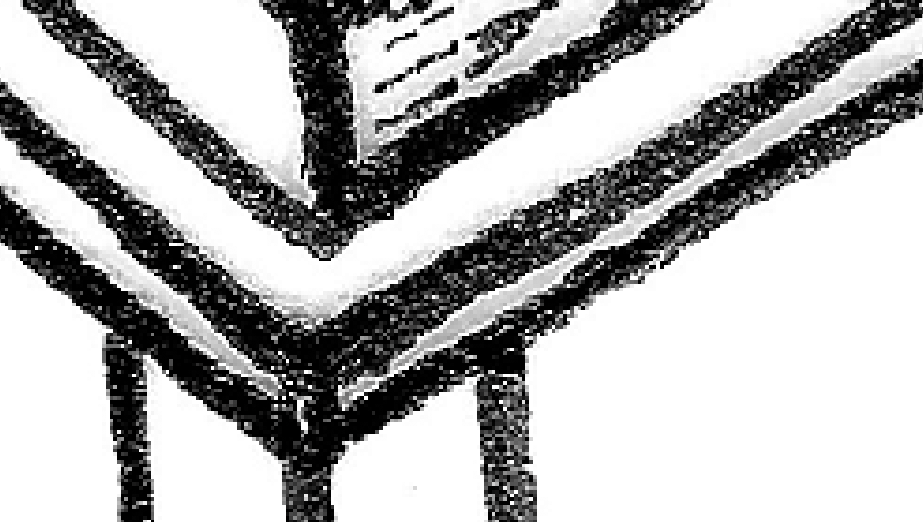
I've been working on an illustration project for some time now, and have reached a point where I need to scan in the images and colour them digitally. I've taken them into Photoshop and found that they are full of unfortunate artefacts from the scan:
Grey around the lines and the lines full of white speckles, as you can see. I have tried a number of different scanning techniques to limit or eradicate these: scanning in colour, greyscale (as seen), and black and white, in PNG, Tiff, and BMP. All resolutions from 200 up to 1200dpi. Taking them into Photoshop, all I've managed to do is get the white to move from grey to white. Despeckling, and other noise removal filters, does not help. Nor do sharpening filters or blurs, contrast changes, legacy, duo and monotone settings, nothing seems to really help. I've even tried using multiple layers and blurs, but the only thing that gives me the line quality I need is to scan in Black and White:
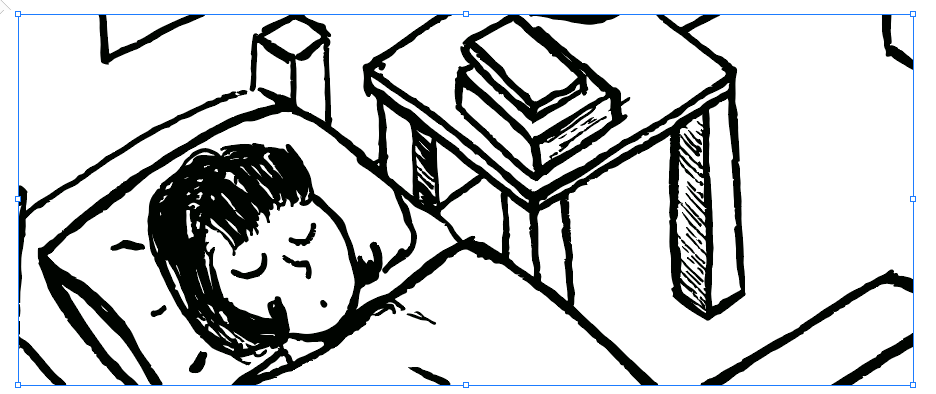
Though there are still some jagged elements, the lines are at least solid. But I lose A LOT of detail in doing so, as you can see. I've also tried using Illustrator's live trace to try and achieve a smoother/less noisy line quality, but this also hasn't worked.
So, any advice on how to achieve a fairly decent line quality from scans - whether in editing or in actual scanning - while retaining the level of detail seen in the top image?
Thanks. !
Explore related tutorials & articles
Copy link to clipboard
Copied
• if you want black lines you may want to draw in ink instead of pencil. There’s a reason so many things get inked after all.
• What you call artefacts are not necessarily artefacts but you may want to check out the sun software’s sharpening.
• I would try a combination of Dust&Scratches (as a Smart Filter naturally) and a Curves Layer.

• Prepress-wise it might pay off to scan the linework at high resolutions, edit it as grayscale or RGB and then make a copy and convert that to bitmap and combine that overprintingly with the colors (as a color image or even vector elements) in a layout application. At least if the lines are to be plain CMYK-black.
Copy link to clipboard
Copied
The images are actually illustrated in black pen.
The "artefacts" are elements that come through when upping the contrast to move from the grey hue you find in scans (even if you turn the brightness right up) to the black and white as seen in my images and appear as tiny, speckled gaps in the colour.
Your suggestions don't have much, if any, effect on my end. They might darken the existing black, but does not do much in solidifying the lines and making them more definitive.
Copy link to clipboard
Copied
Your suggestions don't have much, if any, effect on my end. They might darken the existing black, but does not do much in solidifying the lines and making them more definitive.
I am not sure what you mean exactly by »definitive«.
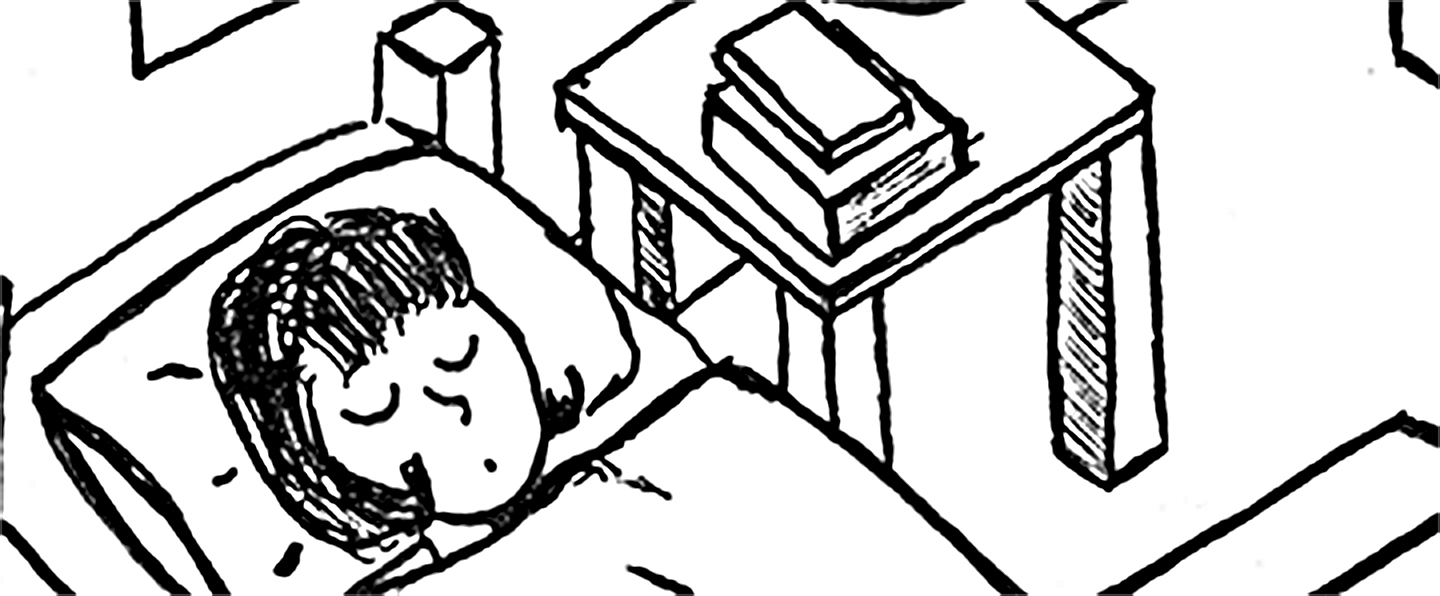
The effect in the screenshot I posted is not sufficient for your intentions?
The "artefacts" are elements that come through when upping the contrast to move from the grey hue you find in scans (even if you turn the brightness right up) to the black and white as seen in my images and appear as tiny, speckled gaps in the colour.
They are likely connected to the surface structure of the substrate.
What have you done regarding the scan-sharpening?
Copy link to clipboard
Copied
The effect you've achieved would be really serviceable, I'm just having issues achieving it myself. By "definitive" I really meant solid, the speckled gaps in the lines do not lessen nor disappear when using dust & scratches filters, or a curves layer. Whether this is down to not utilising it properly or the way my image (native) is set up compared to yours (which you would have taken from here), I'm not sure. Likely the first.
Copy link to clipboard
Copied
the speckled gaps in the lines do not lessen nor disappear when using dust & scratches filters
Which settings?
Could you post screenshots?
Copy link to clipboard
Copied
The images are actually illustrated in black pen.
Are the grey smudge-like areas between and around some of the lines absent on the original?

Copy link to clipboard
Copied
And yes, those grey areas don't appear on the original illustrations, only on the scans.
Copy link to clipboard
Copied
I think you need to work on the scan settings prior to bringing it into Photoshop. This isn't about "brightness", it's about setting the approprate white and black endpoints, and about adjusting the tone response curve in between. Good scanner software can do this.
Also turn off/disable all sharpening in the scanner software, as well as all other "image enhancements". There is obviously quite a lot of it, and it seems a bit out of control.
All said and done, you might even be better off photographing, not scanning. But for that you need to get hold of a good photographer who is familiar with repro work.
Copy link to clipboard
Copied
Any suggestions for decent scanning software? I currently only have access to Windows defaults, so if you've any recommendations I might be able to utilise a free trial (or better freeware) to achieve better scans. I have twenty-six images, so I don't want to throw loads of work into optimising this one only for it not to work on a more detailed image.
Copy link to clipboard
Copied
A new scan would be best - however if you have to work with what you have got, do you have access to Adobe Illustrator?
If so try image trace in illustrator - it produced this just using the Sketched art default. You could play with the settings to balance detail and noise

Dave
Copy link to clipboard
Copied
I think some of the superior results being achieved here might have something to do with the fact that this is a windowed view of the image to demonstrate the elements that are bothersome, and there's more image than what is being shown.
I do have access to Illustrator, hadn't tried the sketched art trace yet, will get round to it when Illustrator stops crashing when I try. Otherwise, I'll look into re-scanning everything.
Copy link to clipboard
Copied
The first image is the one you posted, reduced from a bit over 12 inches to exactly 12" to make the math easier to see.
Open the file
Change the image width to 4", using Image > Image Size. Height will also change
Change the image width back to 12" using Image > Image Size. Height will also change
Choose Smart Sharpen. Settings 100 and 10. OK
Choose Smart Sharpen.Settings 100 and 2. OK
Double click on the Before and After images to see each in full size


You may want to experiment with other Smart Sharpen settings. Good luck.

