Answered
Clipping mask
Hi, I am new to photoshop. I want to put my image in a circle by using Clipping mask. I don't know how to do. Can anyone guide me please ?
Thanks.

Hi, I am new to photoshop. I want to put my image in a circle by using Clipping mask. I don't know how to do. Can anyone guide me please ?
Thanks.
Hi, Check this out. I found this tutorial for you.
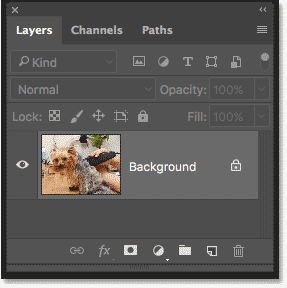
If we look in the Layers panel, we see the photo on the Background layer, which is currently the only layer in the document:
The Layers panel showing the photo on the Background layer.
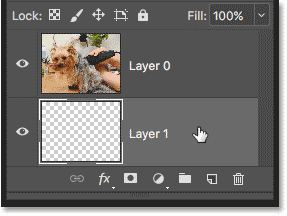
We need two layers to create a clipping mask, one to serve as the mask and one that will be clipped to the mask, so let's add a second layer. We'll add the new layer below the image. First, unlock the Background layer. In Photoshop CC, click the lock icon to unlock it. In Photoshop CS6 or earlier, press and hold the Alt (Win) / Option (Mac) key on your keyboard and double-click on the Background layer:
![]()
Unlocking the Background layer.
This unlocks the Background layer and renames it "Layer 0":
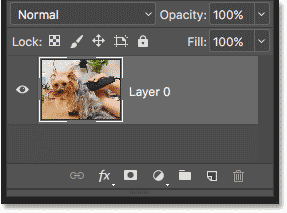
Unlocking the Background layer lets us add a new layer below it.
Then, to add a new layer below the image, press and hold the Ctrl (Win) / Command (Mac) key on your keyboard and click the Add New Layer icon:

Adding a new layer below the image.
A new layer named "Layer 1" appears below the photo, and we now have two layers in the document. We'll turn the bottom layer into the mask, and the image above it will be clipped to the mask:

The second layer needed for the clipping mask has been added.
Hide the original image for the moment by clicking the top layer's visibility icon:
![]()
Clicking the visibility icon to hide the photo.
With the top layer turned off, we see the layer we just added. By default, new layers in Photoshop are blank, meaning they have no content at all. A layer with no content is transparent and we see right through it. When there are no other layers below a transparent layer, Photoshop displays the transparency as a checkerboard pattern, as we see here:
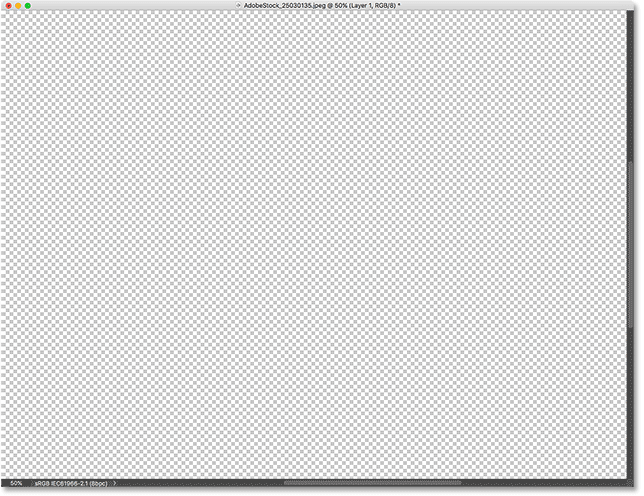
The checkerboard pattern means the bottom layer is transparent.
Turn the top layer back on by clicking again on it visibility icon:
![]()
Clicking the same visibility icon.
The top layer contains actual content. In this case, it's pixel-based content because we're looking at a digital photo, but in Photoshop, content could also be a vector shape or even text. Really, anything that isn't transparency is considered content:
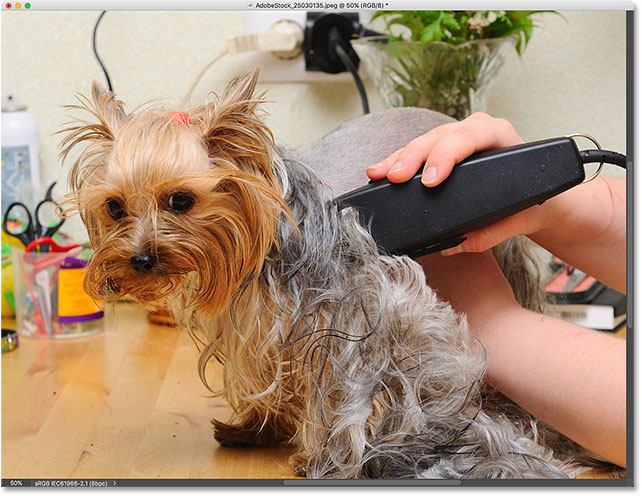
The top layer contains actual content.
Clipping masks use the content and transparency of the layer below to control the visibility of the layer above. Let's create a clipping mask using our two layers and see what happens.
When creating a clipping mask, we first need to select the layer that's going to be clipped to the layer below it. In this case, the top layer ("Layer 0") will be clipped to the bottom layer ("Layer 1"), so make sure the top layer is selected:
Selecting the top layer.
To create the clipping mask, go up to the Layer menu in the Menu Bar and choose Create Clipping Mask:

Go to Layer > Create Clipping Mask.
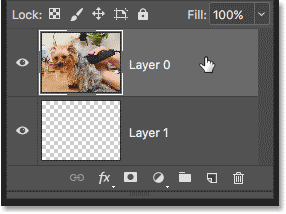
And that's all there is to it! With the layer mask created, the Layers panel now shows the top layer ("Layer 0" ) indented to the right, with a small arrow pointing down at "Layer 1" below it. This is how Photoshop tells us that the top layer is now clipped to the layer below:
The Layers panel showing the top layer clipped to the bottom layer.
But the problem is, all we've accomplished so far by creating a clipping mask is that we've hidden the image from view, and that's because our mask layer ("Layer 1") contains no content. It's completely transparent. With a clipping mask, any areas on the top layer that are sitting directly above transparent areas on the bottom layer are hidden. Since the bottom layer contains nothing but transparency, no part of the image above it is visible:
With no content on the mask layer, the image on the clipped layer is hidden.
That wasn't very interesting, so release the clipping mask by going up to the Layer menu and choosing Release Clipping Mask:
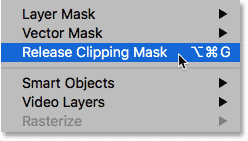
Going to Layer > Release Clipping Mask.
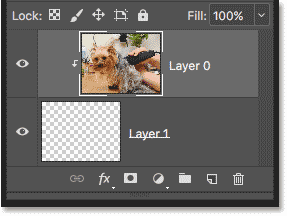
In the Layers panel, the top layer is no longer indented to the right, which means it's no longer clipped to the layer below:
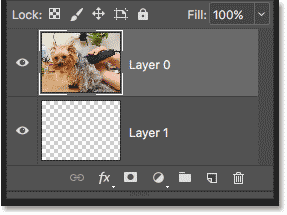
The layer mask has been released.
And in the document, we're back to seeing our image:
With the clipping mask released, the image returns.
Let's add some content to the bottom layer. Click the top layer's visibility icon to hide the image so we can see what we're doing:
![]()
Clicking the top layer's visibility icon.
Then click on the bottom layer to make it active:
Selecting the bottom layer.
To add content, we'll draw a simple shape. Select the Elliptical Marquee Tool from the Toolbar by right-clicking (Win) / Control-clicking (Mac) on the Rectangular Marquee Tool and choosing the Elliptical Marquee Tool from the fly-out menu:
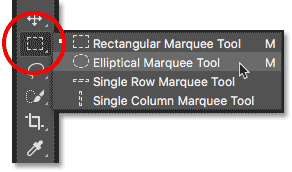
Selecting the Elliptical Marquee Tool.
Click and drag out an elliptical selection outline in the center of the document:
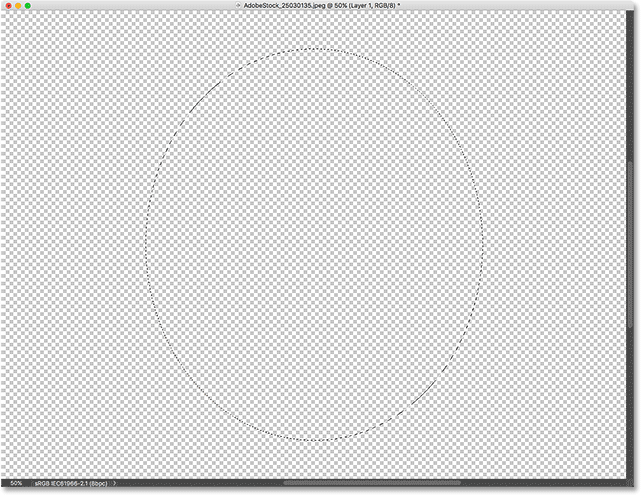
Drawing a selection with the Elliptical Marquee Tool.
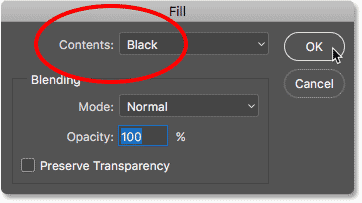
Go up to the Edit menu in the Menu Bar and choose Fill:
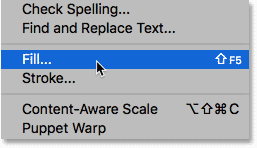
Going to Edit > Fill.
In the Fill dialog box, set the Contents option to black, and then click OK:
The Fill dialog box.
Photoshop fills the selection with black. To remove the selection outline from around the shape, go up to the Select menu and choose Deselect:
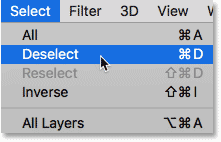
Going to Select > Deselect.
And now, instead of a completely transparent layer, we have an area with some content in the center. Notice, though, that the area surrounding the content remains transparent:
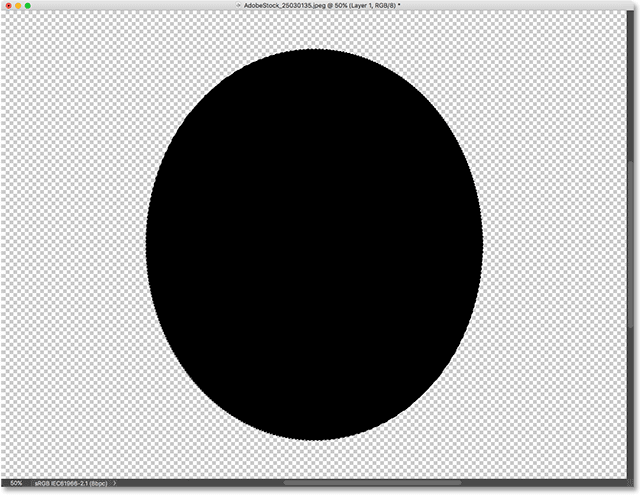
The bottom layer now contains both content and transparency.
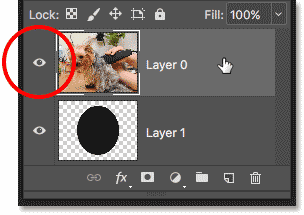
Back in the Layers panel, the preview thumbnail for the bottom layer now shows the black shape. What's important to note here is that if you compare the preview thumbnails for both layers, you'll see that some of the image on the top layer is sitting directly above the content (the shape) on the bottom layer. And, some of the photo is sitting above the transparent areas on the bottom layer:
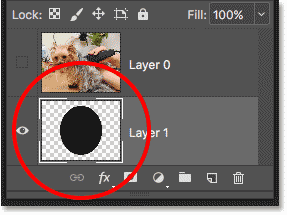
The preview thumbnail showing the content and transparency on the bottom layer.
Now that we've added some content to the bottom layer, let's create another clipping mask. Again, we first need to select the layer that will be clipped to the layer below, so click on the top layer to select it. Then, click the top layer's visibility icon to make the image on the layer visible:
Selecting and turning on the layer that will be clipped.
Go back up to the Layer menu and once again choose Create Clipping Mask:
Go again to Layer > Create Clipping Mask.
In the Layers panel, we see the top layer clipped to the layer below it, just like we saw last time:
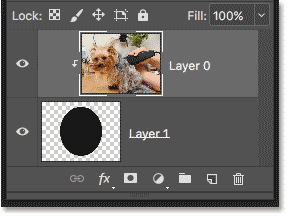
The Layers panel again showing the clipping mask.
But in the document, we now see a very different result. This time, the section of the photo that's sitting directly above the shape on the layer below it remains visible! The only parts of the photo that are hidden are the areas surrounding the shape, since those areas are still sitting above transparency:

The content on the bottom layer keeps part of the top layer visible.
Of course, the result might look better if our subject was centered inside the shape. With clipping masks, it's easy to move and reposition content within them. Just select the Move Tool from the Toolbar:

Selecting the Move Tool.
Then click on the photo and drag it into position. As you move the image, only the area that moves over the shape on the layer below it remains visible. And that's the basics of how clipping masks work:
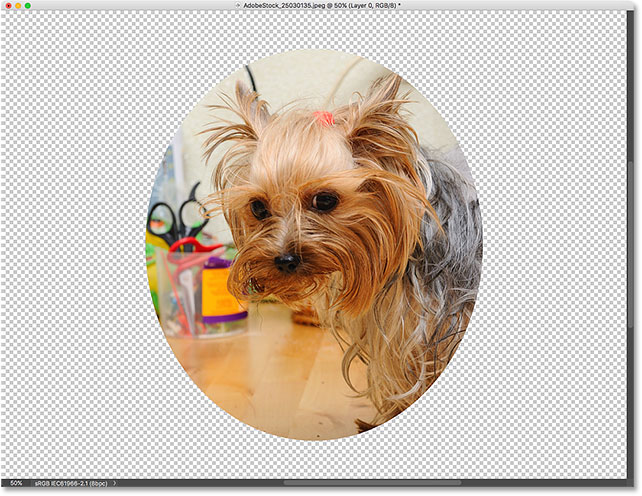
The clipping mask after centering the photo within the shape.
Thanks.
Muqqarib
Already have an account? Login
Enter your E-mail address. We'll send you an e-mail with instructions to reset your password.
