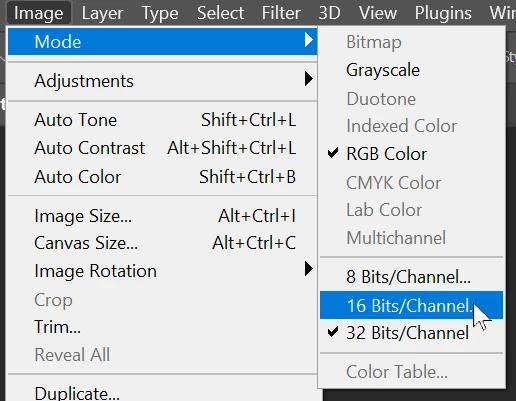
It is important to understand the difference between 8 bits per channel, 16 bits per channel and 32 bits per channel images.
8 and 16 bit/channel images split the same range of levels into 256 steps or 65536 levels (in Photoshop it is actually 32769). Because the same range is being split it is a simple conversion between the two. 0 maps to 0, 65536 maps to 255
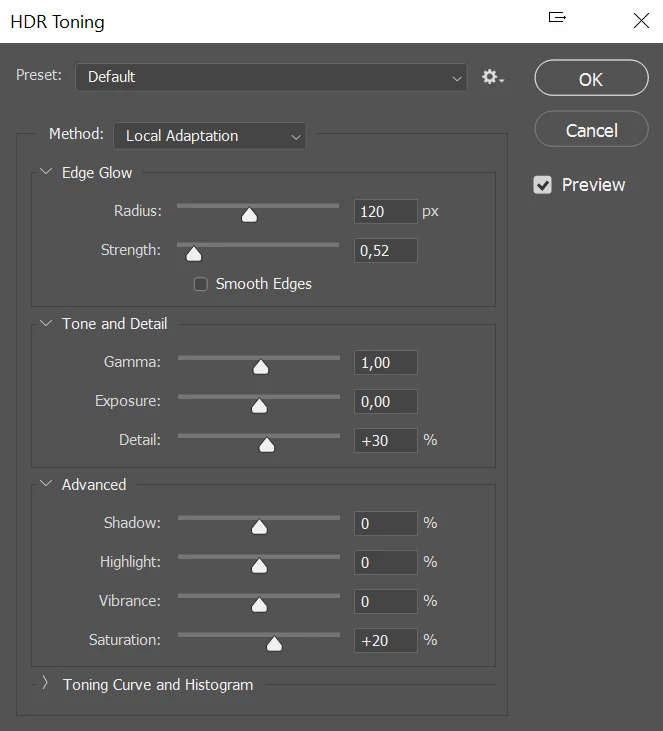
32 bit is different. It uses floating point numbers giving 3.4028235 × 1038 steps, but more importantly covers a much wider range than 8 or or 16 bit. So it can contain light tones that are lighter than the whitest white in 8 or 16 bit and dark tones that are darker than the blackest black available in 8 or 16 bit. Therefore "mapping" is required to tell how to convert from 32 bit to 16 bit and what to do with the extended range that cannot fit within the 8 or 16 bit range. Do you just throw away the additional tones and if so which do you keep, or do you compress than extended range in a way that squeezes it into the range available in 8 or 16 bit?
For the former, throw away, option just use the Exposure and Gamma option and slide the exposure slider to make the range you want to keep visible. This is similar to the process we use when capturing a real world image with a camera.
The other tone mapping options afford a degree of control allowing you to lighten some of the tones that are darker than black in 8 /16 bit and darken some that are lighter than white. The different options produce different looking results, so the best to use depends on the image that you want.
Dave