Exit
  • Global community
    • Language:
      • Deutsch
      • English
      • Español
      • Français
      • Português
  • 日本語コミュニティ
  • 한국 커뮤니티
0

Creating a smart object ornament

Explorer ,
Sep 19, 2021 Sep 19, 2021

Hi there,


Novice Photoshop user here. I'm trying to learn how to make a Christmas ornament mockup. I'd like to be able to change both the design within the ornament and the background that the ornament is sitting on. So I figured I could take a photo, cut out the original background, turn the item into a smart object, and add another image as the new background.


This is my first attempt and so I'm not even trying to include a string yet, though I'm hoping that if I learn how to separate the hole from the rest of the ornament, that technique would carry over to allowing a string remain visible in an image while the ornament itself can be edited. 


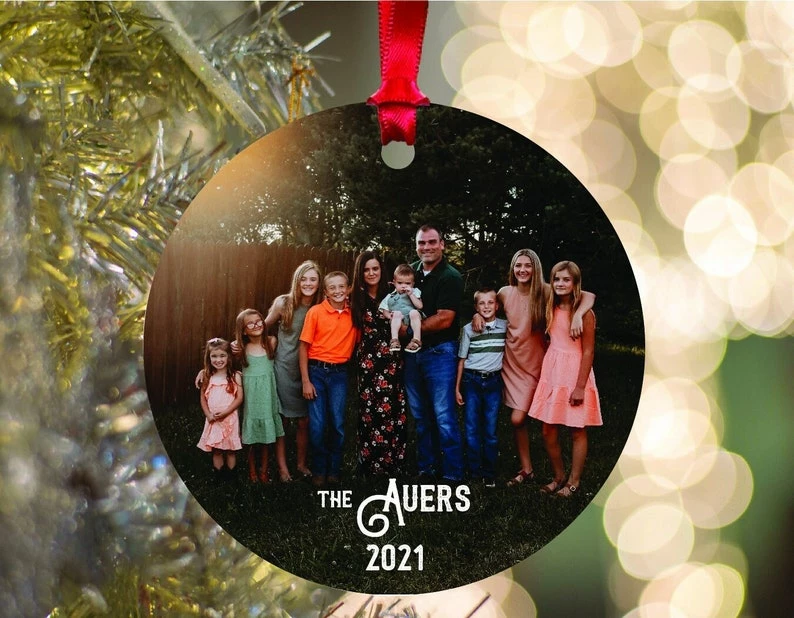
Here's a sample image that represents what I'd like to be able to create (ultimately, I'd like to be able to do more unique shapes which is why I'm trying to learn how to do this):

sample.jpg


I started with a photograph of an actual ornament and have gotten as far as cutting it out from the background and turning it into a smart object. However, I don't know what I need to do to ensure that the hole remains visible in the final ornament once a design as been added.


This is an example of what I mean by the hole remaining visible once the design has been added:

sample 2.jpg


Here's my original photo: 

20210919_144734.jpg


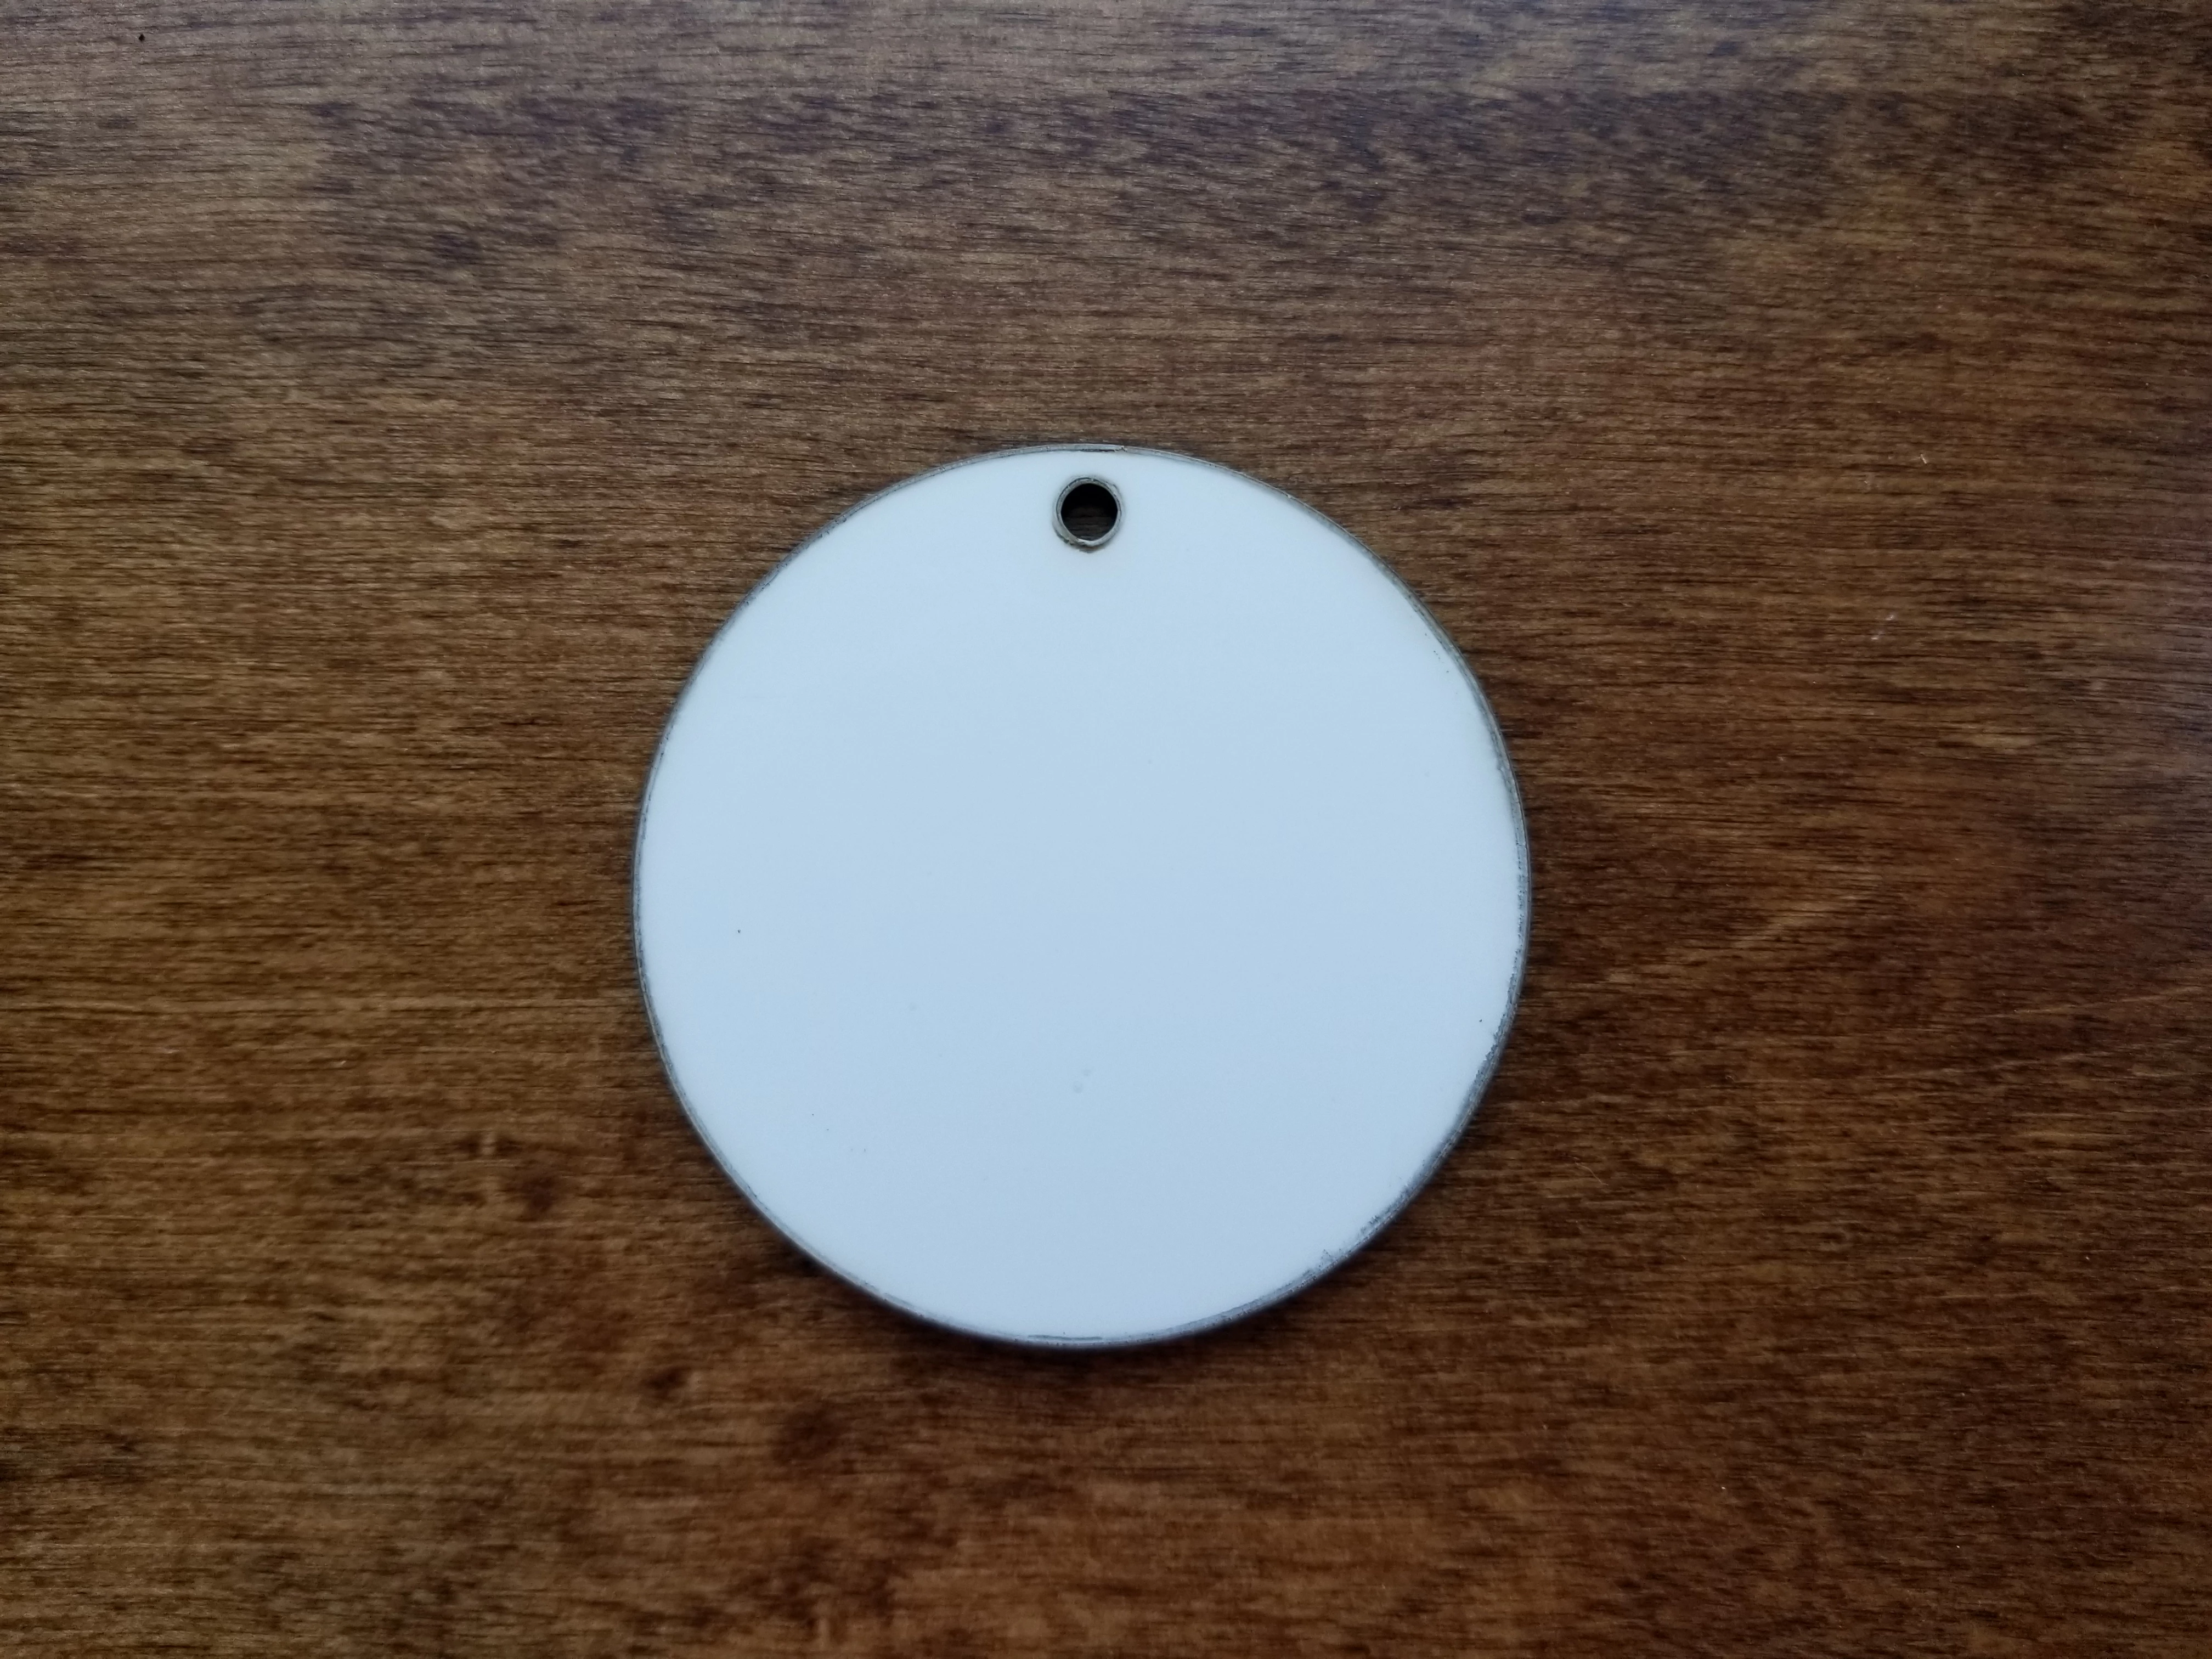
And here's my ornament with the background turned off and an image inserted into the smart object layer. As you can see, there's no hole in the ornament.

Monogram 102.png


Here's my photoshop file for reference, it's in the latest version of CC 2021 and running on a 2021 Windows 10 computer: https://spaces.hightail.com/receive/mNSDkdWeUW


If it helps, I'm also attaching the image I was attempting to add to the smart object layer.


So... any ideas?


Thanks! 

TOPICS
macOS , Windows
605
Translate
Report
Community guidelines
Be kind and respectful, give credit to the original source of content, and search for duplicates before posting. Learn more
community guidelines
Adobe
Explorer ,
Sep 19, 2021 Sep 19, 2021

Just occured to me that maybe I should add that I did manage to cut the background out of the hole of the ornament, I just don't know how to leave that space empty when I apply the smart object so that a new background would show through. Took me all day and whole lot of YouTube just to figure that out 🙂


Here's what my ornament looks like without anything added to the smart object layer:Ornament Cutout 1s.png

Translate
Report
Community guidelines
Be kind and respectful, give credit to the original source of content, and search for duplicates before posting. Learn more
community guidelines
Community Expert ,
Sep 19, 2021 Sep 19, 2021

To punch out a hole use an inverted layer mask.  See screenshot.

1. Group your shape and topmost picture layer.

2. Select the Eliptical marquee tool. 

3. Hold down Shift key to draw a circle.

4. Hold Alt + click on Add Layer Mask icon to make an inverted layer mask.


image.png


Nancy O'Shea— Product User, Community Expert & Moderator
Translate
Report
Community guidelines
Be kind and respectful, give credit to the original source of content, and search for duplicates before posting. Learn more
community guidelines
Community Expert ,
Sep 19, 2021 Sep 19, 2021
LATEST

Template are easy to create and populate.  IMO there are two basic types of templates I classify some template as Collage Templates and others as Mockup Templates.   


Collage templates just have Images placed into the Collage's image locations.  They are very simple psd Templates all that is required is a Photoshop Backgroubd layer and Alpha Channels the map Image Locations, Sizes and Shapes.  Image are simply placed is size for the image's location, Position to the  location and Masked to confine the image to shape.   I have automated the populating process via Photoshop Scripting.  The scripts can optionally stamp the file name on the placed images and add layer styles  to the add text and image layers.


Mockup Template use Smart Object layer to hold the images in the product mockup. The Smart object layers are  on top of the layer stack.  The smart Object layers on top of the stack may not be visible in the mockup template.  Other smart object lower in the layer stack that share the top smart object layer's object are used to scale and warp the object for it visible use in the product mockup.  Again I have automated the population of mockup templates via Photoshop  Scripting.


I have created a Collage template and  a Mockup template to show you how I would create templates for your design. and I populate them with  scripts.


Free Photoshop Photo Collage and Mockup Toolkit 


Capture.jpg


JJMack
Translate
Report
Community guidelines
Be kind and respectful, give credit to the original source of content, and search for duplicates before posting. Learn more
community guidelines