Participant
August 2, 2017
Answered

Curved text on reflective Jet Wing

  • August 2, 2017
  • 3 replies
  • 1206 views

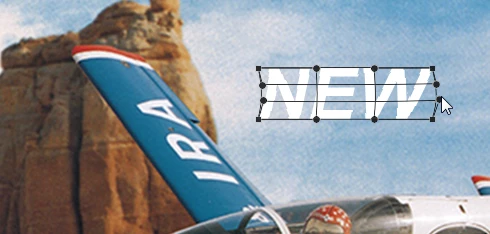
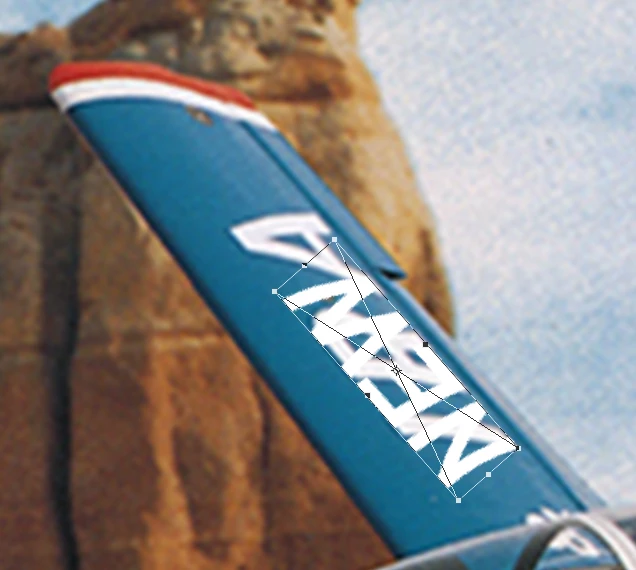
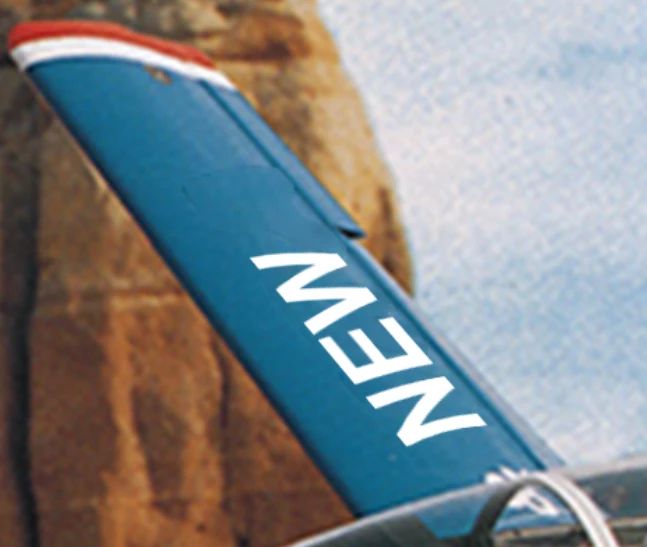
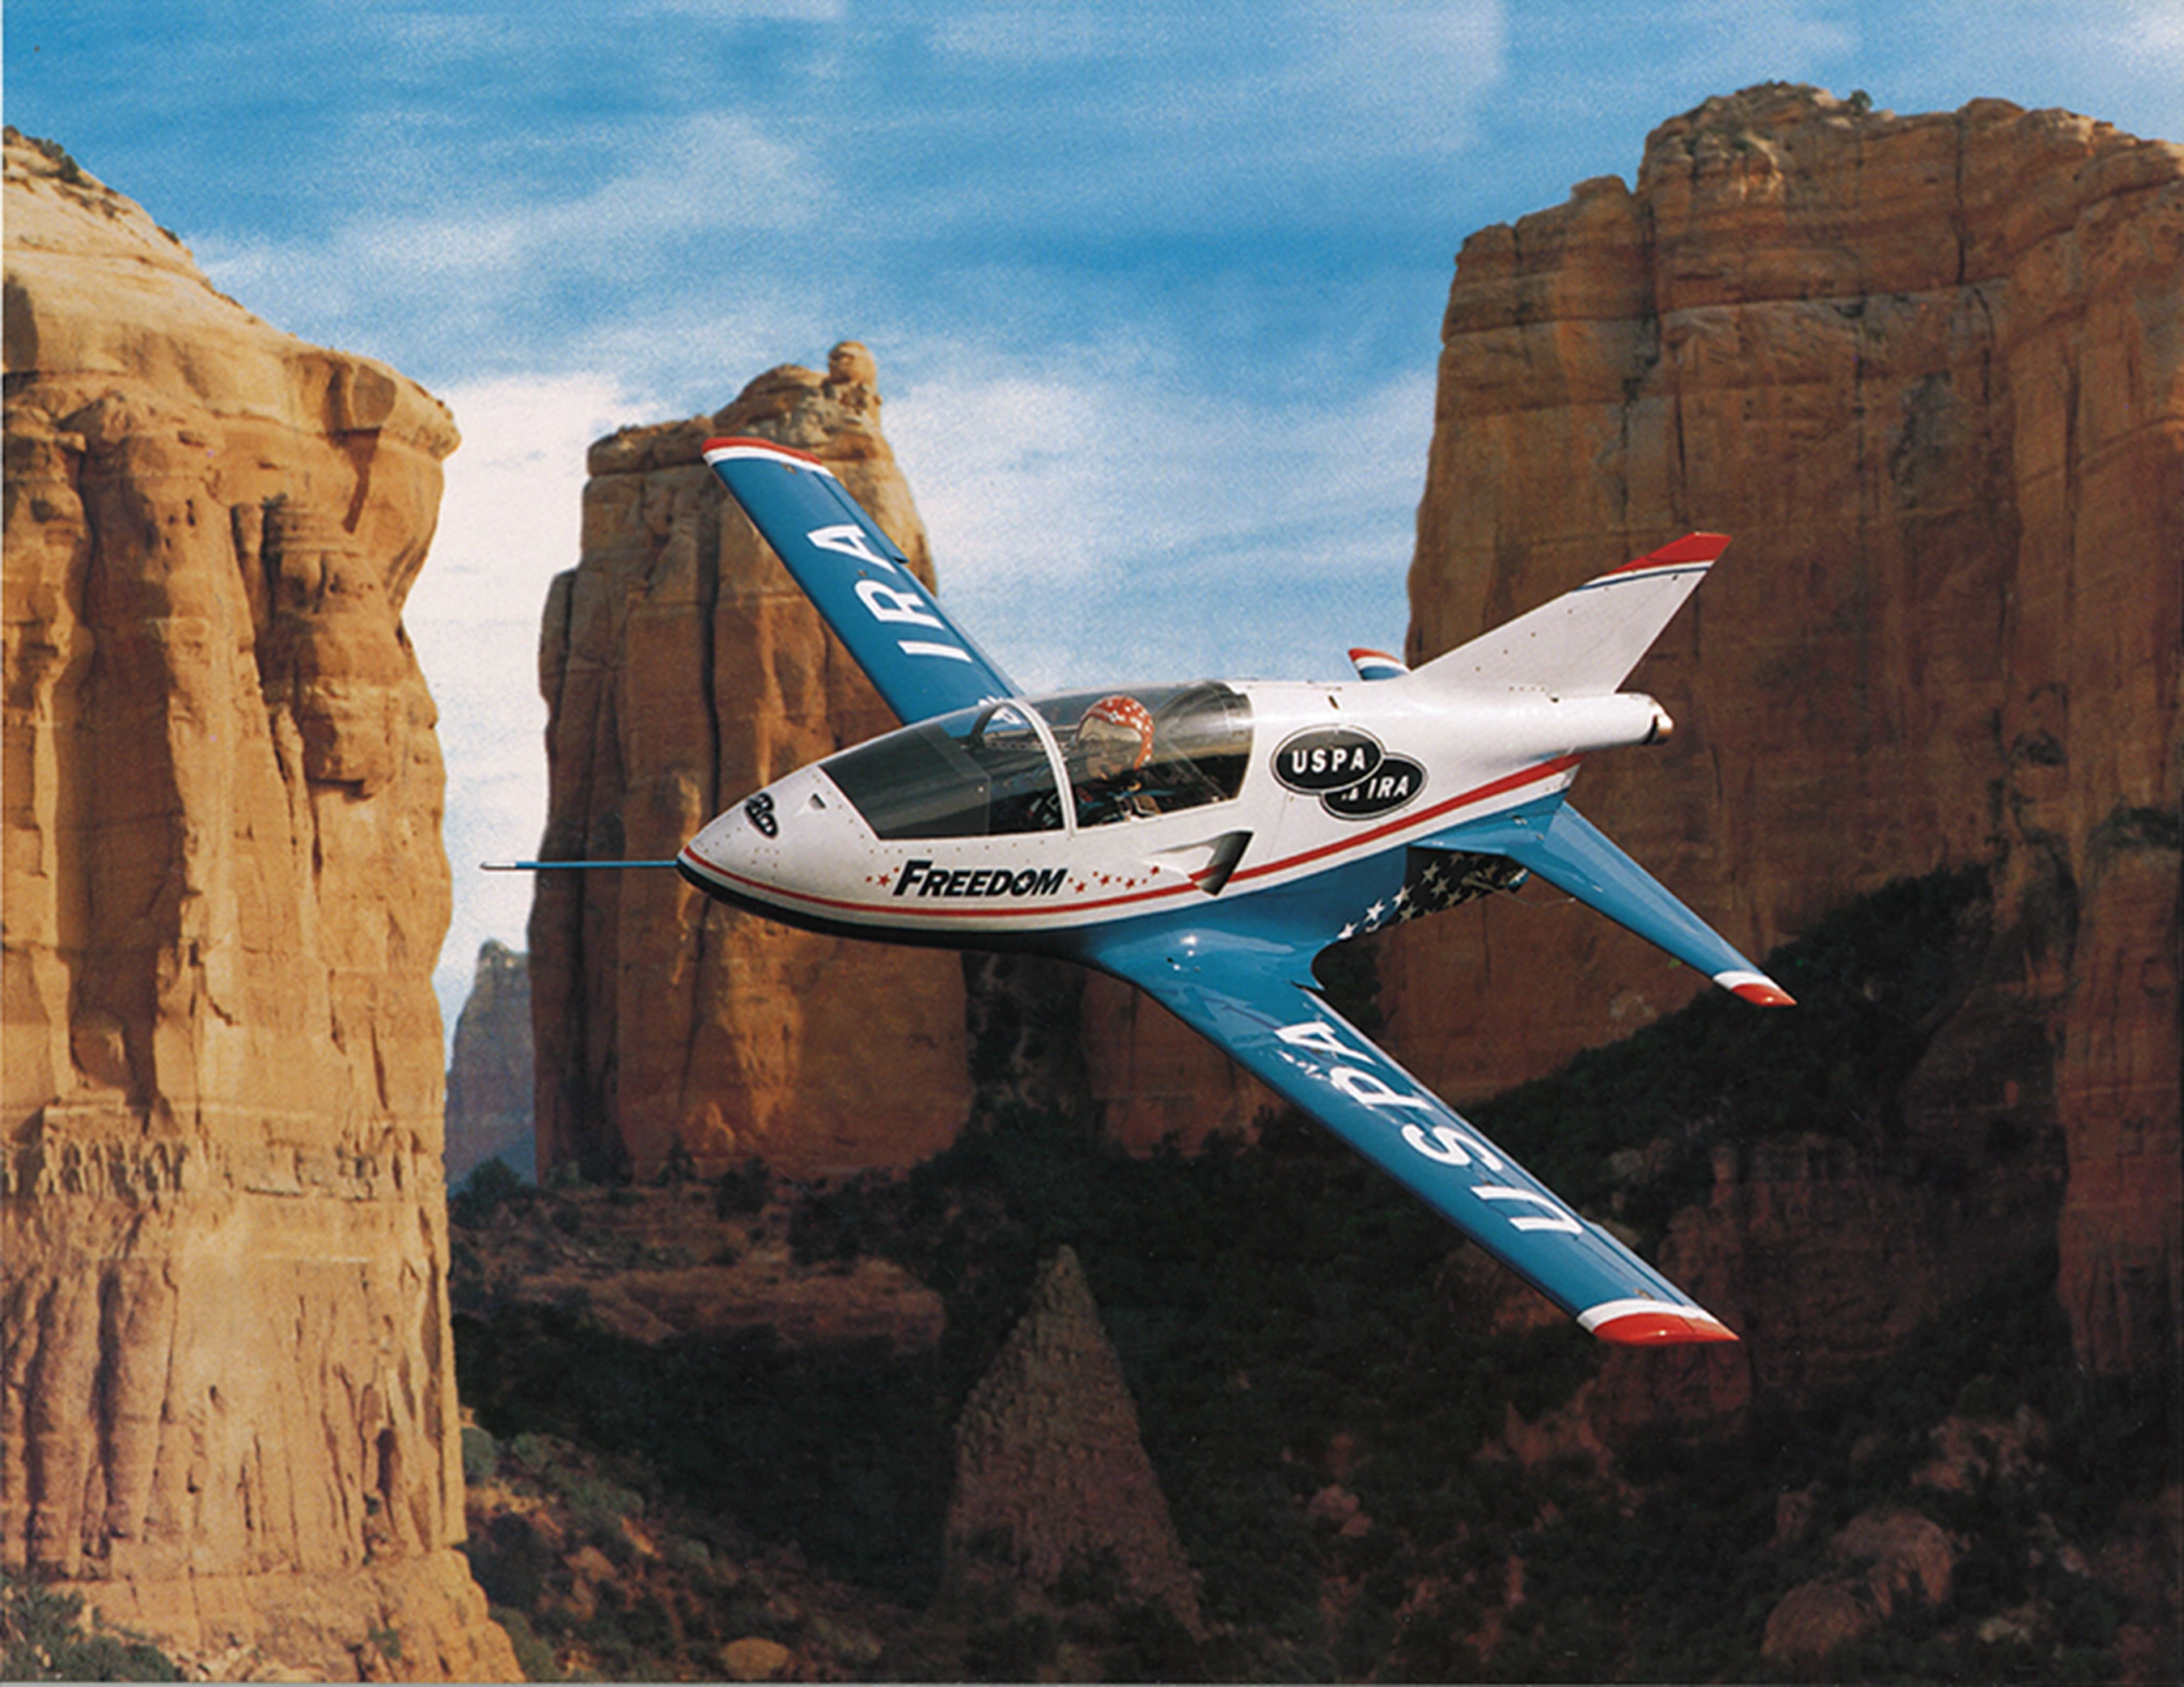
I have a photo that I have removed the lettering on the wings, I now want to add different text to the wing so that it curves on the wing and looks like it is the same as the text originally on the picture. I have tried using the displace method but the reflection of the white on the wing just distorts the text wrong.

This is the original.

This is the blanked jet.

This topic has been closed for replies.
Correct answer barbara_a7746676

You're right that the shading on the wings does not lend itself to the displace method. You could make your own shading in a separate file and use that as the displacement map. But I would probably eyeball it with this method:

  1. Type the new text on a separate layer.
  2. Right click the type layer and convert it to a Smart Object.
  3. Edit > Transform > Warp.
  4. Pull the handles so that the text has a slight curve.
  5. Edit > Transform > Rotate and Scale.
  6. You can Command (Mac) or Ctrl (PC) drag a corner handle to match the perspective.
  7. It's convenient to use the original text as a template for the perspective, but at this point you could remove it.
  8. To make the text blend in more, you could lower the opacity slightly.
  9. Then give it a small amount of Gaussian Blur.

3 replies

Participant
August 4, 2017

Everything worked perfectly, thank you again.

Trevor.Dennis
Community Expert
Community Expert
August 4, 2017

I'll just add that Dave's advice to use Smart Objects in this situation is a must, because if you Transform the type layer and then decide to improve it, the bounding box is still square to the text

Otherwise you get into this situation, which is a mess

The perspective is reduced because of the plane being banked towards the camera, but there is still some foreshortening, and it is is important to match the rectangular bounding box to imaginary (or actual if you draw them in) perspective lines. The upward angle of the wings complicates the true perspective.

But the front to back (from the camera's PoV) is going to be close enough if we rotate it to match the wing, and we have that hand line in front of the aileron to align with.

So you can box the type layer Smart object to align with our perspective lines.

And right click to warp in the curve of the wing.  Warping the match the curve of the wing.

Note warping Smart Objects can be a challenge as they don't work the same was as raster layers.  I can't say that I have the definitive answer on making do exactly what you want, but you tend to need to use the handles at the opposite end.  The big advantage here, is that you can keep going back to it and adjusting, and never loose the original bounding box, so you can get there eventually.

Participant
August 4, 2017

If you look at the wings at the tip there is a couple lines painted on the aircraft they are straight, the same orientation as the letters. What I ended up doing was using that line to make the bounding box curve to that line to get the right curve for the wing,  I cannot load the finished picture or I would. We are using it for a future announcement, and would ruin the reveal.

I did use smart object.

davescm
Community Expert
Community Expert
August 2, 2017

Hi

You could add your Text layers, convert each to a smart object,  then use Transform Distort and Transform Warp to shape the text over the wings.

Dave

barbara_a7746676
Community Expert
barbara_a7746676Community ExpertCorrect answer
Community Expert
August 2, 2017

You're right that the shading on the wings does not lend itself to the displace method. You could make your own shading in a separate file and use that as the displacement map. But I would probably eyeball it with this method:

  1. Type the new text on a separate layer.
  2. Right click the type layer and convert it to a Smart Object.
  3. Edit > Transform > Warp.
  4. Pull the handles so that the text has a slight curve.
  5. Edit > Transform > Rotate and Scale.
  6. You can Command (Mac) or Ctrl (PC) drag a corner handle to match the perspective.
  7. It's convenient to use the original text as a template for the perspective, but at this point you could remove it.
  8. To make the text blend in more, you could lower the opacity slightly.
  9. Then give it a small amount of Gaussian Blur.
davescm
Community Expert
Community Expert
August 2, 2017

Looks like we were typing together Barbara - but you were faster and more detailed so you should definitely get the "correct" answer .

At least we came up with the same method!

Dave

barbara_a7746676
Community Expert
Community Expert
August 2, 2017

Davecm, Thanks for being such a gentleman!

This happens to me a lot that someone else is replying at the same time because the page doesn't refresh as I'm typing. Sometimes my answers are marked correct when I don't deserve it and sometimes they are not marked correct when I do. I guess it all averages out.