- Home
- Photoshop ecosystem
- Discussions
- Cutting out hair with Photoshop
- Cutting out hair with Photoshop
Cutting out hair with Photoshop
Copy link to clipboard
Copied
Hi Everyone,
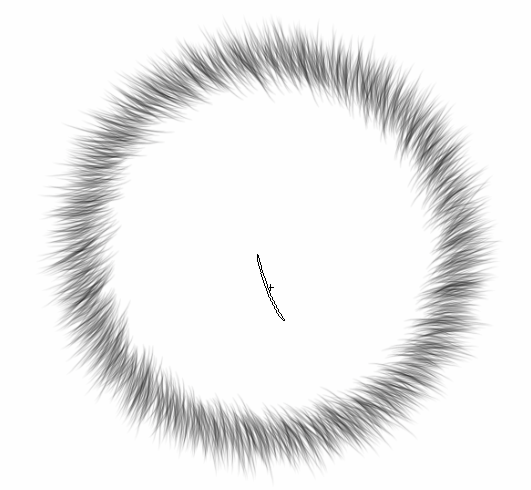
I know a lot of you are having problems extracting hair from a background and so thought you might like to know that Aaron Nace has today put out a video featuring a near perfect technique for many images. Don't get excited it's not a new Select and Mask tutorial, in fact S&M is not even mentioned. Instead it's the technique professional retouchers have been using for years utilizing custom hair brushes-something lamentably not covered in most professional courses. What is nice about this method is it's simplicity and as you are just using a layer mask there is no issue with GPU acceleration and buggy AMD drivers.
If you don't know Aaron then you are missing out big time as he's one of the best Photoshop gurus in the world and through his website he gives away two free tutorials every week. In my opinion this tutorial on hair is one of his most useful and it's free. If you want the brush he creates in the video then you'll need to sign up as a member of the Phlearn family but as that involves no more than giving out your email addy it's hardly expensive-you also then qualify to download one of his professional tutorials. In case your wondering I have no connection with Aaron's company but see no harm in giving a little free publicity to someone who does a great job mostly for free and is a mine of creative information. I've put the link below and it's far better to watch at full size on your screen.
But in case you don't mind viewing postage stamp sized videos
Explore related tutorials & articles
Copy link to clipboard
Copied
Thanks Terri
Interesting technique and I could see real use when the contrast is so low that S&M runs into difficulty.
It's always good to have another tool in the box.
There was another interesting one in the videos that Trevor linked a couple of days ago. It started out as another S&M tutorial but there was a twist in the way the mask was used - and the hair composite was very good - although as always it did require shooting against a solid background.
So that's two new methods this week ![]()
Dave
Copy link to clipboard
Copied
I can't remember what that was Dave, unless it was the Dave Cross video on masks and selections from MAX. I like the Phlearn idea a lot, and it is not a workflow I have thought of before. I usually come from the other direction fixing the hair by drawing in new hair, but I have added Aaron's brush to my collection of hair brushes. I'd make one suggestion, that instead of manually adjusting the brush angle as you go, set Angle jitter to direction, so the brush angle follows the brush direction.

You can use that setting in conjunction with adjusting the initial angle in Brush Presets

As usual, I'll give a vote for the Hair & Skin texture brushes by Castrochew which as far as hair goes, has a parallel hairs, tapering with pen pressure and what appears to be a standard pressure controls size fully hard brush. (Top row)
The bottom row are Bert Monrow type hair brushes with size set to Fade (value 400) and the last four has both size and opacity set to Fade (also value 400). These are good for things like eye lashes and brows.

Thanks again for the heads up Terri. Like Dave says, every new tool in our Photoshop box of tricks is appreciated.
Copy link to clipboard
Copied
Trevor.Dennis wrote:
I can't remember what that was Dave, unless it was the Dave Cross video on masks and selections from MAX.
No it was Katrin Eismann - Selections ,Layers and Masks -Oh My (S2366). Adobe MAX Online 2016 Most of it was S&M again but at approx 1:00:00 she showed a new (to me) method of using the mask from S&M. She put the new background above the masked model layer, then moved the mask from the model layer to the new background and inverted it. She then switched the blending mode to overlay. The result was very good and it wasn't something that had occurred to me.
Dave
Copy link to clipboard
Copied
FWIW. Refine edge still exists in the new release of PS. Instead of hitting the Select and mask button. Make your selection first then goto the select menu, hold shift and hit Select and mask. The old refine edge dialogue appears.
Copy link to clipboard
Copied
Techniques helps us Learn new stuff and make us do our tasks better
