Can you give us the link to the lens flare file?
Lots of flare images have softer gradient components that can extend all the way to the image boundary, so it is often best to create them within the image document you wish to use them in.
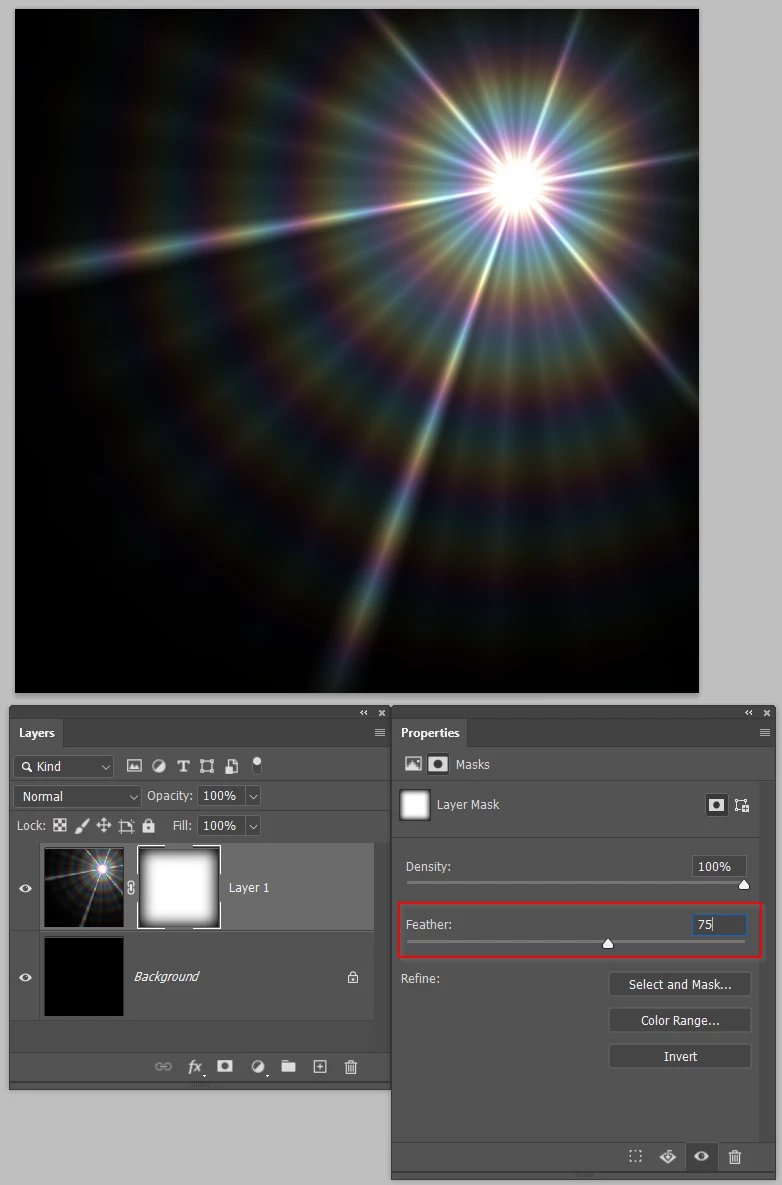
You might be able to feather out the periphery by using a layer mask, and feathering the mask in Mask Properties.
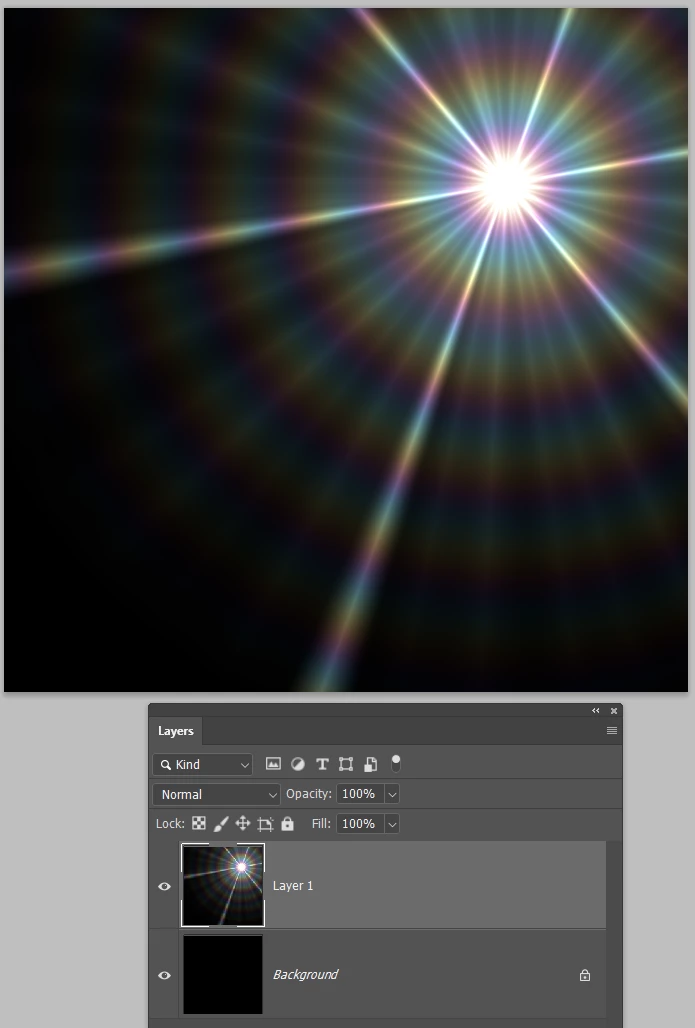
I made this flare with Pro Digital's Starfilter Pro 4. You can see that it extends to the image boundary
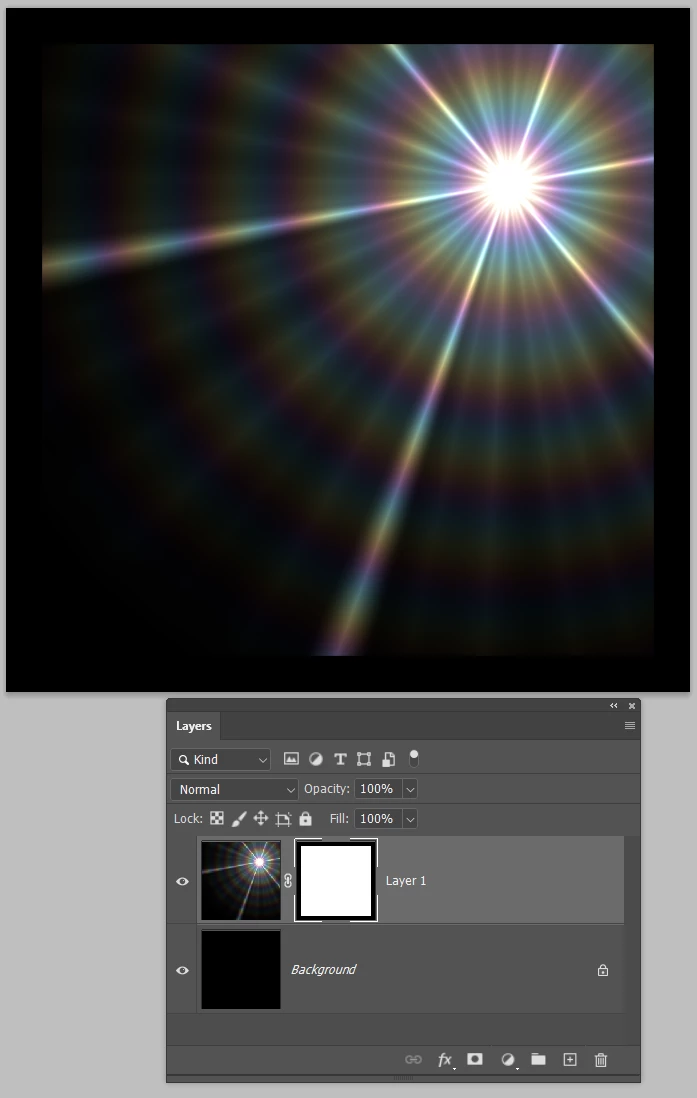
I've used Ctrl A to select all, and Select > Transform Selection and dragged in a corner handle while holding down the Alt key to reduce the selection. I then added a layer mask so the flare now only extends to the white area of the mask, but still has a hard transition.
Selecting the layer mask opens Mask Properties, and adding a decent amount of Feather softens the transition. You could now use a JPG flare, but you'd probably have to change its blend mode to something like Lighten or Screen.