Copy link to clipboard
Copied
I seem to be missing something here. I'm watching videos about using the displacement map function and when I try it myself it doesn't seem to have any noticeable effect. The image I'm trying to distort is a Texas flag. I have tried a couple of different map images. The first one is just a clean white field with bands running diagonally across it dark /black down the middle and feathered to the edges. The second image I've tried is a picture of silk fabric with folds and waves in it and then applying the desaturate command to it even using the levels adjustment function to get a higher contrast. But neither of these produce much of an effect.

Here are 2 displacement maps
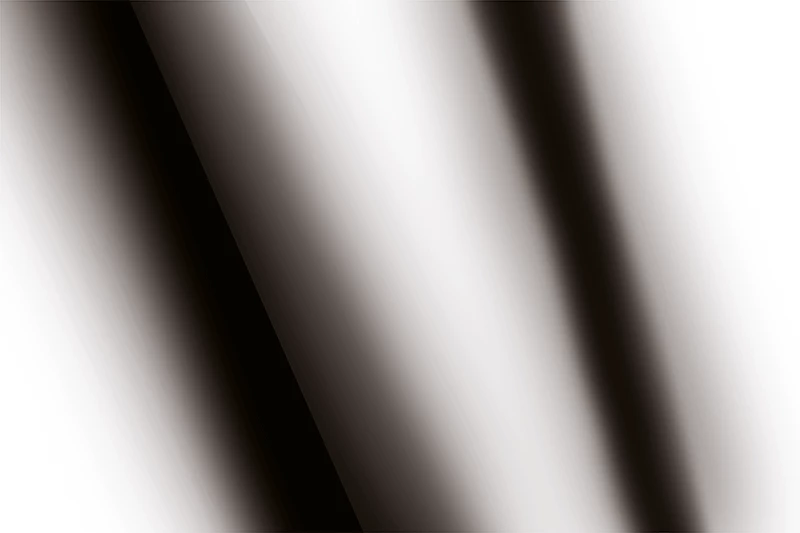
Copy link to clipboard
Copied
Another displacement map...
This is the flag after the displacement is applied
Copy link to clipboard
Copied
The second map - same settings
Dave
Copy link to clipboard
Copied
Hi
It works here using your images, stretch to fit and a scale value of 50 and 50 in the displacement dialogue. I converted your map into and RGB 8 bit mode and saved as a PSD image to use as the displacement map.
Dave
Copy link to clipboard
Copied
Hi there,
From what I see, your flag is way more bigger than the displacement map. Do it the same size.
Displacement map on an image like yours can't do miracles. There is not much to dispalce in term of details and variety of pixels.
What you should do is use an image of some silk cloth and do the dispalcement AND an overlay of the silk. In order to do that put the silk under the flag and than, with the same silk image saved as greyscale .psd (but without the flag) apply the displacement over the flag.
Note that the flag layer is in Multiply mode.
Using just the displacement is not the right way.
Cheers,
Martin
Copy link to clipboard
Copied
What do you mean by multiple modes?
Copy link to clipboard
Copied
Hello, roncurington, it is a way to mix the layers, according to their RGB values, read up the description of the blending modes and their effect in the following page, just consider that it should mention that you can select them in the layers panel, where it says « normal »
Copy link to clipboard
Copied
Since we don't have a rundown of the step-by-step method you used, perhaps the following will help. It is an abbreviated version of a Tech Sheet I wrote and distributed to my students. If you would like a copy of the the full instructions including illustrations, send a private message and include your email address. I will send the pdf file
1. Open a file
2. Choose Image > Duplicate. In the As: field enter file name as: filename_map.psd. (Example: man_map.psd). This file, which will ultimately serve as the Displacement Map must be in psd format.
3. Choose Image > Mode > Grayscale. Increase the image contrast using Curves or Levels. Since each image is unique, there is no exact setting. Then choose Filter > Blur > Gaussian Blur. Once again, there is no set amount. The sample below is a useful guide.
4. Save this file – filename_map.psd -- to the desktop.
5. Open another file consisting of a pattern or type*. Drag that image over the full color image. It will be Layer 1.
* If you choose to use type for Layer 1, it must be rasterized. After typing, choose Layer > Rasterize > Type.
6. Choose Filter > Distort > Displace. The default numbers of 10 for Vertical and Horizontal Scale usually work very well. For greater displacement,15 is satisfactory, as well. Radio buttons should be set to Stretch to Fit and Repeat Pixel Edges. Click OK.
7. Choose a Blend Mode of Multiply or experiment with other Blend Modes, as well. Adjust the opacity of Layer 1 for the most pleasing effect.
Copy link to clipboard
Copied
Have sent you a PM Norman, with my email address
Copy link to clipboard
Copied
Tengo el mismo problema, he manejado las mismas dimensiones y me sigue sin funcionar 😞
Copy link to clipboard
Copied
Done. Happy to help.
Copy link to clipboard
Copied
Norman, that helped me understand. Thank you!