- Home
- Photoshop ecosystem
- Discussions
- Dissolve mode deleted at saving
- Dissolve mode deleted at saving
Dissolve mode deleted at saving
Copy link to clipboard
Copied
Hi,
I know there's already a topic called "Blending mode removed when saved as pdf" that already looks like the same problem as me, but I didn't understand the answer. For me there isn't any solution, idk how the guy solved his problem.
I created a layer with a texture on it that I put in "dissolve" mode, and lower the opacity at 5-9 %.
It creates a really nice dirty/noisy effect, that is very slight. The layer affect all the layer under it.
And when I save, the dissolve mode is just removed, and the layer is back to normal mode. I already tried: saving as TIFF, saving in PNG-24 with transparancy enabled. Flaten the layer doesn't work.
I created the texture from a picture, and I played with the threshold and the levels, then I merge everything and put it into the library to add it in my compositin after. I use Photoshop 2021.
Thank you for your help and your answers.
Explore related tutorials & articles
Copy link to clipboard
Copied
Could you please post a screenshot taken at View > 100% with the pertinent Panels (Toolbar, Layers, Channels, Options Bar, …) visible?
Copy link to clipboard
Copied
View > 100% is what matters.
If merging at that magnification does not result in a change of appearance your problem is the cached display – lower resolution stand-ins used to speed up display of layered images.
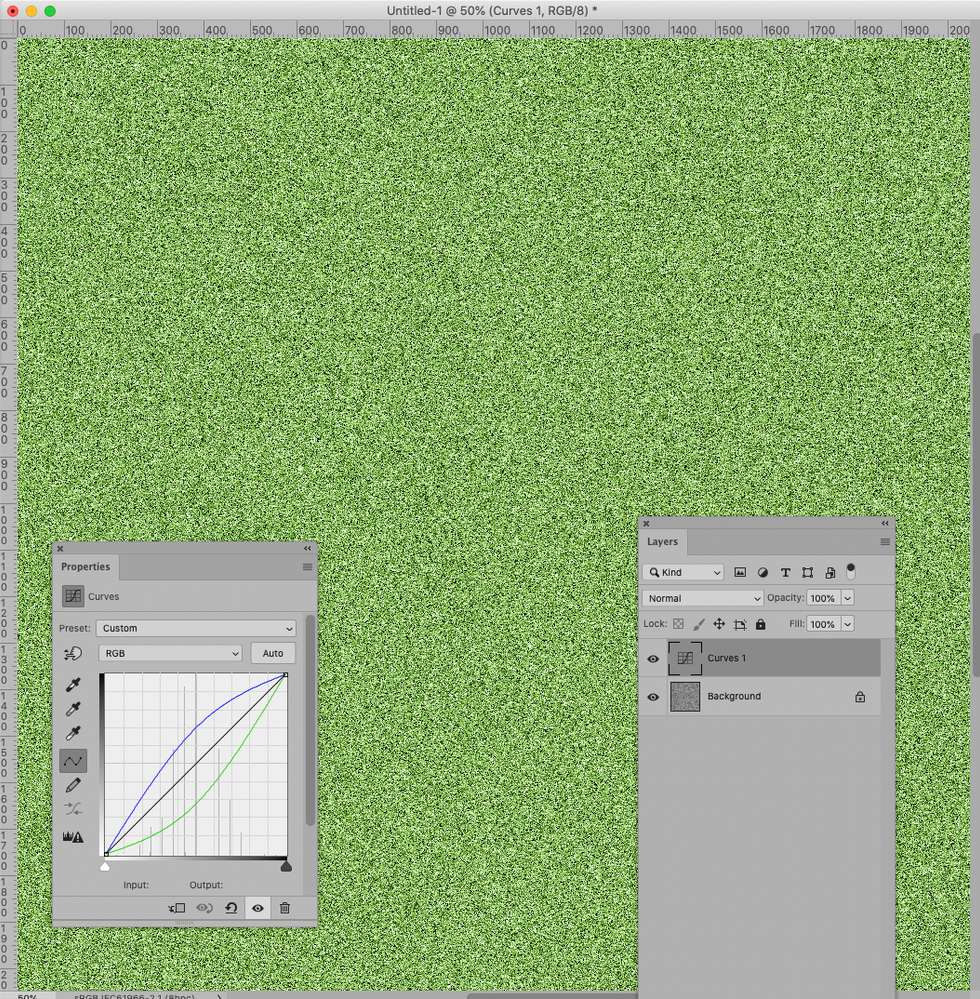
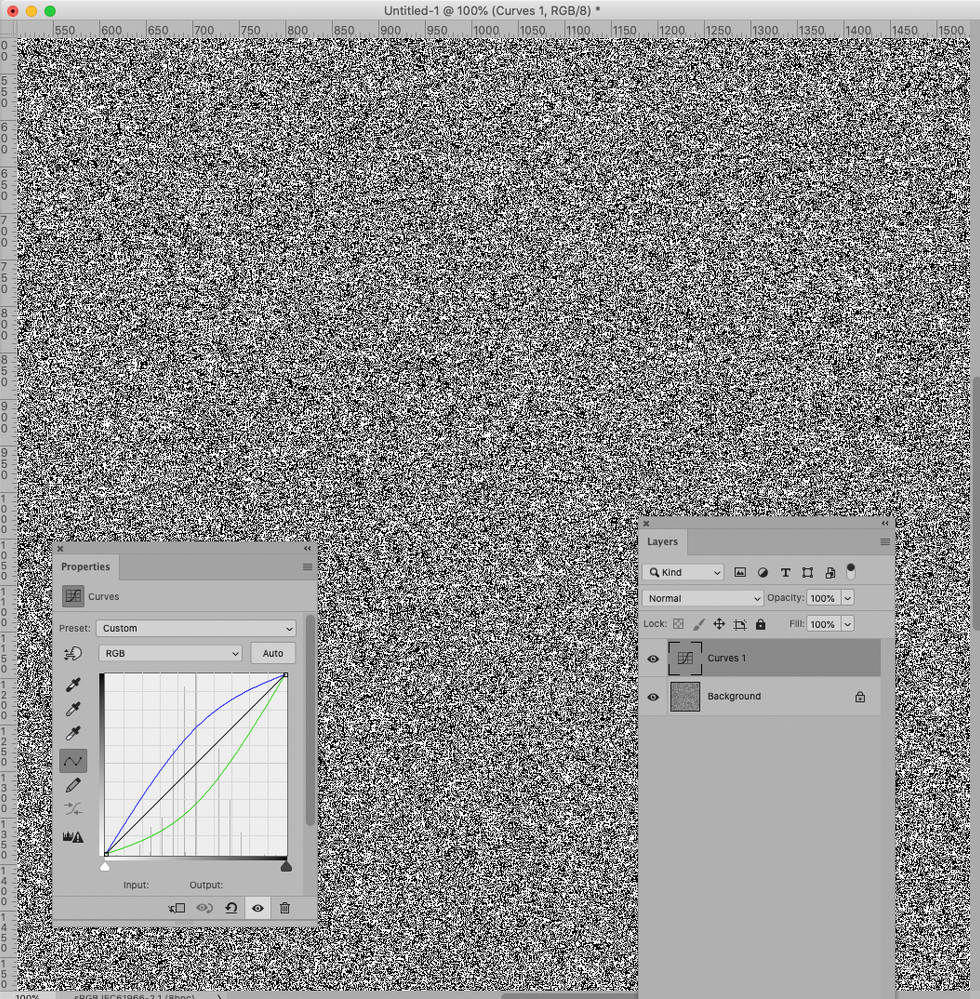
Maybe these screenshots can help illustrate; the Adjustment Layer cannot have an effect if the image only contains black and white pixels but at 50% magnification it looks as if it does.
Copy link to clipboard
Copied
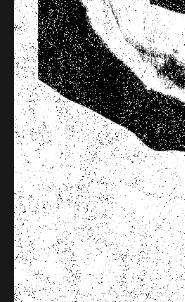
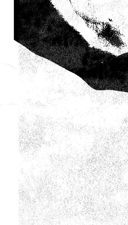
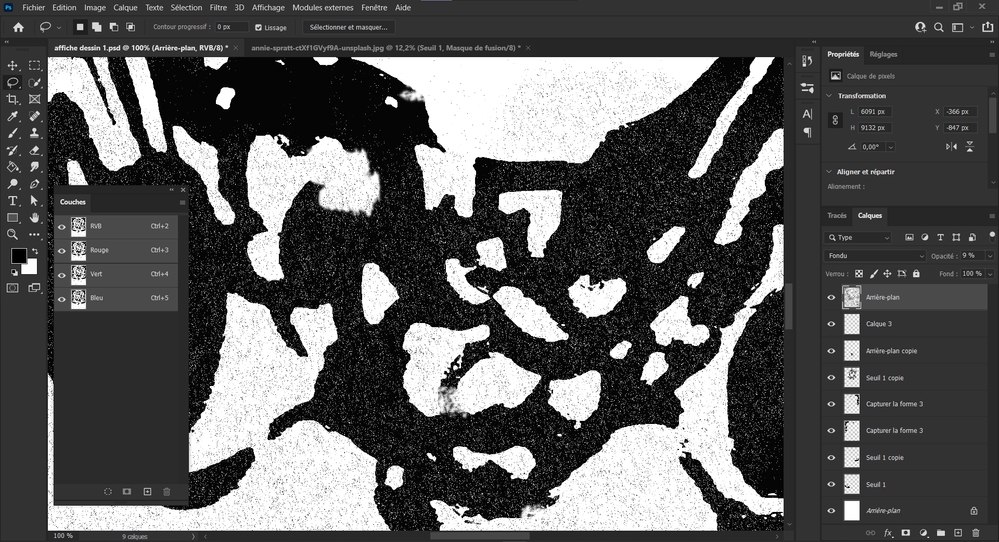
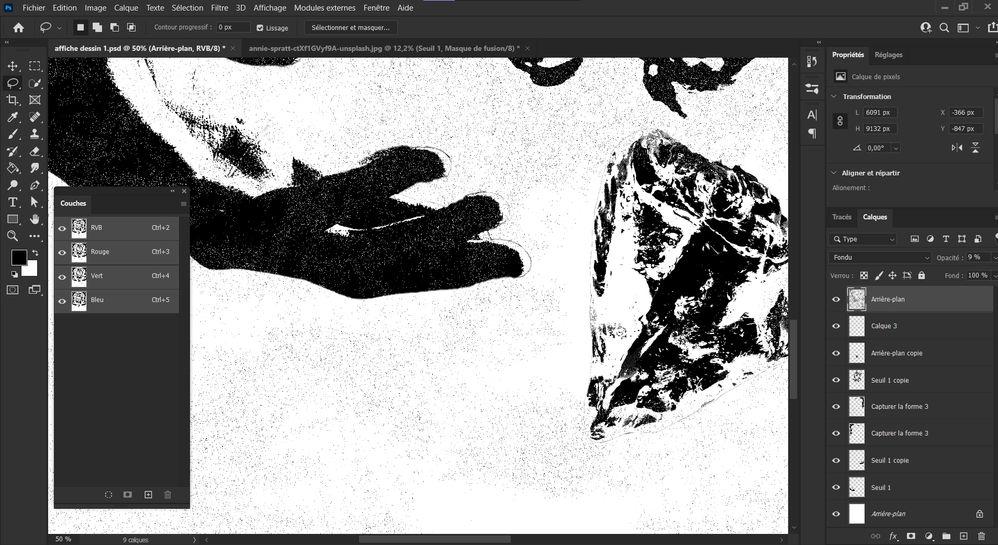
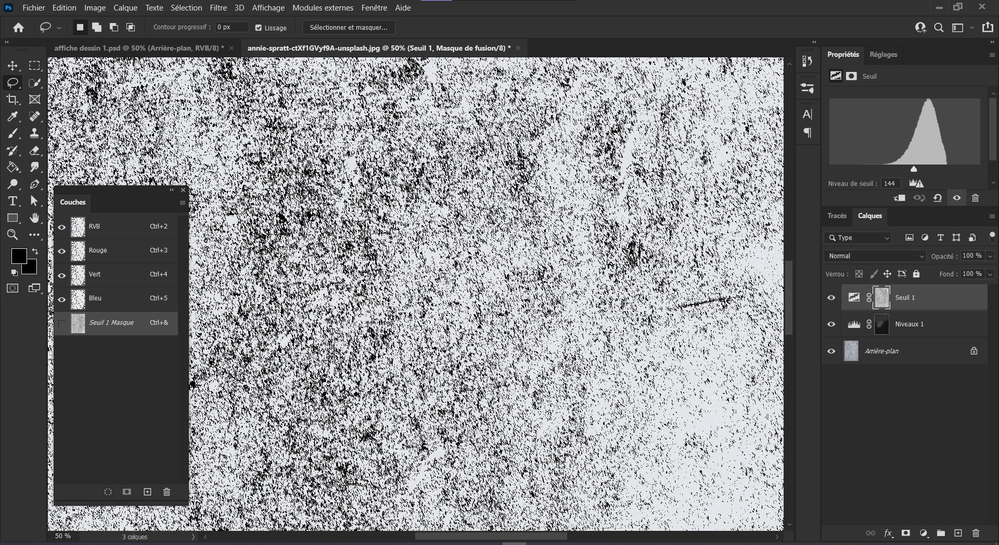
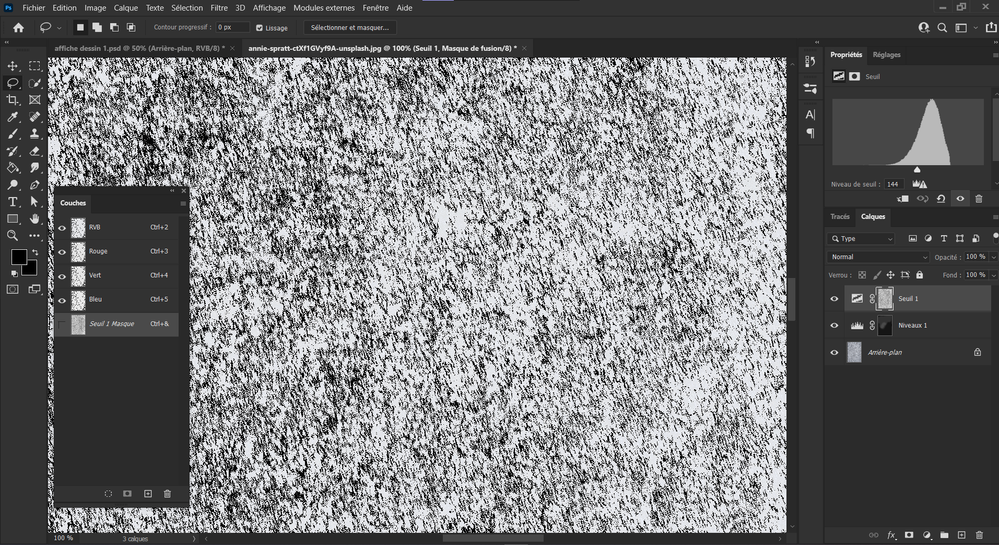
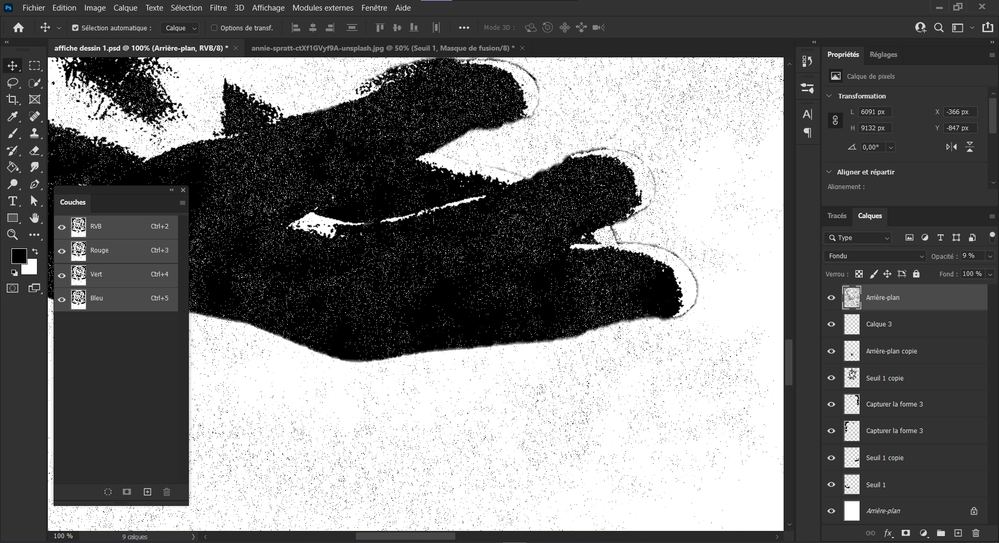
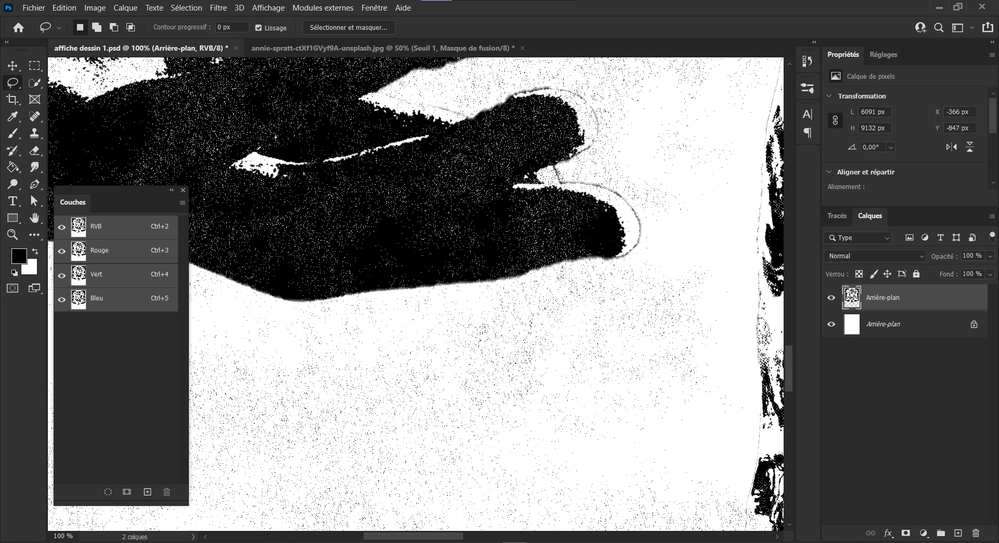
I made captures at 100% and 50% view, and I did the same thing with the texture alone.
Tell me if I did wrong.
TW : no named layers and in French (but basically RVB means RGB, seuil=threshold, niveaux=levels, calques=layers)
(the first two images are my composition and the next two are the texture alone).
Copy link to clipboard
Copied
Could you add one screenshot of the layered image and one of the merged image at View >100%?
Is there any change when merging the image at View > 100%?
Copy link to clipboard
Copied
There isn't any differences at 100% view when layered or merged, it's only when I zoom out to see the whole composition.
(first one, not merged, second one, merged)
Copy link to clipboard
Copied
Therfore it is only View > 100% that is reliable.
There used to be a way to avoid the caching by setting the Cache Level to 1 in the Preferences (at a cost in Performance); unfortunately this feature was broken years ago and has (so far) not been fixed.
When one restarts Photoshop to make the setting take effect it is changed to 2 despite the selected setting …
Copy link to clipboard
Copied
Ok, I tried, I changed the cache level to 1, and, indeed it put back a level of 2 as it says in the link you sent. I tried to save with this new level but nothing changes.
So I guess I have to give up the idea of putting the texture this way. So I'll find another solution.
Thanks anyway for your time and help.
Copy link to clipboard
Copied
»I tried to save with this new level but nothing changes.«
The saving of flattened copies is not the problem … that is effectively just merging the layers.
The display of layered images is the problem.
Any magnification smaller than 100% is not truly reliable, therefore you should check (in particular noisy) images at 100% to see if the effect turns out as intended.
One crude work-around might be converting the Dissolve-Layer to a Smart Object, set its Blend Mode to Normal, then open it, decrease its resolution and save it.
Thereby you would effectively increase the size of the »Dissolve-pixels«, but it may still not get you to what you are after …
Copy link to clipboard
Copied
I tried to do it today, and the result is not so bad, I also worked on a smaller document this time, because the first one was a poster format.
Thanks again!
Find more inspiration, events, and resources on the new Adobe Community
Explore Now