- Home
- Photoshop ecosystem
- Discussions
- Effects and Smart Filters Ordering
- Effects and Smart Filters Ordering
Effects and Smart Filters Ordering
Copy link to clipboard
Copied
Hi,
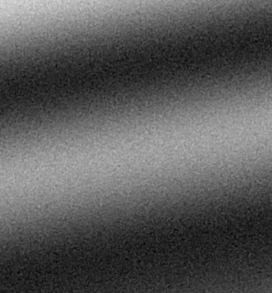
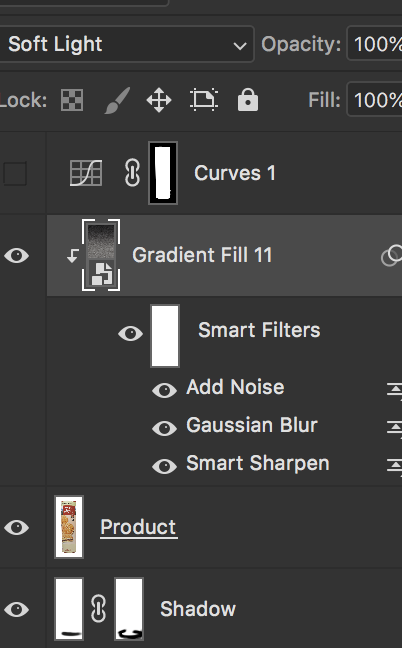
I'm trying to make a texture for some product photography. It is made up of a gradient with noise, blur and smart sharpen to match the product.

My problem is that to make this work I have to put the gradient effect inside a smart object to have the smart filters effect it.
This means I have to open the smart object to change the gradient and can't see it on top of the product image.


Ideally I want to edit the gradient live while it is over the product so I can see what changes. Is it possible to change the order of effects and smart filters so the gradient is at the bottom of the stack?
I have to do this to quite a few images so dragging the gradient back into the original image is a last resort. Adjusting the smart object gradient while it is side by side with the product and saving is ok but also not a great option.
Thanks
Explore related tutorials & articles
Copy link to clipboard
Copied
I'd use several layers for the gradient so you can move and adjust.
You can add the noise/texture non destructively on it's own layer using Overlay.
Combine all the layers into an SO if that's what you need.
Copy link to clipboard
Copied
Paulo1988 wrote
Hi,
I'm trying to make a texture for some product photography. It is made up of a gradient with noise, blur and smart sharpen to match the product.
My problem is that to make this work I have to put the gradient effect inside a smart object to have the smart filters effect it.
Smart object layers can have several's smart filters attached to then why do have to apply the filters to the object. Why can you not simply filter smart object layer and clip a gradient fill layer to the smart object layer and blend it in? You can have a mask for the gradient overlay layer. A mask for the Smart Object layer and a filter mask. All can be Adjusted independently including the gradient fill layer. The only problem I see is that the Filter mask can not be linked to the smart object layers content. So if you have a filter mask that is masking the smart object layer content. The filter mask will not reposition if you move the smart object layers content You would have to manually move the filter mask.

Copy link to clipboard
Copied
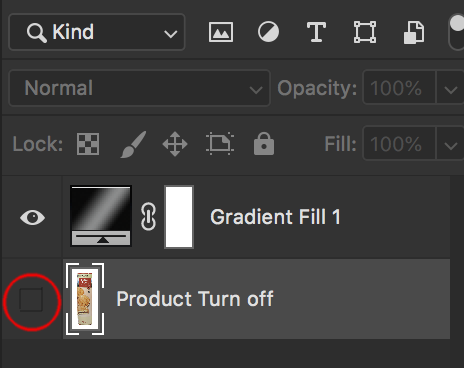
Puta copy of your product layer into the smart object, to help with positioning. If you used an adjustment layer as I did, the smart object canvas size should be same and layers register.

Then toggle the eyeball in the smart object for product layer. On to position, off when done

Copy link to clipboard
Copied
I was short on time yesterday, and could not give more detail, but there's not much to it.
By using separate layers for the gradient effect, you can move, free transform, adjust the blur etc. I started with a horizontal black bar which I made a Smart Object so I fine tune the blur amount. Then copied that SO.
I mentioned the texture being non-destructive, but it is not really relevant. Making that layer an SO as well, and then using Camera RAW > fx > Grain (which is one of my favourite noise generators because it is so flexible) you can again fine tune to get the right effect.

If you had needed to apply the texture to an underlying layer, then start with a 50% grey layer, add the grain and set to Overlay.
Note, I have masked out some of the grain effect so you can see the before and after.


