Inspiring
October 1, 2018
Answered

Fade effect for specular map
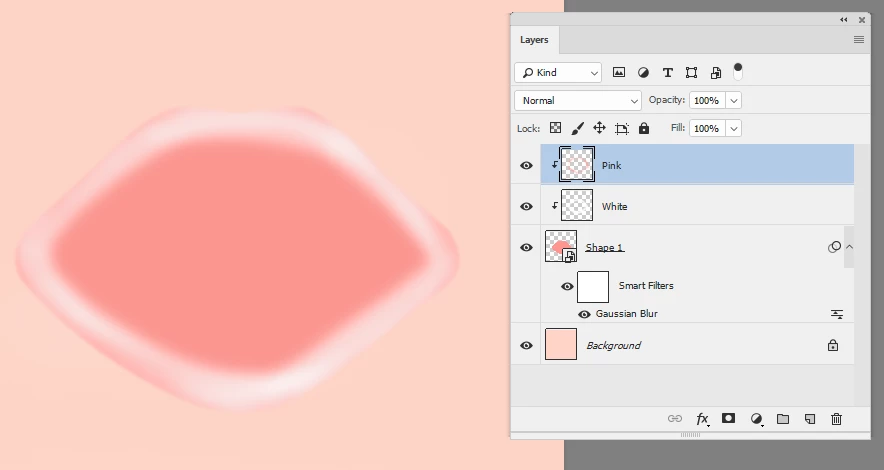
  • October 1, 2018
  • 3 replies
  • 2999 views

Hi

I'm still learning Photoshop and I'm currently trying to make a specular map for a 3D model in Blender as part of a guide I'm following. I have the reference texture the author made, which I'm trying to replicate, but I can't seem to do what the creator's done for the specularity of the lips. I've tried messing with the opacity by lowering it 25% for each stroke, but it's giving me undesirable effects. I've attached an image of the desired effect I'm after. The colour blends and fades perfectly.

This topic has been closed for replies.
Correct answer davescm

Hi

I would draw the outline shape with the pen tool and fill with the dark pink (no stroke) .

Put that shape in a smart object and give it a slight blur to soften the edge

Clip a new layer to it and brush the lips with a soft white brush

Clip another new layer to that and brush the edges with a pink brush

The clipping stops any spill from going outside the shape. To clip a layer Alt click (Opt click on Mac) , in the layers panel, on the border between the layer and the layer below

Dave

3 replies

Myra Ferguson
Community Expert
Community Expert
October 2, 2018

Here's another approach that does use some more advanced techniques but eliminates some of the drawing to get this:

I used the Custom Shape Tool to make a heart

and used the Direct Selection Tool and Convert Point Tool to adjust the path to make the lips shape.

but then I used a Layer Style to make the highlight for me. Double-click on the lips layer and add a Satin effect. You'll need to make some changes to the settings to get the highlight where you want it.

The main setting to change is the Contour.

Then duplicate the lips layer, change the blend mode to darken and add a layer mask

that is a gradient that goes from 50% gray to 100% black to 50% gray

And draw the gradient on the layer mask so that the black goes where you want the most highlight.

Inspiring
October 2, 2018

Cool, thanks for the advice. I'll have to give this method a go too.

davescm
Community Expert
davescmCommunity ExpertCorrect answer
Community Expert
October 1, 2018

Hi

I would draw the outline shape with the pen tool and fill with the dark pink (no stroke) .

Put that shape in a smart object and give it a slight blur to soften the edge

Clip a new layer to it and brush the lips with a soft white brush

Clip another new layer to that and brush the edges with a pink brush

The clipping stops any spill from going outside the shape. To clip a layer Alt click (Opt click on Mac) , in the layers panel, on the border between the layer and the layer below

Dave

Inspiring
October 1, 2018

Thanks for the advice. I'll try giving this a go.

Inspiring
October 1, 2018

Hmm... I don't seem to be getting the same results. :-\ I've followed your steps but one layer just seems to sit on top of the other without them blending together.

Sebastian Bleak
Community Expert
Community Expert
October 1, 2018

Awesome! can you include the image you have created?

Inspiring
October 1, 2018

Sure thing. Sadly mine's just poor. I've been trying to add multiple strokes by adjusting the opacity, but it keeps overlapping, which doesn't look good. :-\