- Home
- Photoshop ecosystem
- Discussions
- Re: Fixing yellowish skin where light catches
- Re: Fixing yellowish skin where light catches
Copy link to clipboard
Copied
Hi guys,
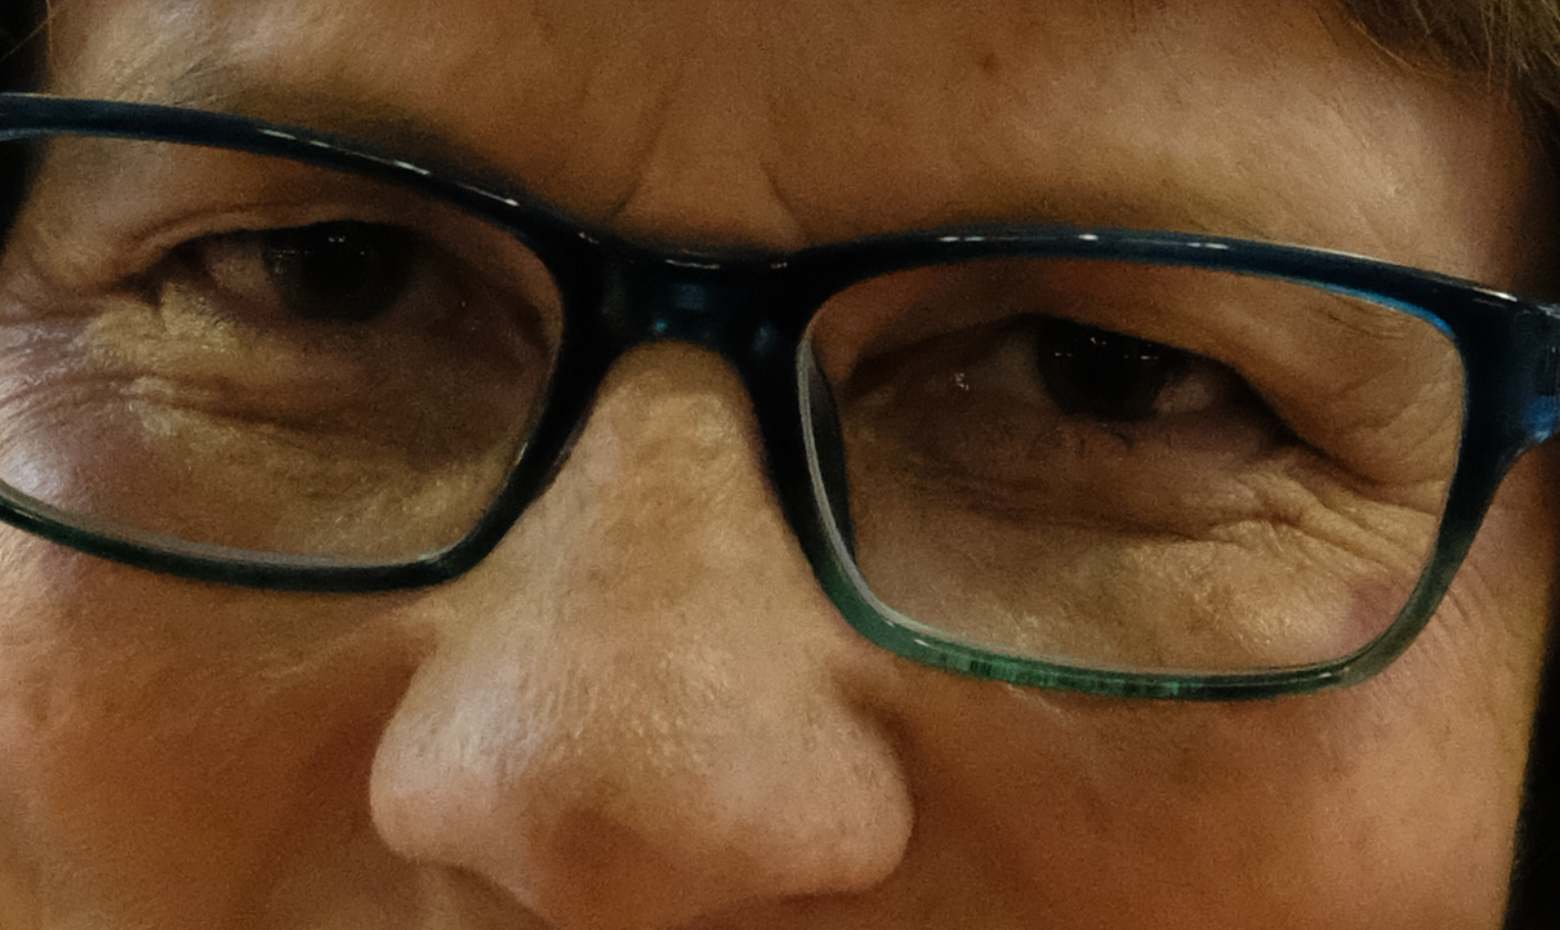
I have a photo where my subject's makeup is causing a weird yellow look on her upper cheeks, under her eyes, and nose. I've done a decent job of isolating it, but I can't figure out which adjustment layer will work best. I've tried a few with no luck.
Any suggestions?

 1 Correct answer
One more go. I replied in a hurry this morning and didn't even register that Trevor also suggested color balance, as well as the ACR filter. That's also a good option.
Anyway.
In addition to the yellow cast, the image is also severely underexposed. Incidentally I think that's the main reason you get these unpleasant casts to begin with. So start off with a Curves adjustment to increase exposure.
Then ctrl-click the green channel thumbnail to load it as a luminosity selection. This is the channel wh
...Explore related tutorials & articles
Copy link to clipboard
Copied
The Camera RAW filter would be my first choice. Move the yellow/blue slider towards the blue, and the green/red slider towards the red. Make the Layer a Smart Object to keep it non-destructive.
Another way would be the Color Balance adjustment layer. Things like Hue/Sat are good at targeting specific colour ranges, but tend to lack subtlety.
Copy link to clipboard
Copied
Don't select! Problems like this are always global.
Use a luminosity mask on a simple color balance layer, and add blue. The luminosity mask reduces the effect towards the shadows. I normally don't like color balance, but this is a perfect case for it.
Copy link to clipboard
Copied
I agree with Trevor that Camera Raw would be my first choice, and I also think an Adjustment layer using Color Balance is a good way to go. With Color balance don't forget that you can apply the adjustment to just the highlights OR midtowns OR Shadows OR any combination of the three. This gives you a lot of control over where you take out the yellow.
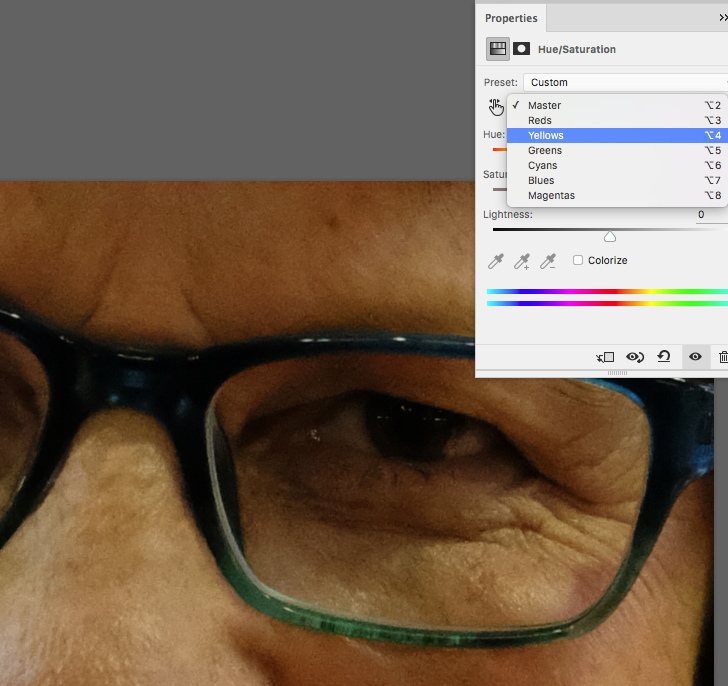
But, don't discount Hue/Saturation. You could use a Hue/Sat Adjustment Layer and instead of using the Master option (where you would change everything) you could select Yellow in the drop down menu and affect only the Yellow cast in the image just enough (maybe -10) so that the yellows are not so strong in the image.

I just wanted to give you another option. Let us know if you have any questions!
Michelle
Copy link to clipboard
Copied
I forgot to mention one thing -- In the Hue/Sat dialog box (with the Yellow option selected in the drop down menu) you would work with the Saturation slider to lower the yellow cast.
Michelle
Copy link to clipboard
Copied
Thank you so much Michelle!
Copy link to clipboard
Copied
I'm glad we could help!
Thanks so much for the feedback,
Michelle
Copy link to clipboard
Copied
One more go. I replied in a hurry this morning and didn't even register that Trevor also suggested color balance, as well as the ACR filter. That's also a good option.
Anyway.
In addition to the yellow cast, the image is also severely underexposed. Incidentally I think that's the main reason you get these unpleasant casts to begin with. So start off with a Curves adjustment to increase exposure.
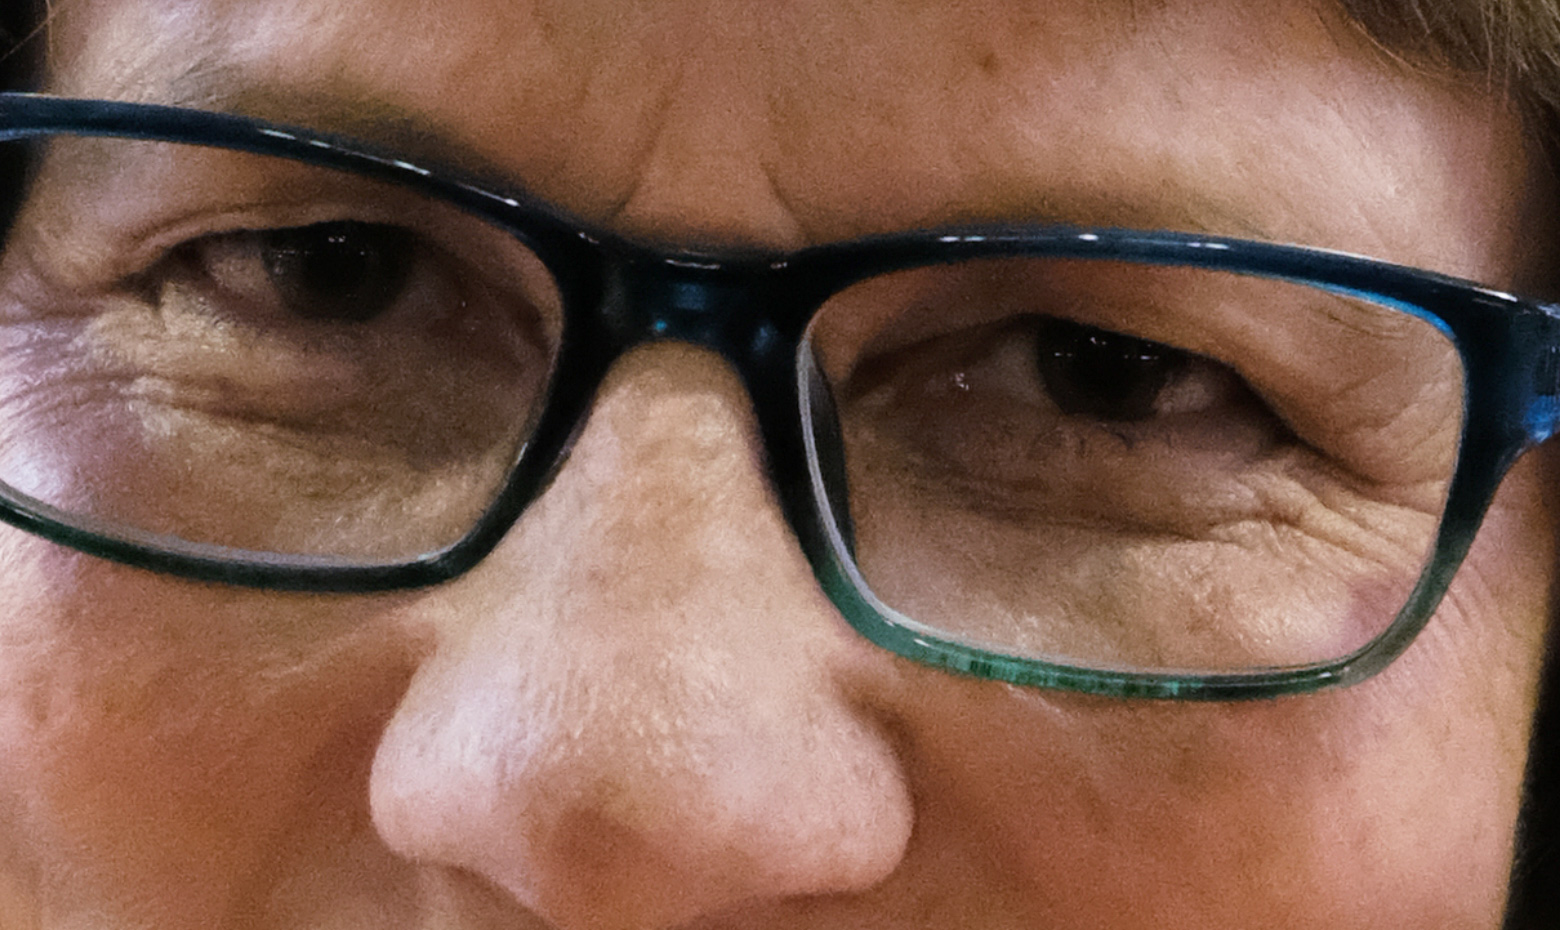
Then ctrl-click the green channel thumbnail to load it as a luminosity selection. This is the channel where the yellowish highlights are most pronounced, so this is where it will have maximum effect. Add a Color Balance layer with this selection as the mask. Push the blue slider way over towards blue, until it looks right:

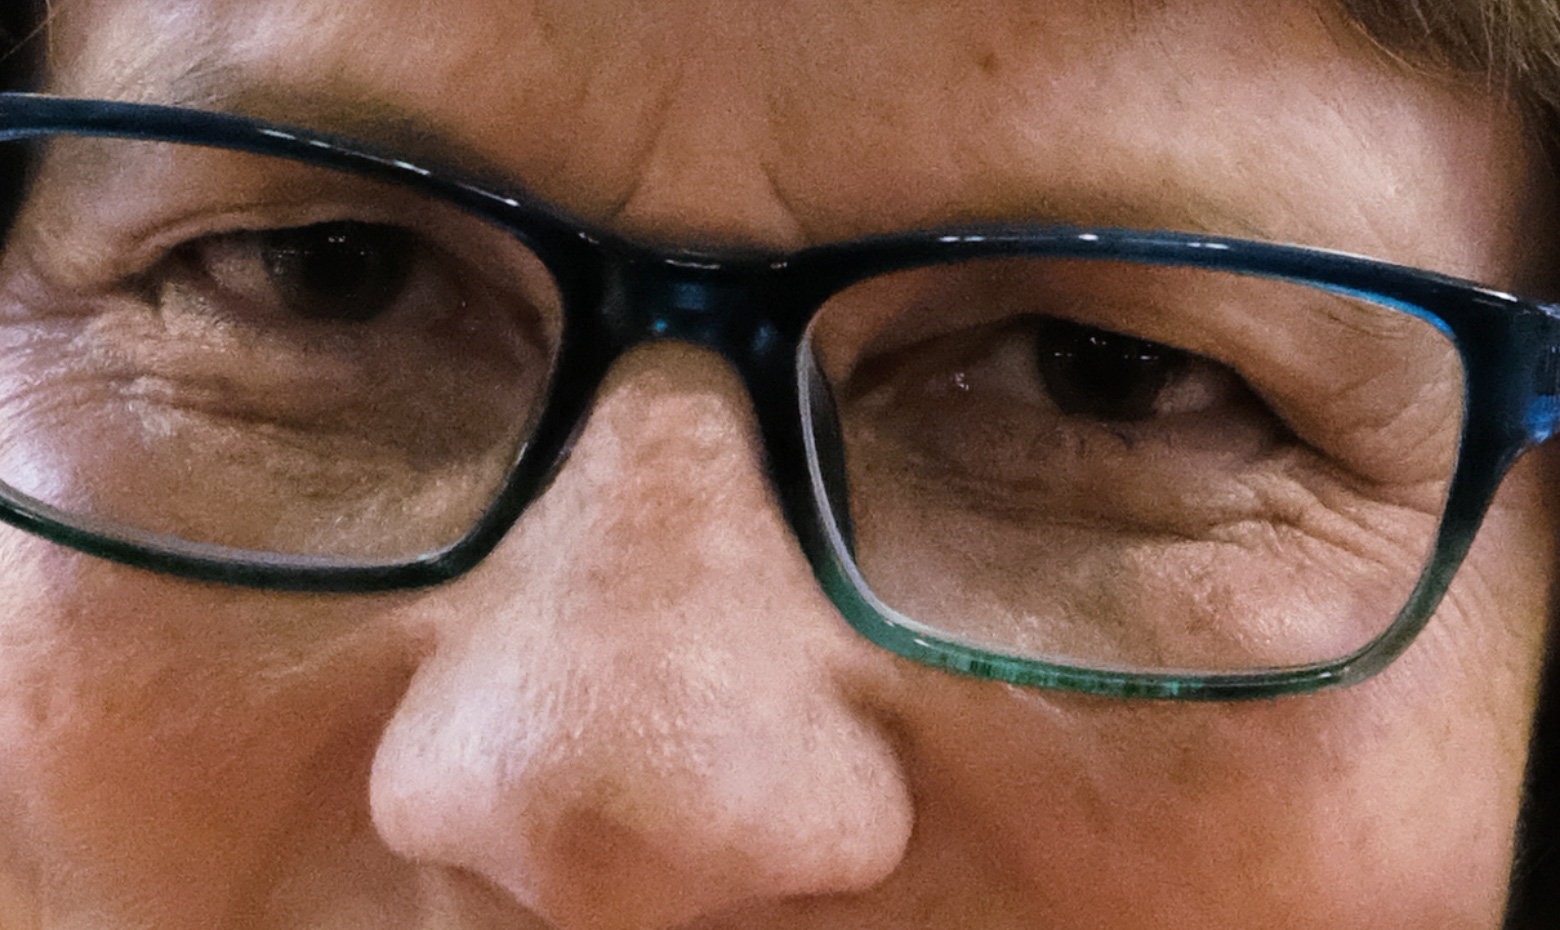
Still, there are some curious "bloodless" areas under the eyes. I suspect this is some optical effect from the glasses, but regardless it has to go. There's no way around doing that locally. Make some color adjustment towards red/magenta, and add a black mask so the adjustment is hidden. Then carefully paint it in with a soft brush at low opacity. Do the opposite to the red areas bordering it:

Copy link to clipboard
Copied
Woah, thank you so much for taking the time to give me such a detailed reply!

