I would say that the new gradient tool is not intuitive to learn, and I am sure it has caused a lot of frustration to a lot of people. What you are seeing is what you would expect — that's the way it works. Starting the gradient part way into an image will cause everything behind that start point to be a solid colour.
You need to make the end points transparent.
Double click the gradient to open the editor. You will probably have to double click the editor again to open the 'real' editor. Yes I know. It's annoying.
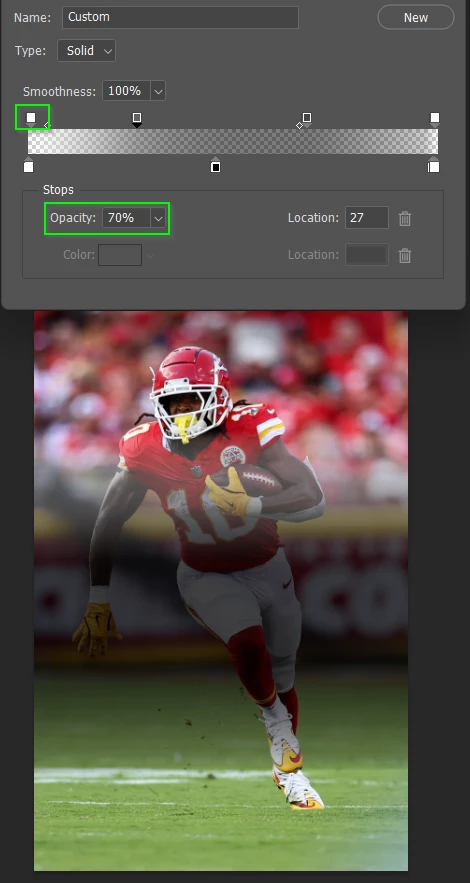
You need to see a panel that has swatches above the gradient like this.
If you click on any of those above the gradient swatches you will see an option to adjust its opacity.
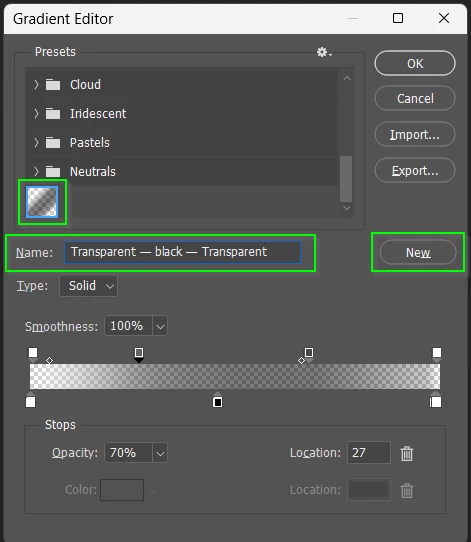
When you get something that works for you, think about saving it.
Click on New give it a name. Job done
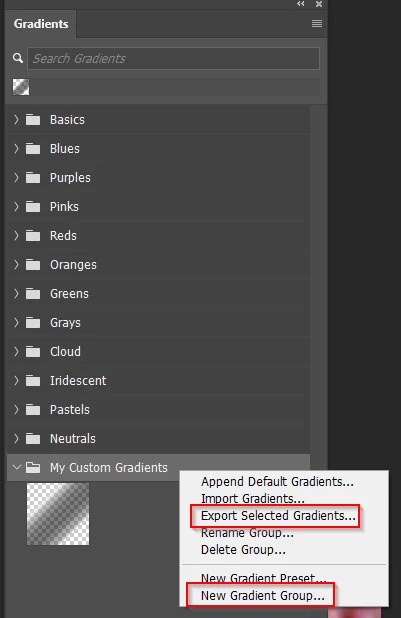
Be aware that you r new gradient(s) live in a Photoshop Settings file, and will be gone after a major update.
To avoid that right click inside the Gradients panel, create a new group, and drag your custom gradients into it.
Then select the group, right click again and Export the group.
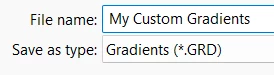
Make a note, or decide on a save location.
This will create a .grd file that will live on your system forever, but it will not appear in Photoshop after the next major update, andless you import it..

I like to keep all presets in My Documents folders, and place shortcuts to those folders in the relevant Photoshop folder.
For Windows that's
C:\Users\[Your User Name]\AppData\Roaming\Adobe\Adobe Photoshop 2025\Presets\Gradients
Good luck.
