Participant
January 31, 2025
Question

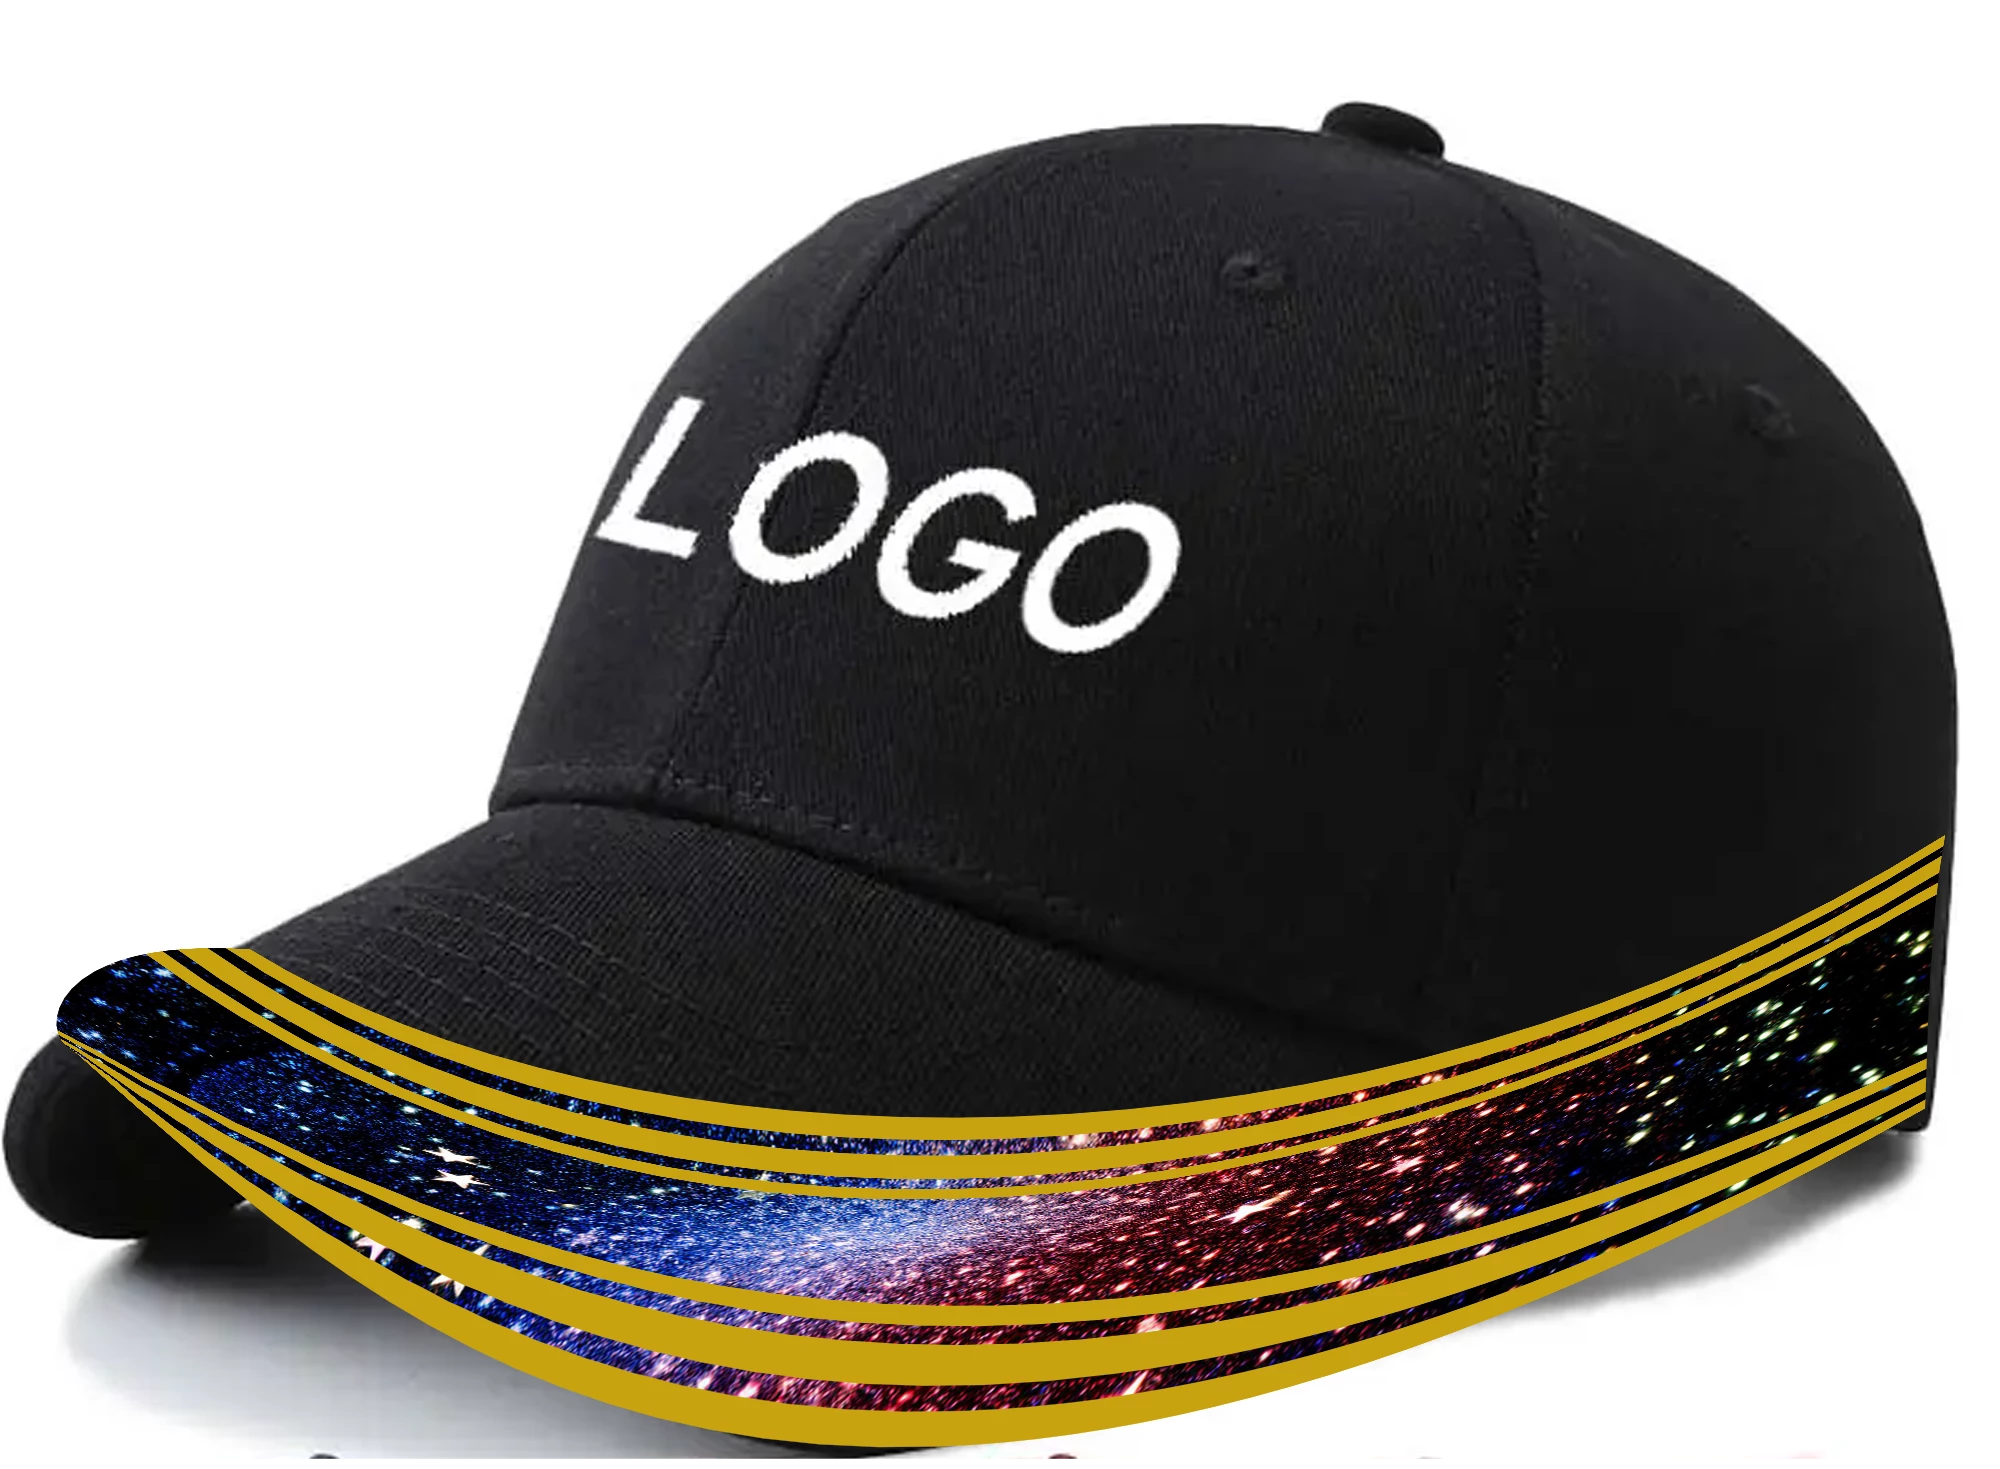
Help Needed: Perfectly Wrapping an Image Around the Bottom Edge of a Hat in Photoshop

  • January 31, 2025
  • 2 replies
  • 1133 views

Hi, I've been trying to add a picture wrapped around the bottom edge of a hat in Photoshop. I’ve tried using the wrap tools and watched multiple YouTube tutorials, but I’m still having trouble getting the image to perfectly curve around the hat’s bottom edge. The effect I’m aiming for looks something like this (describe or attach image), but I haven’t been able to nail the curve. Can anyone suggest how to achieve a smoother, more accurate wrap? Thanks so much for your help!

2 replies

Trevor.Dennis
Community Expert
Community Expert
February 1, 2025

You have two planes with the dome and the peek.  The image won't flow from one to the other, but you could do a sort of mitre effect.  It' coming up to 1AM here and I need my bed, but I'll have a go in the morning if you are still needing help.

amre_5758Author
Participant
February 1, 2025

Yes please :).  I want to get a few more ideas. Much appreciated, thanks!

Trevor.Dennis
Community Expert
Community Expert
February 2, 2025

OK, nothing seems to have happened.


I suspect you were trying to do it in one go, and that was going to be impossible. In fact I was unable to get a realistic reshaping of the graphic for the cap's peek, and that was after breaking it up into multiple parts. 


The dome was fairly easy.  I used Polar Coordinates to produce the mitre transition from the dome to the peak, added a quarter quadrent to the graphic, and used Transform > Warp > Arch.  So long as you are using Smart Objects you can keep going back in to fine tuine the curve to fit the cap.

I couldn't get a nice enough result for the peek, but it didn't take long to use the Pen tool to create shape layers  — one for each orang line with no fill and Stroke > Inside for the lines.  You have to go well beyong the peek and clip them to the peek, or you'll get thickening of the lines at the ends.

IM used Generative Fill to expand the starfield and saved all three options so I could experiment.  This meant I did not have to distort the starfield layer. Jus positioned behind the oprange lines, rotated, and masked.


One small regret.  I had set the orange lines to Difference so the cap's texture showed through, but that turned to custard when the starfield was placed behind them.  Rather than bugger about with masks, I set them back to normal.  About twenty minutes work, but there is no easy fix I can think of.

barbara_a7746676
Community Expert
Community Expert
February 1, 2025

One way would be to put the shape on a separate layer then Edit > Free Transform > Warp. Manually manipulate the handles until the shape conforms to the brim of the hat. You can add more control points by Control or Command clicking on the shape.

amre_5758Author
Participant
February 1, 2025

Thank you, I will try that