violentchalupa
Participating Frequently
December 10, 2016
Answered

High-end skin retouching?

  • December 10, 2016
  • 1 reply
  • 3187 views

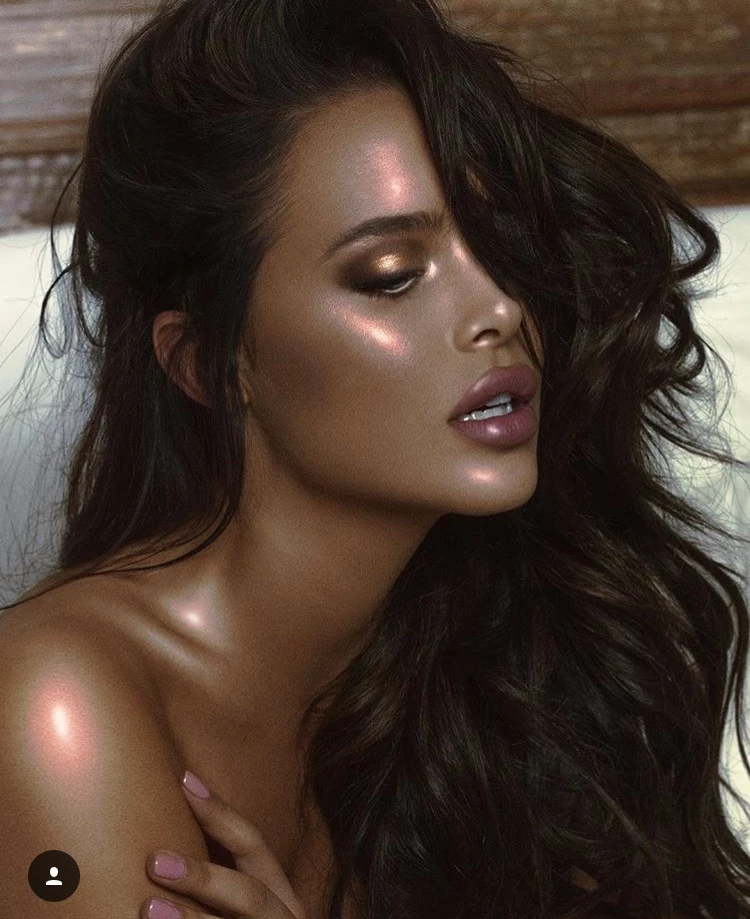
Suggestions for editing skin like this?

This topic has been closed for replies.
Correct answer Trevor.Dennis

Hi

Maybe I'm wrong Trevor, but I feel the Op is trying to reproduce the skin texture + highlights. (his demo headshot)

Maybe one of your precedent tutorial can help ?

Pierre


OK Pierre.  I'd forgotten that old thread.

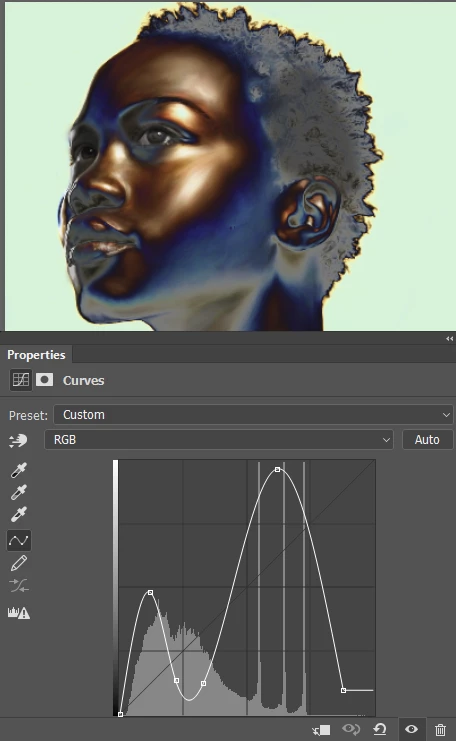
You can go crazy with curves going from normal

To a faux bronze look with a radical W shaped curve

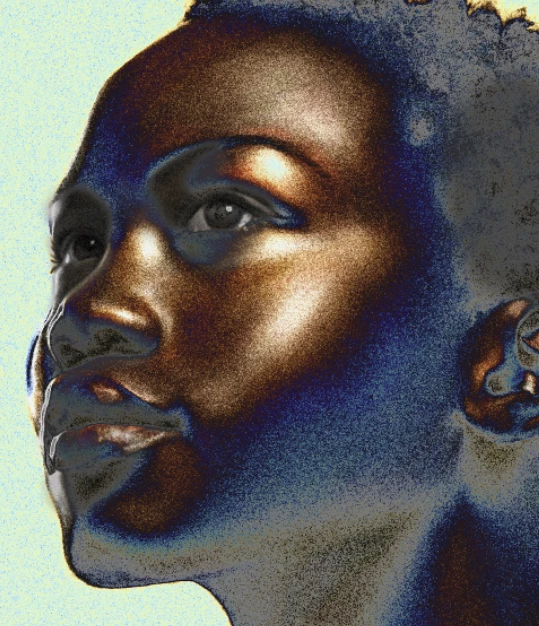
I like to use Camera RAW > fx > Grain to give texture to skin.  This is OTT to fit with the radical curves, but values around 12 to 20 work well.

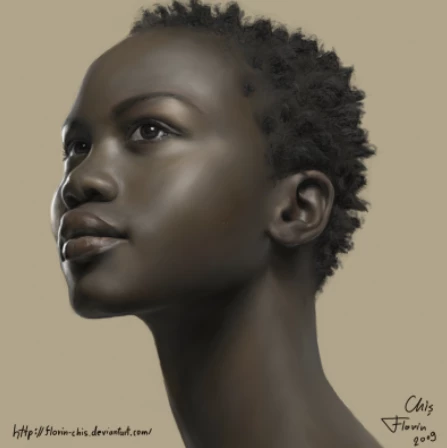
But I am a bit fan of the Hair & Skin Textures by Castrochew brush set.  The skin texture brushes don't work well with low res images, but they are excellent with higher res.  I used them with the digital portrait I have just finished.  Sample the skin colour and then pick a slightly darker version of it, and apply to a new layer.  Reduce opacity for best effect.

BTW  The portrait was done using just the standard brush set, and about four of the Castrochew brushes, plus some I made myself based on Bert Monroy's Lab at MAX.

1 reply

Trevor.Dennis
Community Expert
Community Expert
December 11, 2016

It looks like they might have used oil or something similar to make her skin shine.  To fix the blown out areas, I use a large fully soft brush set to 10 or 20% opacity, and continuously sample skin tone from around the problem area, and gradually build up tone on a new layer.  Always finish by using high value Gaussian blur to merge with the surrounding areas, and mask or erase out any overspil onto things like the eyes and teeth.

I have a feeling that the photographer wanted the grainy look, as it so easy to avoid it with today's cameras, but if you wanted to smooth that out, use the Camera RAW filter, and apply negative clarity.  That is quite good at not softening important areas, but not perfect, so if your image is very sharp, do this on a copy of the layer so you can mask out the eyes etc.

I also used a curves layer to win back some contrast

Trevor.Dennis
Community Expert
Community Expert
December 11, 2016

Goodness.  I have noticed how bad the banding is on her shoulder after posting.

What I have done here is add a Hue/Saturation layer and set it to Reds and pull the saturation all the way down to zero., and duplicate the layer with the dark tones.  I then added a new layer and painted a blob of white and Gaussian blurred to recreate the highlight.

postrophe
Inspiring
December 11, 2016

Hi

Maybe I'm wrong Trevor, but I feel the Op is trying to reproduce the skin texture + highlights. (his demo headshot)

Maybe one of your precedent tutorial can help ?

Pierre