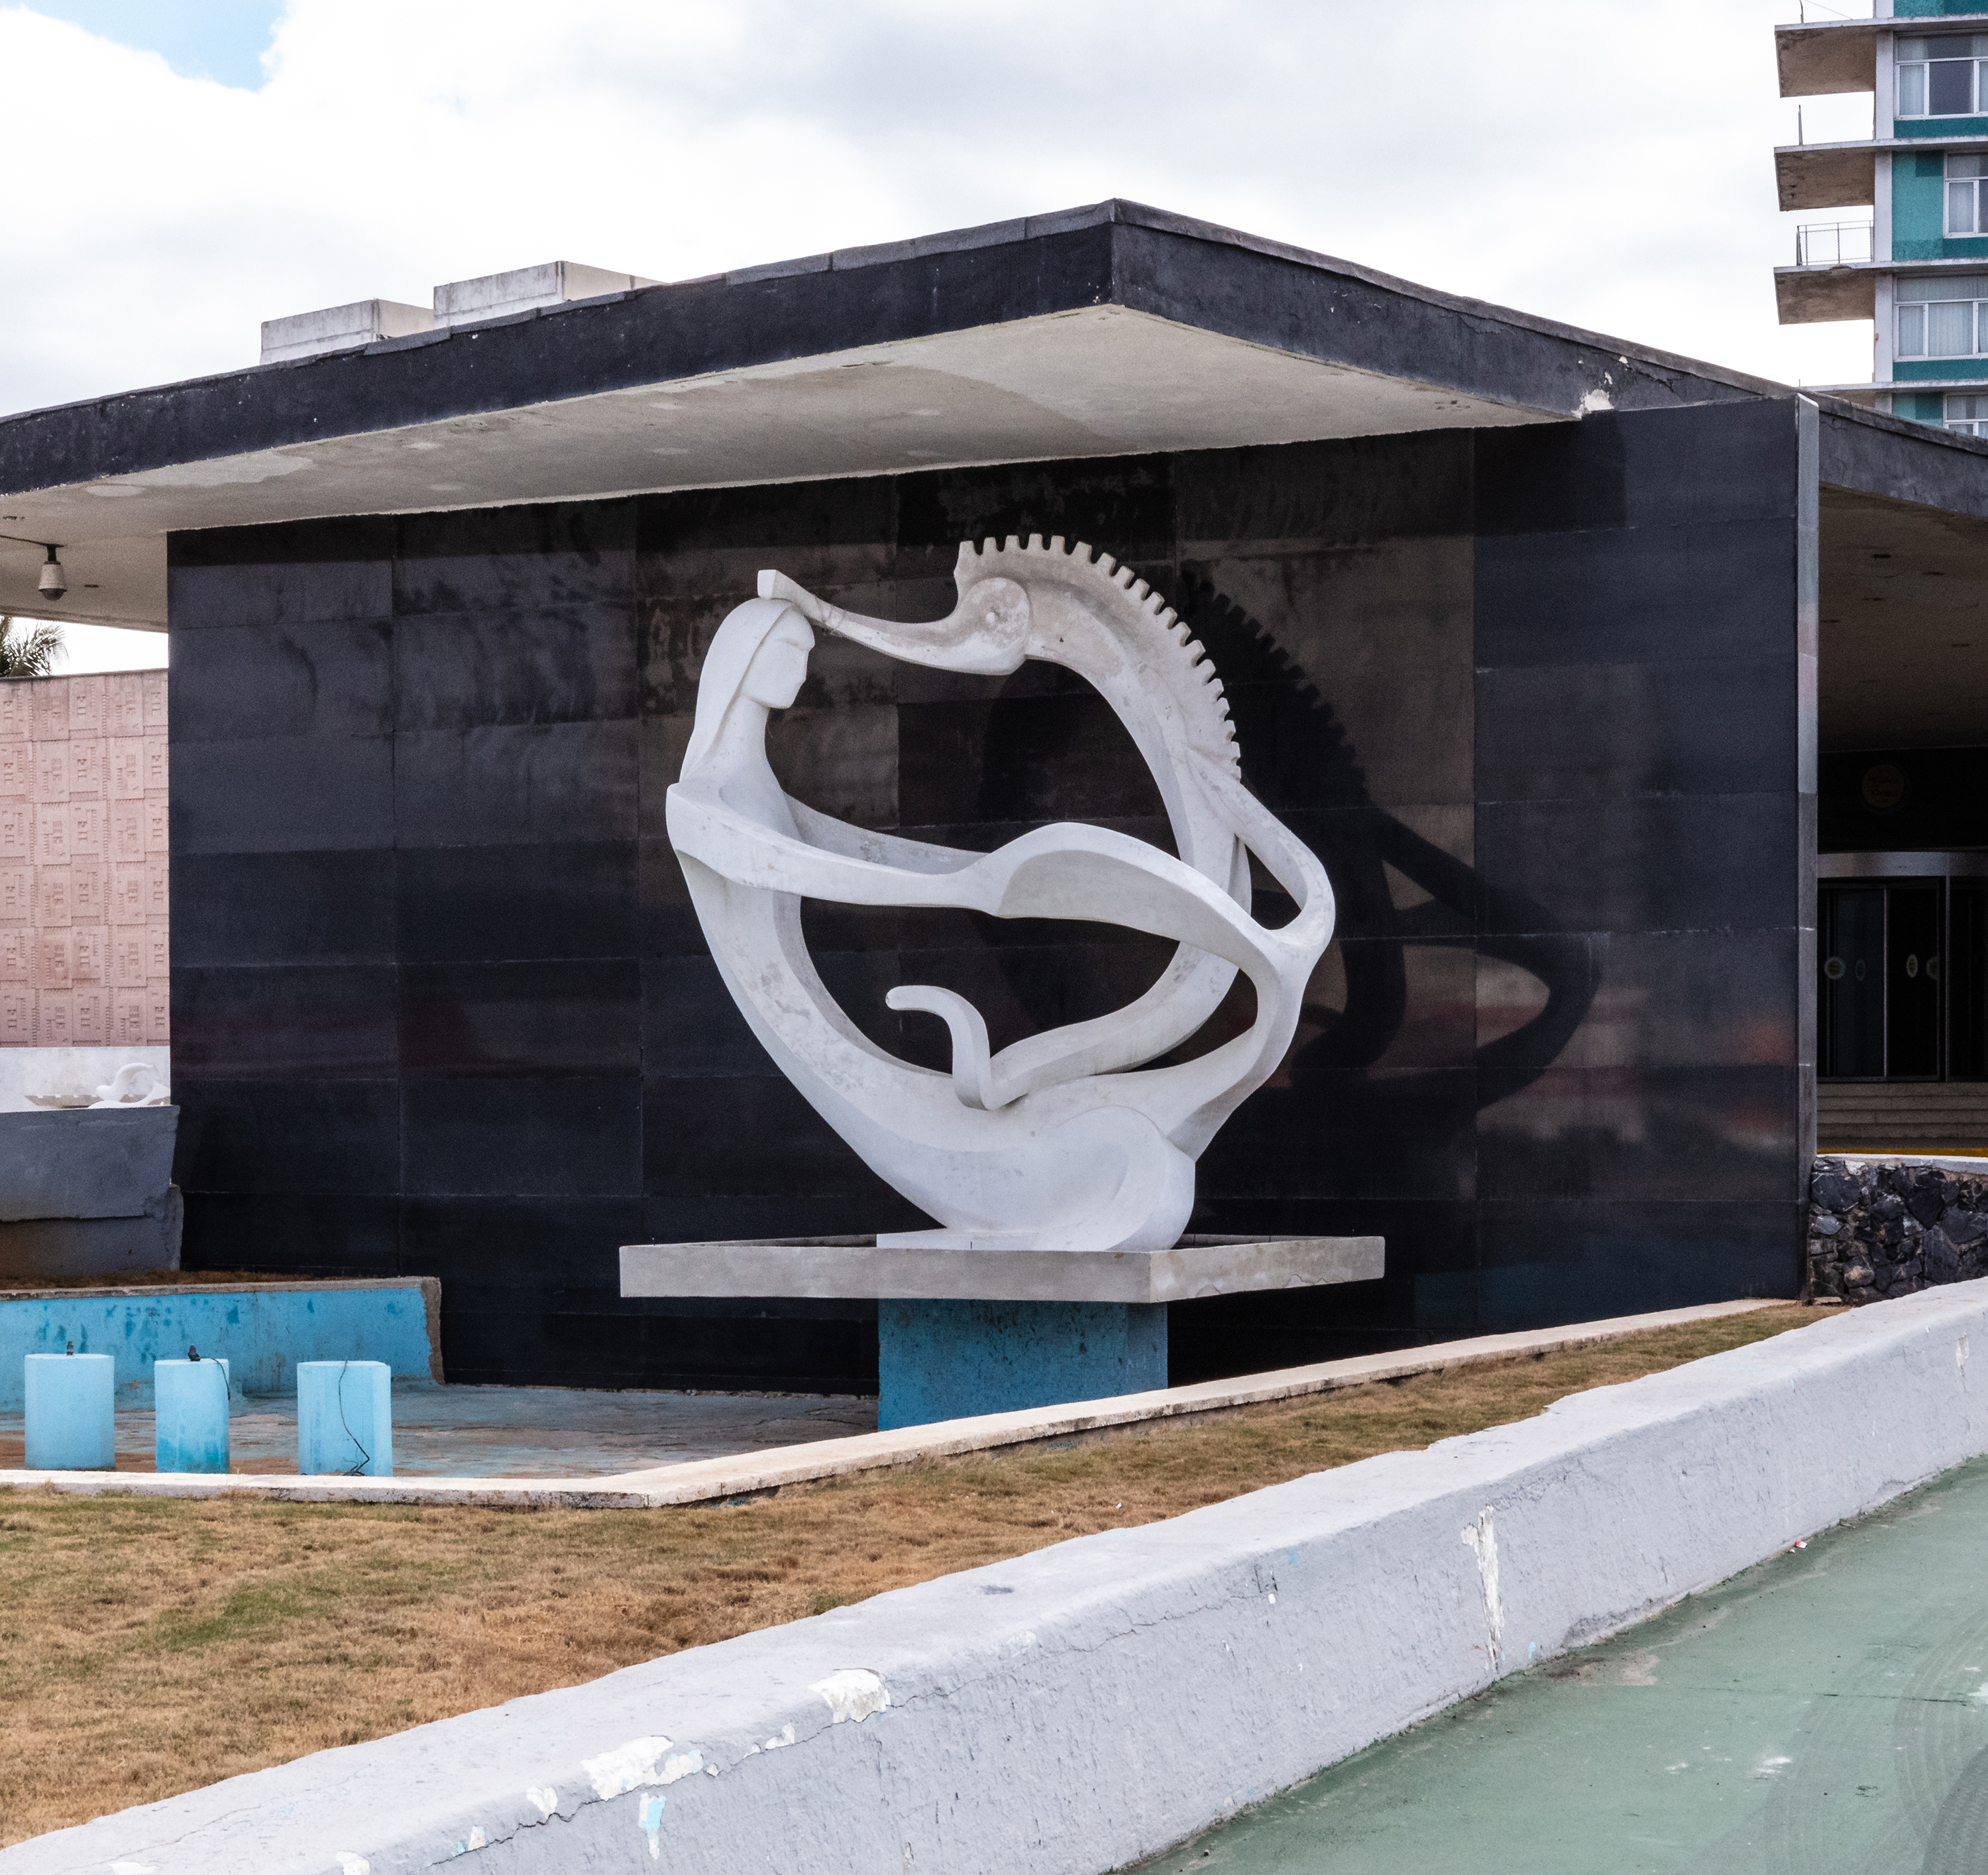
High ISO problem image
Copy link to clipboard
Copied
Hi All,
I have an image that is going to be published and it was shot very hastily at ISO 1250, f20, 1/160 on a very sunny day. I had been shooting in a very dark environment and didn't realize I hadn't changed my settings. It's not really soft but it has a weird look to it that I can't really explain. It does end up looking softish. The photo is of a sculpture. Perhaps I did focus on a curb instead of the sculpture. Either way I'm trying to figure out how to make it look better.
I'll attach a detail of it.
I appreciate your help.
Explore related tutorials & articles
Copy link to clipboard
Copied
silvia1169 wrote
Trevor.Dennis --why did you give the mask a blur?
This is a quick and dirty Select Subject > Select & Mask
It is not terrible, but has some problems (Alt clicking the mask makes it appear in the document window)

Giving the mask a small blur averages out the lines. It's not idea, as it also rounds sharp corners.

Using Levels or curves directly to the mask hardens up the outline making it sharp again.

You can manually fix problem areas by Ctrl clicking the mask to load it as a selection, and going into Quick mask (Q)

In the QM image above the lower edge of the trunk is missing from the selection. I fixed that by stamping a hard black brush at one end, and Shift clicking at the other end of the required stroke to force a straight line.
Curves can by optimised by using Elliptical marquee tool, and using Transform Selection to nudge it to match the outline.
The point of using Quick Mask is that we can see the image and the selection, and match them.

You can improved that factor by double clicking the Quick Mask icon to open its Options panel.

The default is 50%. This is what 20% looks like

You can use any of the other selection tools while in Quick Mask. It would be a bit of a task to make a clipping path of the entire sculpture, but you could use the Pen tool for just a bit once you have a layer mask. The trick is to be flexible, and use the best approach for each separate area of the image and required selection.
Note I changed the Path colour to green to show better against the QM colour.

You can then use a combination of clone tool, paint brush ans smudge tool to fake a sharp outline. You do this on a new layer, and invert the selection as required to inside and outside the selection.
Alt clicking the Sharpen Outline's eye icon will turn the other layers off so you can see what you have done, and what is missed.
If it looks unreal, then lower the layer opacity, or add a layer mask and reduce the effect locally.
It has taken me a few minutes to do this because of writing this post, but it would be a reasonably fast process otherwise.
It is a highly compromised fix, because inside detail is still soft, but you'll find that have areas of sharpness give the 'impression' of overal sharpness. It's just one more tool to keep in your Photoshop toolbox of dirty tricks and tips.

Copy link to clipboard
Copied
i would take the photo again
Copy link to clipboard
Copied
If that were possible do you really think I would go through this trouble?
Copy link to clipboard
Copied
in that case i would use Blender or Photoshop to make a 3d model of the sculpture + the building because the bottom line is this image will not repair without looking faked
-
- 1
- 2
