 Adobe Community
- Home
- Photoshop ecosystem
- Discussions
- Re: How can I get rid of black speckles from paten...
- Re: How can I get rid of black speckles from paten...
How can I get rid of black speckles from patent artwork like this?

Copy link to clipboard
Copied
Hi,
I like patent prints that I've seen around & would like to print some & I've got a production printing press which isn't getting much use currently (costing a fortune!)
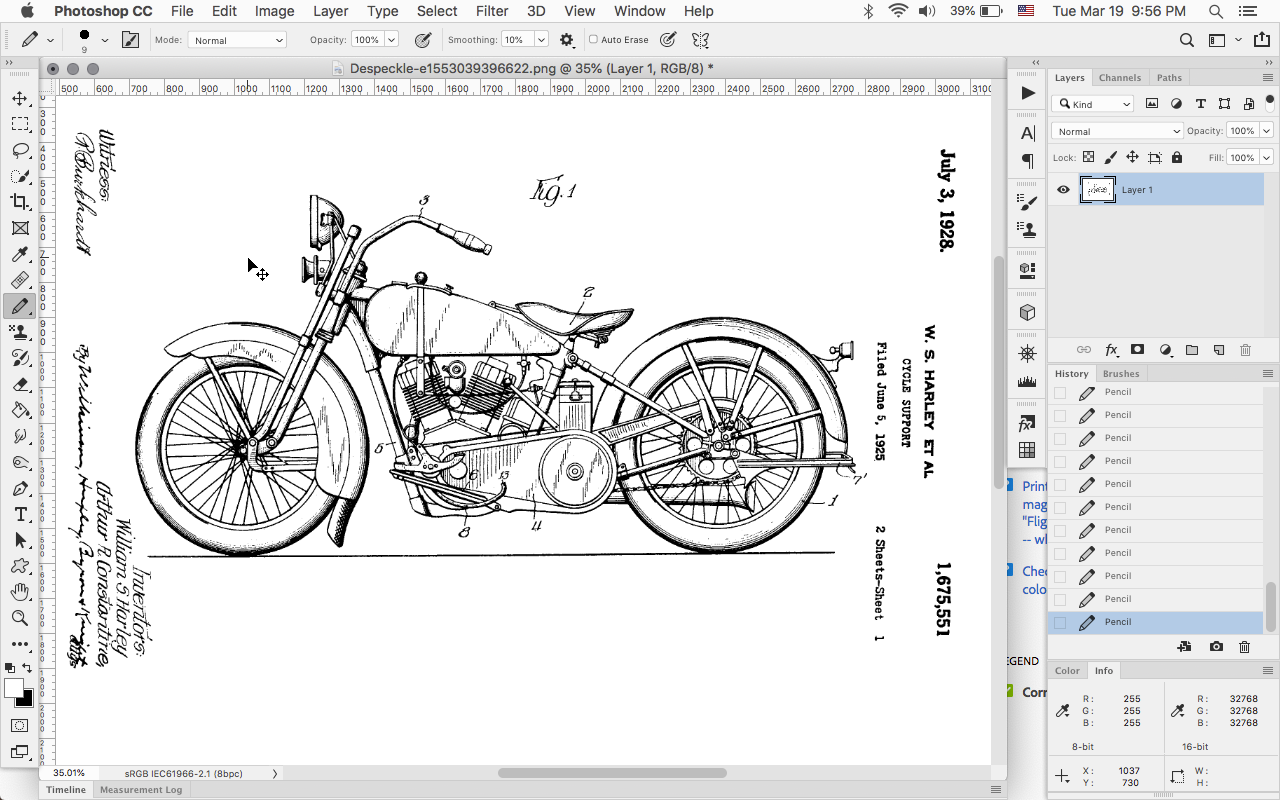
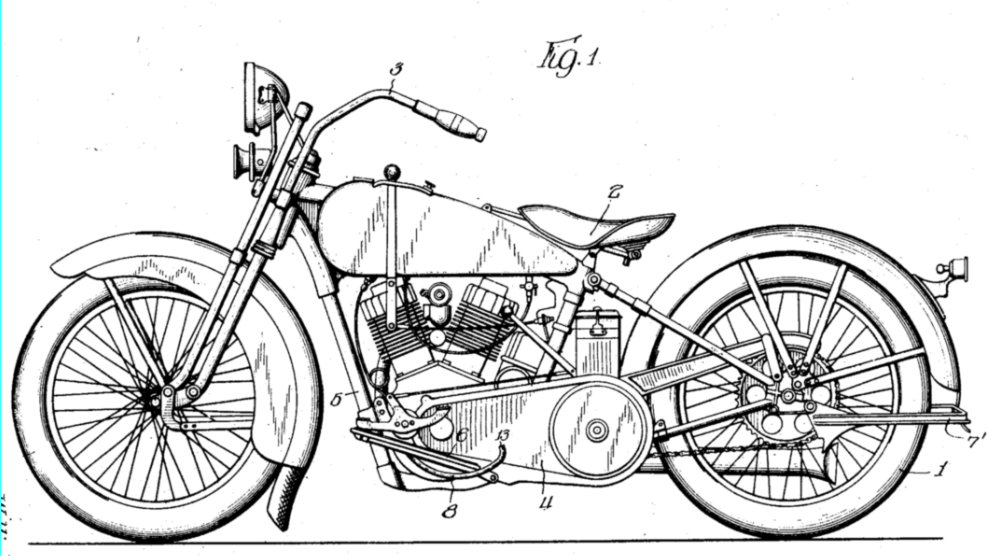
All patent prints have black dots & speckles on them, how can i remove these from the artwork to make them cleaner looking?
(I'm just a dabbler in photoshop but I just want to know if it can be done & pointing in the right direction really)
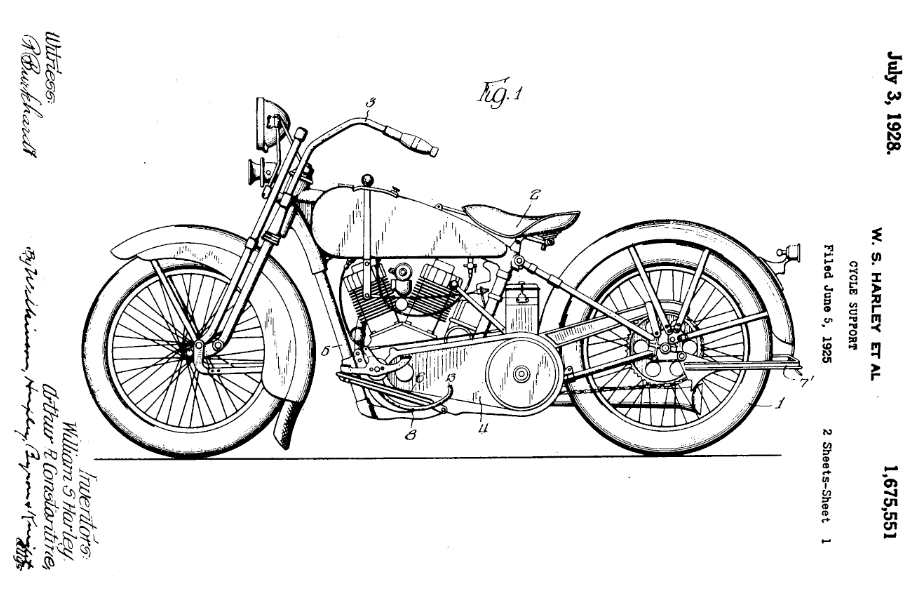
The patent below has a lot of speckles. I would like to get rid of them but maintain the detail elsewhere.
Thanks, Karl


Explore related tutorials & articles
 10
Replies
10
10
Replies
10

Copy link to clipboard
Copied
If you want a really sharp drawing, raster images are not good enough. You should place your raster image on an artboard in Illustrator and use Trace workspace. See video tutorial below.
Alt-Web Design & Publishing ~ Web : Print : Graphics : Media

Copy link to clipboard
Copied
If you don't have illustrator you could just use the pencil tool set to white and paint over them.

Copy link to clipboard
Copied
https://forums.adobe.com/people/Jeff+Arola wrote
If you don't have illustrator you could just use the pencil tool set to white and paint over them.
+1
This looks like a perfectly manageable manual job with the pencil tool. A little work is not unreasonable, is it?

Copy link to clipboard
Copied
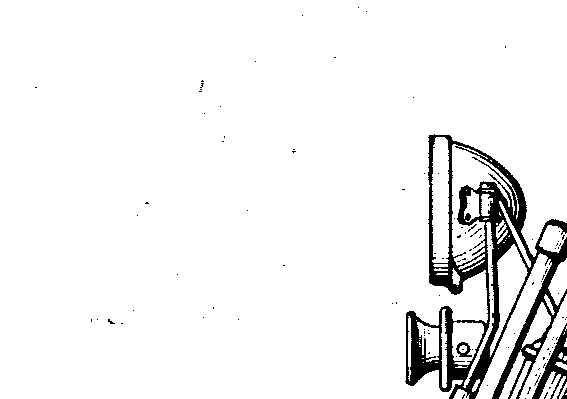
It's not an easy one because you'll lose detail before making a meaningful difference.
Dust & Scratches set to 1 pixel clears the smaller specs up without doing too much damage.
Use a copy of the layer, so you can mask back in any areas that
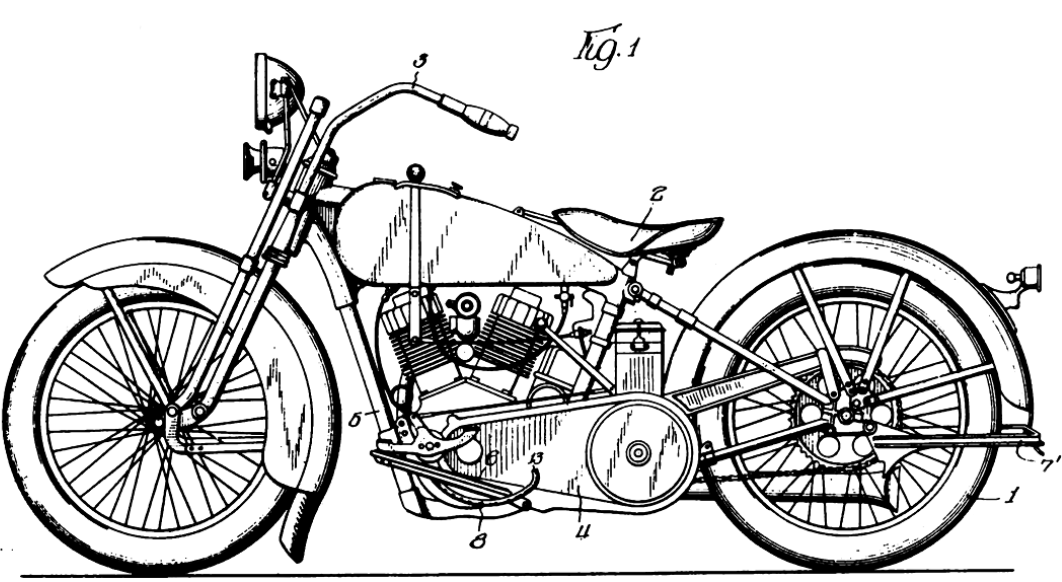
Before
After
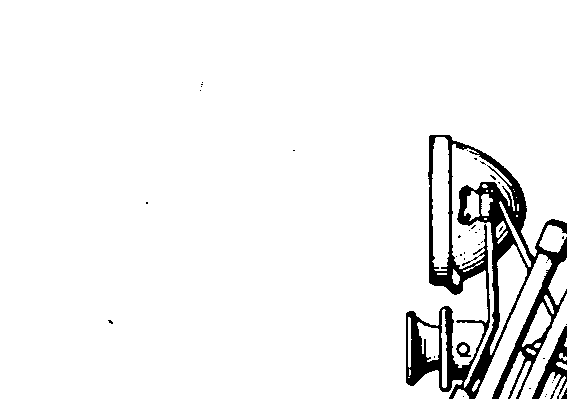
I've just realised that your image is grey scale. You can give yourself some more options making it RGB and 16 bit.
After converting mode and bit depth, give it a very slight Gaussian Blur. This with 1 pixel
Then use a levels adjustment layer to harden it up, but without losing the anti alias you have applied with the blur.
This gives you a blacker, smoother image.
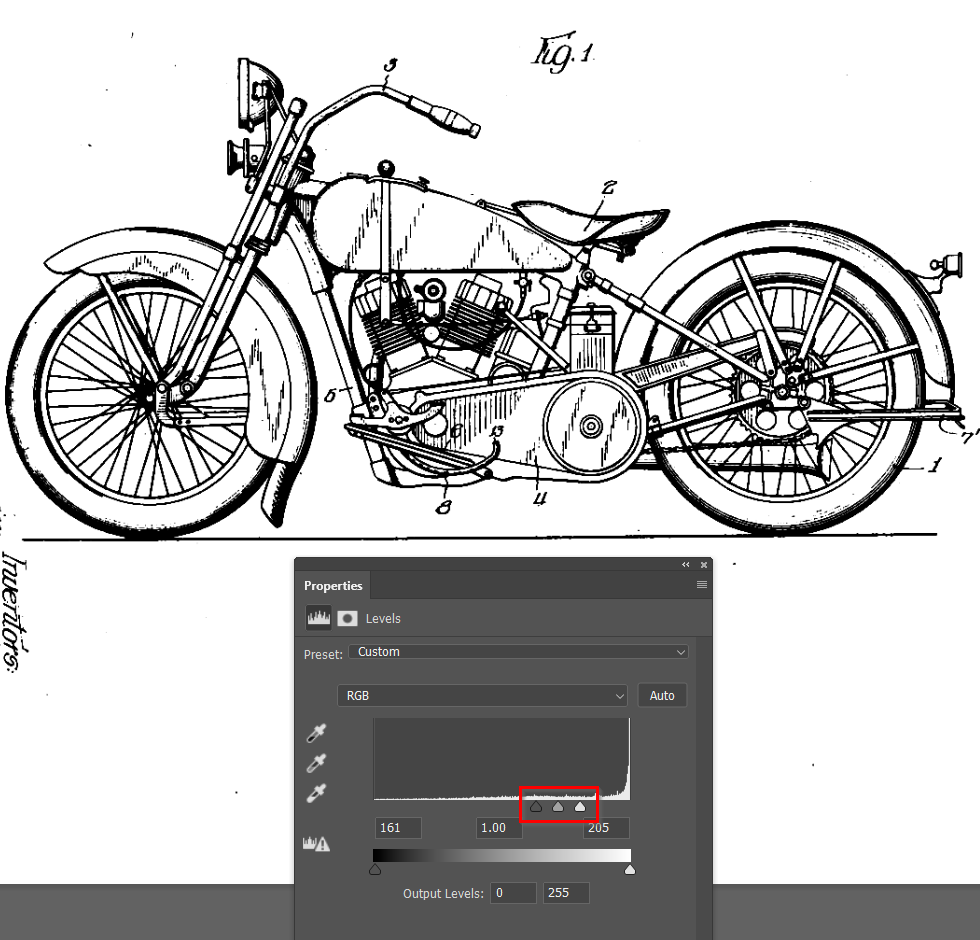
You are not going to be able to do much more to it, because being so black and so white, sharpening is not going to be effective. You could easily paint out the most obvious black specks though.

Copy link to clipboard
Copied
Trevor,
Is there a way to change the color of the patent graphic and text from black to a different color?
Thx,
Jeff

Copy link to clipboard
Copied
You could try the Spot Healing Brush Tool.

Copy link to clipboard
Copied
Another way (and before you begin, either save the file under a different file name so you'll have the intact original in case of a mishap, or duplicate the layer and work on the duplicate):
Working in sections, make a selection around the large white areas:
Set foreground color to white, then Edit/Fill/foreground color
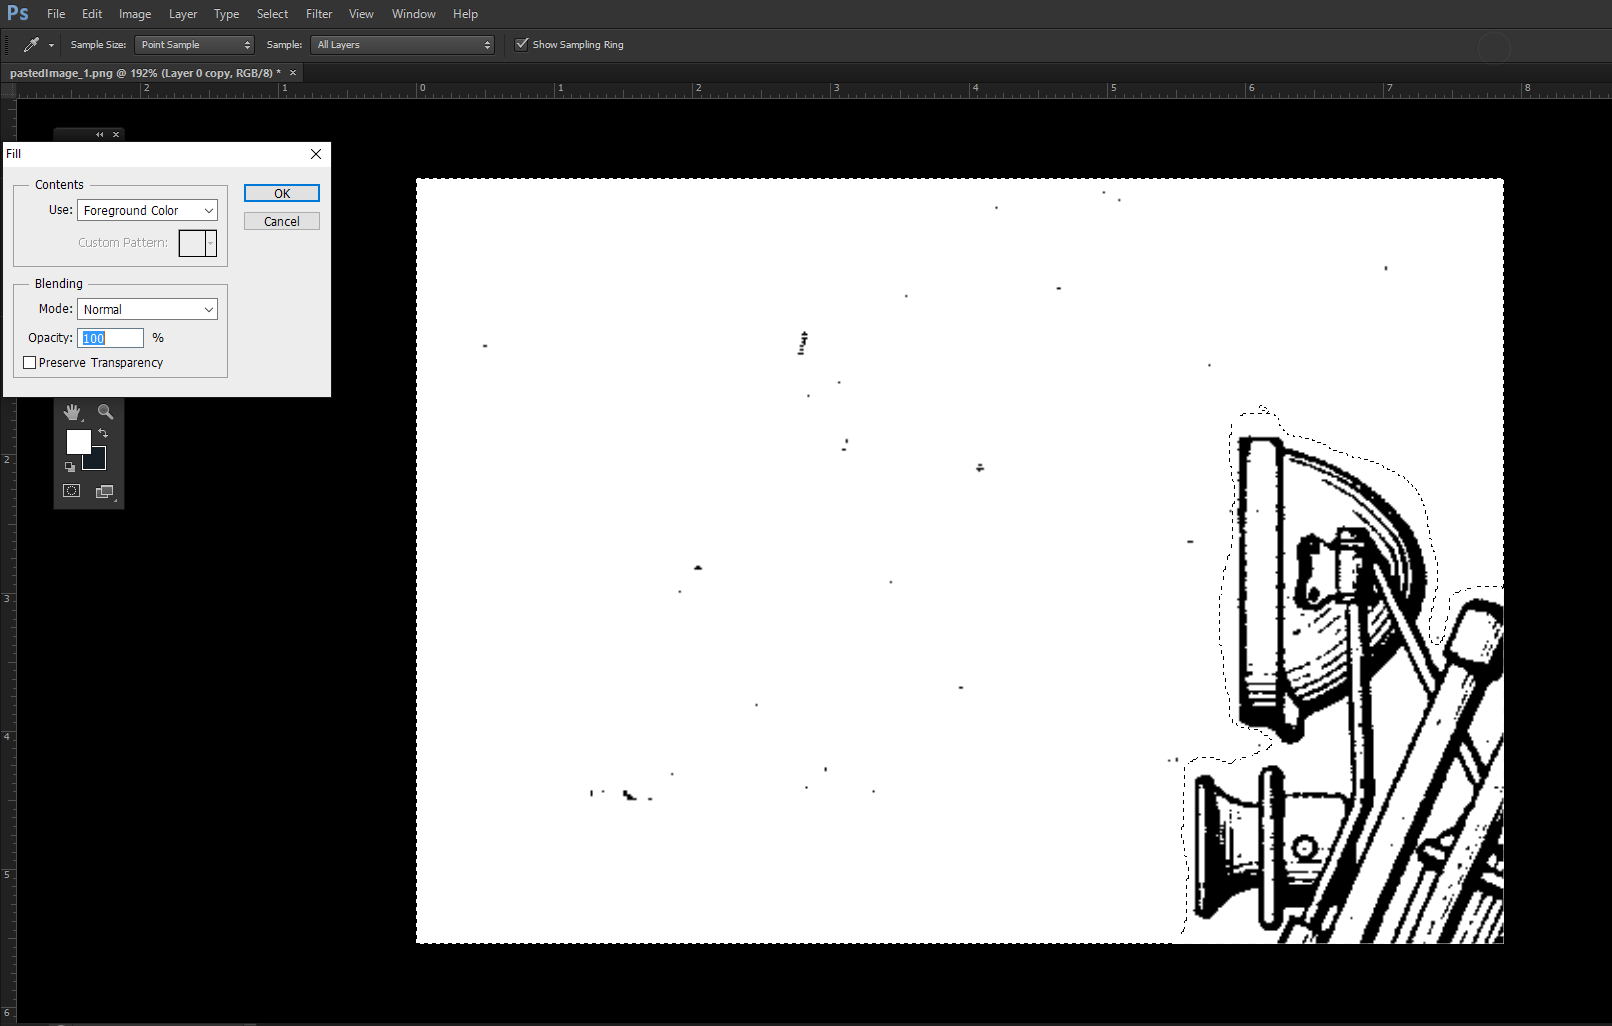
Ta-DA! Now go Select/Deselect, then go to the next area.
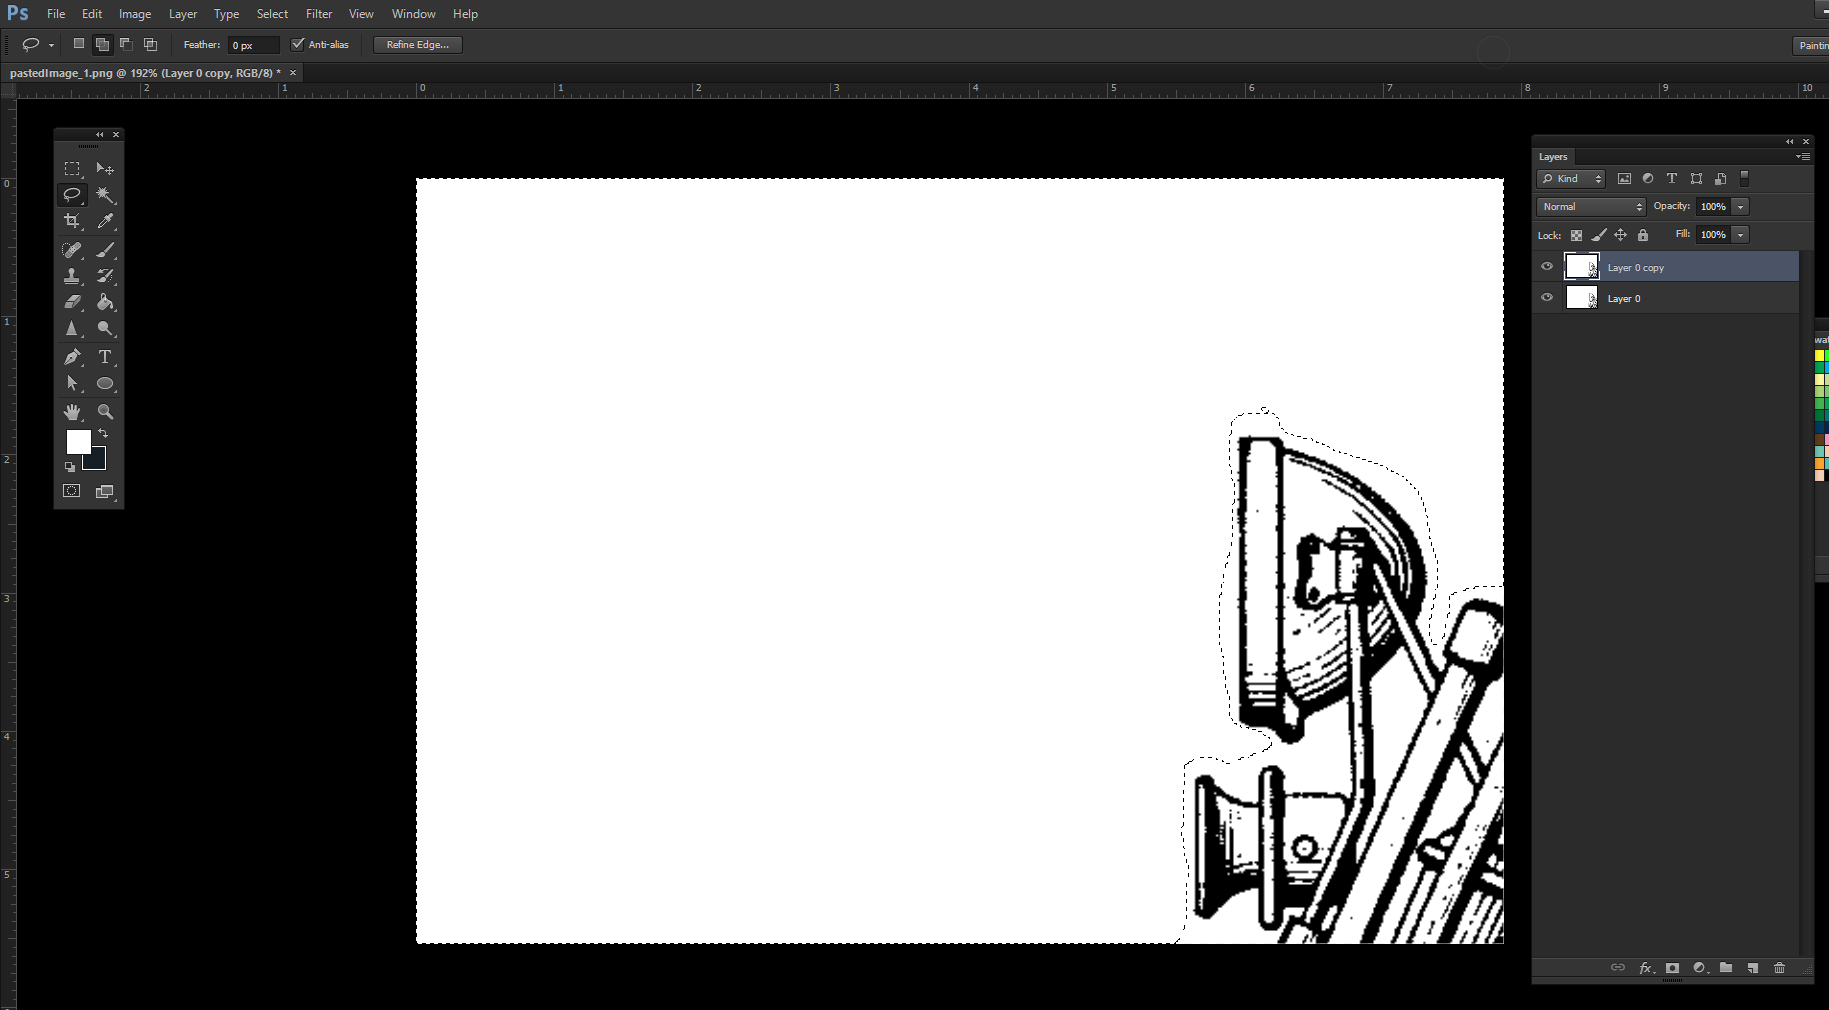
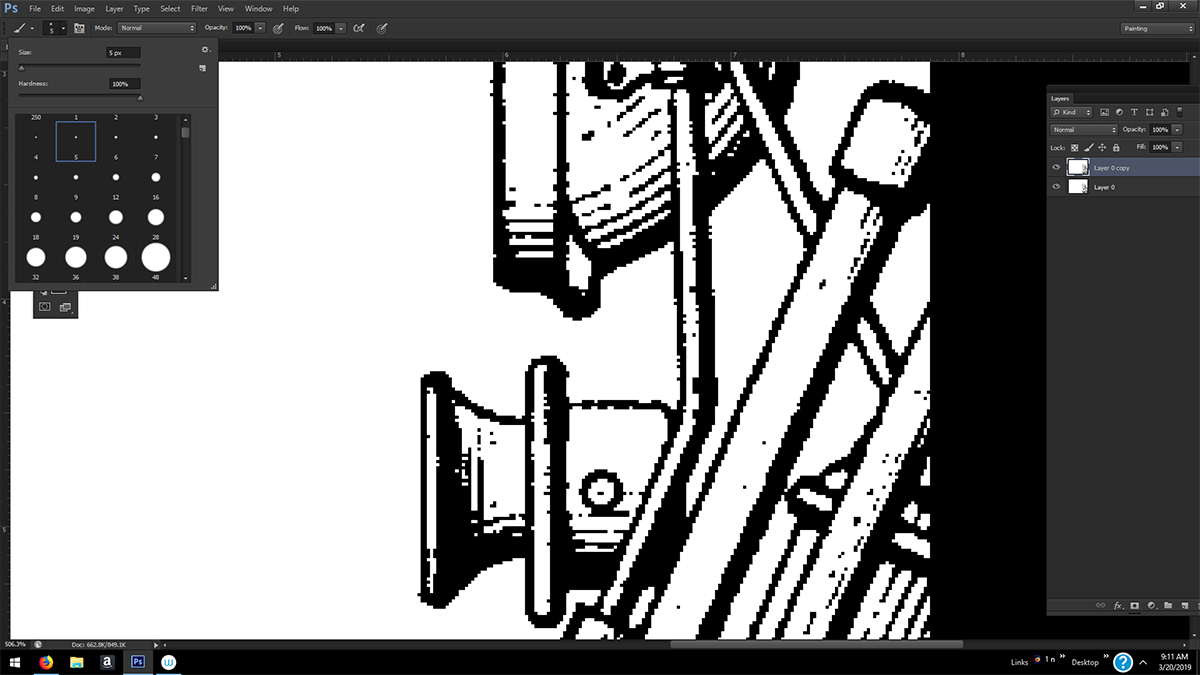
Now you can go to the brushes, select the size you want (4 or 5 pixels is good for most of it), and it should be set to 100% hardness, and paint over any last stragglers you find inside the small areas within the black line art.

Copy link to clipboard
Copied
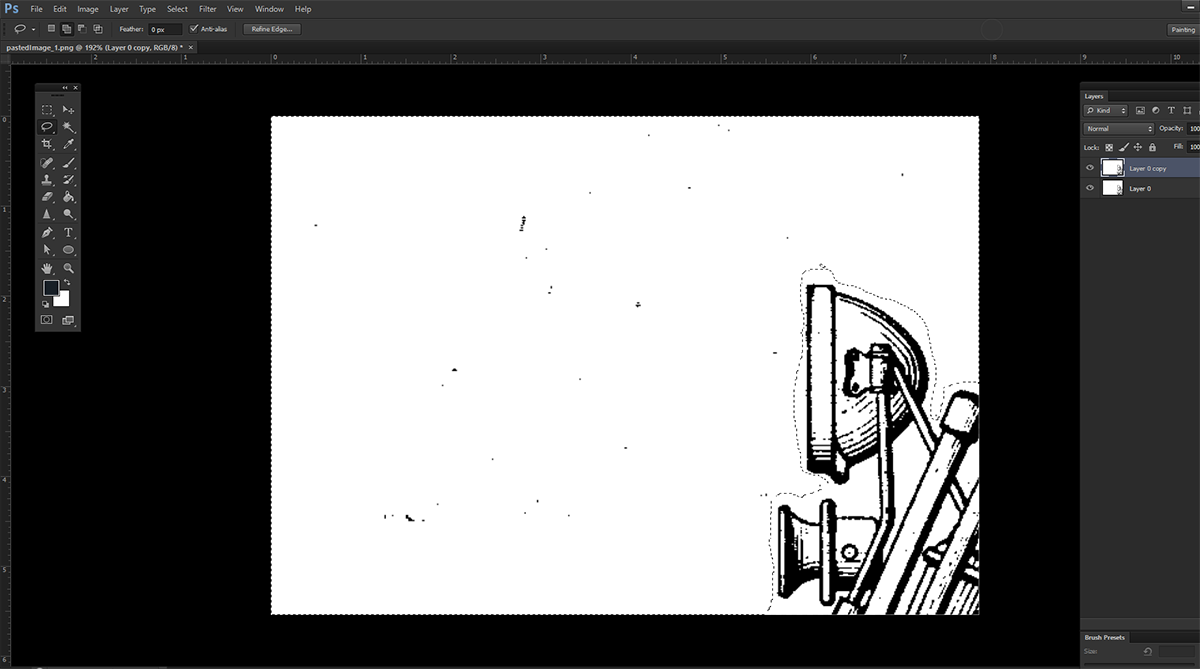
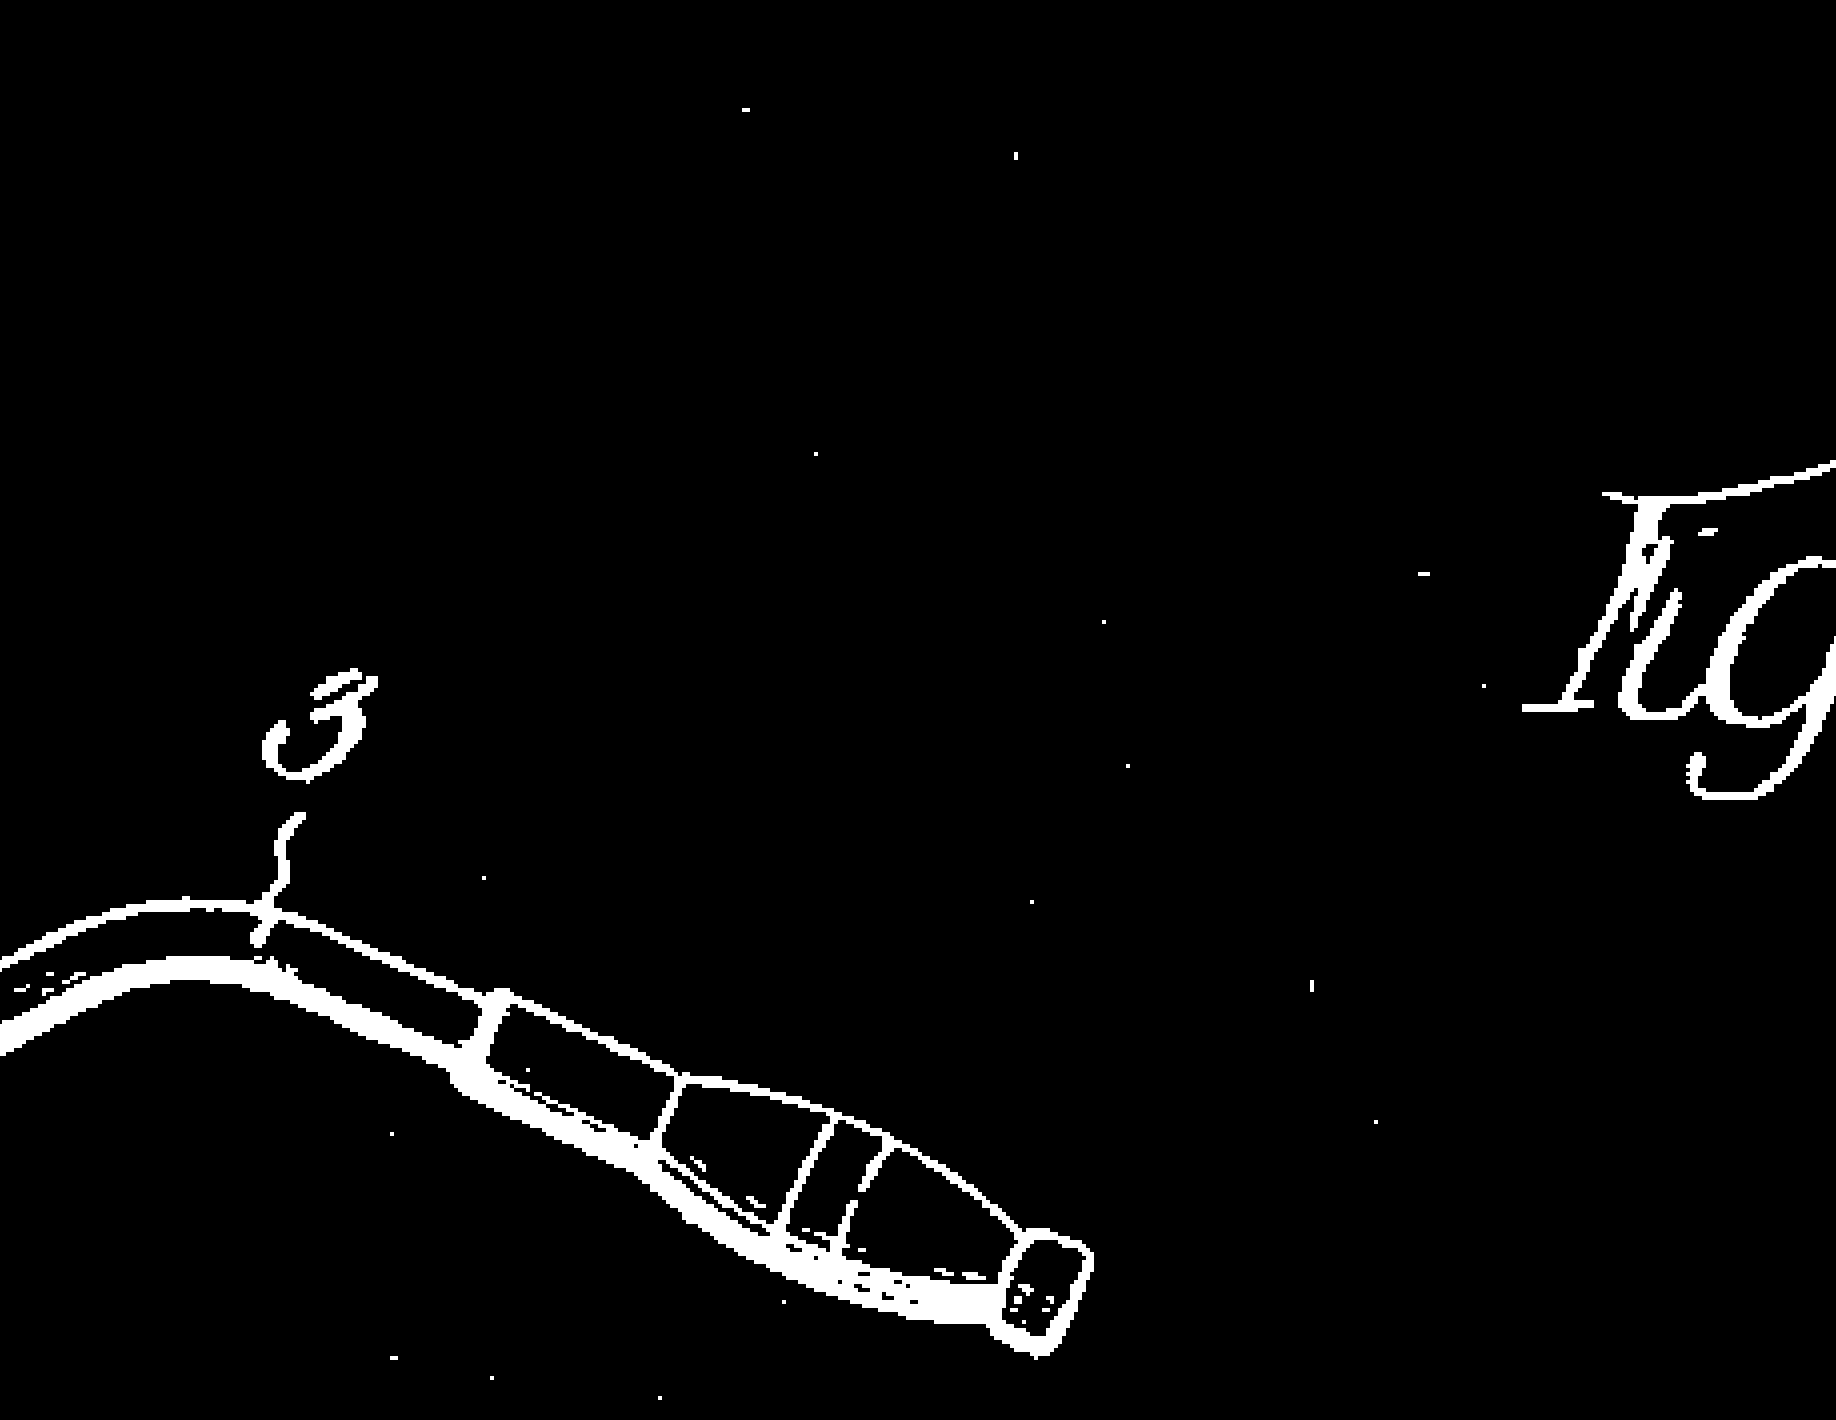
In this instance, it is far easier to see the specks as white on black.
1. Open the file
2. Image > Adjustments > Invert
3. Enlarge the view to 100%-200% depending on monitor size
4. Sweep across the black areas with the Brush set to black to turn the specks black.
5. Hold down the Space Bar to scoot to adjacent sections. (This goes very quickly.)
6. When complete, choose Image > Adjustments > Invert.

Copy link to clipboard
Copied
There are so many ways to solve this problem. I hope you can find the solution that works best for you.
For me I would just use the Patch Tool.
But in all reality... I probably would leave the black spots. I like that vintage old look to prints of this nature. It gives it more character and kind alludes to a time when printing was not as good as today's standards.... shows how the printing process has evolved. 

Copy link to clipboard
Copied
I would invert the image as norman.sanders recommended and just use a paint brush/eraser to remove.
Don't overthink/over-complicate with healing tools, etc.

 AdChoices