OK lets try some texture.
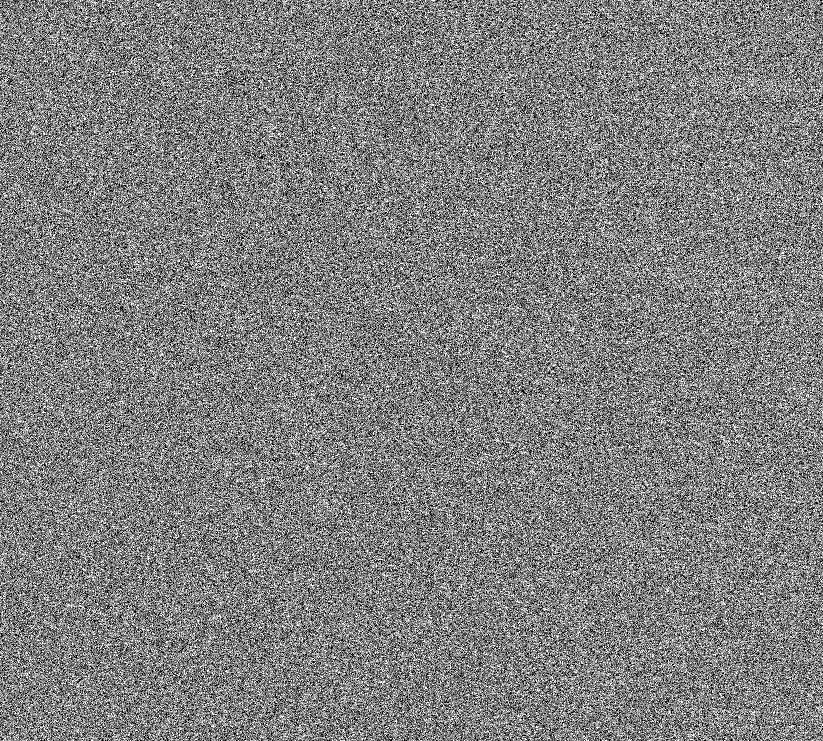
Make a new layer and fill with 50% grey
Add a lot of noise making sure Monochrome is checked because we don't want any colour creeping in
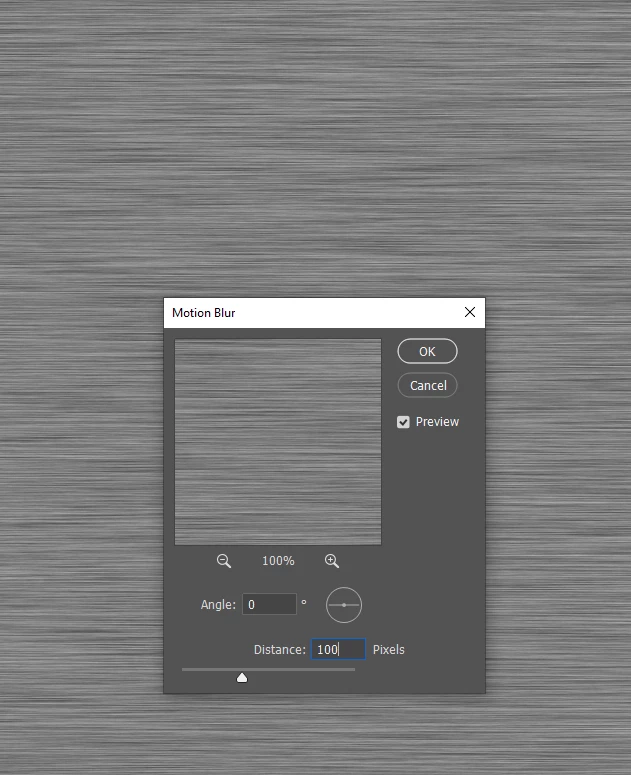
Now add motion blur. You'll need to use your judgement here but 100 at 0° worked for me
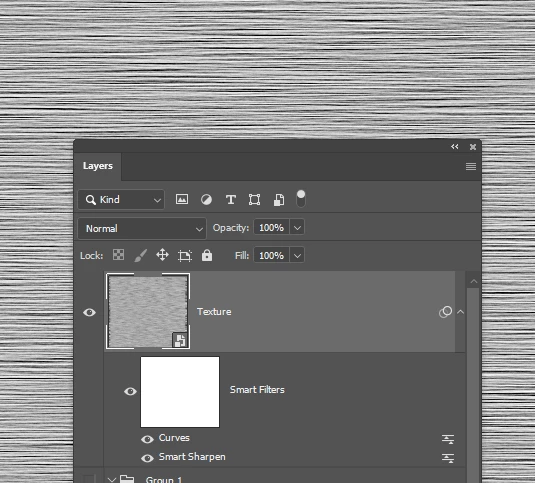
Make the texture layer a Smart Object. This is crucial.
Apply some sharpening and use curves to brighten it. That means curves directly to the SO layer and not an adustment layer
Because it is a SO you can adjust those settings as many times as you like to fine tune
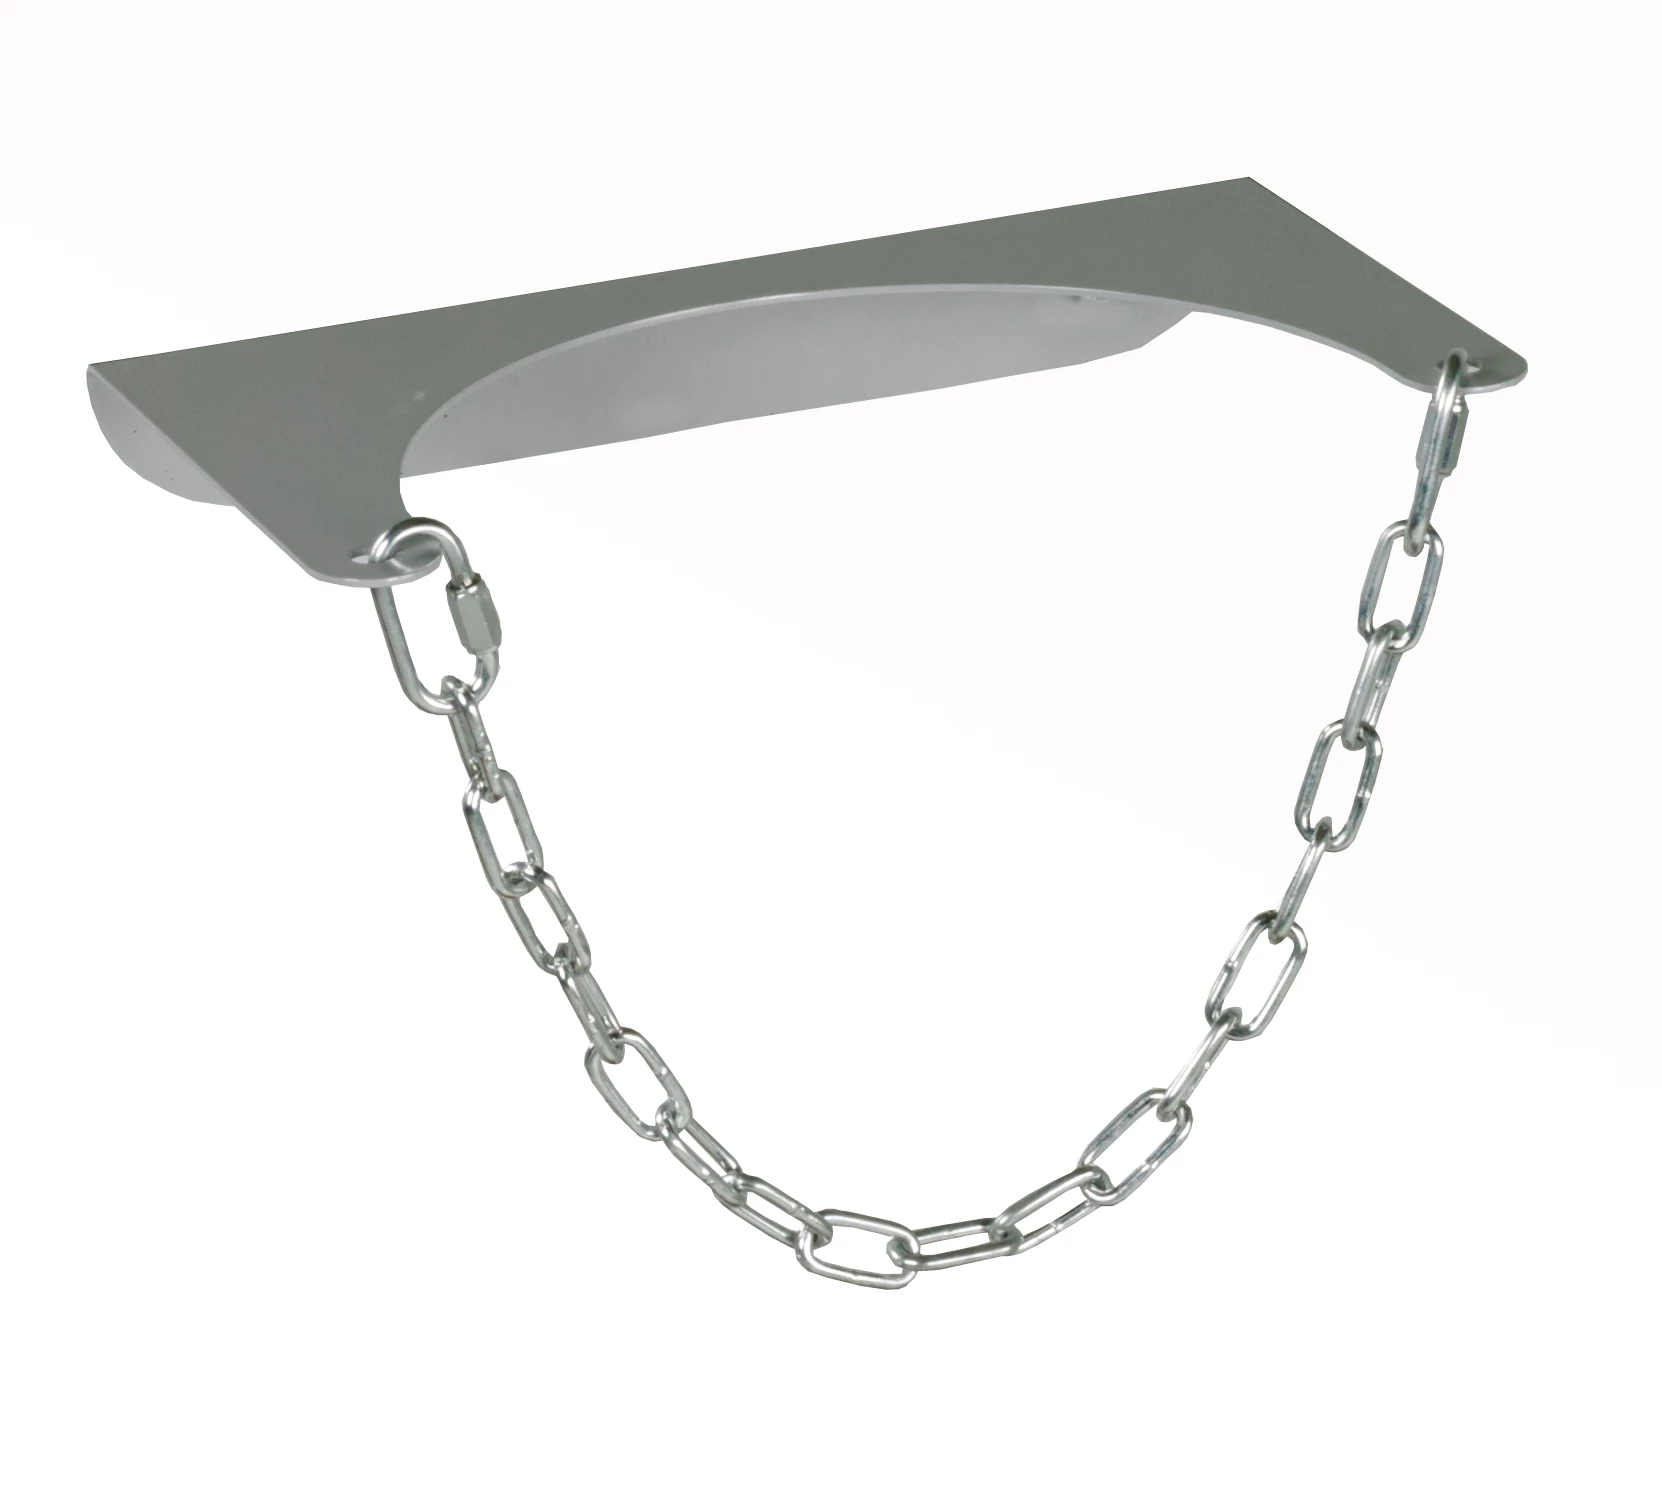
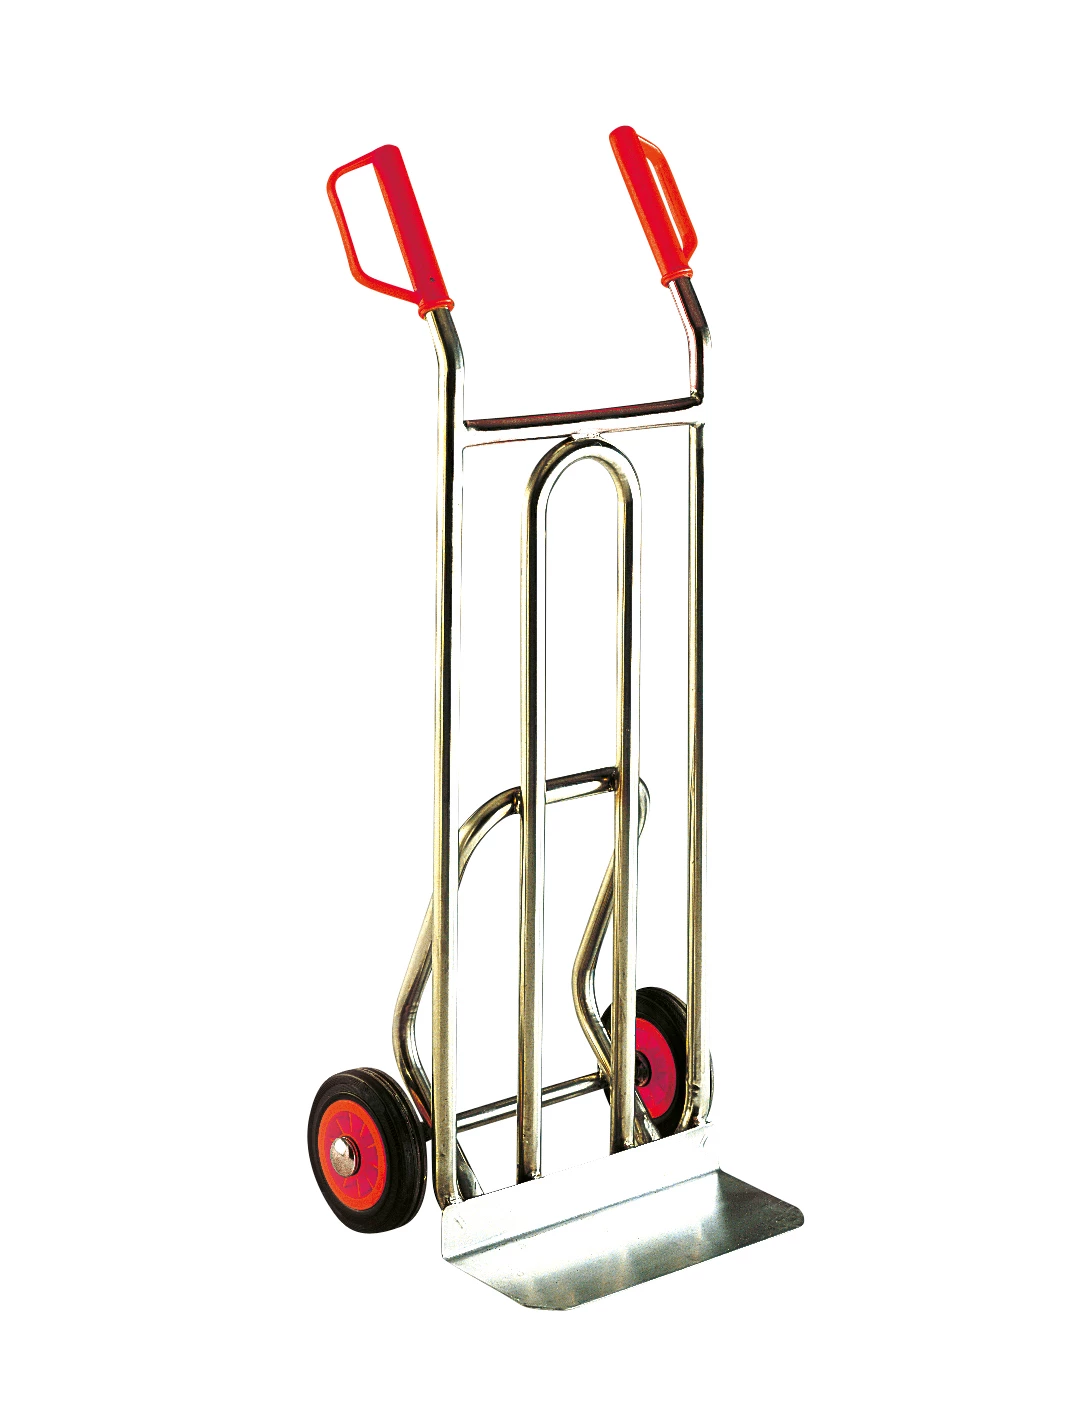
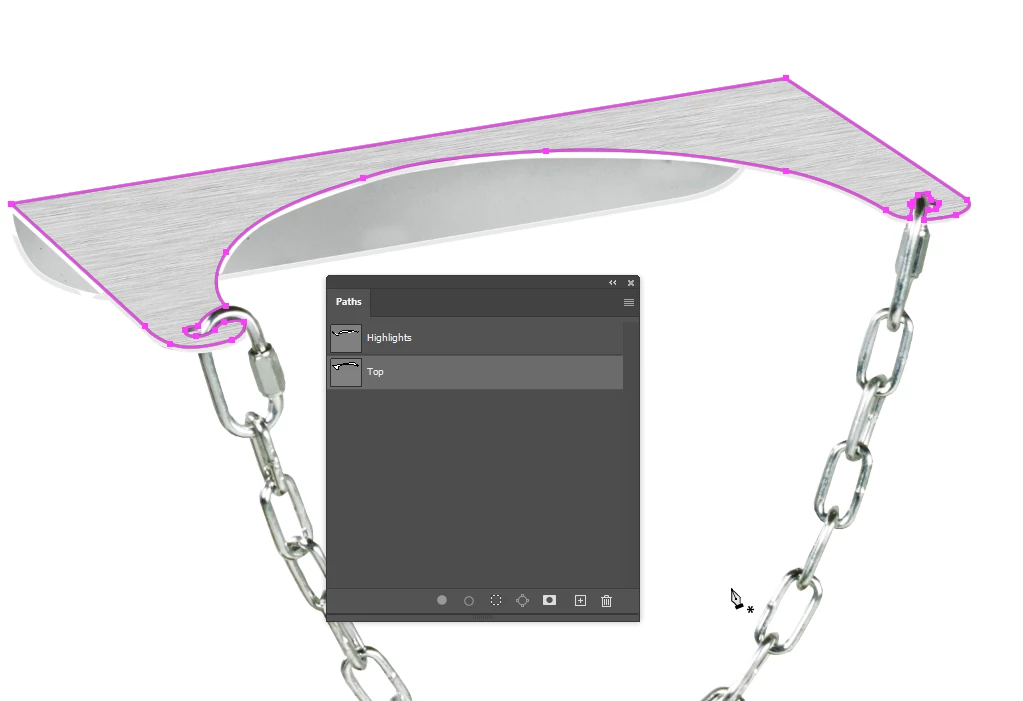
Make a new workpath that outlines the top plate. Be sure to drag the first path to the New path icon to save it first.
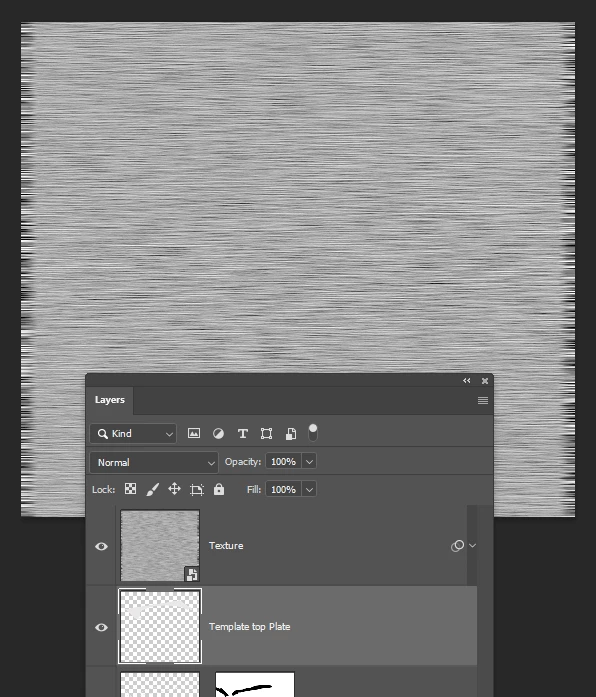
Make a new layer at the top of the stack and call it Template (Top)
Ctrl click the path you just made to load it as a selection and fill the template layer with any colour you like (other than white because you would not be able to saee that.
I told you a lie because the texture layer needs to be above the template layer
Select the texture SO Layer and use Free Transform (Ctrl T) and hold down the Ctrl key while dragging the corner so it more or less covers the template layer
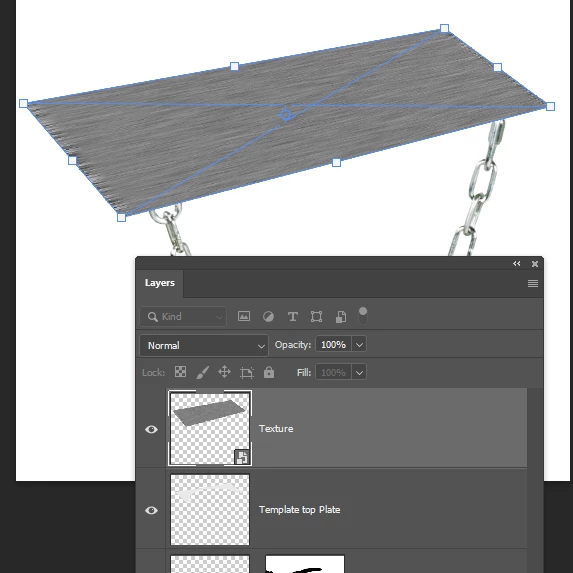
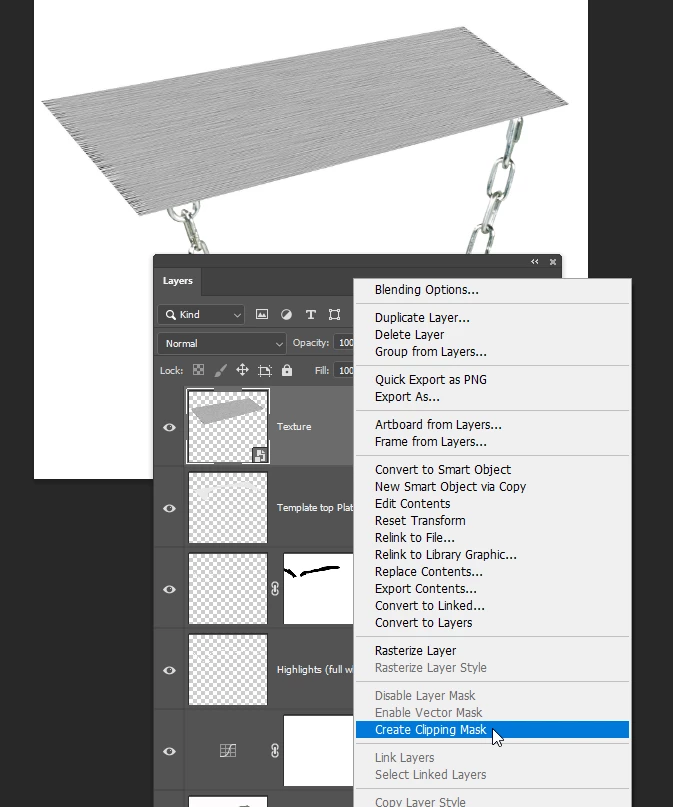
Now you need to clip the texture layer to the template layer which will make the texture exactly match the template's shape (there is an easy way to do this, but this is easier to describe)
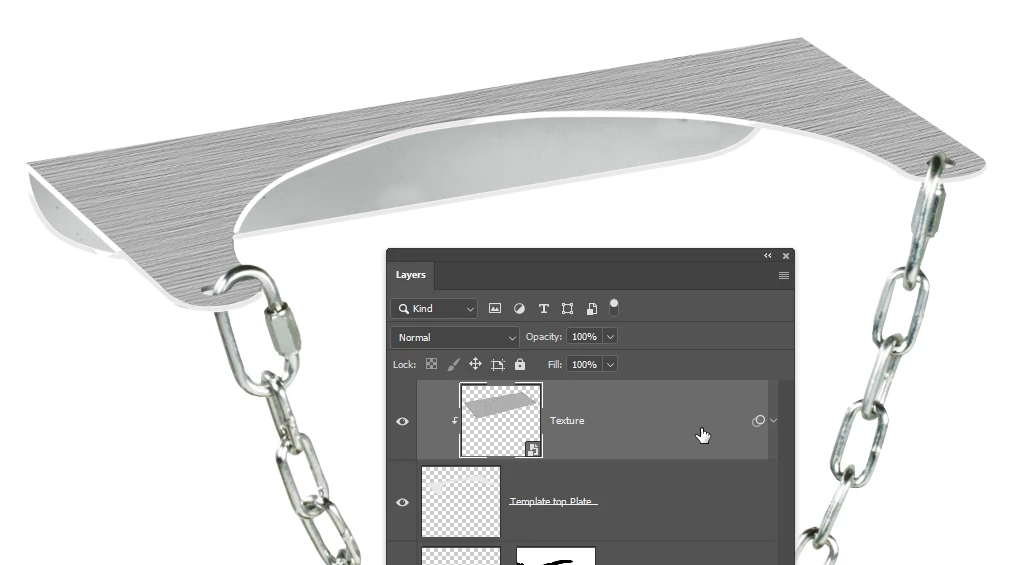
From this point you can use Free Transform again to make the motion blur match the shape better, and fine tune the sharpening and curves by double clicking them.