daviscompton
Participant
April 8, 2017
Question

How do I create this gradient effect?

  • April 8, 2017
  • 5 replies
  • 844 views

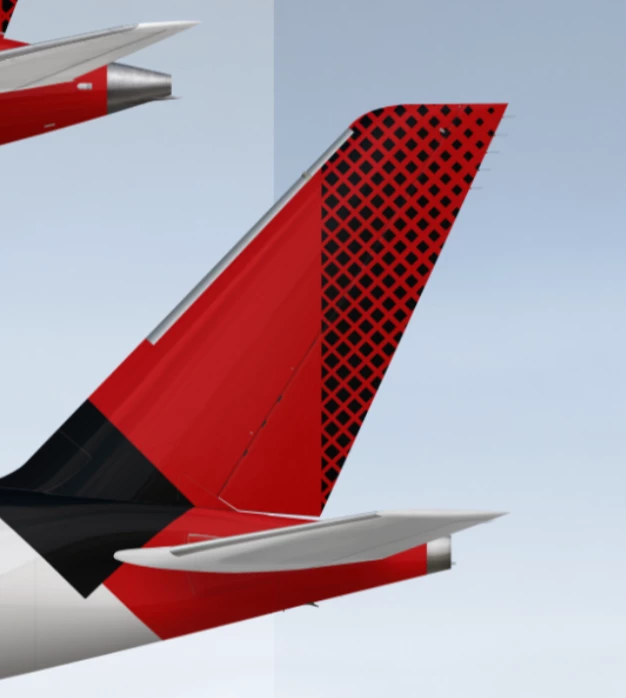
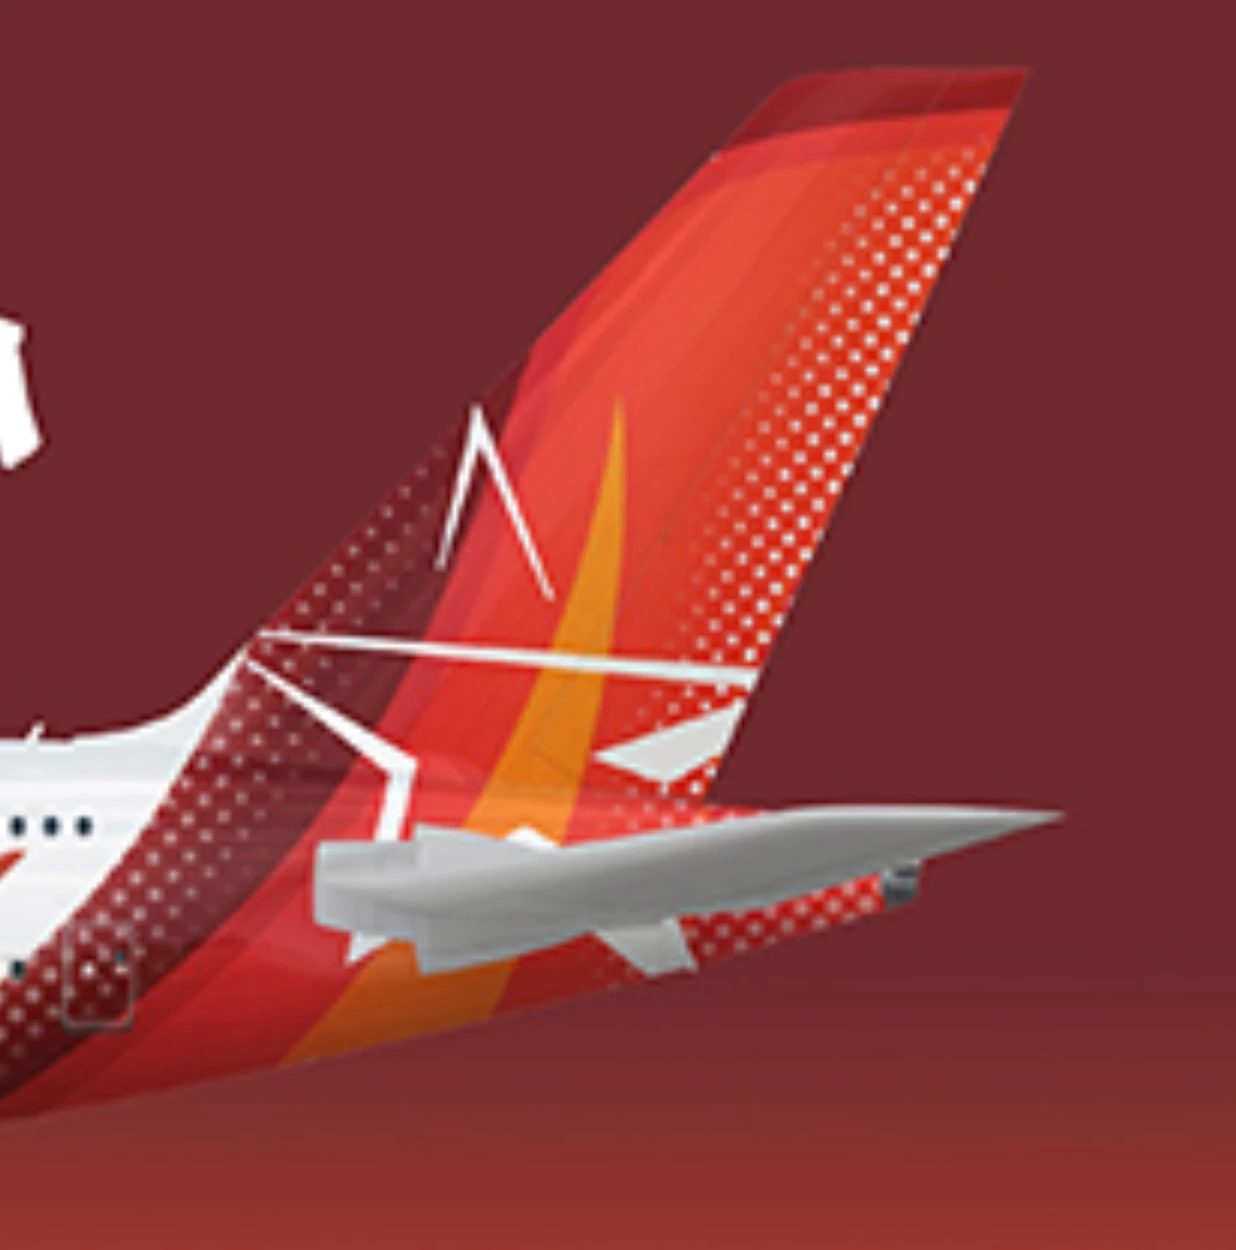
Hello everyone. This is my first time on the forums, so I am sorry if I am not doing this correctly. Anyway, I like to design airplane liveries in my free time on photoshop. Being relatively new to the software, I was wondering how gradients like the ones shown below are created. If anyone has instructions to make gradients like this, I would love to hear. Thank you!

    This topic has been closed for replies.

    5 replies

    c.pfaffenbichler
    Community Expert
    Community Expert
    April 10, 2017

    For simulating a circular halftone dot a Pattern of a blurred circle set to Hard Mix may suffice, the square could be faked with two sets on blurred line Patterns (at 0˚ and 90˚).

    The result could then be used as a Smart object that uses Blend If-settings to hide either the black or the white parts, colorised and combined with the other design elements.

    Semaphoric
    Community Expert
    Community Expert
    April 10, 2017

    You could do the square dots by making a pattern with a Diamond Gradient, like so:


    You could also convert from Grayscale to Bitmap using square halftone dots, and then convert back to Grayscale.


    Chuck Uebele
    Community Expert
    Community Expert
    April 10, 2017

    I wrote a script several years ago that will sample an image and size a pattern based on that reference image using the Deco fill scripts. It can take a little playing around to get what you want though.

    Scripted Fill UI - Photoshop CS6

    davescm
    Community Expert
    Community Expert
    April 8, 2017

    The second example is fairly simple it is just a pattern with a gradient mask to fade it.

    The black squares are slightly more involved but can be done like this:

    1. Use View – New guide layout to create a grid of guidelines

    2. Set the rectangle shape tool to draw a square from the centre

    3. Drag out a square just under the guide square size

    4. In the layers panel – duplicate the shape then use the move tool to move it to the next grid position and scale it to say 95%

    5. Repeat the above scaling to 90% , 85% , 80% etc so you have a column of reducing squares

    6. Group those shape layers and duplicate the group – using the move tool to position them next to the first

    7. Repeat until you have the full pattern

    8. Add a new color fill layer set to red under the black shape groups

    9. Convert all the shape groups plus the color fill layer to a single smart object

    10 You can now make a tail-plane shape and apply the smart object with a clipping mask to that shape – rotating it as required

    I hope that helps you

    Dave

    cmgap
    Community Expert
    Community Expert
    April 8, 2017

    Great Dave! Nice step-by-step.

    S_Gans
    Community Expert
    Community Expert
    April 8, 2017

    For this, I'm a big fan of using Blending modes, varying shades of gray for darkness and lightness, and Clipping Masks to control the position of the effect. Here, I created a gradient, applied it to a new layer, Made a Clipping Mask to make sure the colors only showed on the pixels I wanted, changed the blending mode to Soft Light, so that ONLY the luminosity of the grays affected my colors beneath, and then messed with the opacity. Hope it helps!

    Adobe Community Expert / Adobe Certified Instructor
    cmgap
    Community Expert
    Community Expert
    April 9, 2017

    Nice - Thank you for posting.

    cmgap
    Community Expert
    Community Expert
    April 8, 2017

    Are you referring to the pattern?