• Global community
    • Language:
      • Deutsch
      • English
      • Español
      • Français
      • Português
  • 日本語コミュニティ
    Dedicated community for Japanese speakers
  • 한국 커뮤니티
    Dedicated community for Korean speakers
Exit
Locked
0

How do I make a custom template to snap pictures into?

Community Beginner ,
Apr 15, 2021 Apr 15, 2021

Copy link to clipboard

Copied

Hello, 


I  have tried to look this up to no avail. What i am trying to do is make a template of a certain PSD file i have so when i drop a picture into it, the picture snaps to the frame. For example; the picture below is the file i want to make a template that when i drop the new picture (I have around 300 of them) they automatically rezize, distort to fit the sideway canvas. 
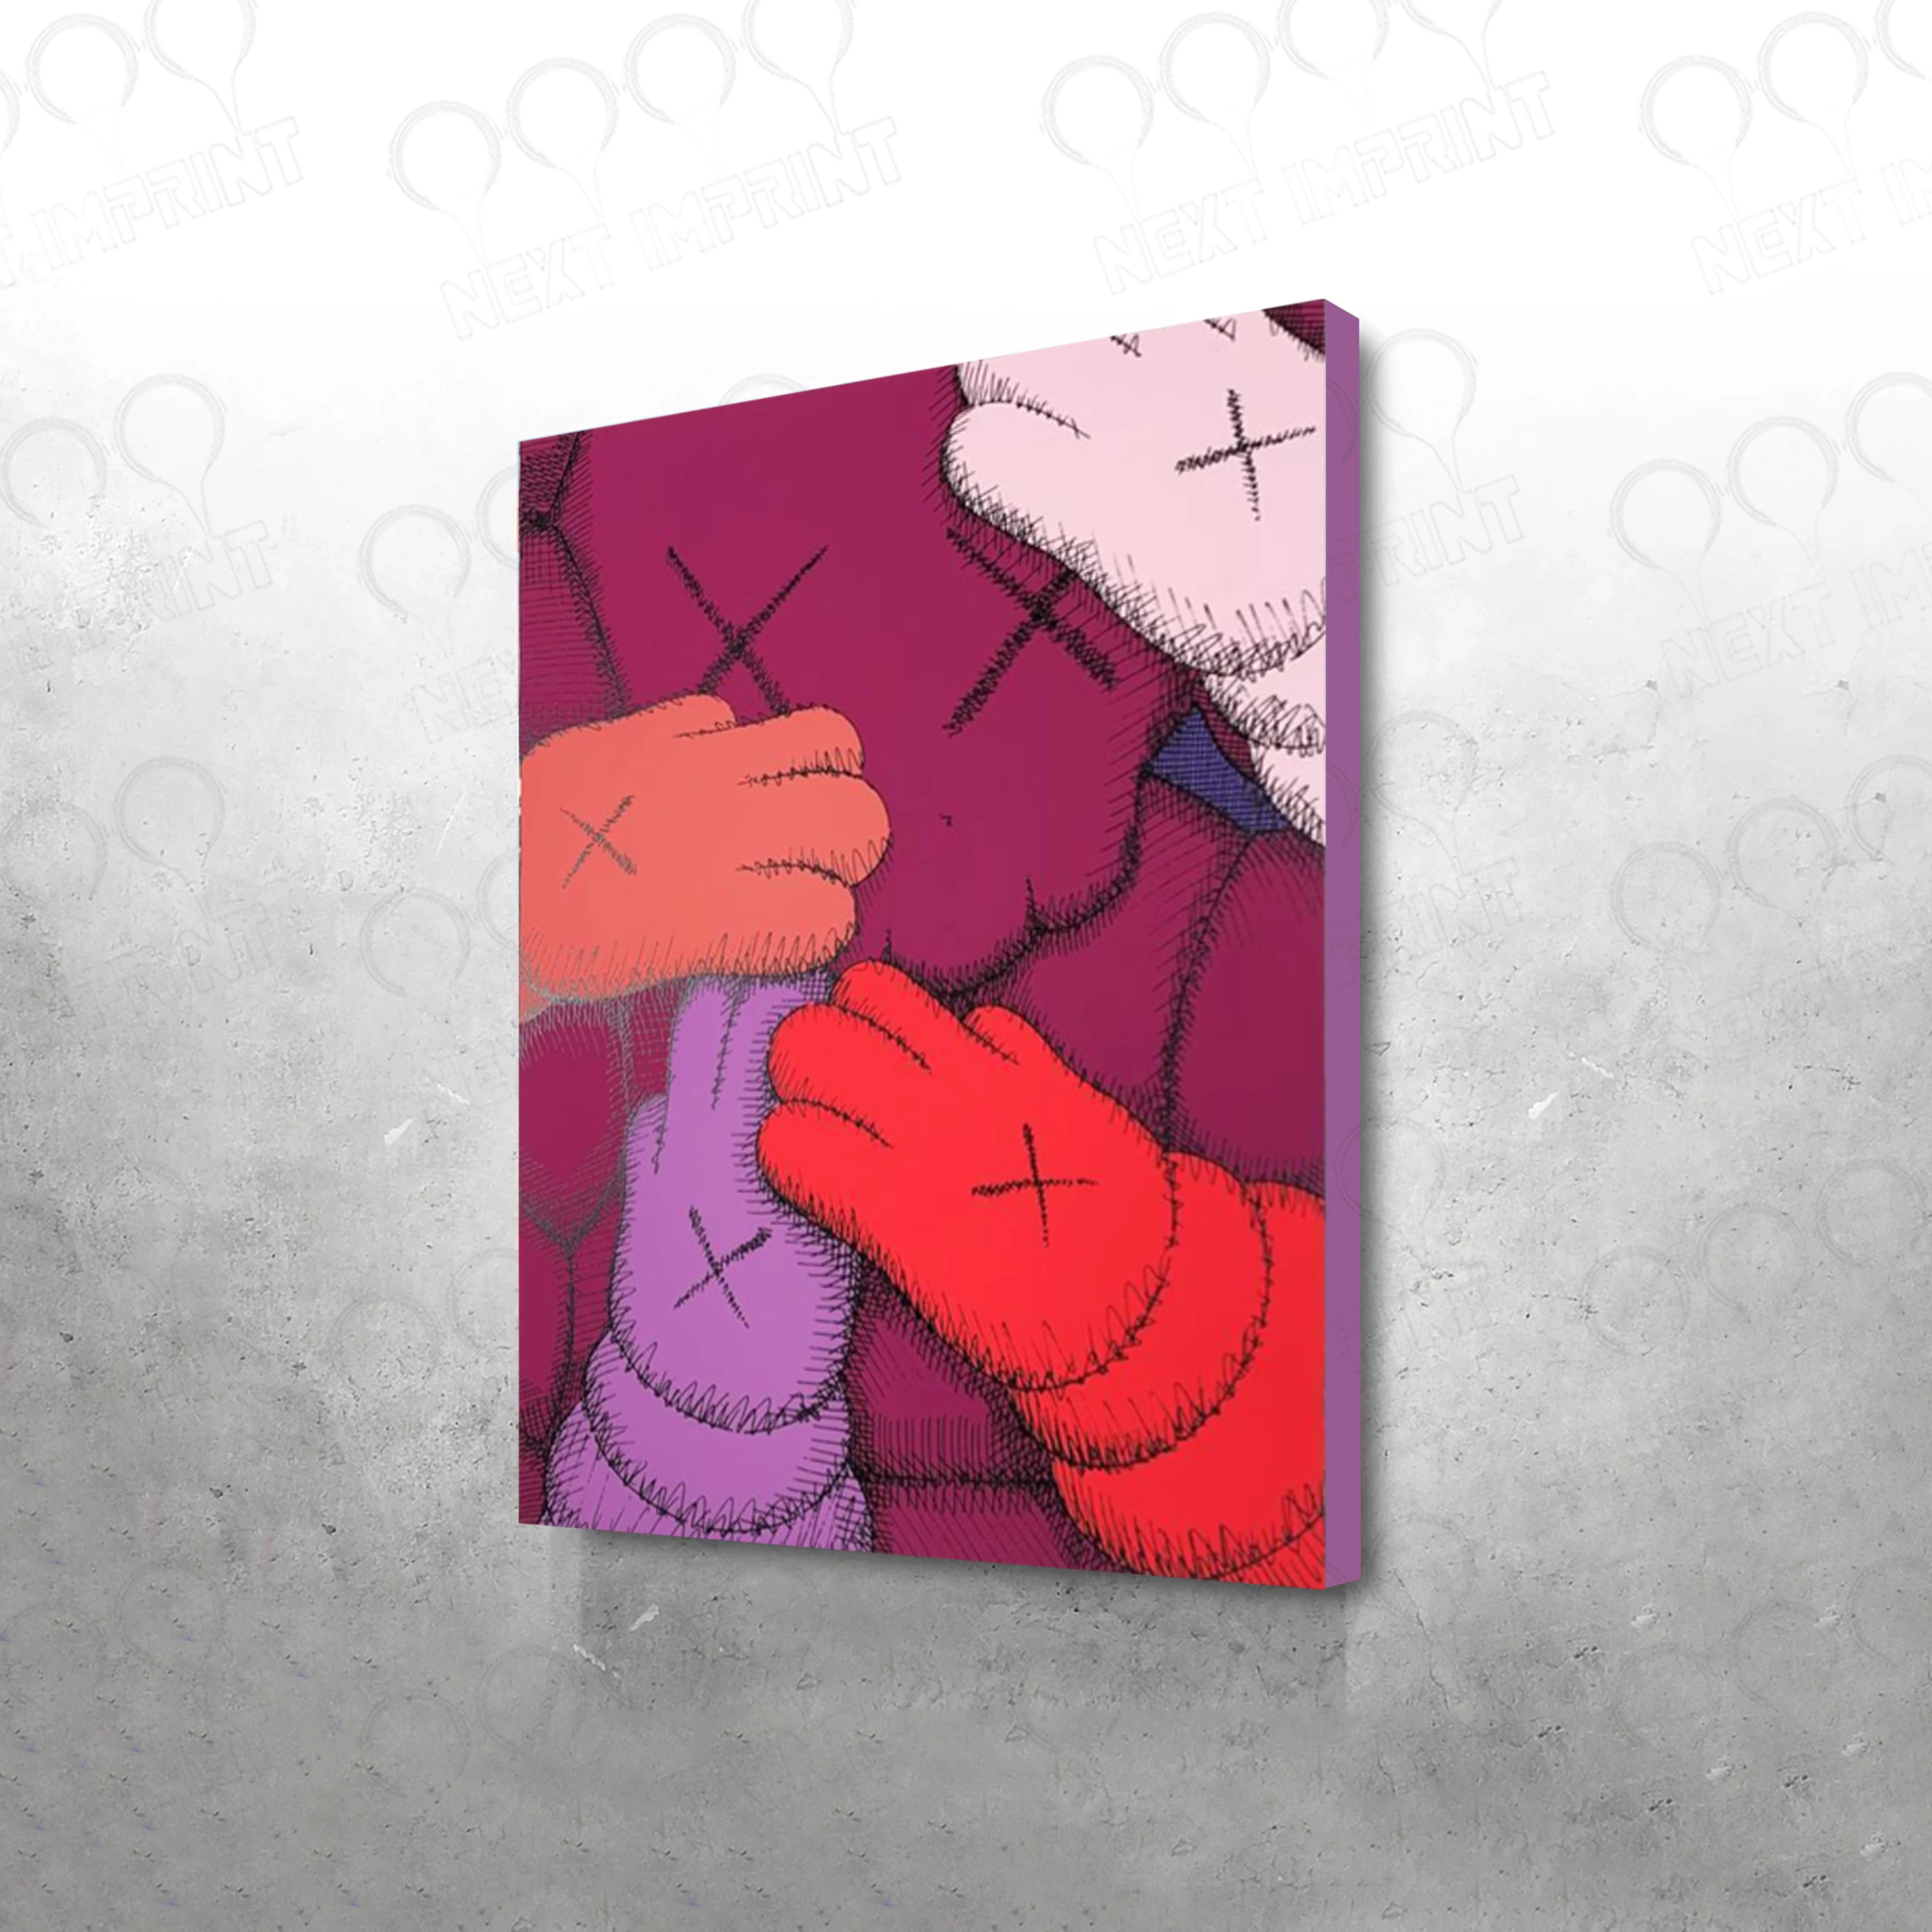
 

Sample.jpg


One example of another picture i want to drop so it replaces the purple version is this:

 

Urge 9 original size.jpg


Any help or suggestions that are close to what i am trying to achieve will be greatly appreciated. I want to make it that i can save time and labor since i have so many pictures to do.


Thank you

TOPICS
Actions and scripting , Windows

Views

2.1K

Translate

Translate

Report

Report
Community guidelines
Be kind and respectful, give credit to the original source of content, and search for duplicates before posting. Learn more
community guidelines
Adobe
Guru ,
Apr 15, 2021 Apr 15, 2021

Copy link to clipboard

Copied

Votes

Translate

Translate

Report

Report
Community guidelines
Be kind and respectful, give credit to the original source of content, and search for duplicates before posting. Learn more
community guidelines
Community Beginner ,
Apr 15, 2021 Apr 15, 2021

Copy link to clipboard

Copied

Hello,


I have seen that but the frame wont let me distort it to make it slanted like the way the canvas is on the first picture.


Thank you 

Votes

Translate

Translate

Report

Report
Community guidelines
Be kind and respectful, give credit to the original source of content, and search for duplicates before posting. Learn more
community guidelines
Community Expert ,
Apr 15, 2021 Apr 15, 2021

Copy link to clipboard

Copied

I would not use Adoeb's Photoshop Frame tool to make the template.  I would just use a smart object layer that I  add the perspective distortion to its object transform.  You would not drop the replacement images on the template, You will replace the smart obj content with replacement images via  Layer>Smart Objects>Replace Content or Opening the Smart object and editing the replacement into the original object without changing the object size.  You can do this manually or use a Photoshop script that automates the population process.

image.png


Free Photoshop Photo Collage and Mockup Toolkit 

JJMack

Votes

Translate

Translate

Report

Report
Community guidelines
Be kind and respectful, give credit to the original source of content, and search for duplicates before posting. Learn more
community guidelines
Community Beginner ,
Apr 16, 2021 Apr 16, 2021

Copy link to clipboard

Copied

Hi,


Thank you for your reply. I just tried this it is not working maybe i am missing something?


I clicked the layer which is the purple picture in the first file and went to layer-smart object-conver to smart object.

Then i did what you said Layer>Smart Objects>Replace Content and choose the green picture (in PSD and JPG version) and clicked place and it just placed the picture at 100% size which covered everything on the screen.


Votes

Translate

Translate

Report

Report
Community guidelines
Be kind and respectful, give credit to the original source of content, and search for duplicates before posting. Learn more
community guidelines
Community Expert ,
Apr 16, 2021 Apr 16, 2021

Copy link to clipboard

Copied

It works you must be missing something. See if the sample PSD help you. SampleMockup.psd 


It looks like this:

image.png

image.png

JJMack

Votes

Translate

Translate

Report

Report
Community guidelines
Be kind and respectful, give credit to the original source of content, and search for duplicates before posting. Learn more
community guidelines
Community Beginner ,
Apr 17, 2021 Apr 17, 2021

Copy link to clipboard

Copied

HI,


Thank you so much for taking the time to make this. I did download it and played around with it and followed the instructions you initally gave but it is still placing the image as full size covering the eniter page. If it is not a hassle. Would it be possible to send a example video of you doing it? changing the original picture to the new picture? in case i am missing any steps? Much obliged.


Votes

Translate

Translate

Report

Report
Community guidelines
Be kind and respectful, give credit to the original source of content, and search for duplicates before posting. Learn more
community guidelines
Community Expert ,
Apr 17, 2021 Apr 17, 2021

Copy link to clipboard

Copied

A video is not needed you simply fill out a Script Dialog then Click the create the output button at the bottom of the dialog.  You point the Script to the folder containing the Mockup templates to Populate,  Point the Script the Folder that contains the Collections of replacements images for each smart object layer in the Templates. Point the script to the folder you want to output populated  mockup save into. And you set  the script option for how you want the script to operate.  The process is completely automated. All you need do is set thing up properly for the automated process. Here I did not have the correct size images for your mockup so I used the script Edit option to have the script edit the replacement images into the existing objects instead of using the default operation the uses Replace Content.

Capture.jpg

JJMack

Votes

Translate

Translate

Report

Report
Community guidelines
Be kind and respectful, give credit to the original source of content, and search for duplicates before posting. Learn more
community guidelines
Community Beginner ,
Apr 17, 2021 Apr 17, 2021

Copy link to clipboard

Copied

Thank you so much, Is it possible to provide me the script you used? I will give it a shot.


Thank you

Votes

Translate

Translate

Report

Report
Community guidelines
Be kind and respectful, give credit to the original source of content, and search for duplicates before posting. Learn more
community guidelines
Community Expert ,
Apr 17, 2021 Apr 17, 2021

Copy link to clipboard

Copied

I posted that link to my toolkit in my original append Free Photoshop Photo Collage and Mockup Toolkit 

 
JJMack

Votes

Translate

Translate

Report

Report
Community guidelines
Be kind and respectful, give credit to the original source of content, and search for duplicates before posting. Learn more
community guidelines
Community Beginner ,
Apr 18, 2021 Apr 18, 2021

Copy link to clipboard

Copied

Much obliged for all your help. I will play around with it and figure it out .


Thank you

Votes

Translate

Translate

Report

Report
Community guidelines
Be kind and respectful, give credit to the original source of content, and search for duplicates before posting. Learn more
community guidelines
Community Beginner ,
Apr 21, 2021 Apr 21, 2021

Copy link to clipboard

Copied

Hello my friend,


I have tried the way you mentioned and it keeps giving me an error for some reason. Wanted to see if you would know why?


I tried it with my own template and yours that you provided earlier. I tried the source files as a PSD (with the replacement object converted to Smart) and i also tried the source as all jpg's.


Thank you in advance.


Screen Shot 2021-04-21 at 4.11.32 PM.pngfolders i have been selecting.Screen Shot 2021-04-21 at 4.13.00 PM.pngi dont know why the window comes up this way

but i followed your instrcutions on which folders to select.

Screen Shot 2021-04-21 at 4.13.14 PM.pngkeeps giving me this error.

Votes

Translate

Translate

Report

Report
Community guidelines
Be kind and respectful, give credit to the original source of content, and search for duplicates before posting. Learn more
community guidelines
Community Expert ,
Apr 21, 2021 Apr 21, 2021

Copy link to clipboard

Copied

Please use the scripts  help button and read how to use the scripts. You did not set thing up right and put your replacement images for the top most smart object layer  into  the folder obj0  in your images replacement collections.  The message clearly states that folder obj0 is not in your setup.

image.png

JJMack

Votes

Translate

Translate

Report

Report
Community guidelines
Be kind and respectful, give credit to the original source of content, and search for duplicates before posting. Learn more
community guidelines
Community Beginner ,
Apr 22, 2021 Apr 22, 2021

Copy link to clipboard

Copied

I LOVE YOU SO MUCH! IT WORKS NOW!!! 


SO MUCH TIME SAVED!!!


Thank you!!

Votes

Translate

Translate

Report

Report
Community guidelines
Be kind and respectful, give credit to the original source of content, and search for duplicates before posting. Learn more
community guidelines
Community Beginner ,
Apr 22, 2021 Apr 22, 2021

Copy link to clipboard

Copied

Please send me your paypal or anything else, i would like to buy you a beer!!

Votes

Translate

Translate

Report

Report
Community guidelines
Be kind and respectful, give credit to the original source of content, and search for duplicates before posting. Learn more
community guidelines
Community Expert ,
Apr 22, 2021 Apr 22, 2021

Copy link to clipboard

Copied

I drink Wine....

JJMack

Votes

Translate

Translate

Report

Report
Community guidelines
Be kind and respectful, give credit to the original source of content, and search for duplicates before posting. Learn more
community guidelines
Community Beginner ,
Apr 22, 2021 Apr 22, 2021

Copy link to clipboard

Copied

then wine it is, tell me how to get you one.

Votes

Translate

Translate

Report

Report
Community guidelines
Be kind and respectful, give credit to the original source of content, and search for duplicates before posting. Learn more
community guidelines
Community Expert ,
Apr 22, 2021 Apr 22, 2021

Copy link to clipboard

Copied

LATEST

My scripts are free your thanks is more payment then I normally get its appreciated enjoy.

JJMack

Votes

Translate

Translate

Report

Report
Community guidelines
Be kind and respectful, give credit to the original source of content, and search for duplicates before posting. Learn more
community guidelines
Community Expert ,
Apr 15, 2021 Apr 15, 2021

Copy link to clipboard

Copied

quote

[I want it so that] when I drop the new picture (I have around 300 of them) they automatically rezize, distort to fit the sideway canvas. 


Sample.jpg

=========

Hi @default871swyusdiqq,

Are you using File > Place Embedded to snap it to the frame?


Nancy O'Shea— Product User, Community Expert & Moderator

Votes

Translate

Translate

Report

Report
Community guidelines
Be kind and respectful, give credit to the original source of content, and search for duplicates before posting. Learn more
community guidelines
Community Beginner ,
Apr 16, 2021 Apr 16, 2021

Copy link to clipboard

Copied

I can not use a frame because it does not let me make it sideways the way the canvas looks on the purple picture.  I want to replace the content of the pictute on the frame and the frame is set sideways to show the edge of the canvas.


Thanks 


Votes

Translate

Translate

Report

Report
Community guidelines
Be kind and respectful, give credit to the original source of content, and search for duplicates before posting. Learn more
community guidelines