- Home
- Photoshop ecosystem
- Discussions
- Re: How do I make this complicated image backgroun...
- Re: How do I make this complicated image backgroun...
How do I make this complicated image background transparent?
Copy link to clipboard
Copied
Hello,
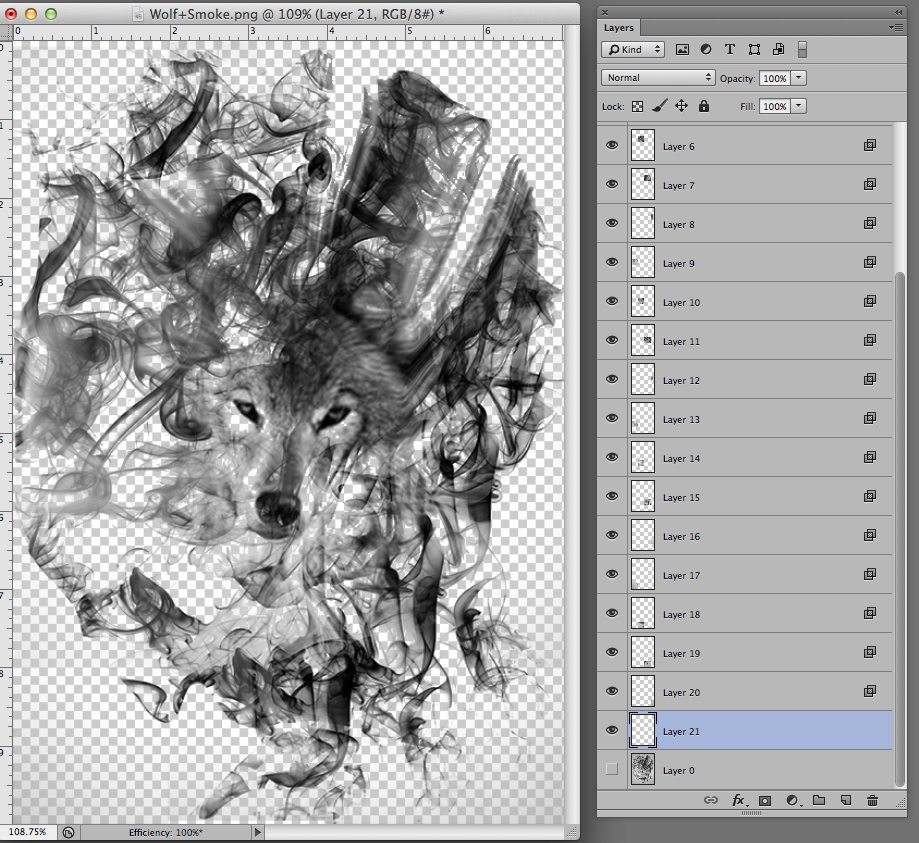
I'm new to Photoshop and I made this image very recently following a tutorial I learned from. My only issue is that now I want to make the image background transparent. I want to print this image without the white background, but there are smoke effects I added that make this image hard to make transparent. Here it is: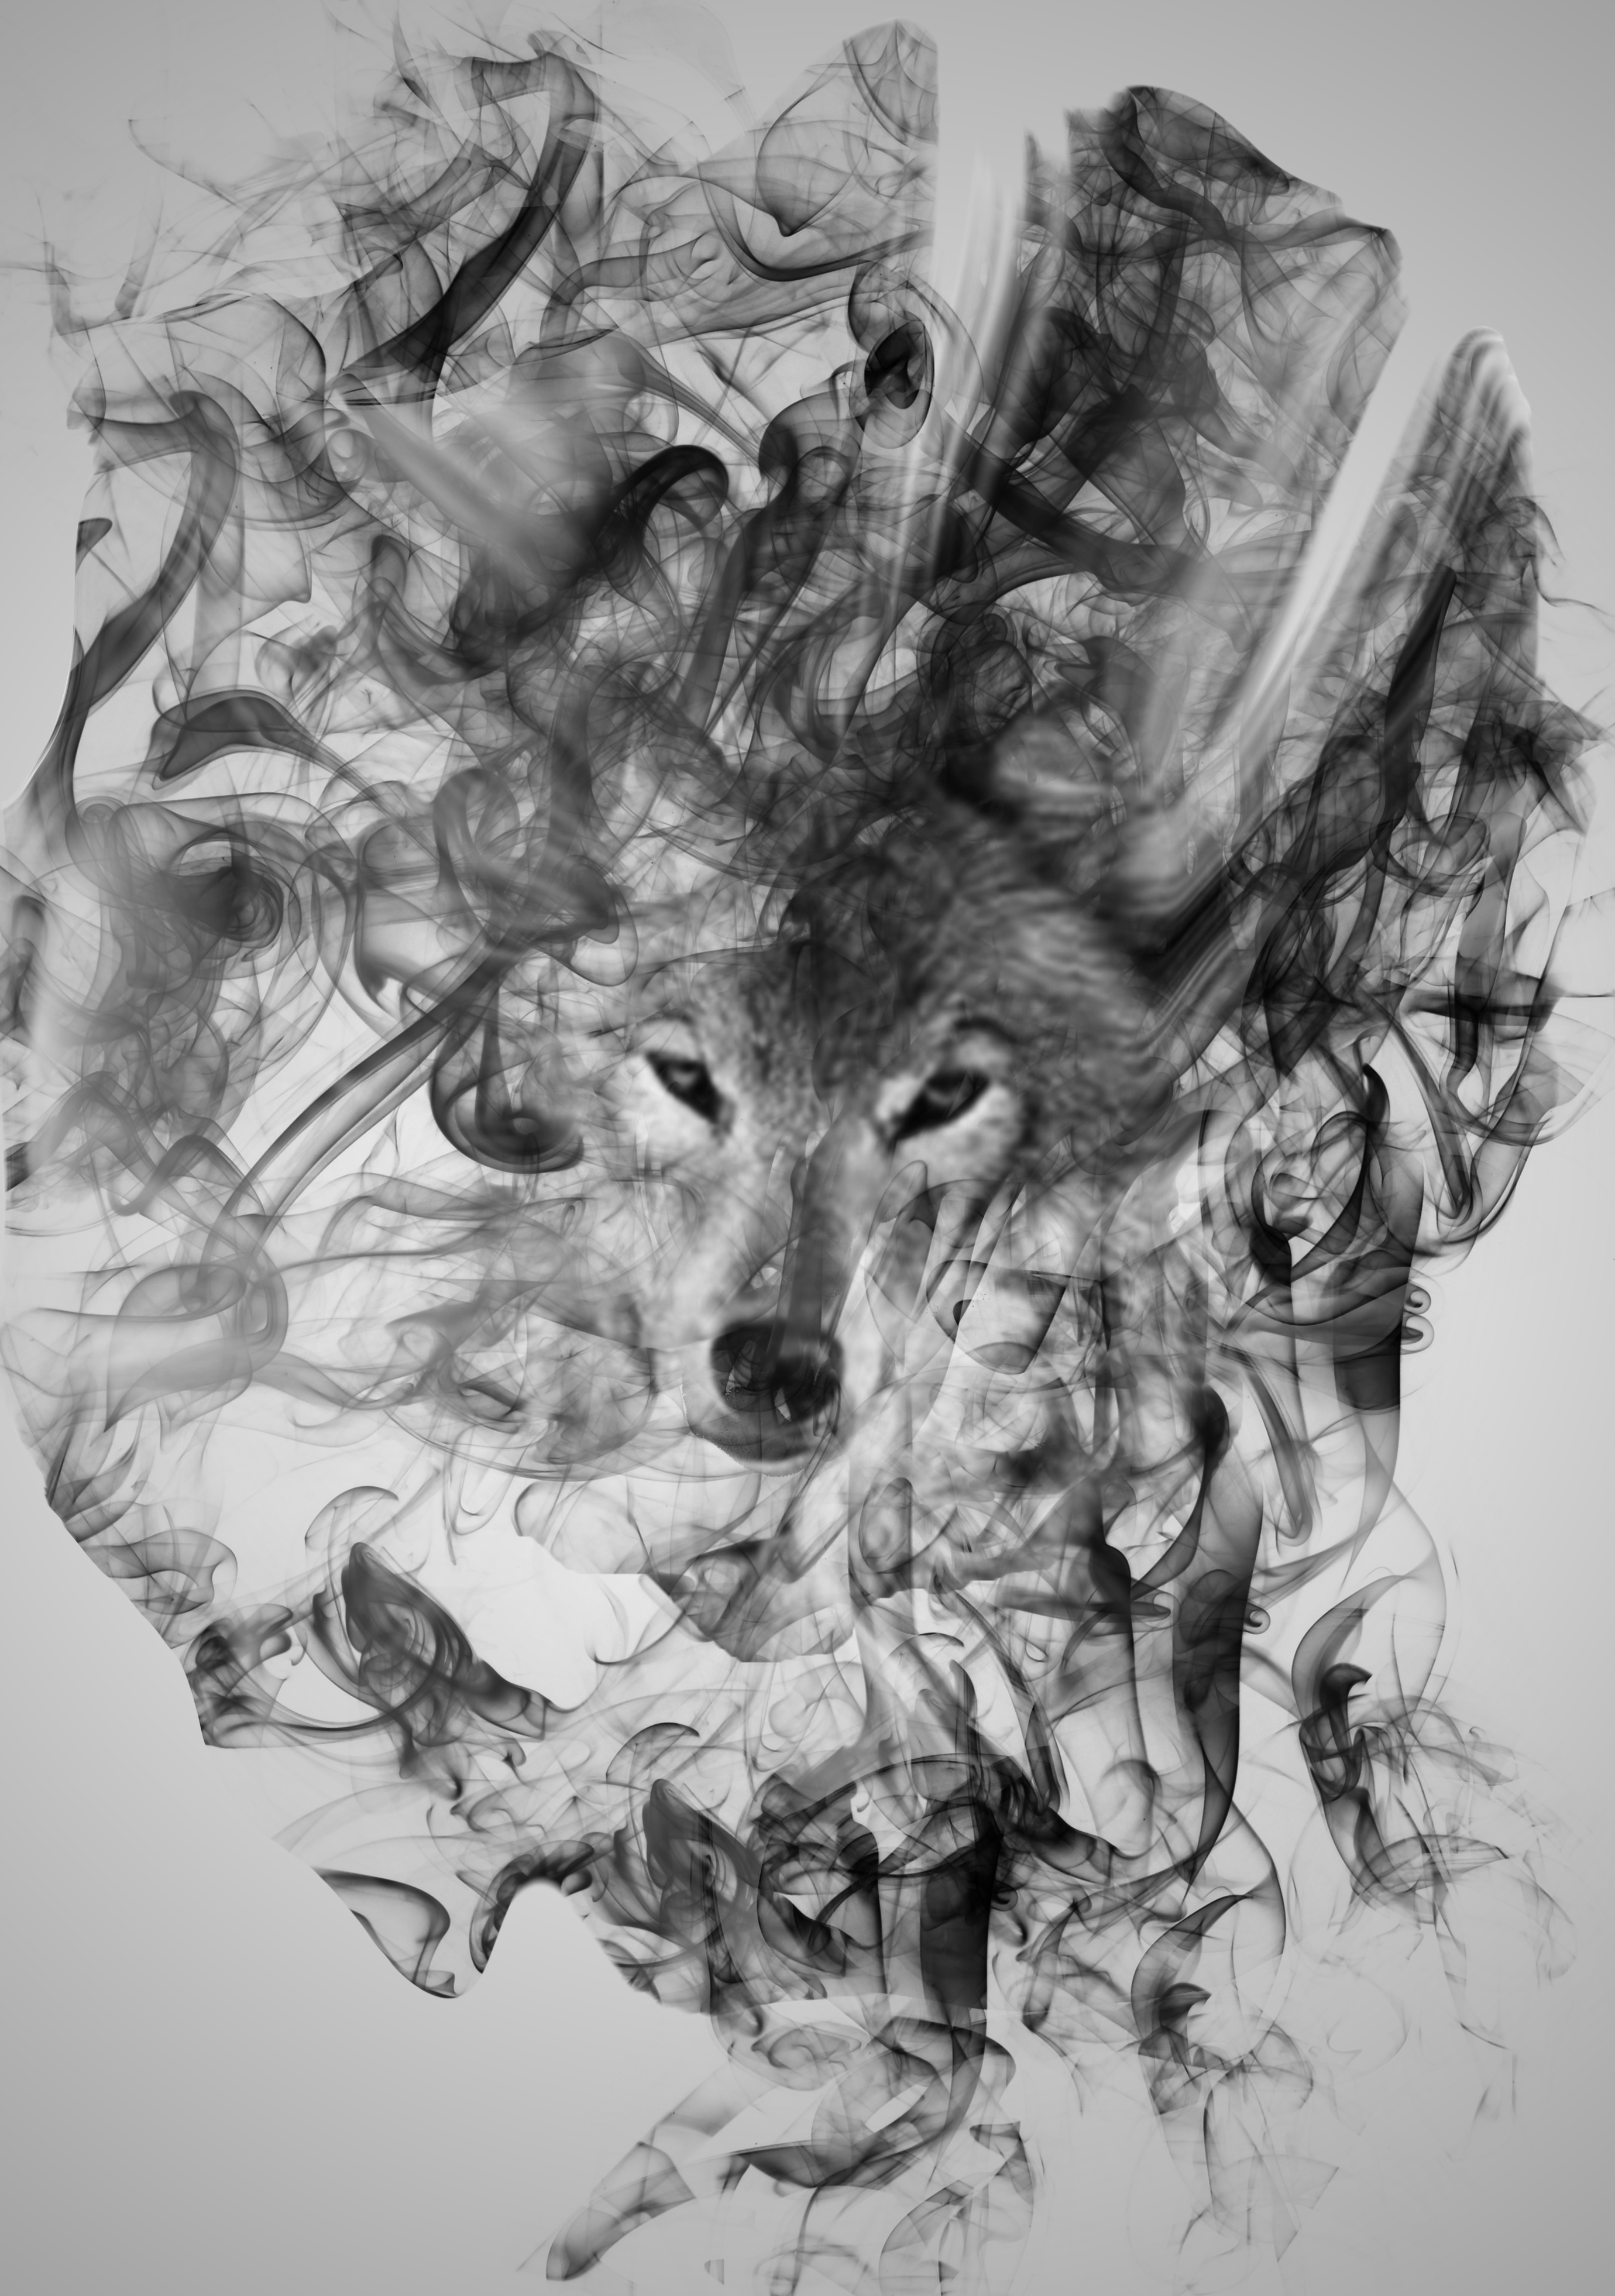
I would really appreciate the help! And if you need the Photoshop file then I can email it to you. Thanks!
Explore related tutorials & articles
Copy link to clipboard
Copied
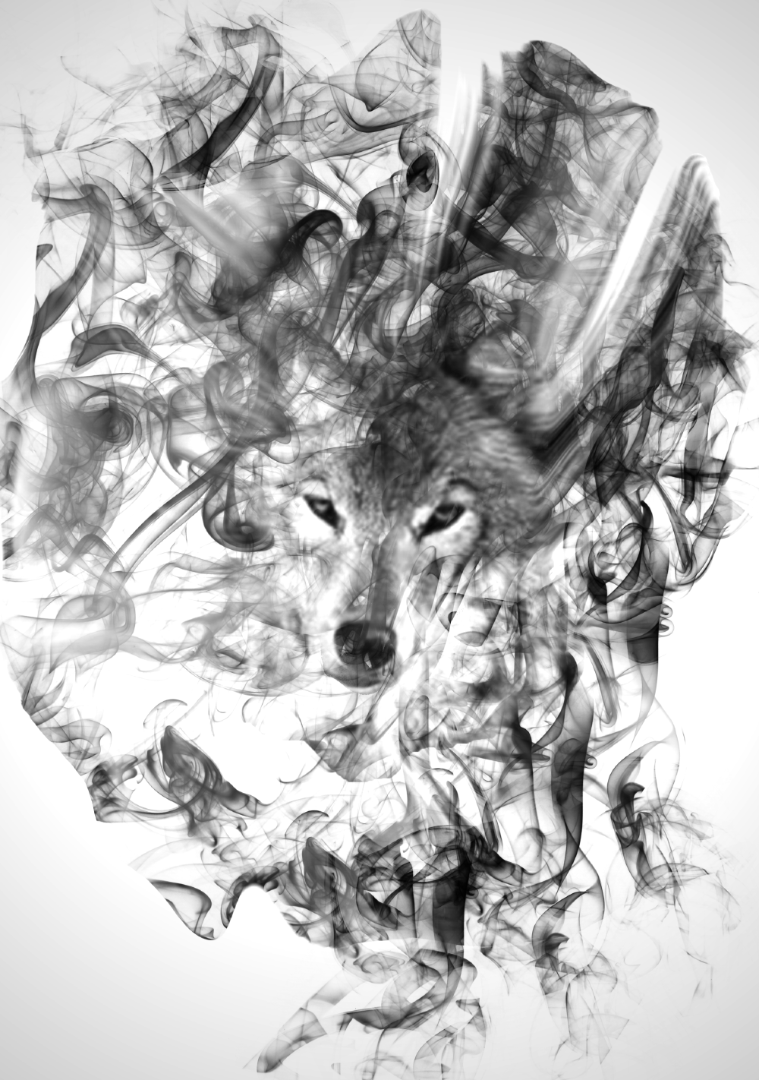
Goodness. You have really made it hard for yourself, and you just won't ever get a result to do your artwork justice. If you made it, do it again, but keep the black blacks on their own layer(s), and the background layer white.
Out of interest, how did the background get so dark?
We (I) can show you how to make some nice curtain brushes to make the swirly background. Perhaps a link to the tutorial would be useful.
Copy link to clipboard
Copied
Try the following:
Add a curves adjustment layer and drag white arrow to the left so it just touches the histogram
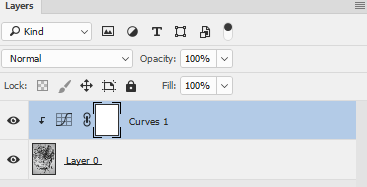

Go to Image Calculations and set up the dialogue as shown below.

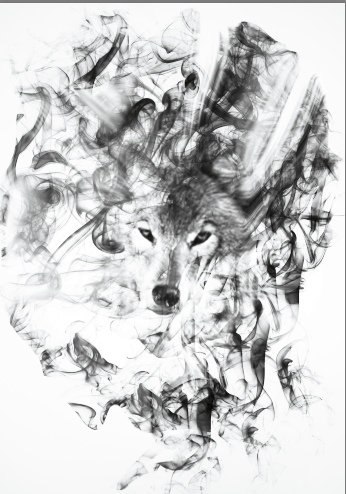
Click OK then with Layer 0 highlighted in the layers panel go to Layer -Layer Mask - Reveal Selection. This will add a layer mask varying transparency based on the image itself
Delete the curves layer.

I have added a solid white layer and blue layer at the bottom to show the effect against a white /blue background

Dave
Copy link to clipboard
Copied
Dave I'd still start again, just out of principle. He says he is a new user and did this from a tutorial, so he made it, and somehow managed to end up with an apparently flattened grey mess. I didn't try very hard to fix it, because the tonal values of the background, overlap the tonal values of the artwork, so any fix is going to compromise the artwork. He should start again using different layers for the component elements with a white background layer. That's my two cents worth.
Copy link to clipboard
Copied
Hi Trevor,
I agree that starting again and using separate layers would produce the best result. But I couldn't resist a masking challenge like that ![]() and calculations did produce a useable mask, particularly for using against paper white.
and calculations did produce a useable mask, particularly for using against paper white.
Dave
Copy link to clipboard
Copied
If the background was an even tone with the illustration darker than that even tone, the Blend if command, as shown below should suffice.
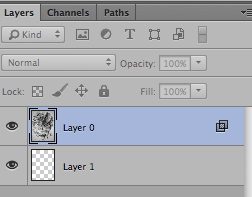
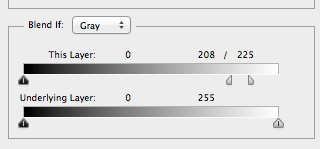
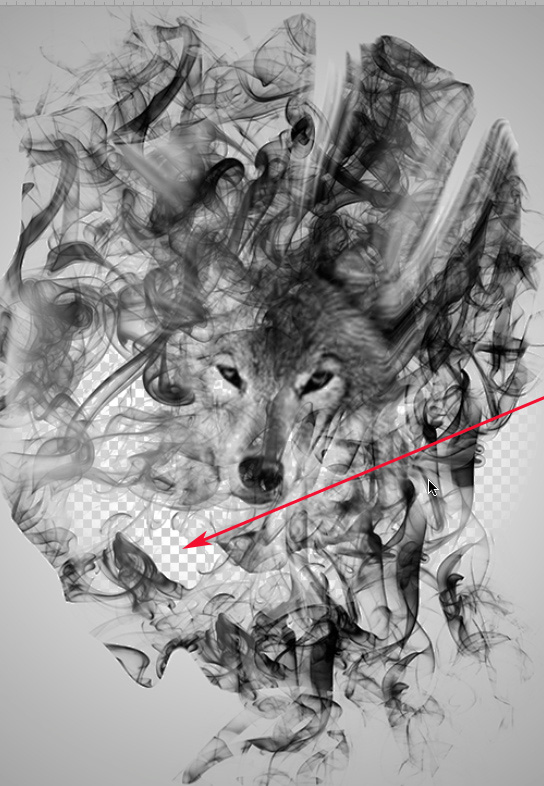
Notice, below, at the point of eliminating the lightest tone -- assumed to be the background -- only part of the background is eliminated. As a result, increasing the slider value to arrive at a transparency will always eliminate part of this illustration.
Copy link to clipboard
Copied
Hi Norman
I tried "blend if" initially and could not lose the background without losing the art detail because of that graduation.
Hence, in post 2, I used calculations to produce a mask that varied transparency with the image itself and, on this image, does a better job than "blend if".


Dave
Copy link to clipboard
Copied
Hi
I concure with Trevor. I can not understand why this Tutorial is not talking about Layers building.
Btw, can you share the link to this tutorial ?
Pierre
Copy link to clipboard
Copied
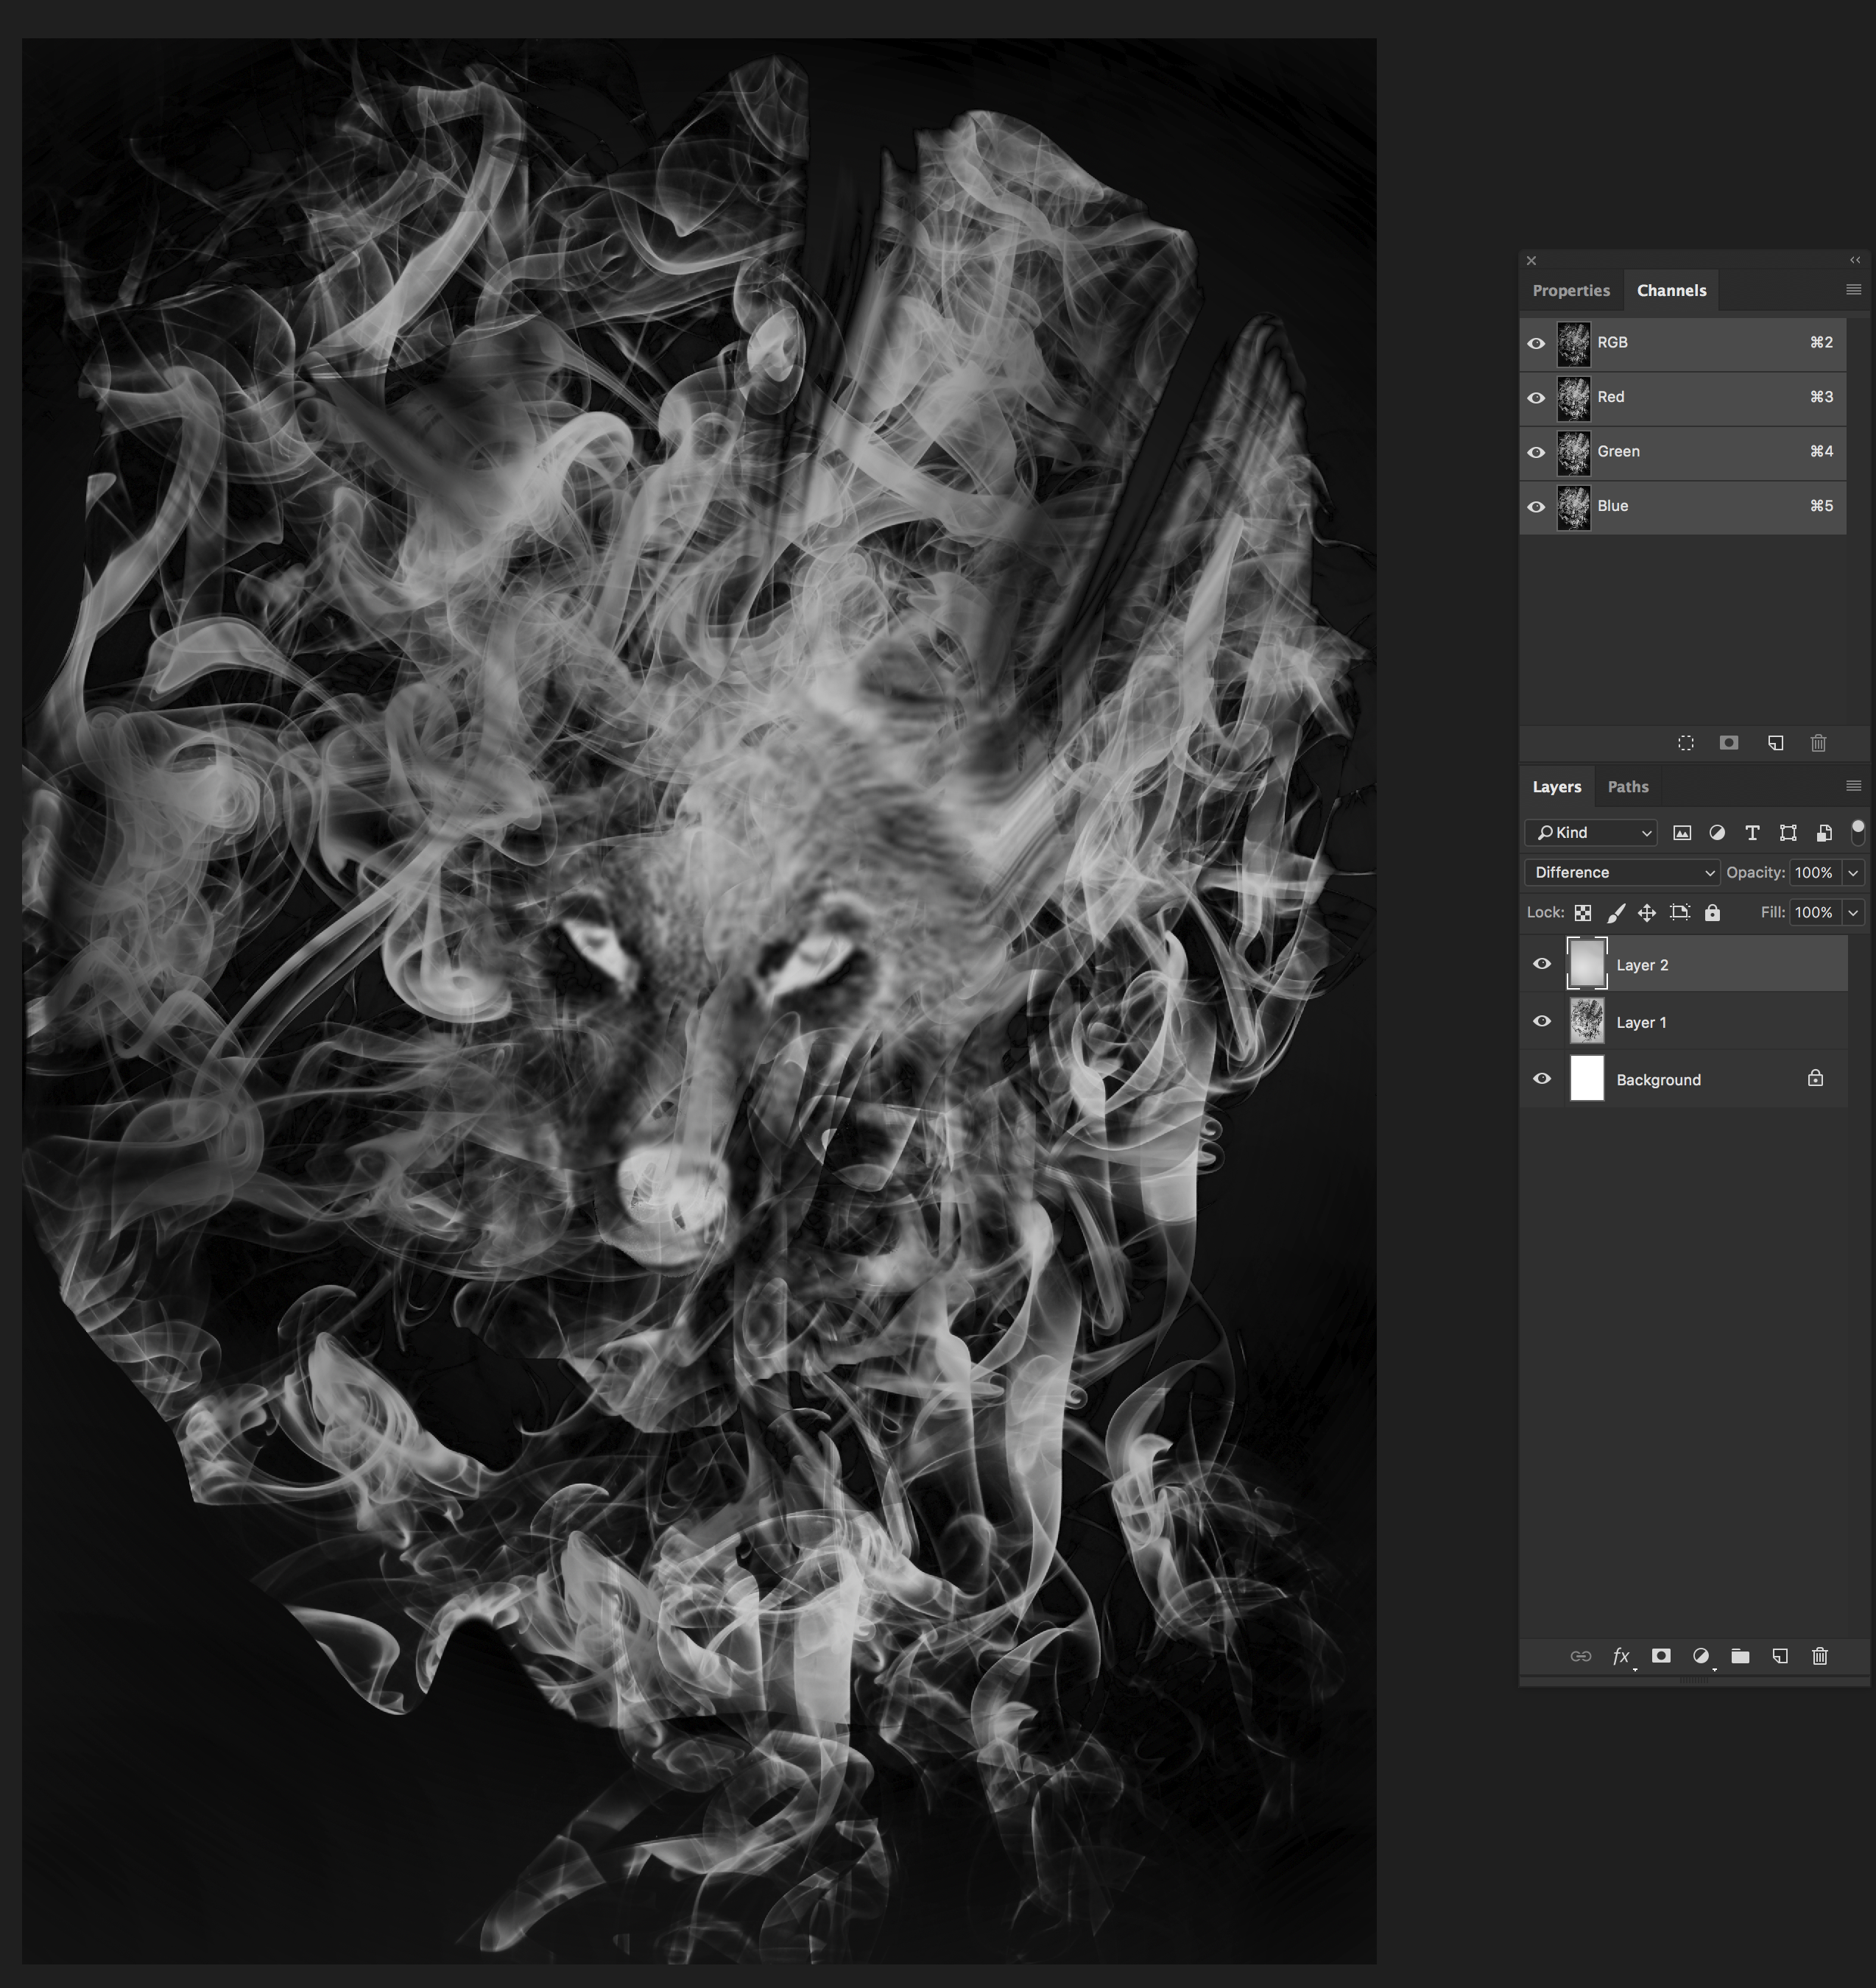
I would try to regenerate the gradient which is the background here on a new layer above this picture. Then change that layer's blending mode to Difference. The background should now look black and the smoke and wolf white. Then go to channels and duplicate any of the color channels (it's ok here since it is grayscale image). After that make another new layer and fill it with black and make mask with recently duplicated channel.
If you managed to make the gradient good enough, you should now have just the image when you hide other layers. Maybe some tweaking with levels is needed on the mask.
Copy link to clipboard
Copied
K´mo wrote
I would try to regenerate the gradient which is the background here on a new layer above this picture. Then change that layer's blending mode to Difference. The background should now look black and the smoke and wolf white. Then go to channels and duplicate any of the color channels (it's ok here since it is grayscale image). After that make another new layer and fill it with black and make mask with recently duplicated channel.
You need to demonstrate your suggestion with screenshots. ![]()
Copy link to clipboard
Copied
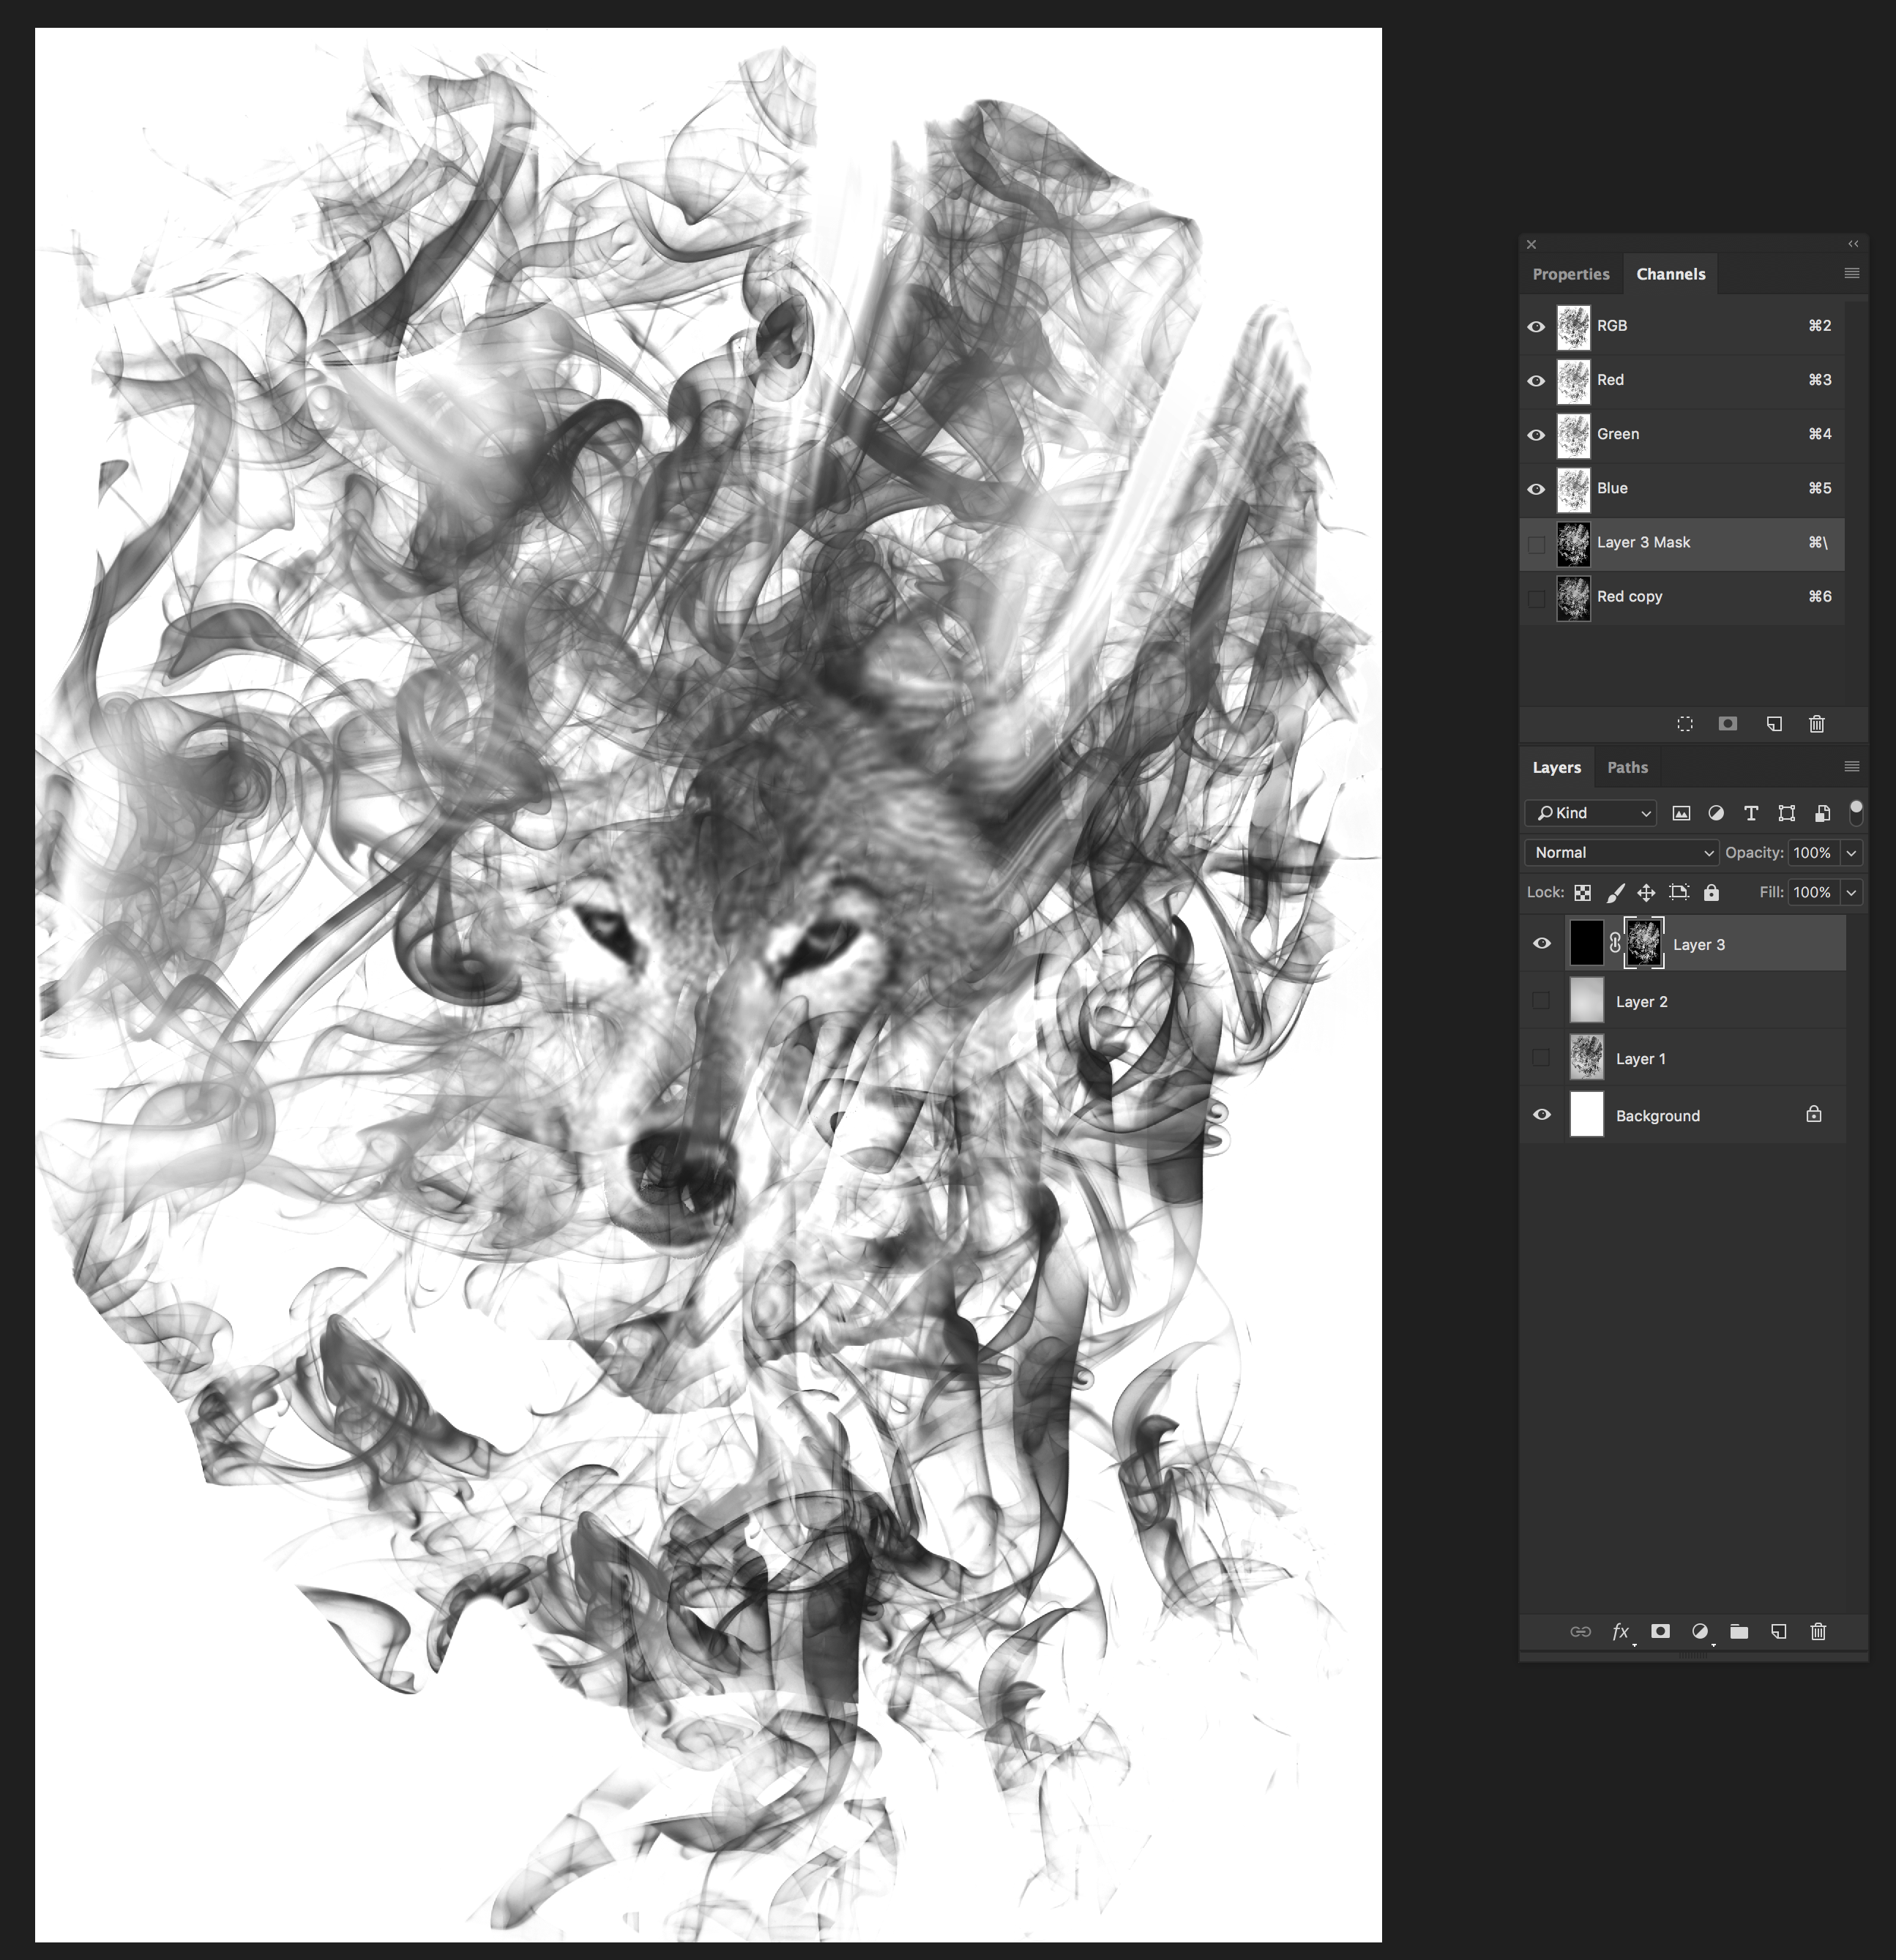
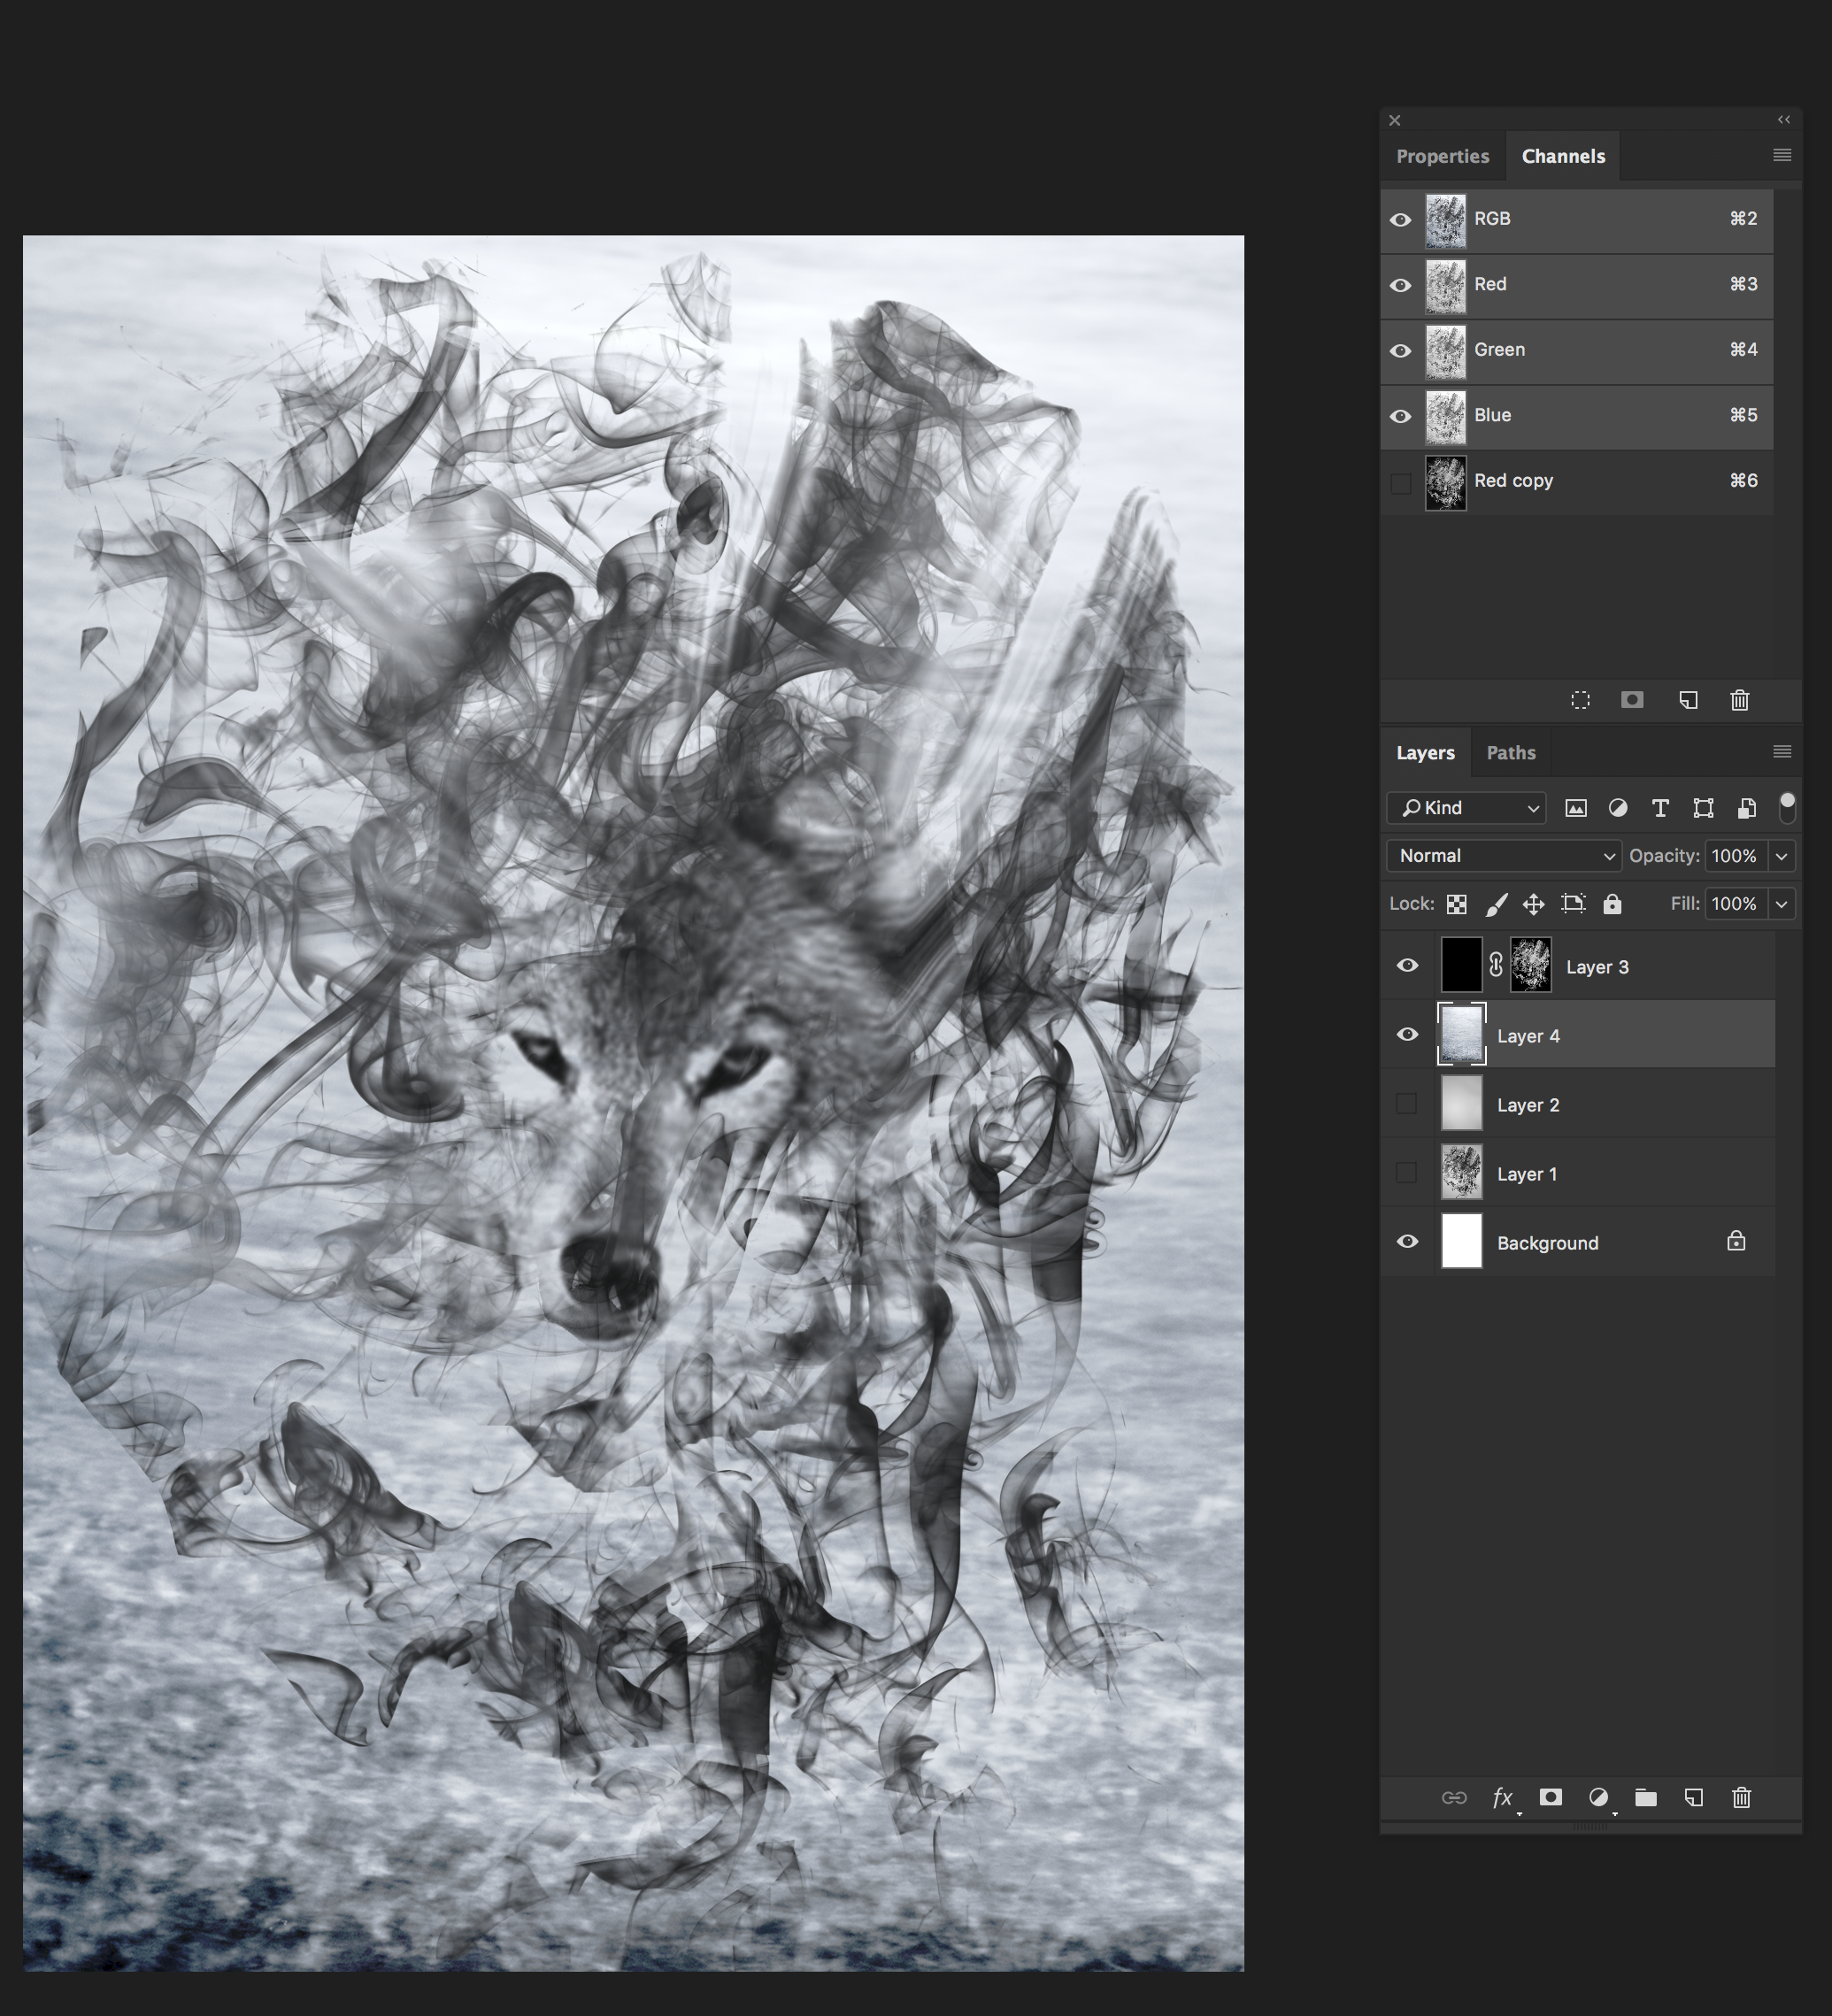
Why not. First shot is where there is background gradient in Difference mode.
Second picture with black layer with new mask made with duplicating red channel and with very little levels. There is white background under.
Third image is on a random photo.
Copy link to clipboard
Copied
Turning the white transparent works perfectly with the "peel-off-white" action described here: https://forums.adobe.com/thread/1395311
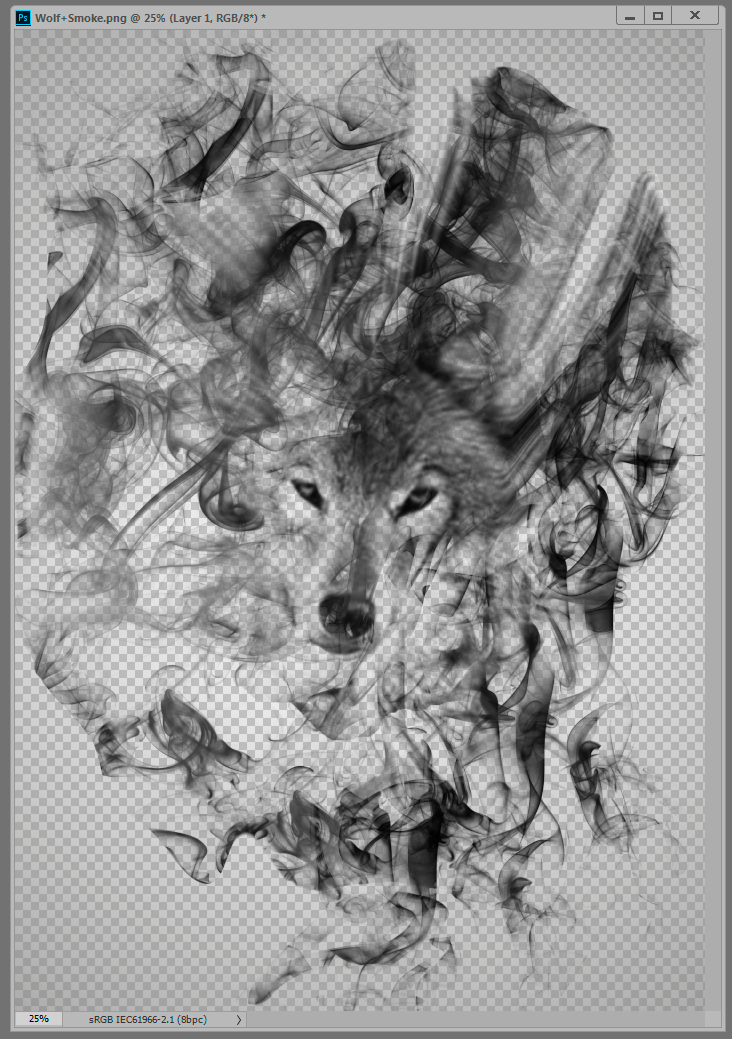
The problem, of course, is that the background itself is gray. There's no way to separate those two, because they are obviously the same.
Copy link to clipboard
Copied
https://forums.adobe.com/people/D+Fosse wrote
Turning the white transparent works perfectly with the "peel-off-white" action described here: Perfectly removing a white background
Hi Dag
Useful link thanks, even if I did have to read it three times to see what was going on ![]()
Dave
Copy link to clipboard
Copied
Yeah, it's a bit counter-intuitive, I struggled myself. But it really works, and this is a much requested (and useful) feature.
Copy link to clipboard
Copied
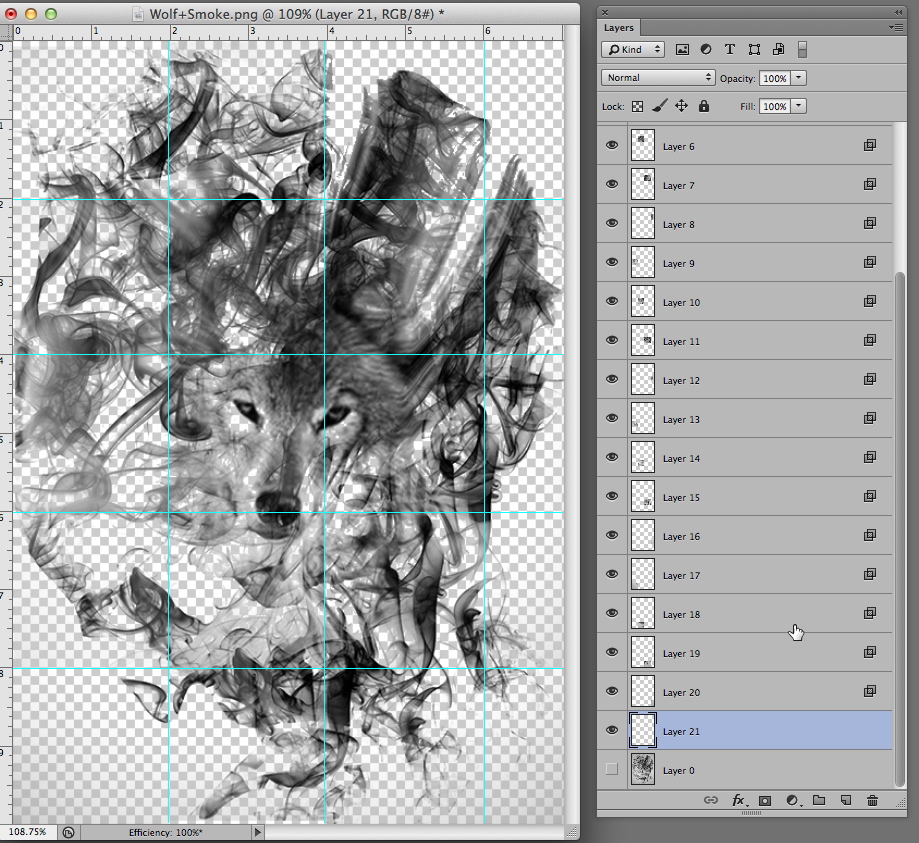
The Blend If approach didn't work because the background varied in tone. As a possible solution, I broke the image into about a 16 squares with each square on a separate layer and applied a discrete Blend If to each square. In doing so I was able to to adjust the slider to remove the background gray without it affecting other areas in the image. It allows for final tweaking of the separate layers.
This is the result -- with and without the grid showing. It needs minor peripheral brush work. I wanted to display what Blend I did alone.
Copy link to clipboard
Copied
Hey, Norman, haven't seen you in a while! You have to tell us when you go on extended vacations ![]()
Copy link to clipboard
Copied
Dag, I have been busy growing old. 90 is full time job.
Copy link to clipboard
Copied
I bet. Nice to see you back ![]()
Copy link to clipboard
Copied
norman.sanders wrote
Dag, I have been busy growing old. 90 is full time job.
![]() That made me laugh. You are still sharper at 90 than any of us younger folk.
That made me laugh. You are still sharper at 90 than any of us younger folk.

