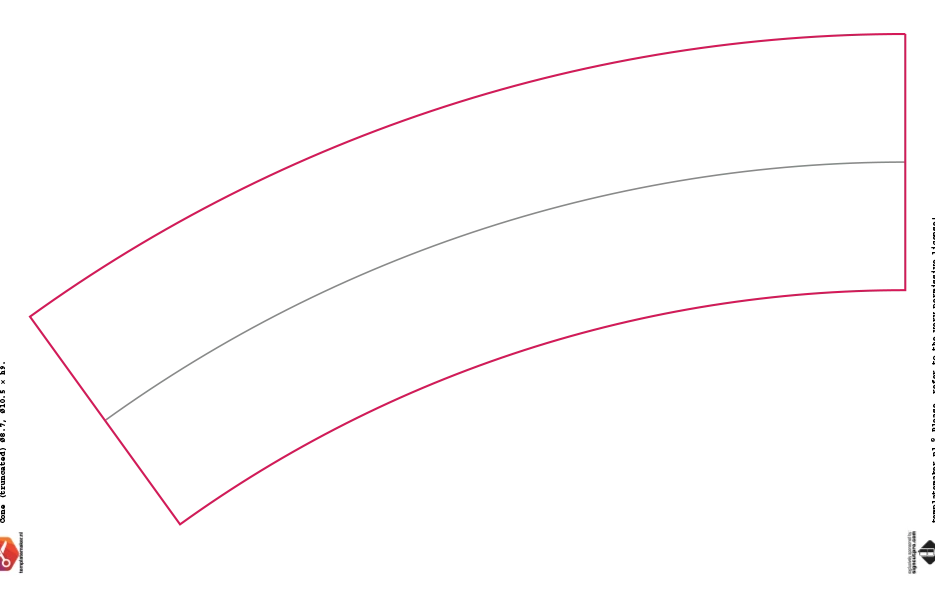
You could do this using the Polar Coordinates filter. Frst, be sure Overscroll is checked in Edit > Preferences > Tools. Use the Pen tool to make a Path (not a Shape) with end points on the "outside corners" of the template, and a third point between them. With the Direct Selection tool, select the middle point, and drag it down so that the Path aligns with the "outside edges" of the template:
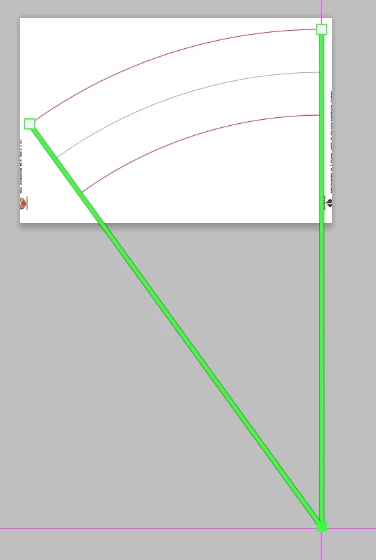
Use the Ruler tool to find the length of the vertical leg of the path. Image > Canvas Size with twice this length in both fields. Set vertical and horizontal Guides at 50%.
Select the Path with the Path Selection tool, and Edit > Free Transform Path (Ctrl+T) to position it so the middle point is in the center of the canvas. With the Path repositioned, click off the Path in the Paths panel to de-select it, and Edit > Transform > Again (Shift+Ctrl+T) to reposition the pixels.
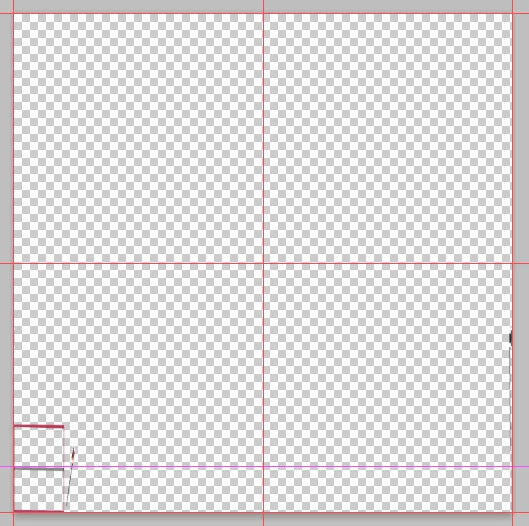
Select All, and run Filter > Distort > Polar Coordinates, Polar to Rectangular. The arc at the top will now be a stubby rectangle in the corner:
Drag this with the Move tool into your artwork document, so that the template rectangle is in the corner, and scale it proportionally so that the top of the rectangle is aligned with the top of the artwork:

With your artwork a Smart Object, adjust the size by dragging the right side so it just covers the rectangle. Canvas Size with the Width copied and pasted into the Height field, expanding out from the corner. Nudge the artwork layer up one pixel with the up arrow key (important!), and run Polar Coordinates Rectangular to Polar.