Copy link to clipboard
Copied
Hello,
I made this image from 2 images now I want to make the auto smaller how I can achieve that,
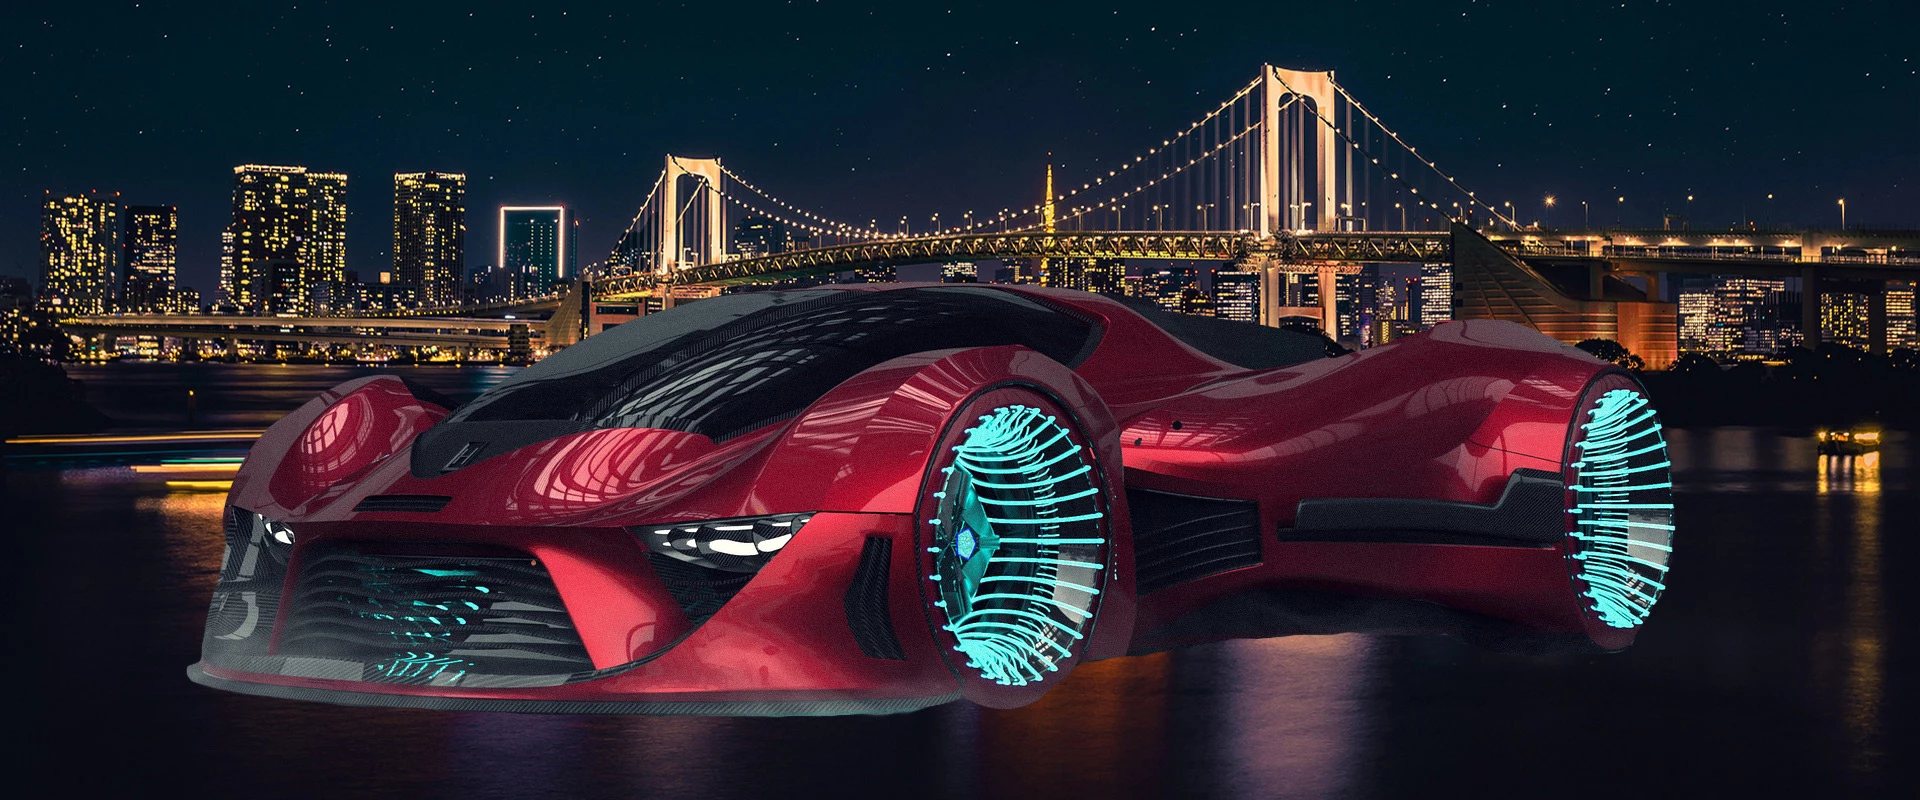
Copy link to clipboard
Copied
Could you please post screenshots with the pertinent Panels (Toolbar, Layers, Options Bar, …) visible?
Did you insert the foreground element as a Smart Object?
Copy link to clipboard
Copied
One can transform Layers via Edit > Free Transform for example.
Copy link to clipboard
Copied
When you pasted or embedded the car onto the cityscape, it would have been on a separate layer. You need to use Free Transform (Ctrl T or Cmd T) and reduce its size.
Copy link to clipboard
Copied
In this example the car and road were cut out using the Pen tool, and a layer mask used the hide the original background. In this instance I had to free transform the cityscape to match the car. Notice that the cityscape layer has transparent pixels beneath it. This is because the perspective worked better with the car at that height relative to the background.
You get a completely different perspective with the car placed lower relative to the background, but it still works.
Raising the car does not work nearly so well.
Copy link to clipboard
Copied
thanks every one ,
MR C. I didn't convert to smart object.
I have used free trnsform and I get this
Copy link to clipboard
Copied
The car is not on a Layer of its own – did you flatten the Layers?
If so please undo that.
Using Smart Objetcs offers the advantage that each time one transforms them the results are created based on the original contents, so multiple tranformations do not compound damage. (Upsampling can still result in noticable pixels, naturally.)
Copy link to clipboard
Copied
thanks .
what do you mean with flatten layers .
1-I used quick selection tools
2-select subject
3-select and mask
4-ok
5-full color
6-I put the car on the full color
7-embedded the background .
thats all
Copy link to clipboard
Copied
»Flatten Image« is a command available from the Layers Panel’s dropdown menu and merges all Layers into the Background Layer.
What do you mean by step 7?
Could you please post screenshots with the Layers Panel visible?
Copy link to clipboard
Copied
'.....thats all...'
No that is not all. You saved as a jpeg - which does not support layers. So the car and background have been merged into a single layer. Always keep a copy of your master document in a format that supports layers i.e. TIFF, PSD or PSB
Dave
Copy link to clipboard
Copied
thanks every one I have only this screenshot at this moment because I closed and saved it as jpeg.
Copy link to clipboard
Copied
Then you should start over and save the layered file.
Copy link to clipboard
Copied
thanks,
I made an example with all steps
Copy link to clipboard
Copied
Then I would recommend
• convert »Achtergrond kopieren« to a Smart Object
• use Edit > Free Transform to scale and reposition the Smart Object
Copy link to clipboard
Copied
And you might want to edit the Layer Mask at the front of the car a little or use the Pen Tool to add a Vector Mask to address the bit of »street« that is visible.
Copy link to clipboard
Copied
thanks,
I did but I don't see the option smart object .
when I select the object I get this window above and when I select the layer I get this window.
but I see pixel select option.
Copy link to clipboard
Copied
Select the Layer and use Layer > Smart Objects > Convert to Smart Object.
The Layers Panel is obstructed in the screenshots so I am not sure what the actual situation is.
Copy link to clipboard
Copied
it is not a problem I wil convert it from begin to smart object .
but I am not satisfied with the photoshop . object selection sometimes not working and if it is working it is not perfect.
quick selection tool when you try to ad it is going wrong and when you try to substract it is going wrong .it is taking me 1 hour to select something 95%. the other tools are also the same the magic tool is going strange .
I am disapointed sorry that I tell in the community.
Copy link to clipboard
Copied
For such an object you have chosen suboptimal tools; using the Pen Tool to create a Path should not take long in a case like this.
Copy link to clipboard
Copied
I can see from your screenshot above that you have created a layer mask for the car layer. You can also use the brush tools to paint out areas that you want to hide with black and areas that you want to keep with white.
Try using a brush with a harder edge.
One technique for speeding up cleaning a mask with a brush is to click with the brush, hold the Shift key, and then click again in another location. This technique will connect the brush stroke between where you clicked.
Copy link to clipboard
Copied
You need to start over right from the begining. What you appear to be working with at the moment is a total loss and is never going to get you a good result.
Do you understand the background and car being on separate layers, and from different source images? The cityscape below without the car goes almost to the bottom of the image.
The car has been cut out with the Pen tool from another image. The nice curves and straight lines of the edge of the road are much better selected with the Pen tool, and this is especially true with dark images. You can see how clean the selection is compared to the one you did with other selection tools.
To create a Smart Object, select one or more layers, and right click and you will see that option.
Copy link to clipboard
Copied
thanks every one ,
I couldn't reply for your solutions because a member of my family is
passed away.
I wil test the advice of all of you and I wil let you know after few days.
thanks again