- Home
- Photoshop ecosystem
- Discussions
- Re: How is the best way to remove the bright white...
- Re: How is the best way to remove the bright white...
How is the best way to remove the bright whites in the sky?
Copy link to clipboard
Copied
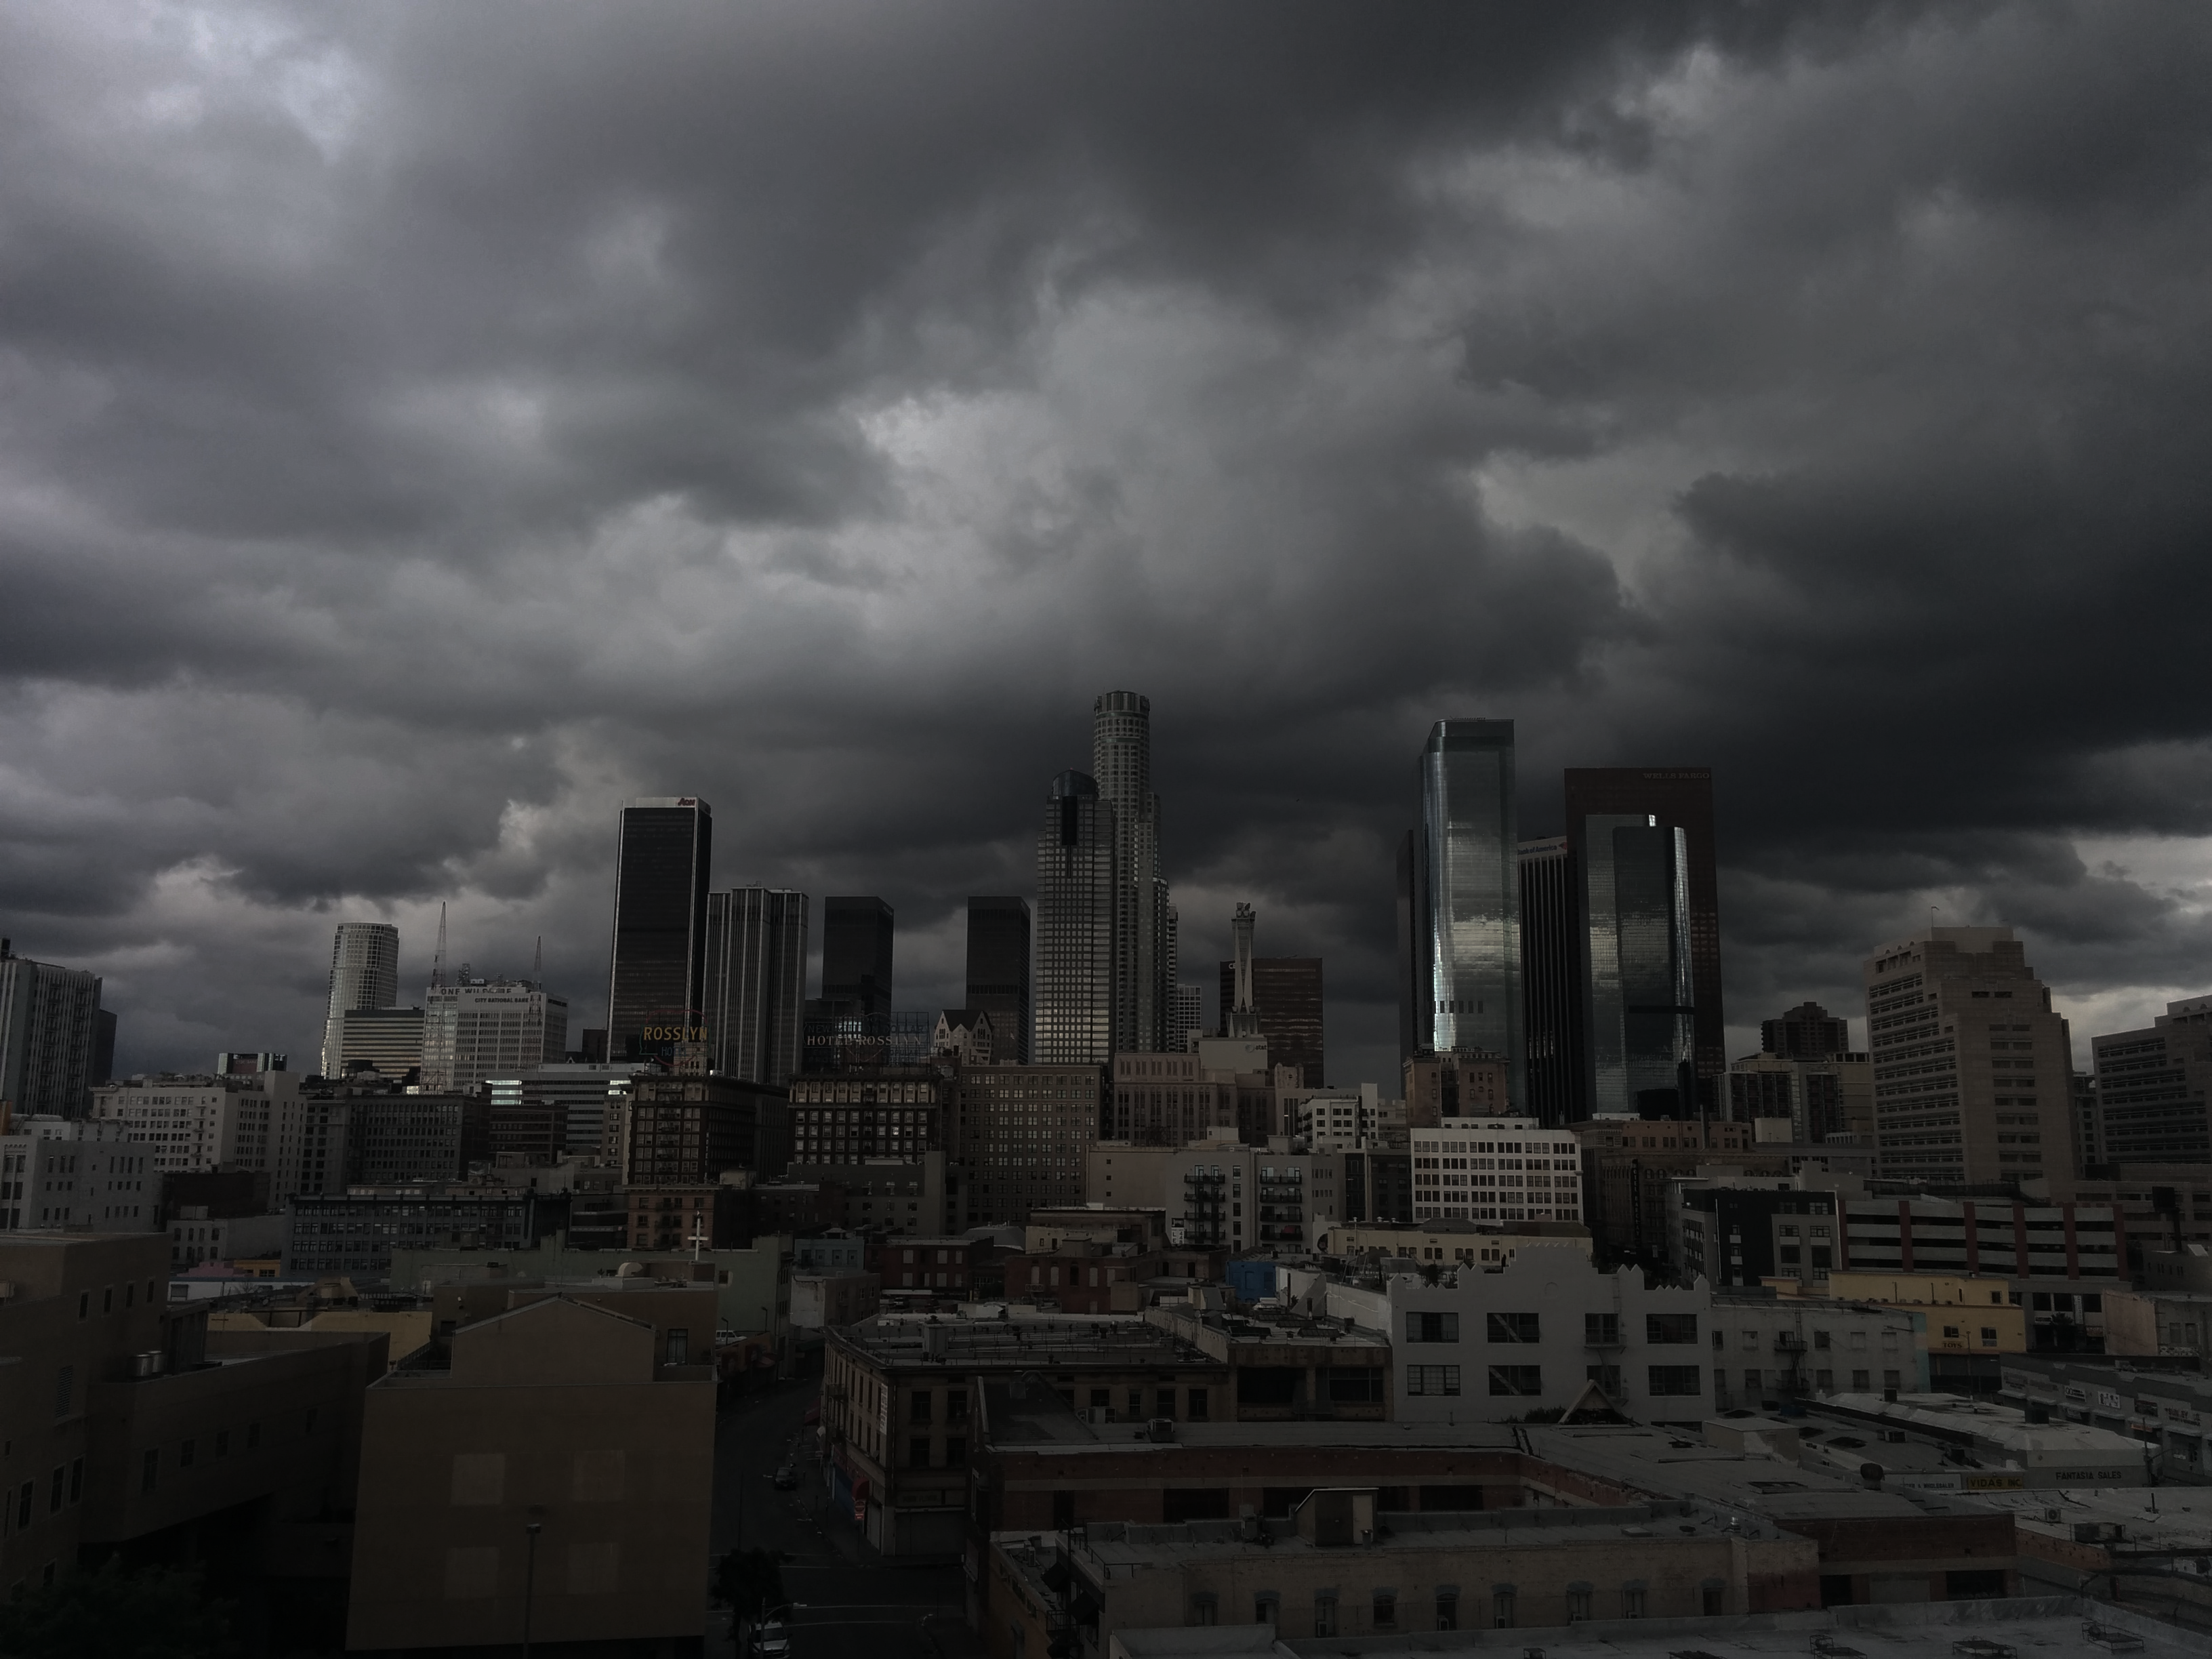
I'm trying to get a very muted, middle tone look out of this, as I want to have a sentence in about 32pt white text go across the center.
I'm thinking this would be in curves, but I'm not figuring out how to basically bring any bright white areas over a certain value to under that value in brightness.
Any input greatly appreciated.


Explore related tutorials & articles
Copy link to clipboard
Copied
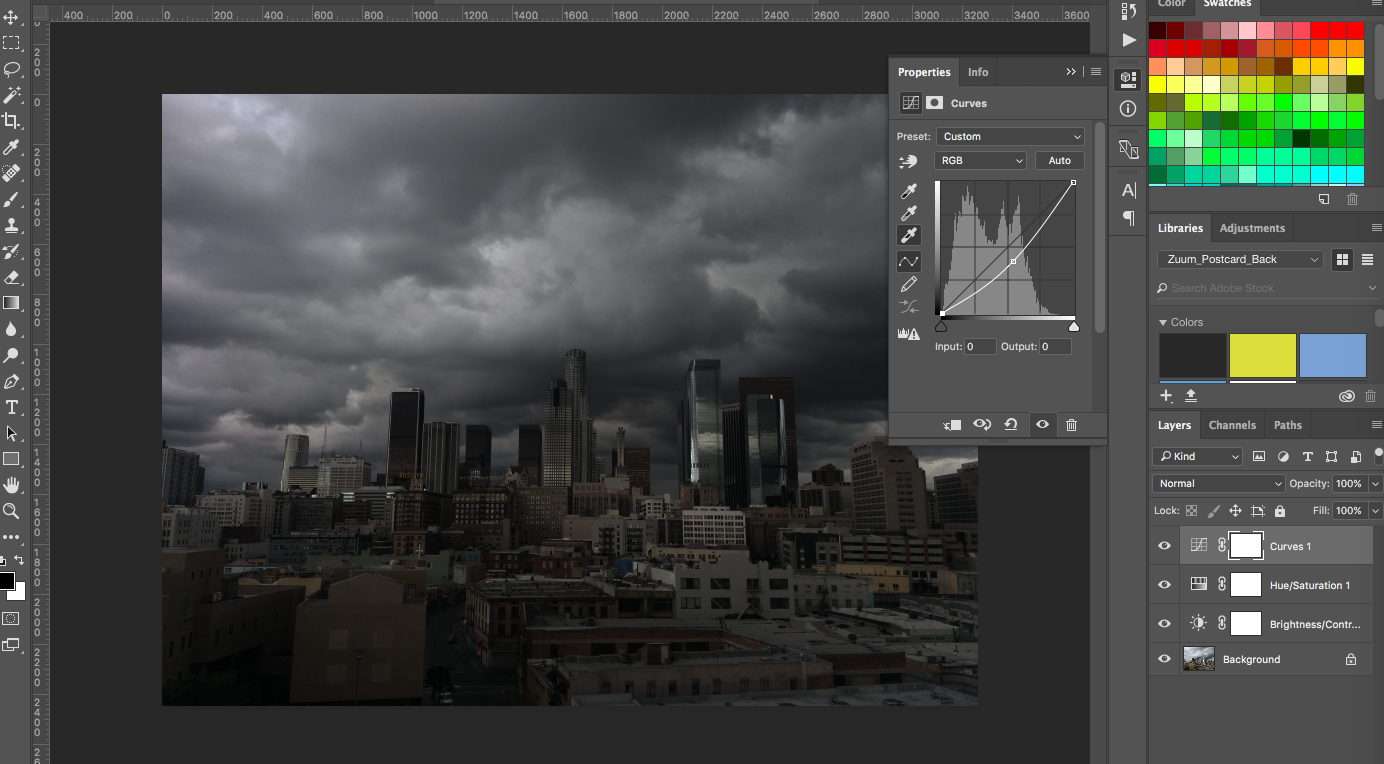
As you are working with curves: Pull the upper right corner dot down.
Copy link to clipboard
Copied
Yes, been working in curves. And I've tried that, which is helping a little, but still feels like the whites are staying hot, like below.

Copy link to clipboard
Copied
Maybe you want read in detail how to use curves, so that you get your things done accurately.
Copy link to clipboard
Copied
Thanks, Bahaar. I'll check that out.
Copy link to clipboard
Copied
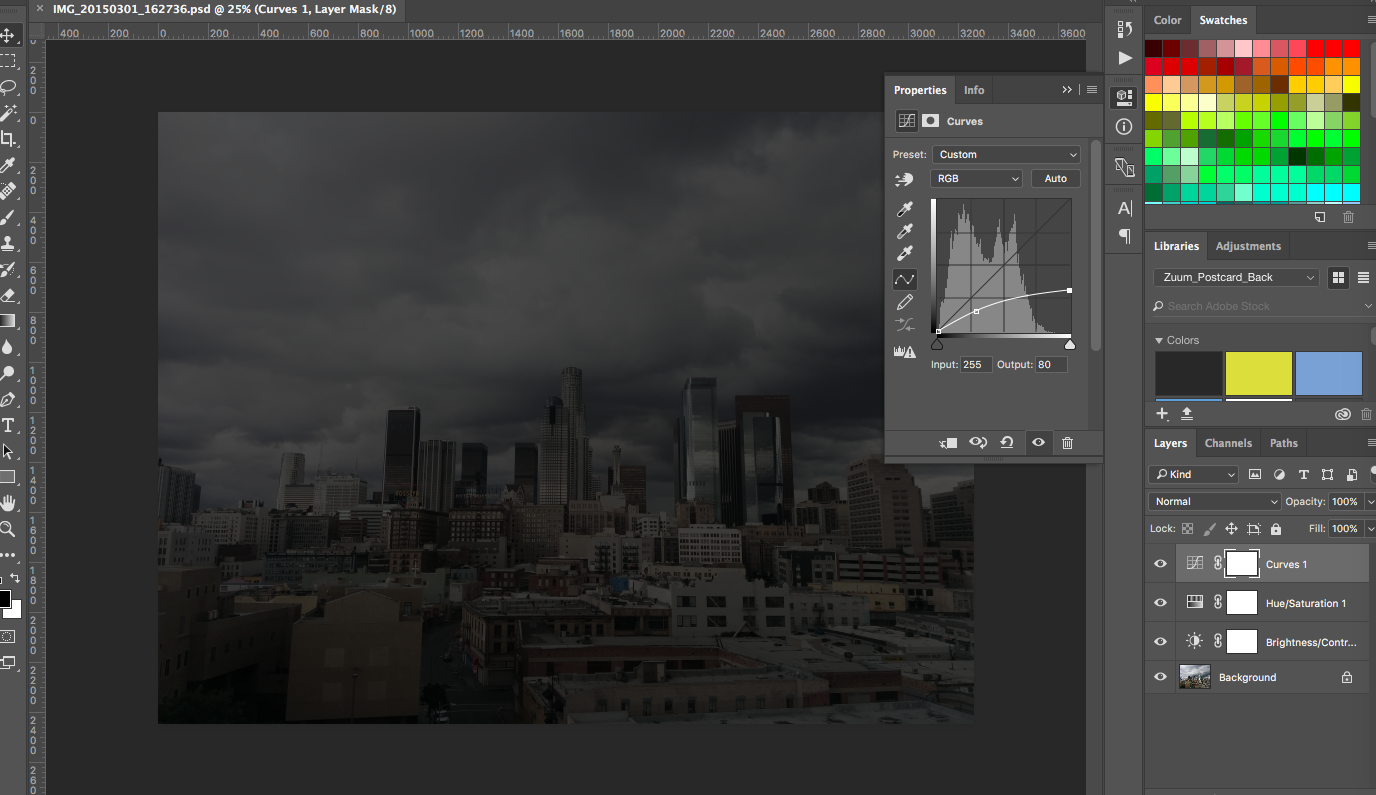
Ok, maybe you want something like this:

I made a levels-layer and set the blending mode to multiply. Then used advanced blendind:

So in Underlying layer hold alt and move the dark slider's half way up to right. This sets that effect is more on highlights and fades to blacks. After that adjust layers white output slider to left as in first picture.
Then you can mask this so that cityscape stays as it is.
Copy link to clipboard
Copied
Thx K'mo, very interesting. Kind of a silvery quality to it.

Copy link to clipboard
Copied
You may try changing levels and curves both.
Use dodge tool with shadows to work on darker areas.
You may also make some selection with magic wand, give the edges a little feather and then make changes in curves and levels.
Copy link to clipboard
Copied
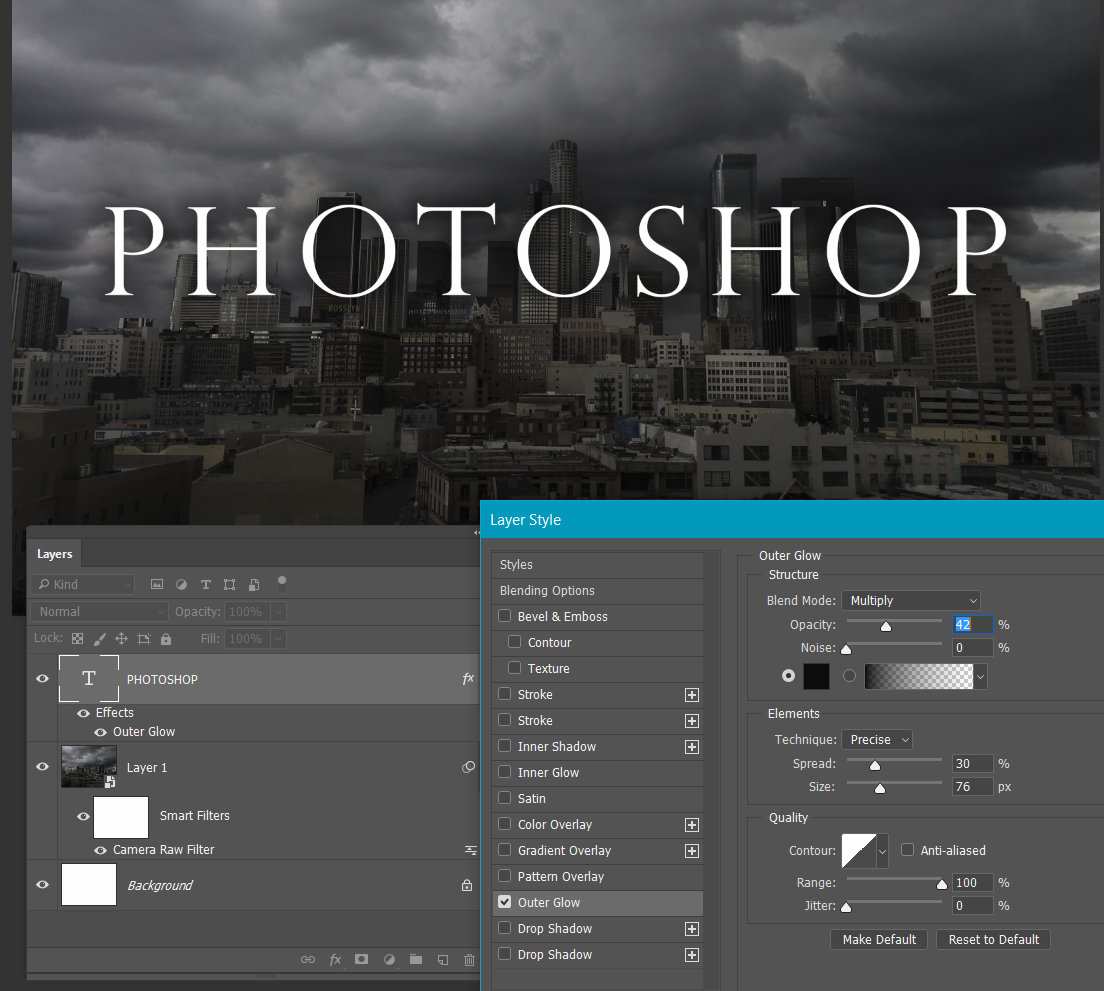
Hey, nice image. I don't know that I am entirely getting what you want to achieve, but I wouldn't want to spoil the image, so:
- Convert to 16 bit because it is so close to B&W
- Make the cityscape a Smart Object so you can keep going back in and fine tune.
- Use Camera RAW filter local adjustment brush, and paint out the highlights with Highlights and Whites strongly reduced (I think I used -100%) and maybe reduce exposure a tiny bit (remember this is just the local adjustment tool. I also increased Clarity a bit for the entire image because it is such a dramatic image.
- Add the Type layer, and give it a touch of Outer Glow using black set to Multiply. Outer Glow can be a finicky style to control, so I start with opacity all the way up to see what is happening, and then reduce opacity for the final effect.

Yes nice work (d).
Copy link to clipboard
Copied
Thanks, Trevor. Great tips. Really like the Camera Raw filter idea. I haven't used it yet, but seems like it has a lot of power. The whites/blacks/shadows control is nice.
