- Home
- Photoshop ecosystem
- Discussions
- How to achieve tonal contrast black and white imag...
- How to achieve tonal contrast black and white imag...
How to achieve tonal contrast black and white image effect
Copy link to clipboard
Copied
Hello!
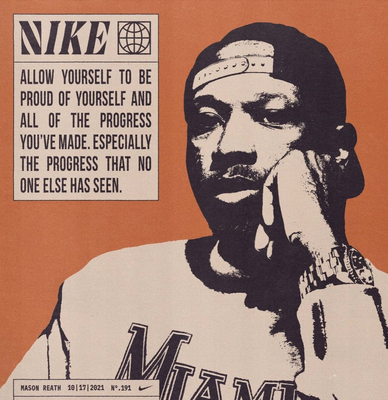
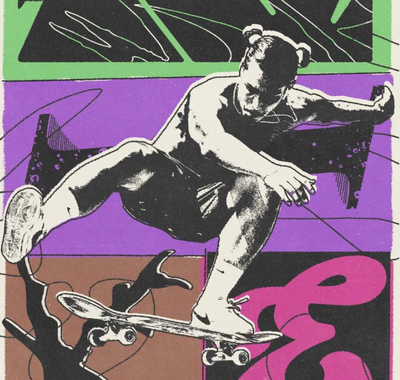
I have a few black and white images I would love to edit and create this tonal/contrast/overexposed effect... It has a lot of texture involved I think but when I play around with levels etc on the image it just doesn't even look close.
I am wondering if anyone could steer me in the right direction or have any tips & tricks to achieve a similar effect?
Any guidance would be so appreciated! Thanks so much 🙏
Explore related tutorials & articles
Copy link to clipboard
Copied
Explore the other Adjustment Layers... like Threshold.
Copy link to clipboard
Copied
Hi!
First, you need to have a photo with good light and dark definition. See the shadows in the faces?
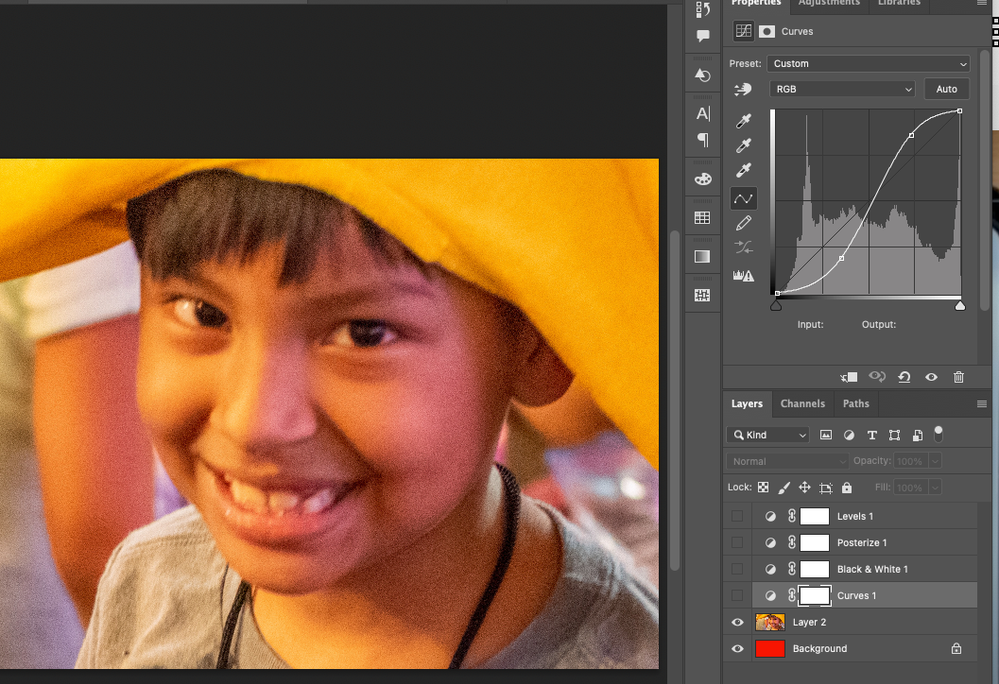
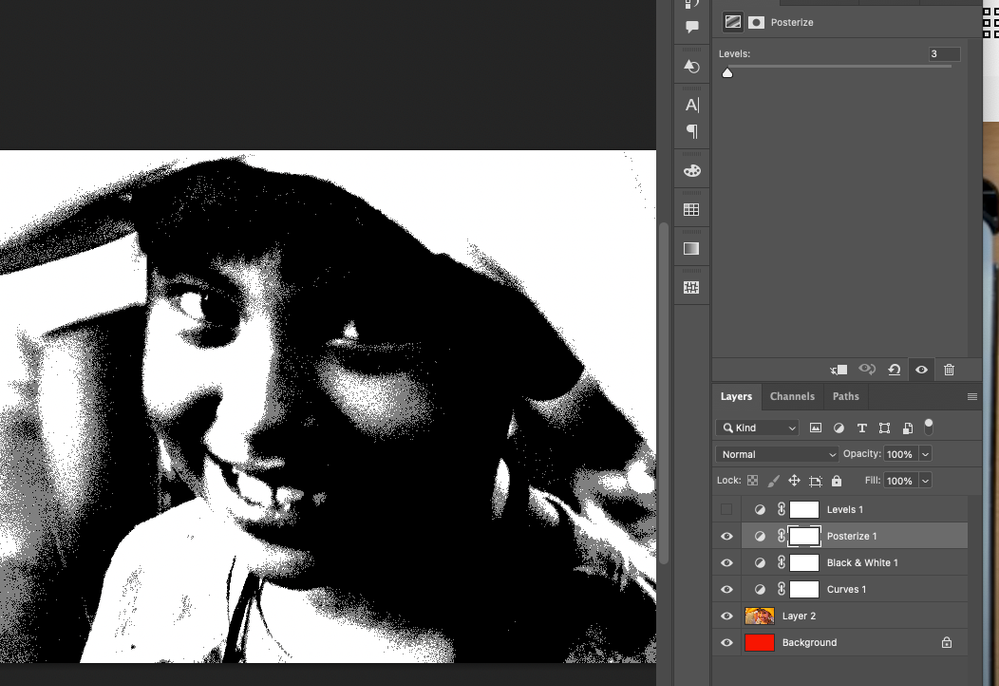
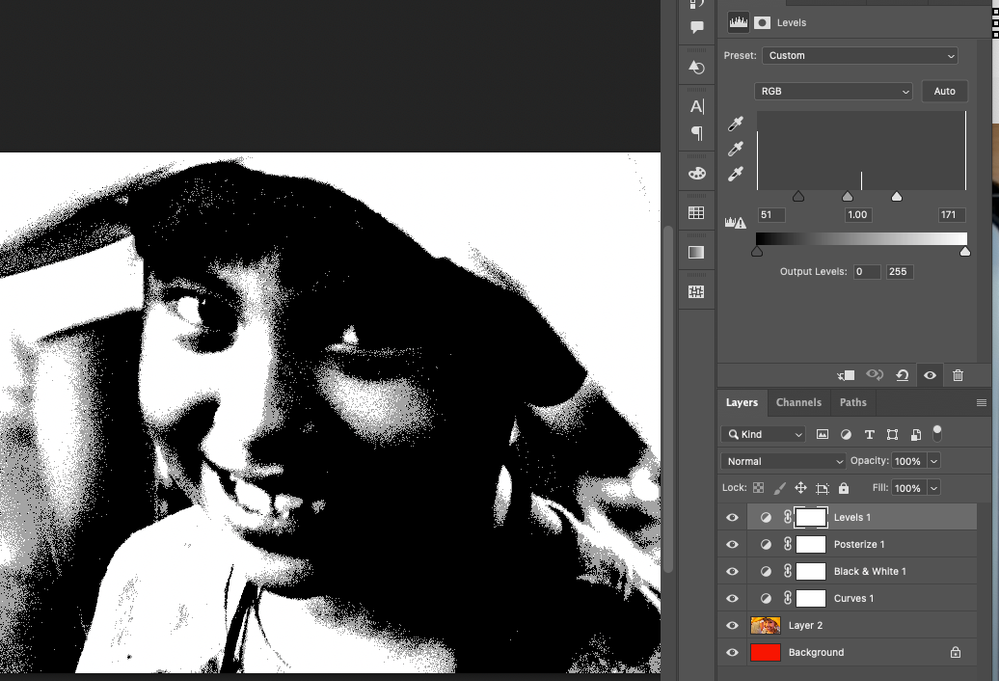
I played around with the adjustment layers and this is what I was able to come up with. I didn't use Threshold as suggested above, but I used posterize. Here are the steps and here is the results:
1. Add a Curves Adjustment Layer to give your photo more contrast and define the areas you want to be light and dark.
2. I added a Black and White Adjustment Layer and played with the sliders to get the effect I wanted. Usually your facial tonew will be in the reds and yellows. You can see that every other color was pulled to black where the yellow and red (somewhat) was pulled to the white.
3. Then I used a Posterize Adjustment Layer and increased it just a little. It will turn lighter areas gray which you can use to your advantage in the next step...
4. The last Layer I added was a Levels Adjustment Layer and moved the black and white sliders into the histogram to turn those gray areas to black and white. And here is the result.
I am sure there are multiple ways to do this, and this is just one. But it gets the effect you are looking for. Let us know if you have any questions.
Michelle

