• Global community
    • Language:
      • Deutsch
      • English
      • Español
      • Français
      • Português
  • 日本語コミュニティ
    Dedicated community for Japanese speakers
  • 한국 커뮤니티
    Dedicated community for Korean speakers
Exit
2

How to add a gradient fade around my product photo

Community Beginner ,
Mar 30, 2024 Mar 30, 2024

Copy link to clipboard

Copied

Hi! I hope someone can explain this to me as I've searched & experimented for hours with no success...

I would like to create a gradient fade around my jewelry product photos, they are jpeg, I cannot figure out any way to make a "frame" around my piece so to speak. 
I tried the gradient tool & it just overlays over my entire piece, I only want it around the outside like a frame...

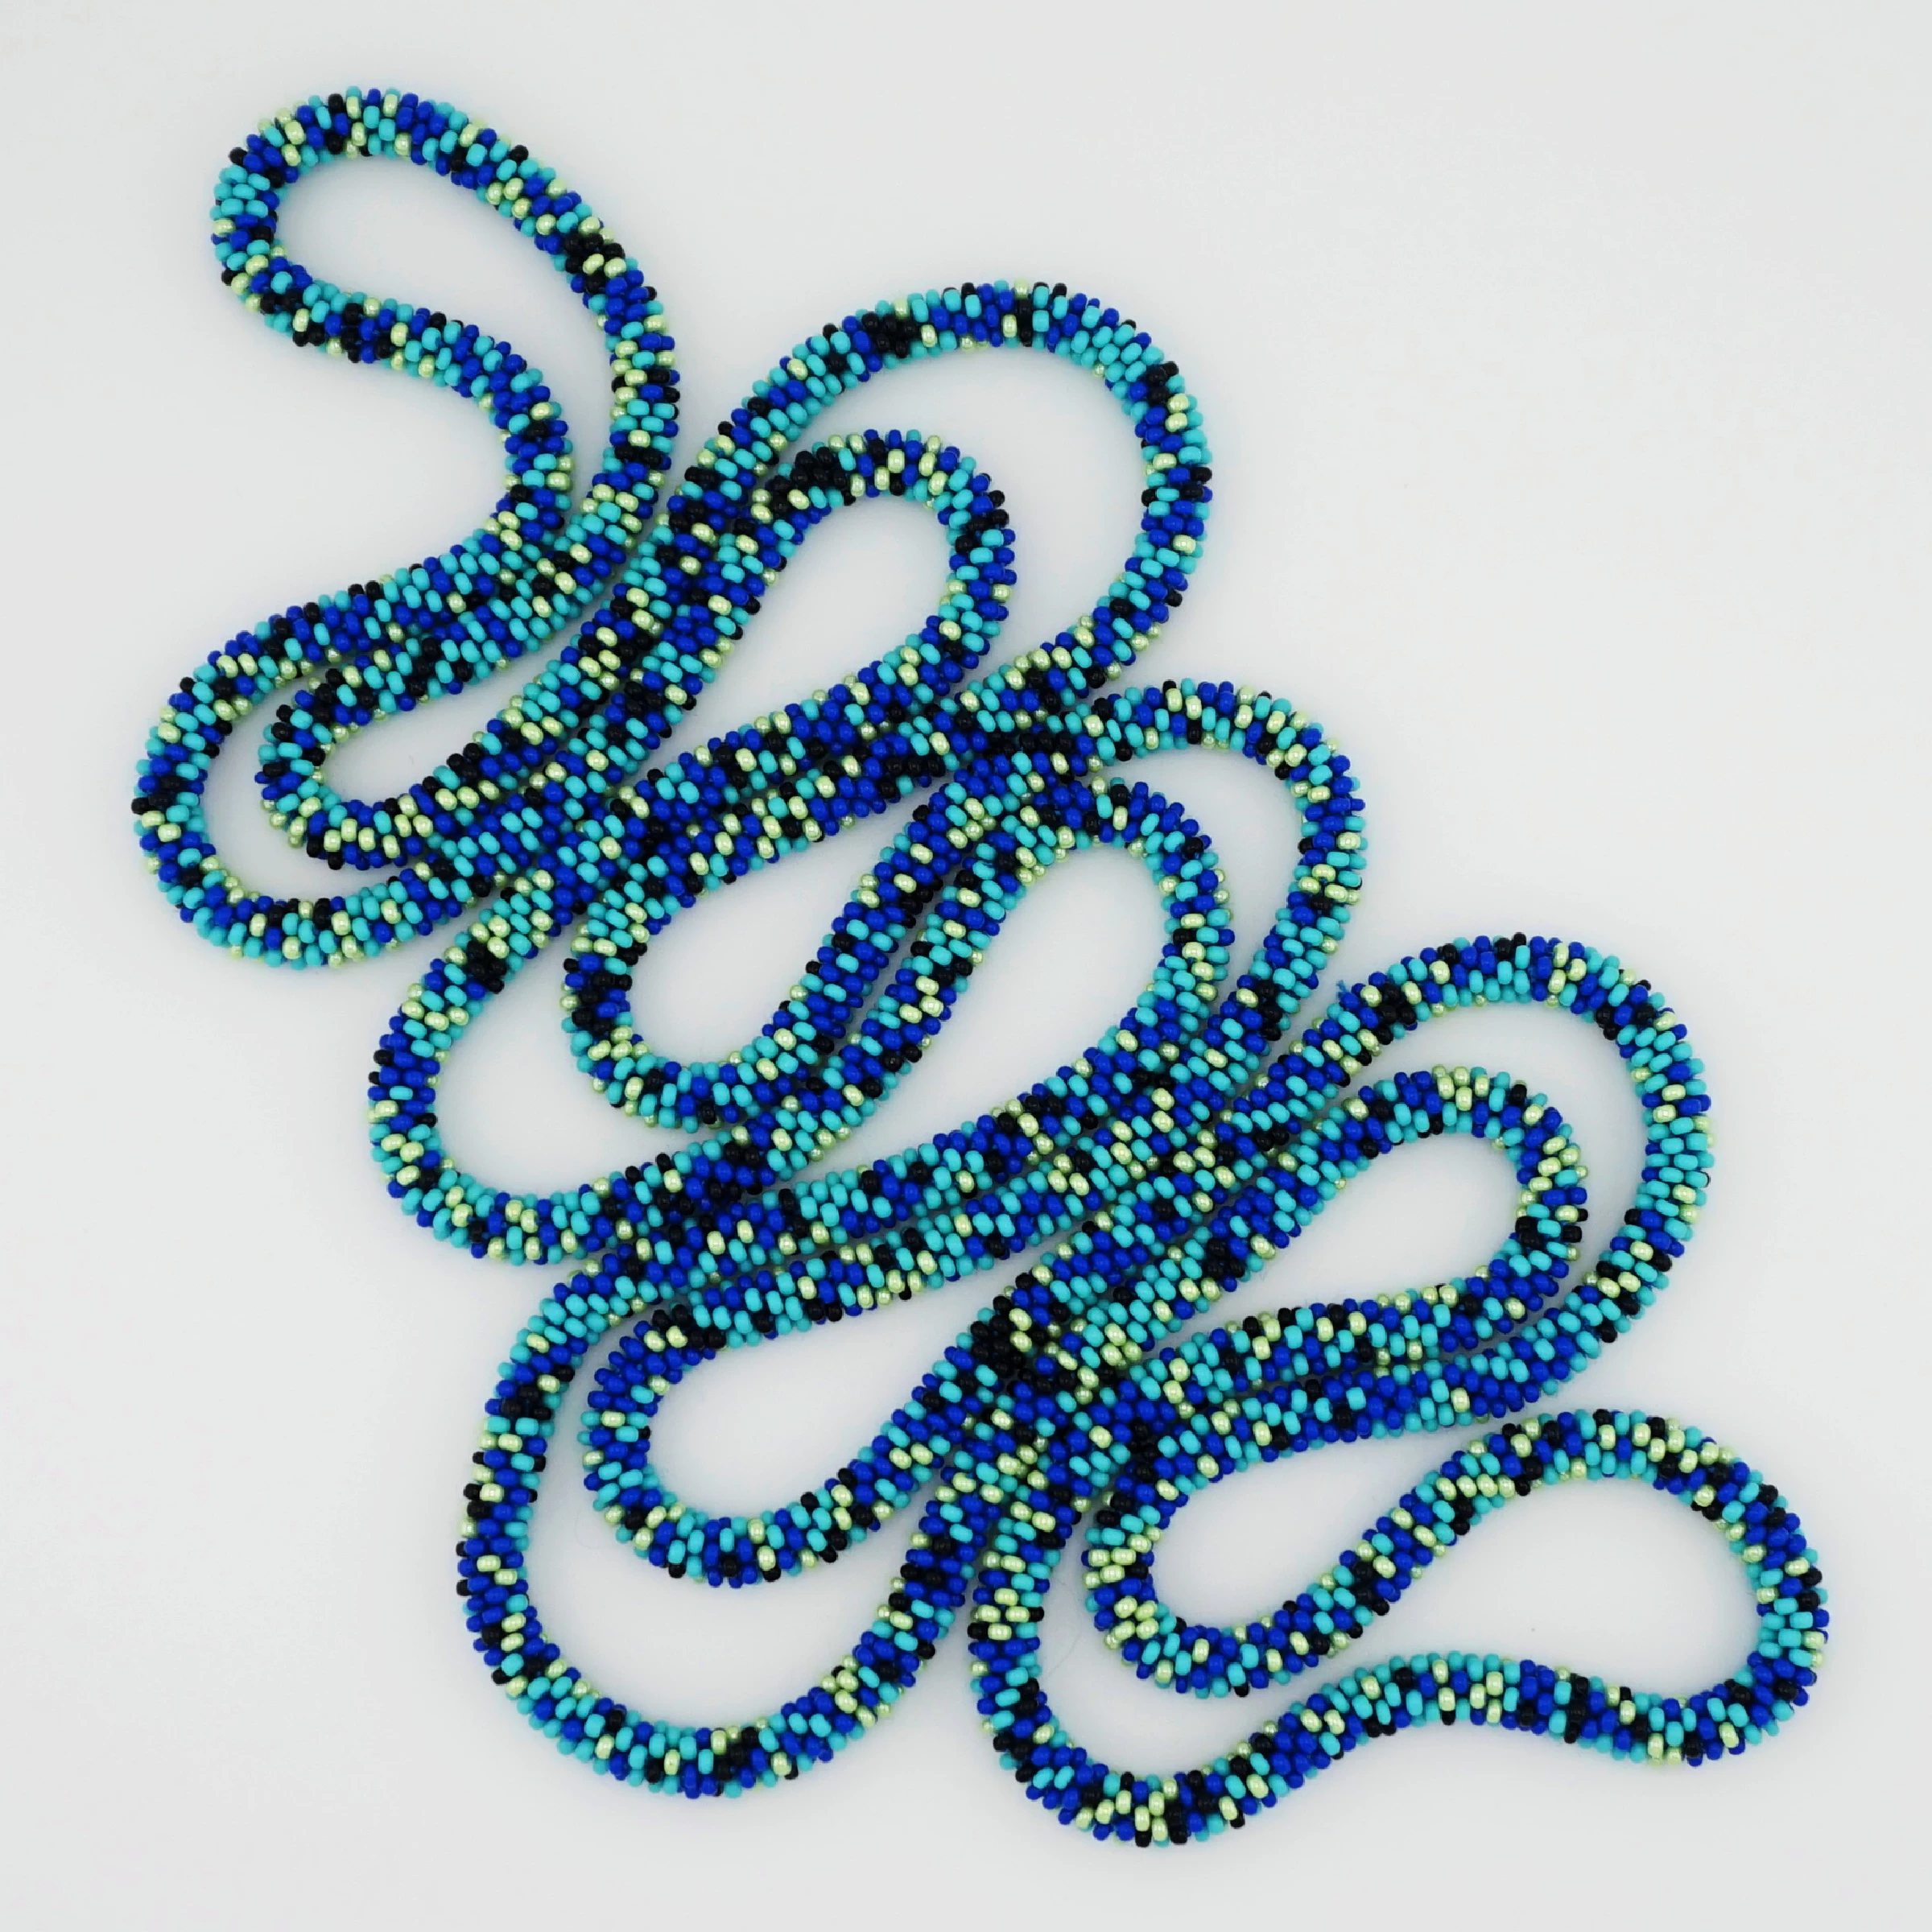
here is one of my photos :

1.ah.beadcrochetrope.jpeg

 And I would like something like this artist has (just not touching my piece) 

IMG_0684.jpeg

 Can this be done on a jpeg? I just read they do not support layers!!! 
Any advice would be greatly appreciated!

Sandra


TOPICS
Windows

Views

252

Translate

Translate

Report

Report
Community guidelines
Be kind and respectful, give credit to the original source of content, and search for duplicates before posting. Learn more
community guidelines
Adobe
Community Beginner ,
Mar 30, 2024 Mar 30, 2024

Copy link to clipboard

Copied

Everything I read explains layers but I could not get layers to work... because it's a jpeg? Is that the problem? Is there any way to do this to a jpeg I suppose is my question, sorry just super frustrated!🫠

Votes

Translate

Translate

Report

Report
Community guidelines
Be kind and respectful, give credit to the original source of content, and search for duplicates before posting. Learn more
community guidelines
Community Expert ,
Mar 31, 2024 Mar 31, 2024

Copy link to clipboard

Copied

To add a gradient around an object, you must isolate it on a separate layer with transparency. If you want a gradient around the entire image, you can use the Stroke layer effect. It's a bit more complicated than you might expect but still manageable.


  • You'll need a layer above the image with the Fill set to 0 (just below Opacity in the top right corner of the Layers panel).
  • Open Layer Style > Stroke, set the stroke to inside, and choose Gradient as indicated in the screenshot below.
  • Before saving as a JPG, merge the layers. Remember that multiple saves will degrade the image quality due to JPG's lossy compression.

gradient around image.jpg

Votes

Translate

Translate

Report

Report
Community guidelines
Be kind and respectful, give credit to the original source of content, and search for duplicates before posting. Learn more
community guidelines
Community Beginner ,
Mar 31, 2024 Mar 31, 2024

Copy link to clipboard

Copied

Thank you so much for all the information! A bit complex for me but I will dive into it later today and see if I can wrap my brain around it!

Votes

Translate

Translate

Report

Report
Community guidelines
Be kind and respectful, give credit to the original source of content, and search for duplicates before posting. Learn more
community guidelines
Community Expert ,
Mar 30, 2024 Mar 30, 2024

Copy link to clipboard

Copied

You just need to get your necklace on its own layer.  In this instance, the Remove Background  tool in the Properties panel does a nice job.

image.png

Then put a Radial Gradient on a layer below the necklace

image.png


Have a play with that, and please ask if you want to try something different.

Note: I have used the Classic gradient above, because it is more simple to use.

Votes

Translate

Translate

Report

Report
Community guidelines
Be kind and respectful, give credit to the original source of content, and search for duplicates before posting. Learn more
community guidelines
Community Beginner ,
Mar 31, 2024 Mar 31, 2024

Copy link to clipboard

Copied

Oh! I will try this later on today! Perhaps I can do the original top to bottom gradient instead of the radial as I really wanted that to begin with! I was just going to "settle" for a frame since I couldn't figure the other one out! I appreciate your help, thank you so much!

Votes

Translate

Translate

Report

Report
Community guidelines
Be kind and respectful, give credit to the original source of content, and search for duplicates before posting. Learn more
community guidelines
Community Expert ,
Mar 31, 2024 Mar 31, 2024

Copy link to clipboard

Copied

Not what you asked, but if I may:


Are you really sure you want that? I think it looks vastly better on a clean background. I'd just lift the white point a little bit.


As for your original question: file formats are storage containers. An open file doesn't have a file format. 

Votes

Translate

Translate

Report

Report
Community guidelines
Be kind and respectful, give credit to the original source of content, and search for duplicates before posting. Learn more
community guidelines
Community Beginner ,
Mar 31, 2024 Mar 31, 2024

Copy link to clipboard

Copied

Thank you, I originally really wanted a top to bottom gradient, I even ordered this background for my light box from Adorama but it's backordered..

IMG_0679.jpeg

I am by no means a photographer! So this is the most difficult part for me... I run into so many problems when editing!

I am applying to a new platform and they require plain white, black or gradient.

I tried shooting on black & my pieces are blurry so I switched to white, though it's my least favorite... and color balancing an orange gemstone necklace is nearly impossible for me😅

Though now I may try the Remove Background tool! I had no idea that's how it's done, again I'm very new to Photoshop😁

Votes

Translate

Translate

Report

Report
Community guidelines
Be kind and respectful, give credit to the original source of content, and search for duplicates before posting. Learn more
community guidelines
LEGEND ,
Apr 01, 2024 Apr 01, 2024

Copy link to clipboard

Copied

Run, don't walk, and buy a ColorChecker Passport and a hardware calibration device for your monitor (Calibrate is a good name to go with.) This will help immensely with color balancing and calibration.

Once you have profiled your lighting and calibrated the display, you shouldn't have to do much or any color adjustments.

Beyond all this, go on YouTube and start watching tutorials on small product phoitography. The Strobist is the best site online for lighting tutorials.

https://strobist.blogspot.com/

There is also a book called Light, Science and Magic, buy a copy. Between all those resources, you can learn product photography.

Votes

Translate

Translate

Report

Report
Community guidelines
Be kind and respectful, give credit to the original source of content, and search for duplicates before posting. Learn more
community guidelines
Community Beginner ,
Apr 01, 2024 Apr 01, 2024

Copy link to clipboard

Copied

LATEST

Oh wow! So much info! Thank you so much! I looked them both up, I'm not sure if I need 2 different softwares? One for the passport & one for the Calibrite, I will study more on this, I definitely have a lot to learn! 

Votes

Translate

Translate

Report

Report
Community guidelines
Be kind and respectful, give credit to the original source of content, and search for duplicates before posting. Learn more
community guidelines
Community Expert ,
Apr 01, 2024 Apr 01, 2024

Copy link to clipboard

Copied

Hi, Joegsto not support layers when they are saved. You can open a jpeg, add layers, save it in a format that supports layers, like PSD or TIFF (so that you can change the background later if you want), the export/save a copy as a jpeg (therefore without layers, also called flattened) for use on a website.

Votes

Translate

Translate

Report

Report
Community guidelines
Be kind and respectful, give credit to the original source of content, and search for duplicates before posting. Learn more
community guidelines