Answered
How to Conver “Neutral grey” layer to Curve layers
How to convert Grey“neutral grey” to two curve layers perfectly (8-bit)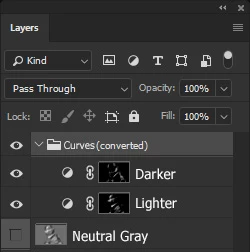

How to convert Grey“neutral grey” to two curve layers perfectly (8-bit)
So here is how I did it:
The original image:
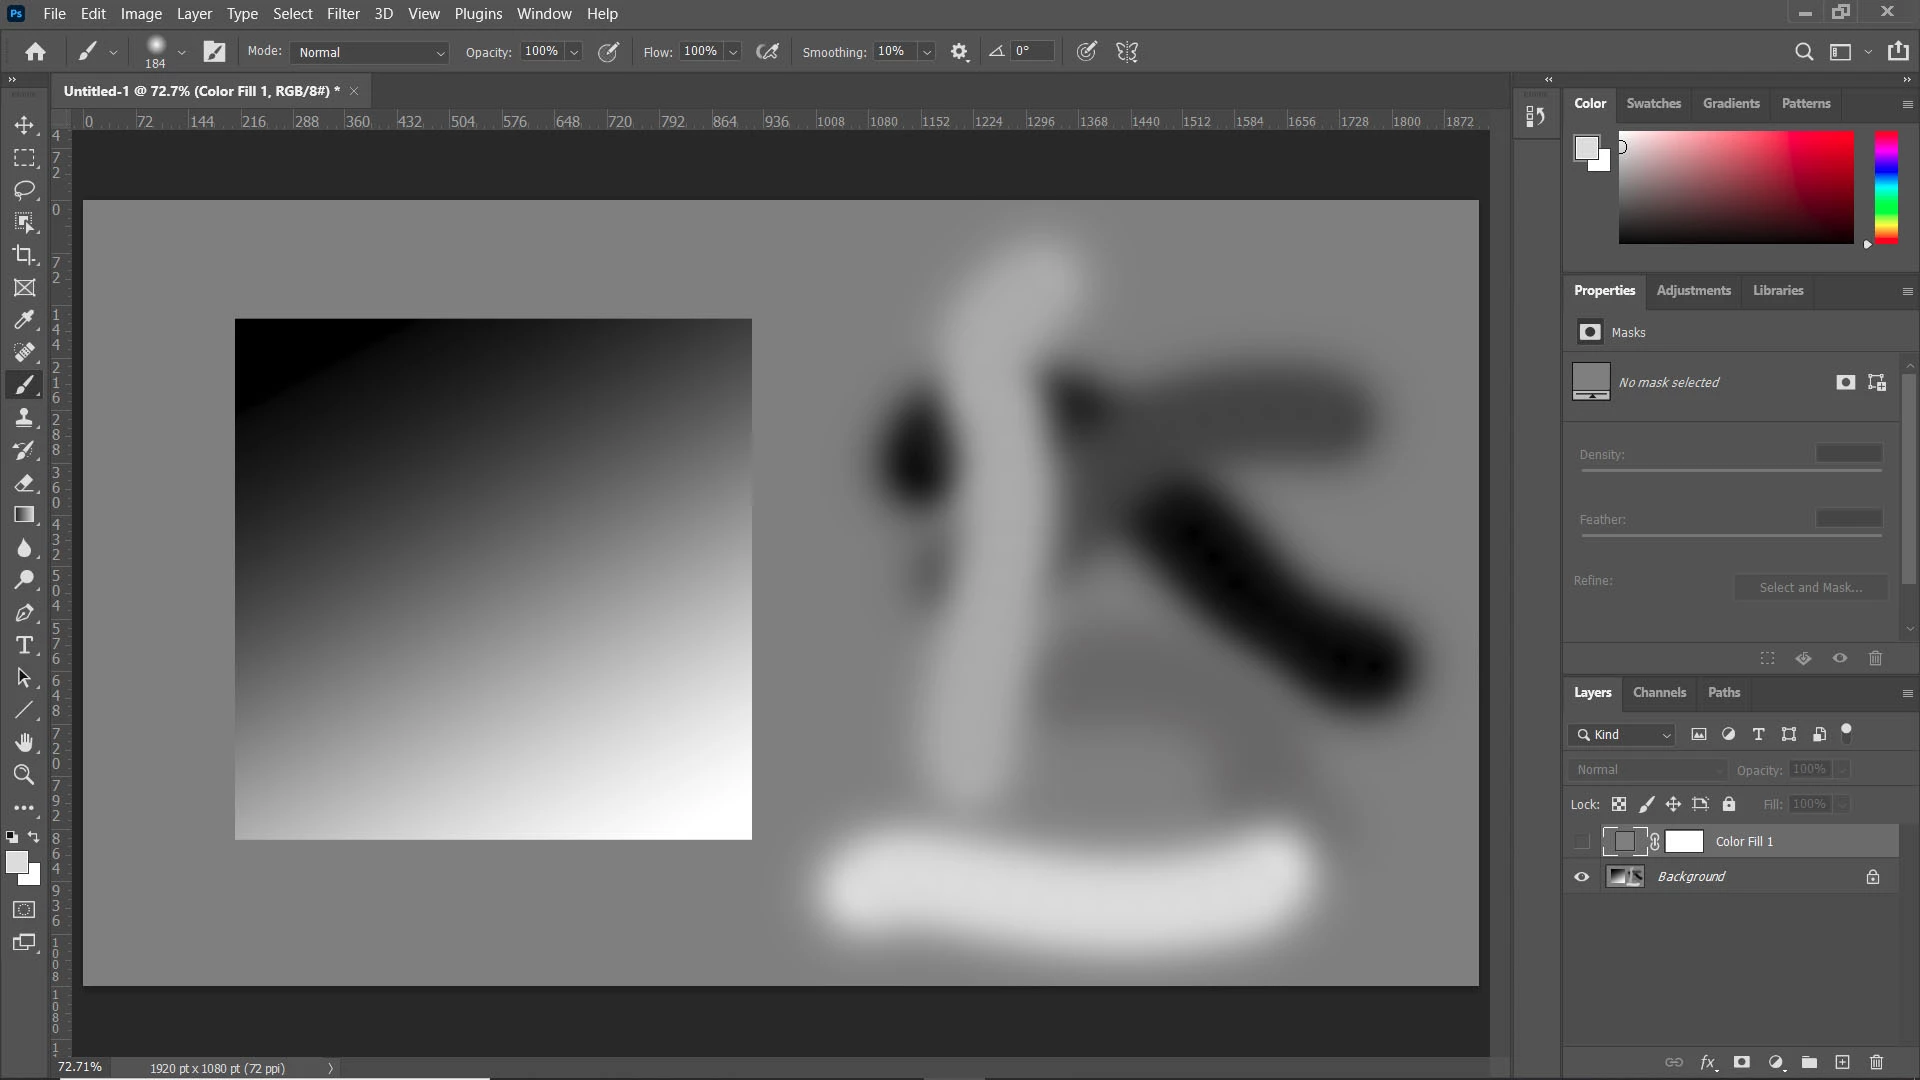
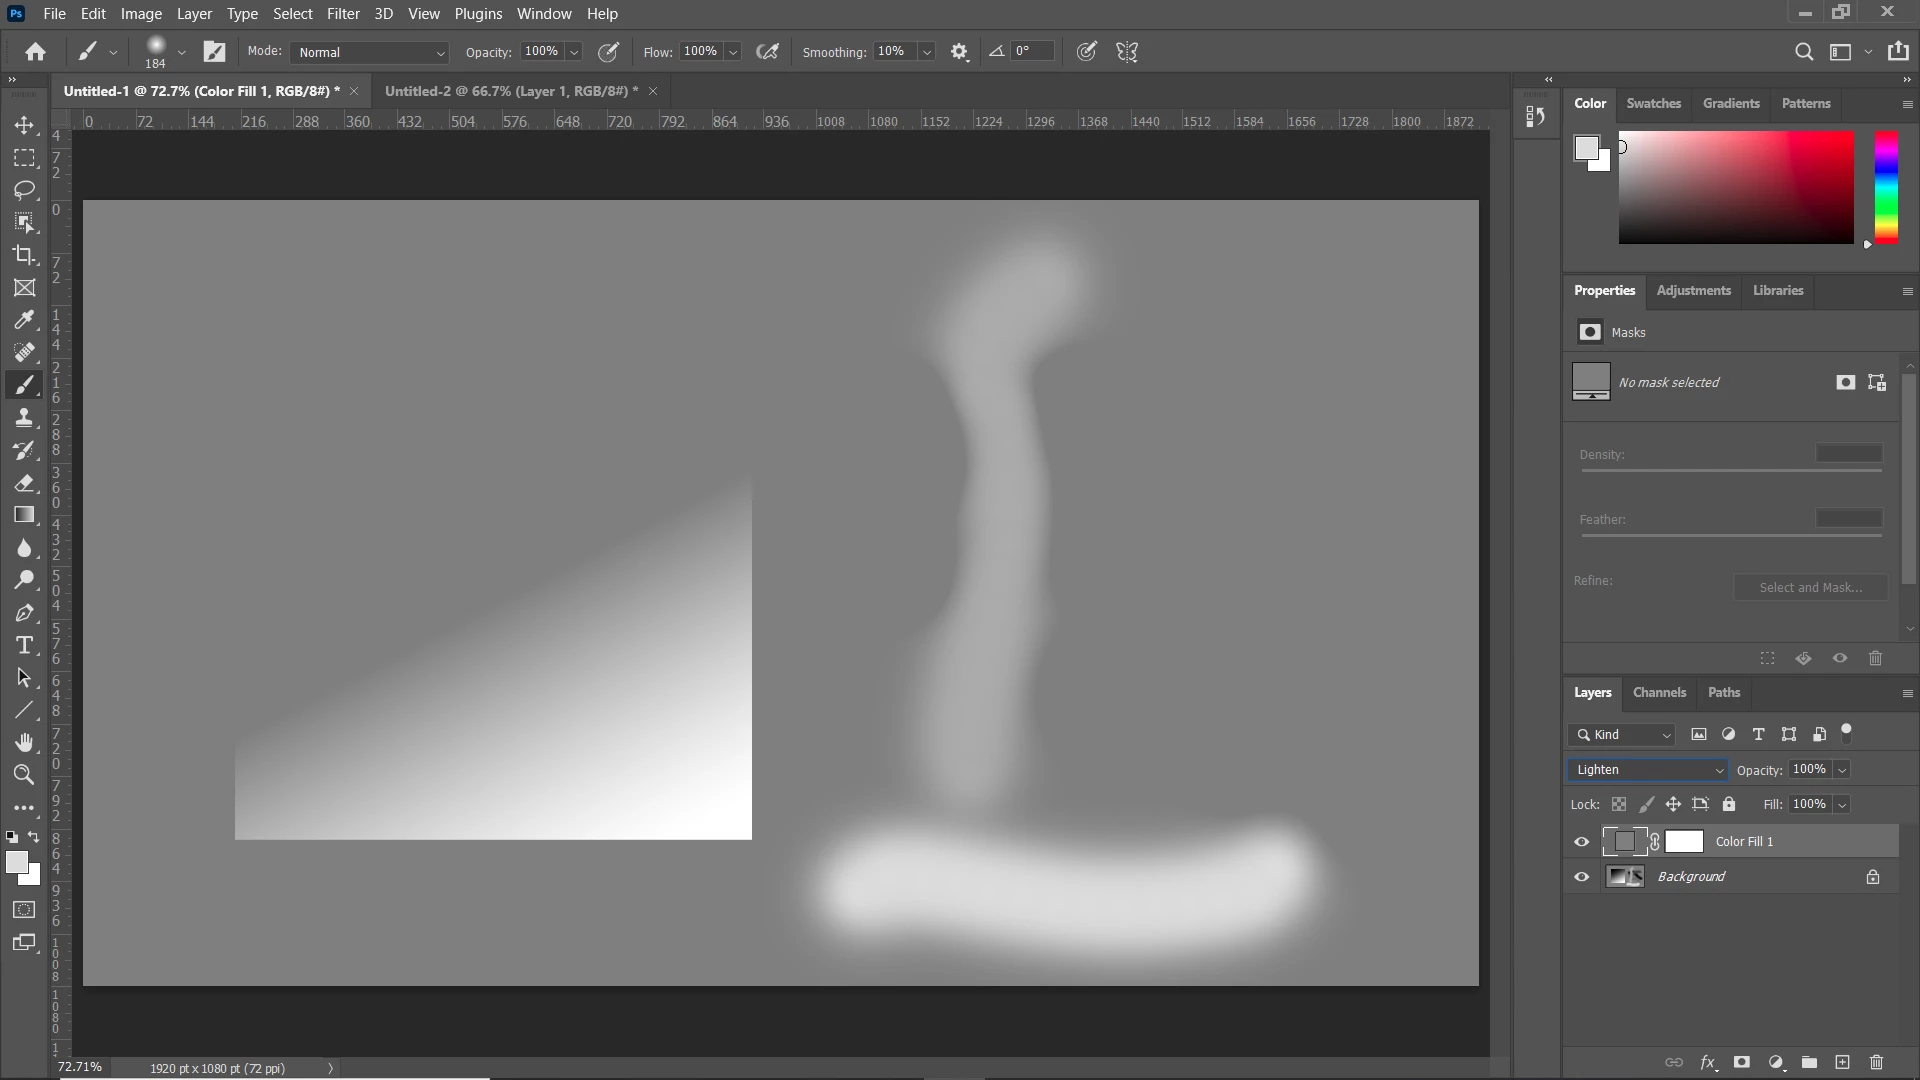
Add 50% gray layer and set it's blending mode to lighten to create the base for the lighten mask:
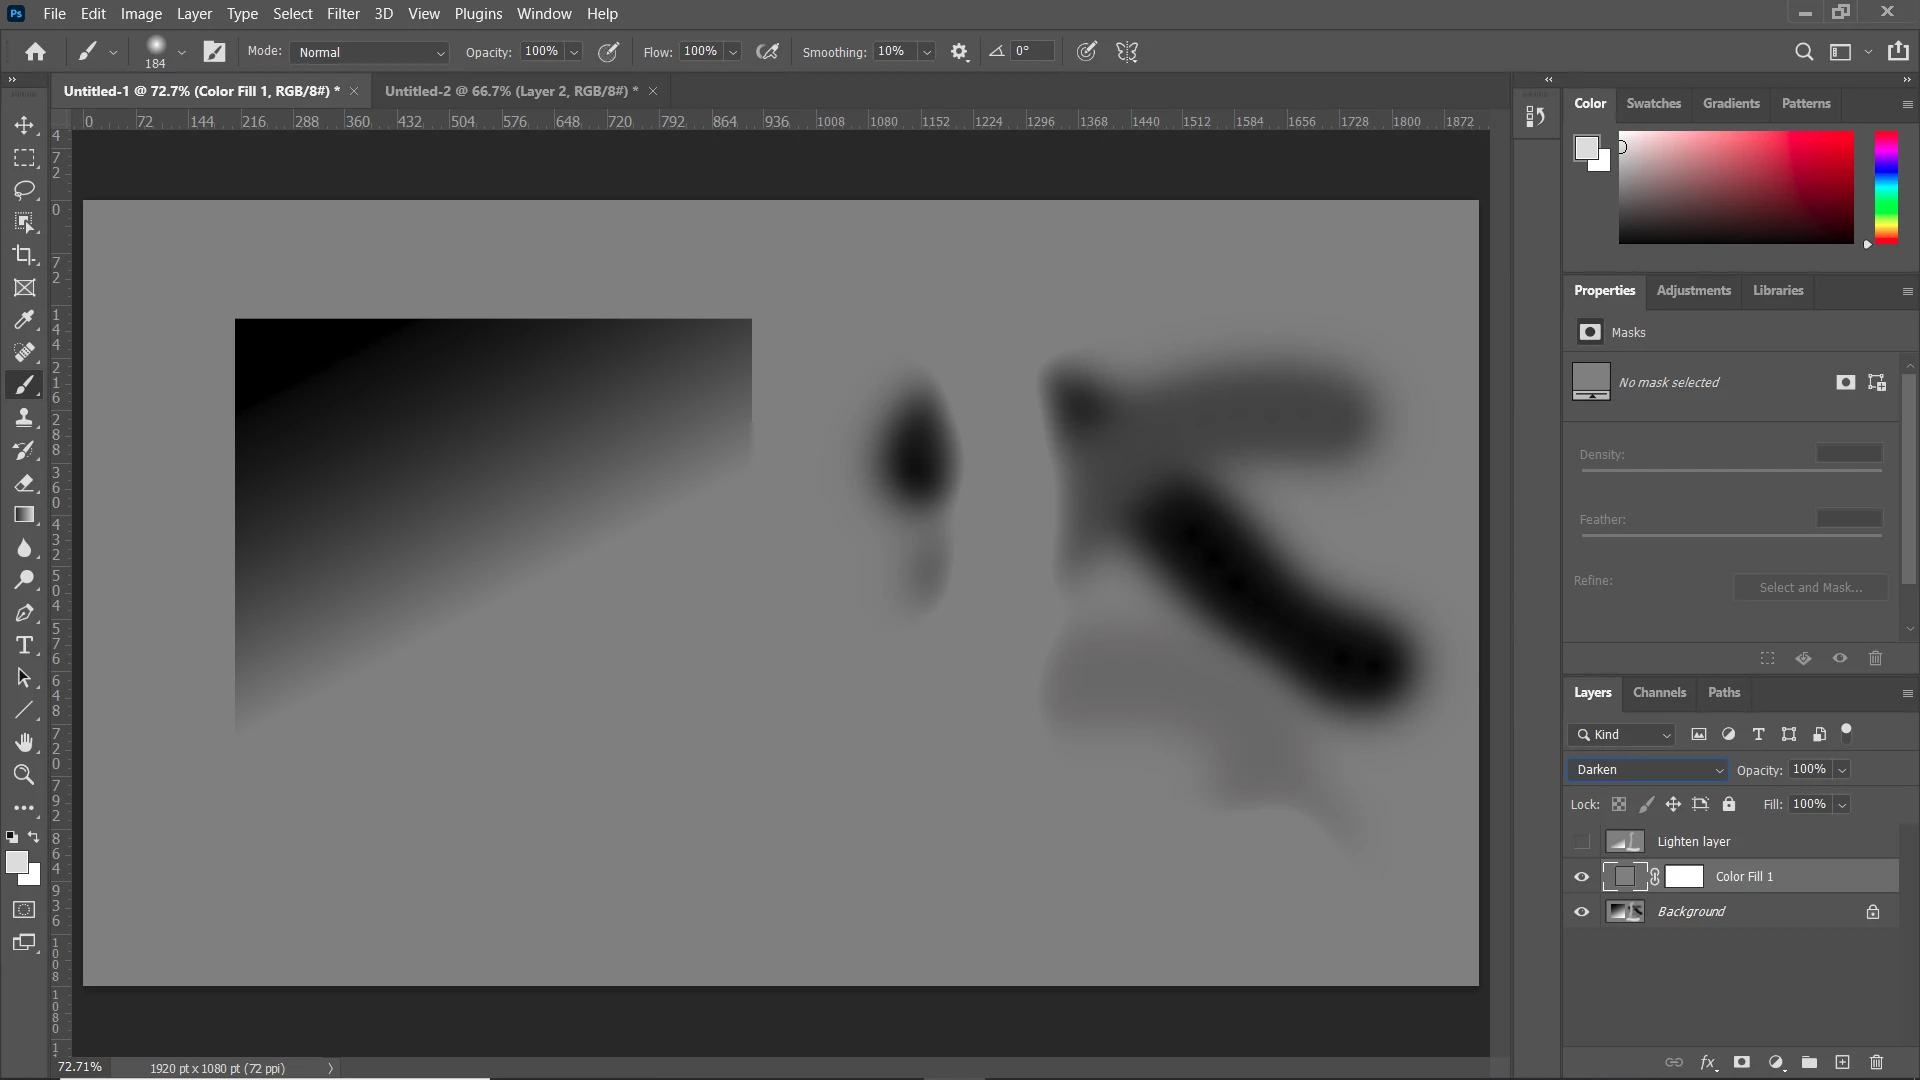
Make a merged visible copy ctrl/cmd-alt/opt-shift-e. Then turn that layer's visibility off and change the 50% gray layer's blend mode to darken:
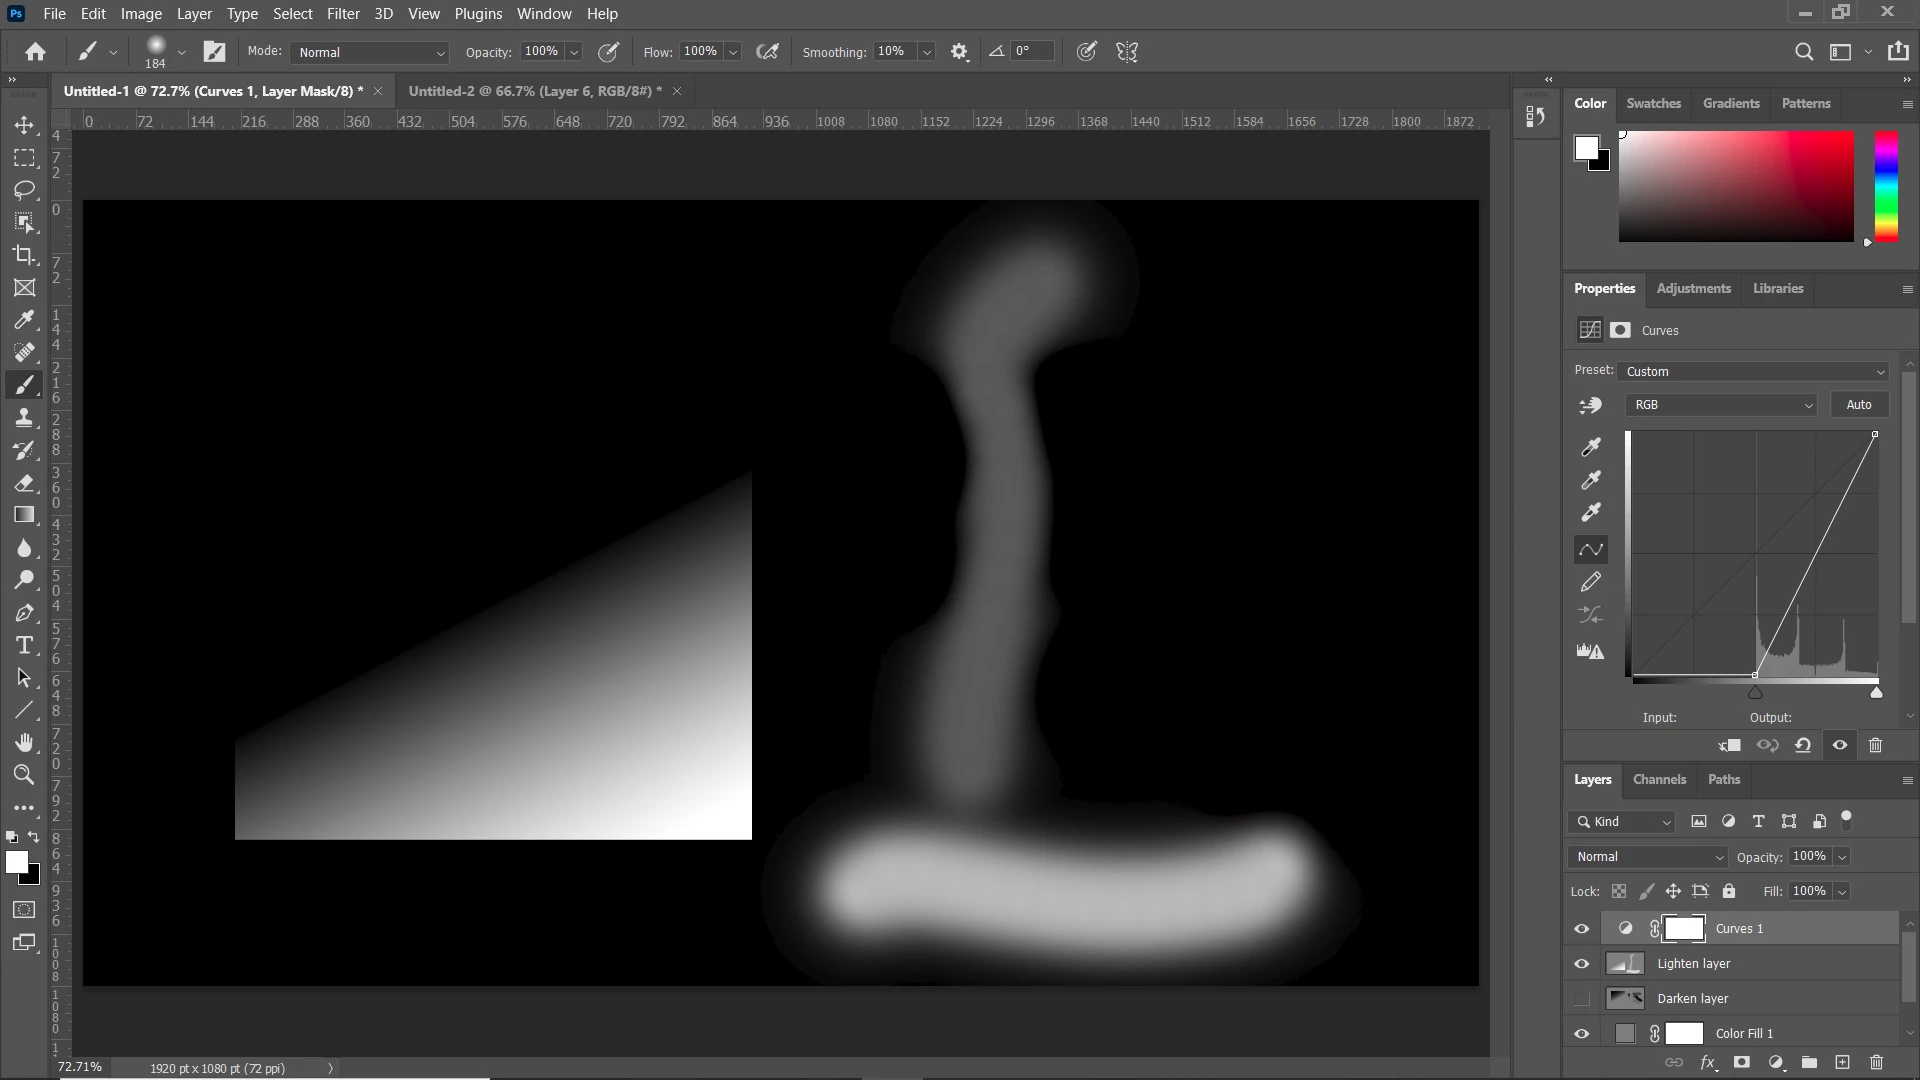
Make another merged copy visible of that layer. Then add a curves layer turn on the lighten merged layer. adjust the shadow endpoint to 128 to make the 50% gray go black:
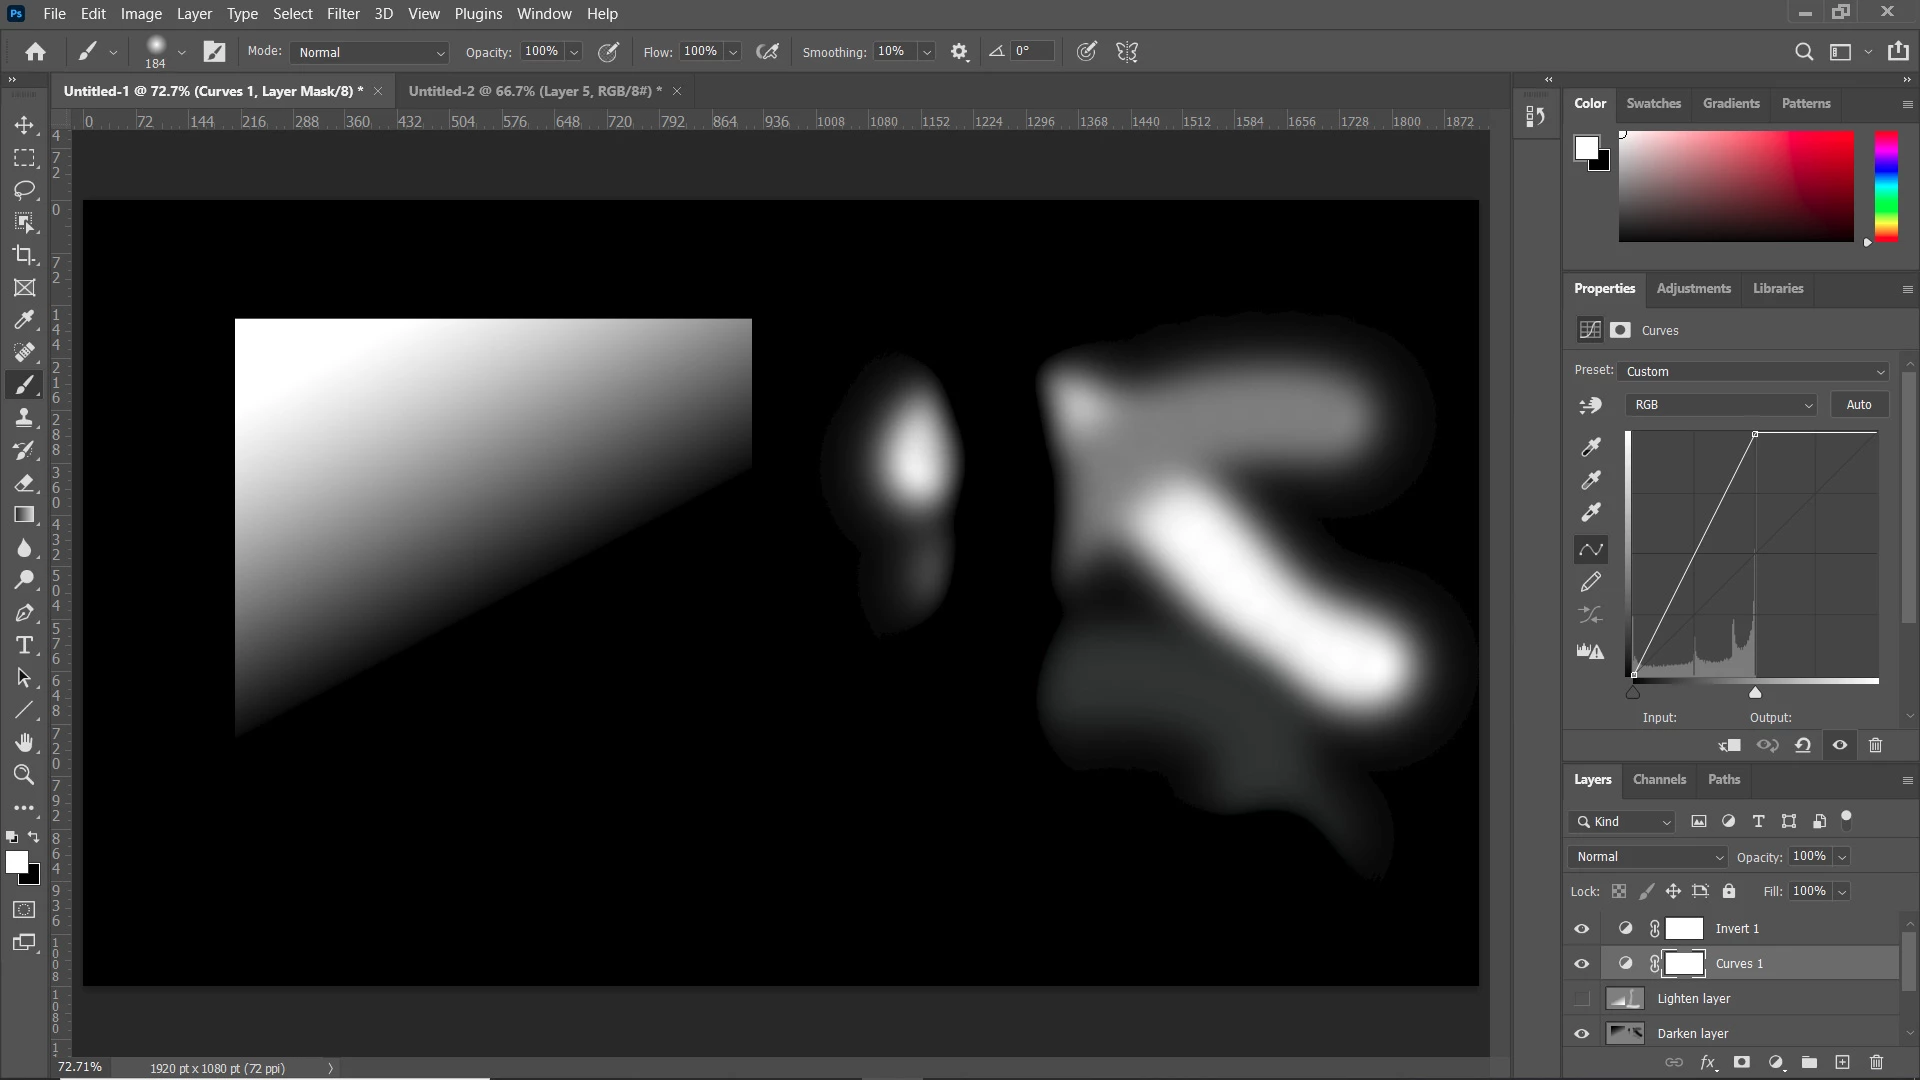
Go to channels and make a selection by ctrl/cmd clicking on the thumbnail then create a curves adjustment layer. Then turn of the lighten layer and turn on the shadow layer. Use the curves and adjust the highlight endpoint down to 128. Also add an invert adjustment layer so that the shadows are white, which will be used for the mask:
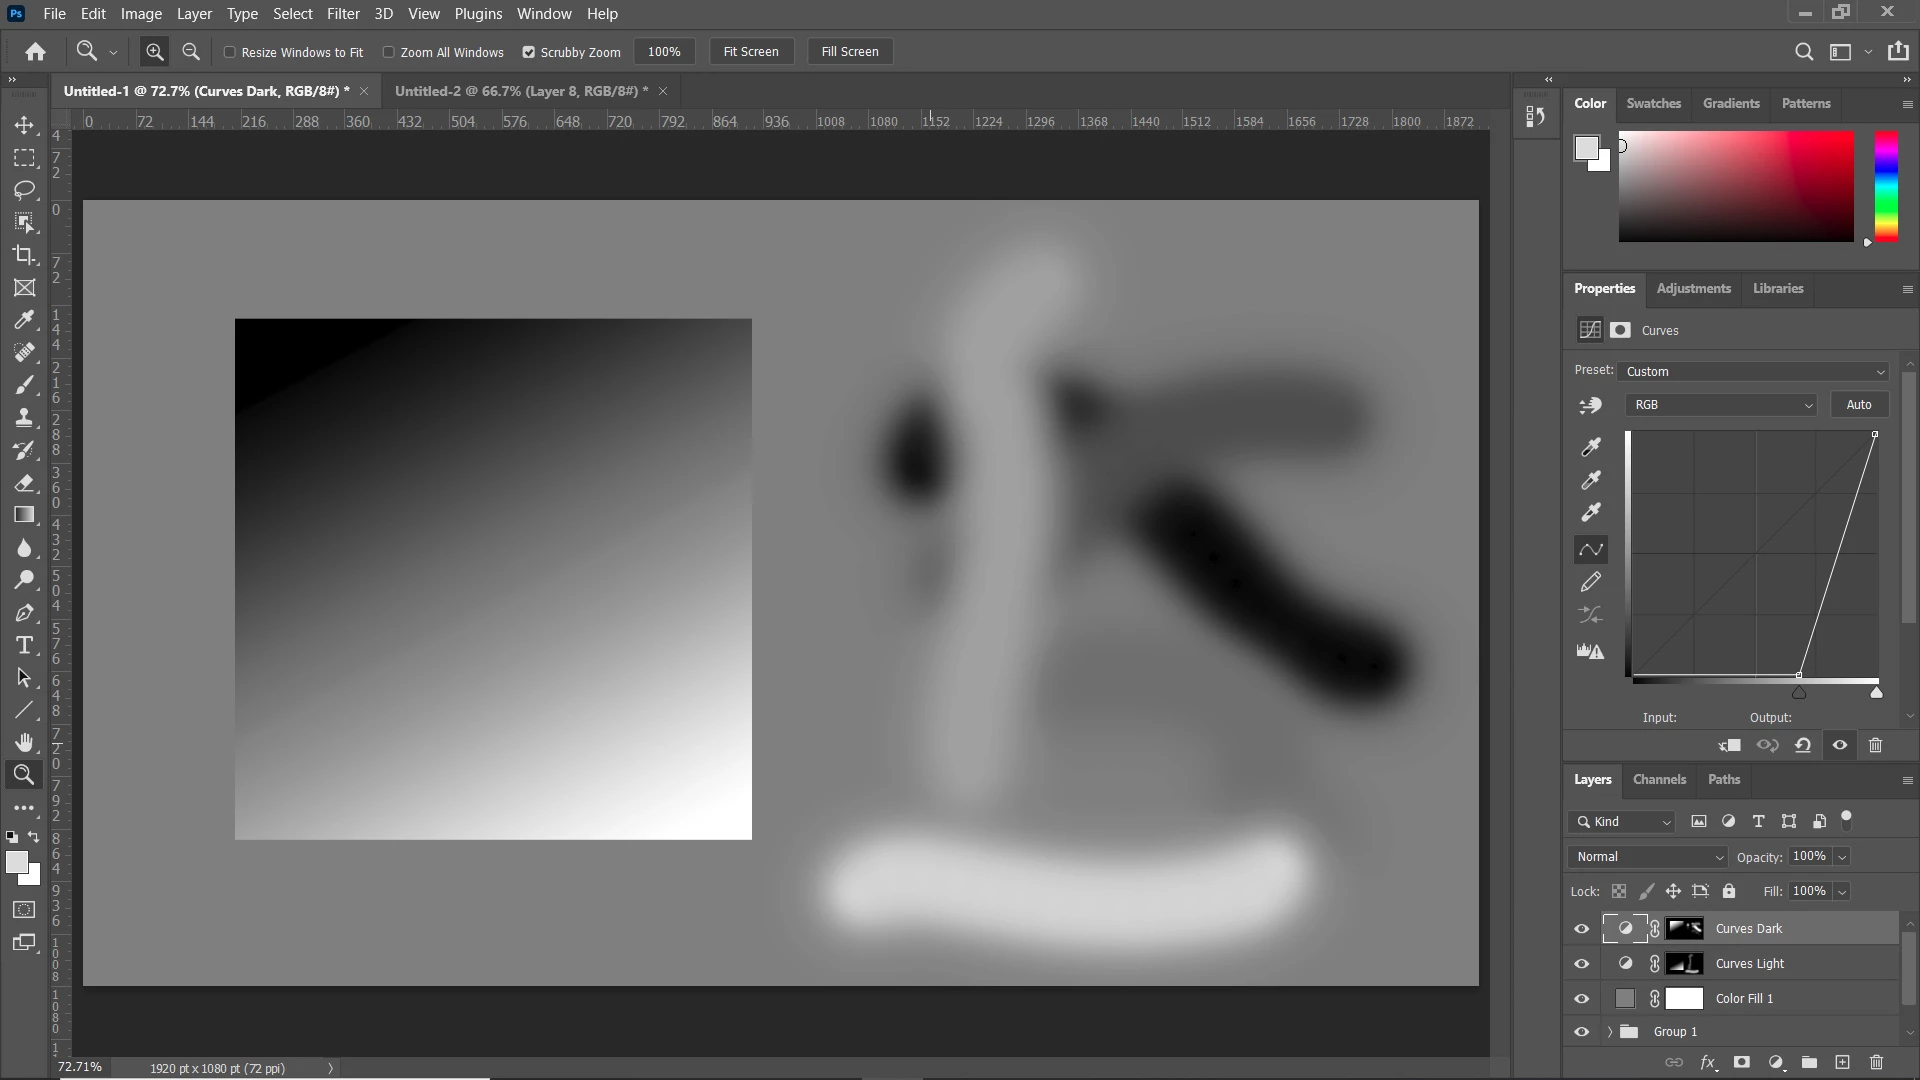
Again, go to channels and make a selection of what you have. Then create another curves layer for the shadows. Once you have the two curves layer you can turn off or delete all the layers you used to make these mask. Leave the 50% gray layer set to normal blend mode. Then you can adjust the curves to recreate the original layer:
Already have an account? Login
Enter your E-mail address. We'll send you an e-mail with instructions to reset your password.