- Home
- Photoshop ecosystem
- Discussions
- How to create an image overlay to manipulate?
- How to create an image overlay to manipulate?
Copy link to clipboard
Copied
Hello,
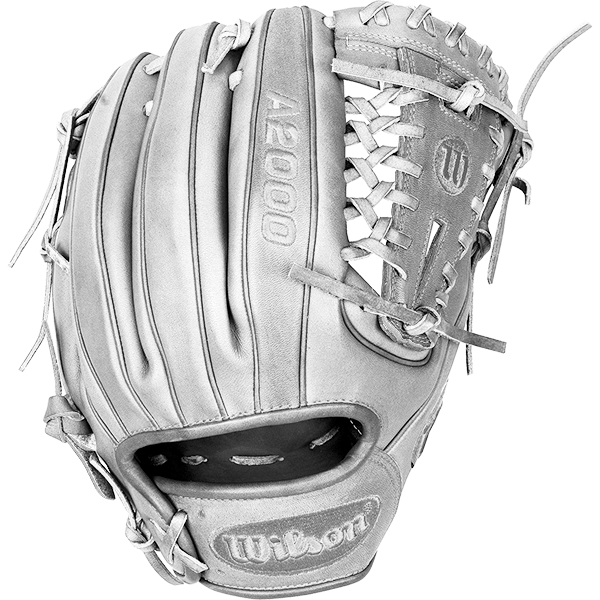
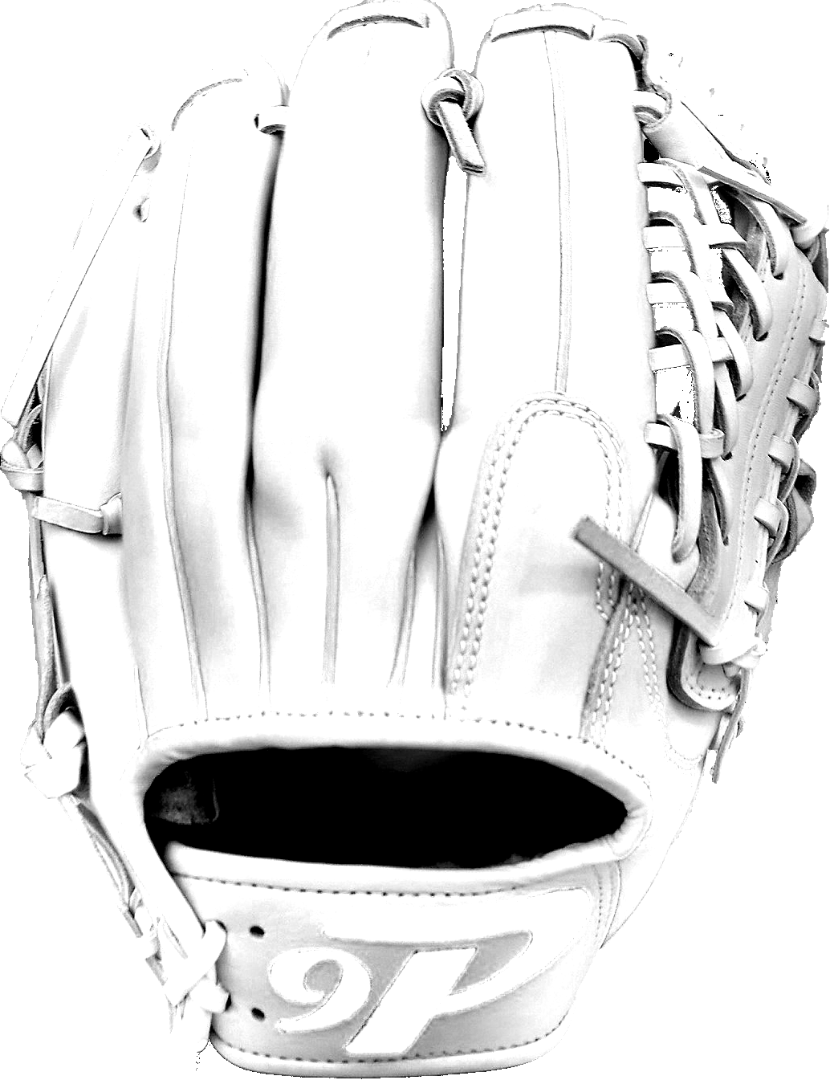
I am trying to duplicate an image effect on my site. The sample picture is an image that when a fill is applied below the overlay the image is colored.
The 1st image is the overlay image.. The next 2 are the effect of back lighting the overlay.
Questions:
1. How do I take an image and convert it to this overlay image, such as this?
2. Does the originating image have to be one color to create the overlay and/or can it be multicolored?
3. Noticed the sections in the colored images, where black and white sections remain regardless of manipulation. I'd like to maintain this as well.
4. Can this conversion be done in Illustrator or only Photoshop?
I've tried converting a color in image to alpha. I've tried from grayscale image too.. I'm not getting it, nor am I an graphics pro.
Thanks.
Andre
 1 Correct answer
Wait, so I think I misunderstood your original request.
You just want to make a more "realistic" recoloring of segments of the product?
Why not just do that with Hue & Saturation after selecting the area?
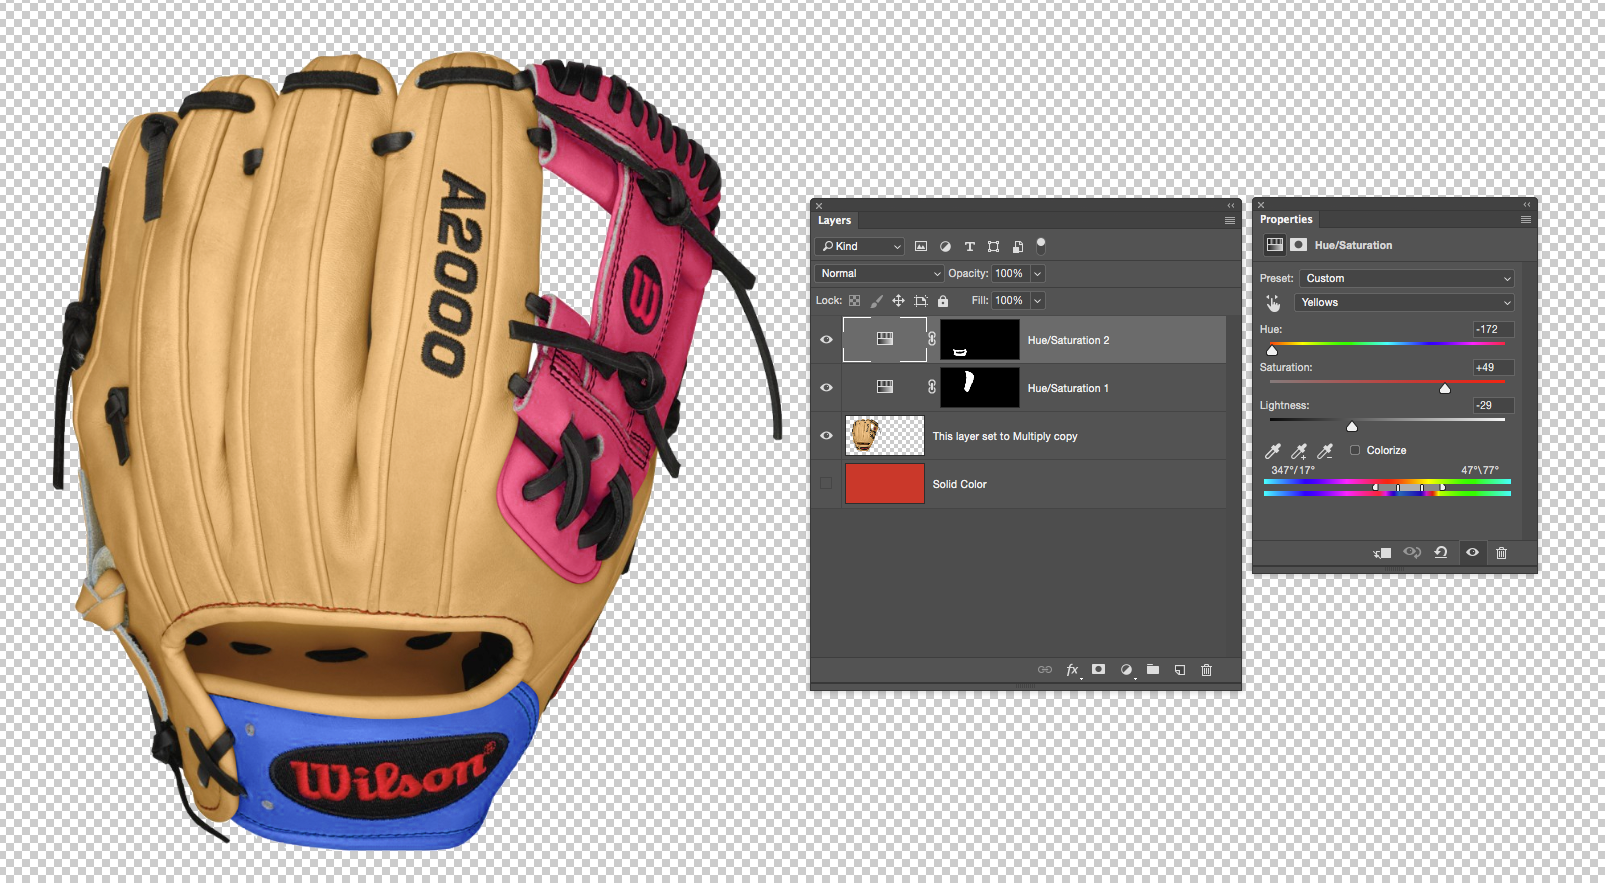
So here you can just make a selection of the area you want to edit.
Add a Hue & Saturation Adjustment layer.
Then at the top where it says "Master" as the pull down menu, change it to a color nearest to the product surface color you want to change. In this case, I chose "Yellows" because that's clos
Explore related tutorials & articles
Copy link to clipboard
Copied
Hi Andre,
1. First, you need to open the image in Photoshop and make it grayscale by going to Image > Image Adjustments > Black & White.
2. To achieve this effect your image should be grayscale.
3. Once you have your grayscale image then you can make a copy of the Black & White layer.
4. After making a copy of the black and white layer you can change the color of the copied layer by going to Image > Image Adjustment > Color Balance.
5. One you have achieved the desired color then you can use layer blending mode and choose Overlay from the drop down.
(Note: If your image looks darker after applying the Overlay blending mode then you can decrease the opacity of the layer.)
Regards,
Sahil
Copy link to clipboard
Copied
Hello Sahil,
Thanks for contributing, but I'm still having an issue.. What I did was the following:
- I have a colored version of the sample file I provided in question.
- In PS I've converted to b&w with default settings. after default setting
- Change layer blend to overlay.
- Opacity to 80%.
Here are those results.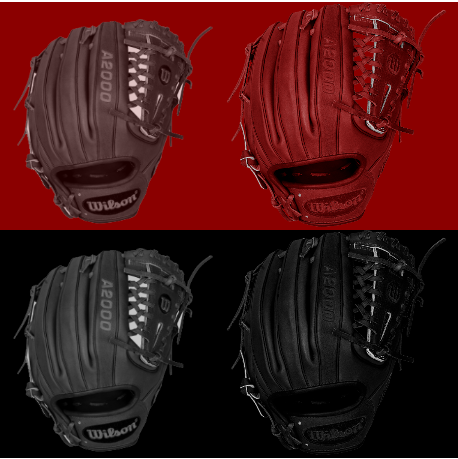
Second attempt:
- Convert to b&w and enhanced Red hue to 300%,
- Layer to Overlay. Opacity to 75%
Here are those results 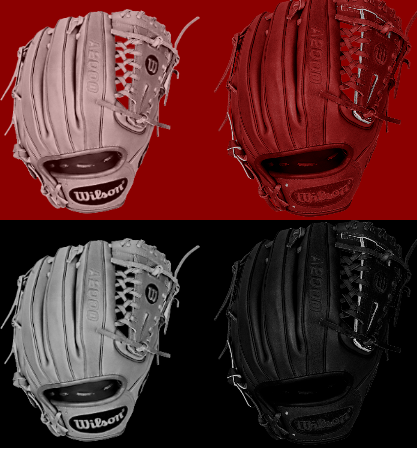
- Convert to b&w. Change filter to Lighter Density. Further turned Red filter to 300%
- Layer to Overlay. Opacity to 50%.
Here are those results.. 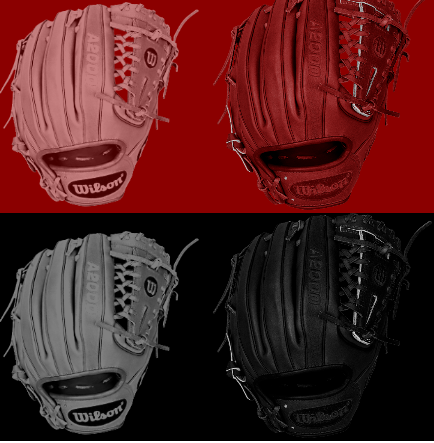
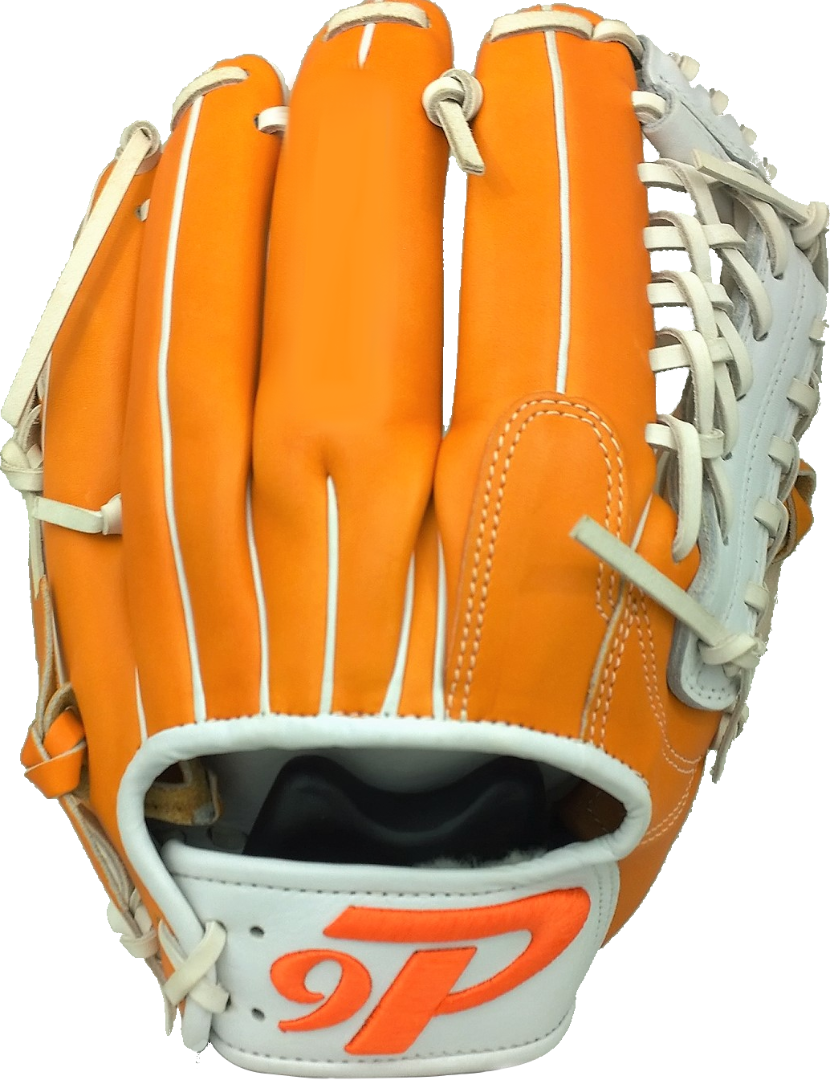
here is the originating photo..
Please, more thoughts..
Copy link to clipboard
Copied
Are you looking to be able to change just the tan color of the leather (and maybe the tan color of the laces)?
Copy link to clipboard
Copied
Hi Andre,
if I'm understanding your request, you need to use Multiply as the blend mode on the image so that you don't have the middle grays infusing with the color below. You could also use Linear Burn for a more punchy look. I use Channel Mixer to make the image black and white, just because I can get more contrast out of the Monochrome adjustment.
Here's a screenshot.
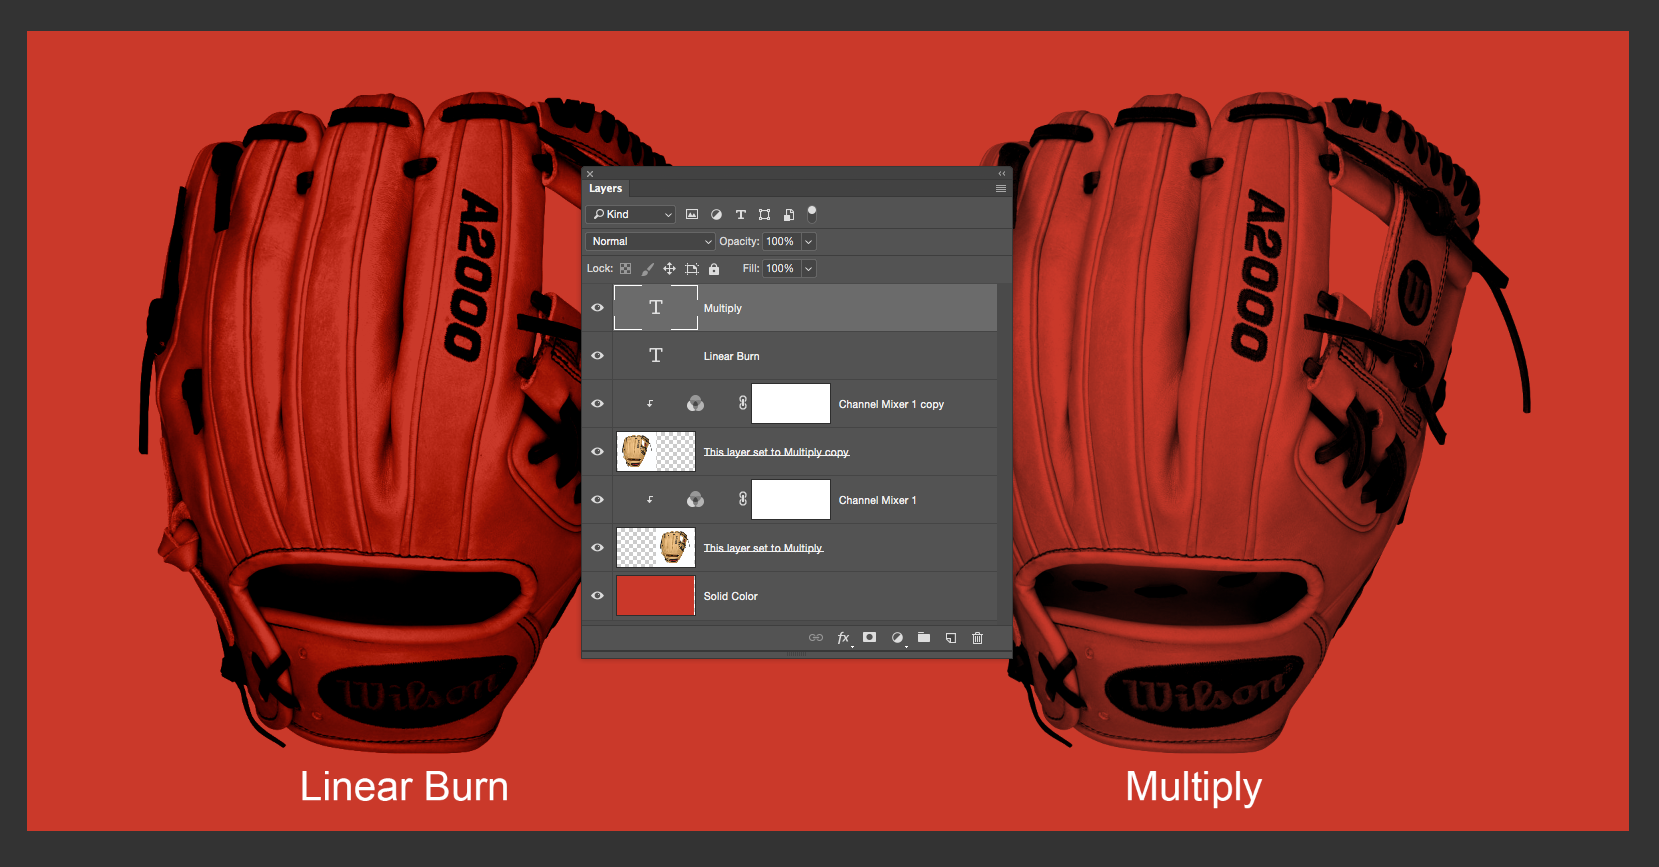
Your sample image above is a little deceptive though because it has those light gray strings/threads that aren't being influenced at all. And Multiply in essence removes them completely. I think that looks like someone masked it out on it's own layer and didn't get that clean an isolation just from a blend mode. But, with an inverted image, set to Screen, and then you use the Blend If Sliders inside of Layer Options to knock out the dark tones from the inverted image, you can get something like what you shared.
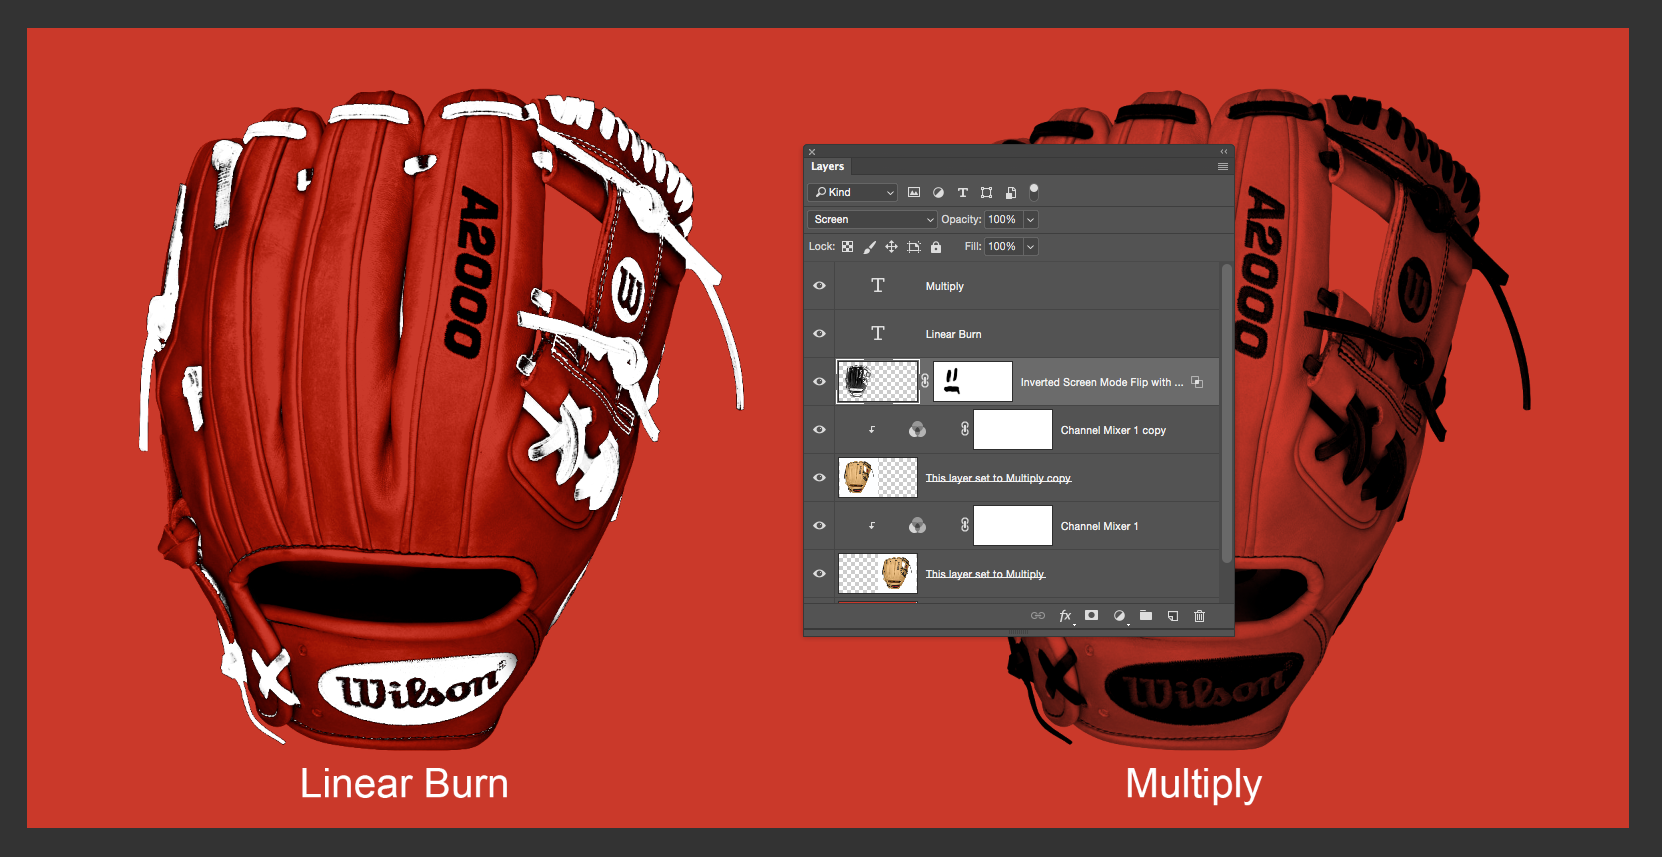
If you want to download my PSD file to play around with it, here is a link for you to download it.
example-blending-Heaps.psd.zip - Google Drive
Good luck!
Copy link to clipboard
Copied
thanks Mark-heaps.. You are close.. But the problem with yours is when a dark color is applied, the image is washed..
Warren. Yes.. That is what I'm trying to do.. I'll break my situation down further..
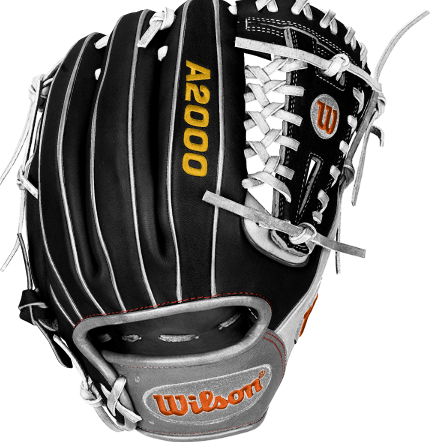
- This image is from the website which allows anyone to apply a color to different parts of glove. The greyed image I supplied at the beginning of this post is the image used on the site.
- The fill is being applied to this image by applying fill to svg object (drawing of specific part) that is on the layer (z-index) below the grayscale overlay image , demonstrated in Illustrator in the next image.
- There is no blending mode applied in css on the web element for svg. (i'll get back to this).
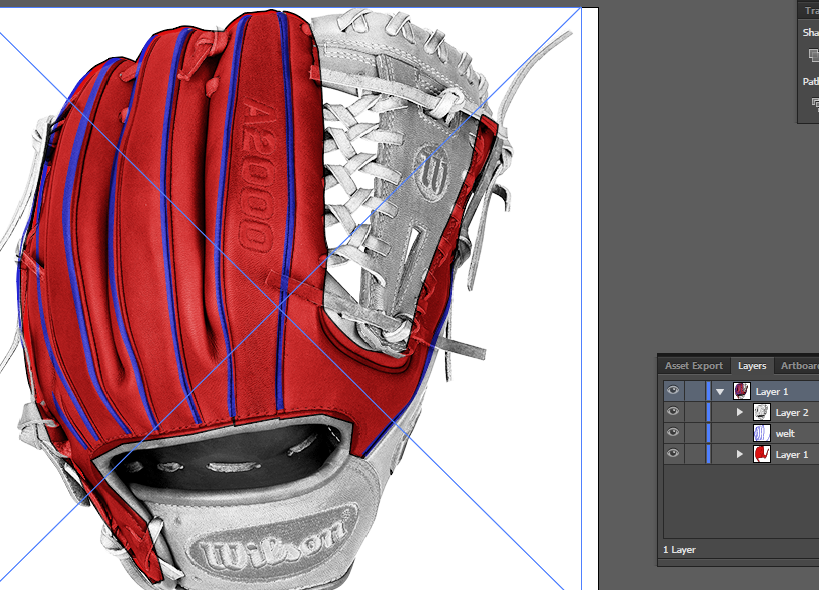
Currently, my websites design tool looks like this. basic svg with a fill.
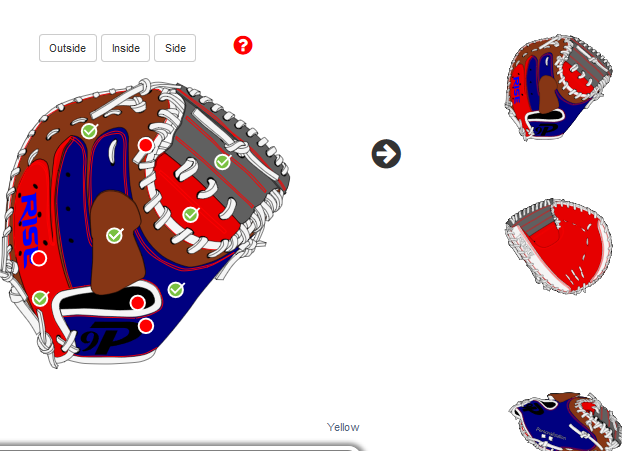
My previous tool was the way that Warren described, in a way..
- Took a glove of solid color.
- Drew paths and cut/copied the selection from paths to independent layers.
- I duplicated the layer for each section for as many leather colors I offered.
- Used the colorize option and changed the hue/sat/light of the leather layer to the color that I needed.. So the laces had 1 layer of each color. 11 png transparencies.
- I wrote code that would swap the png when customer clicked corresponding button color.
- This was bad because consider 10 color png x 10 parts is 100 files to be downloaded and loaded into memory.
Because of this, I changed to the SVG style shown above.. But now, our marketing team wants to make the image more life like to help customers visualize what they will be getting and complete their purchase.(psychology). Thus I'm trying to marry the svg+overlay image, minus the 99 files.
So the question is how was that image file prepped for a fill to be applied below? Mark is close..
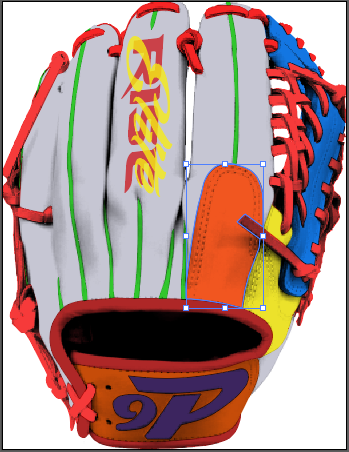
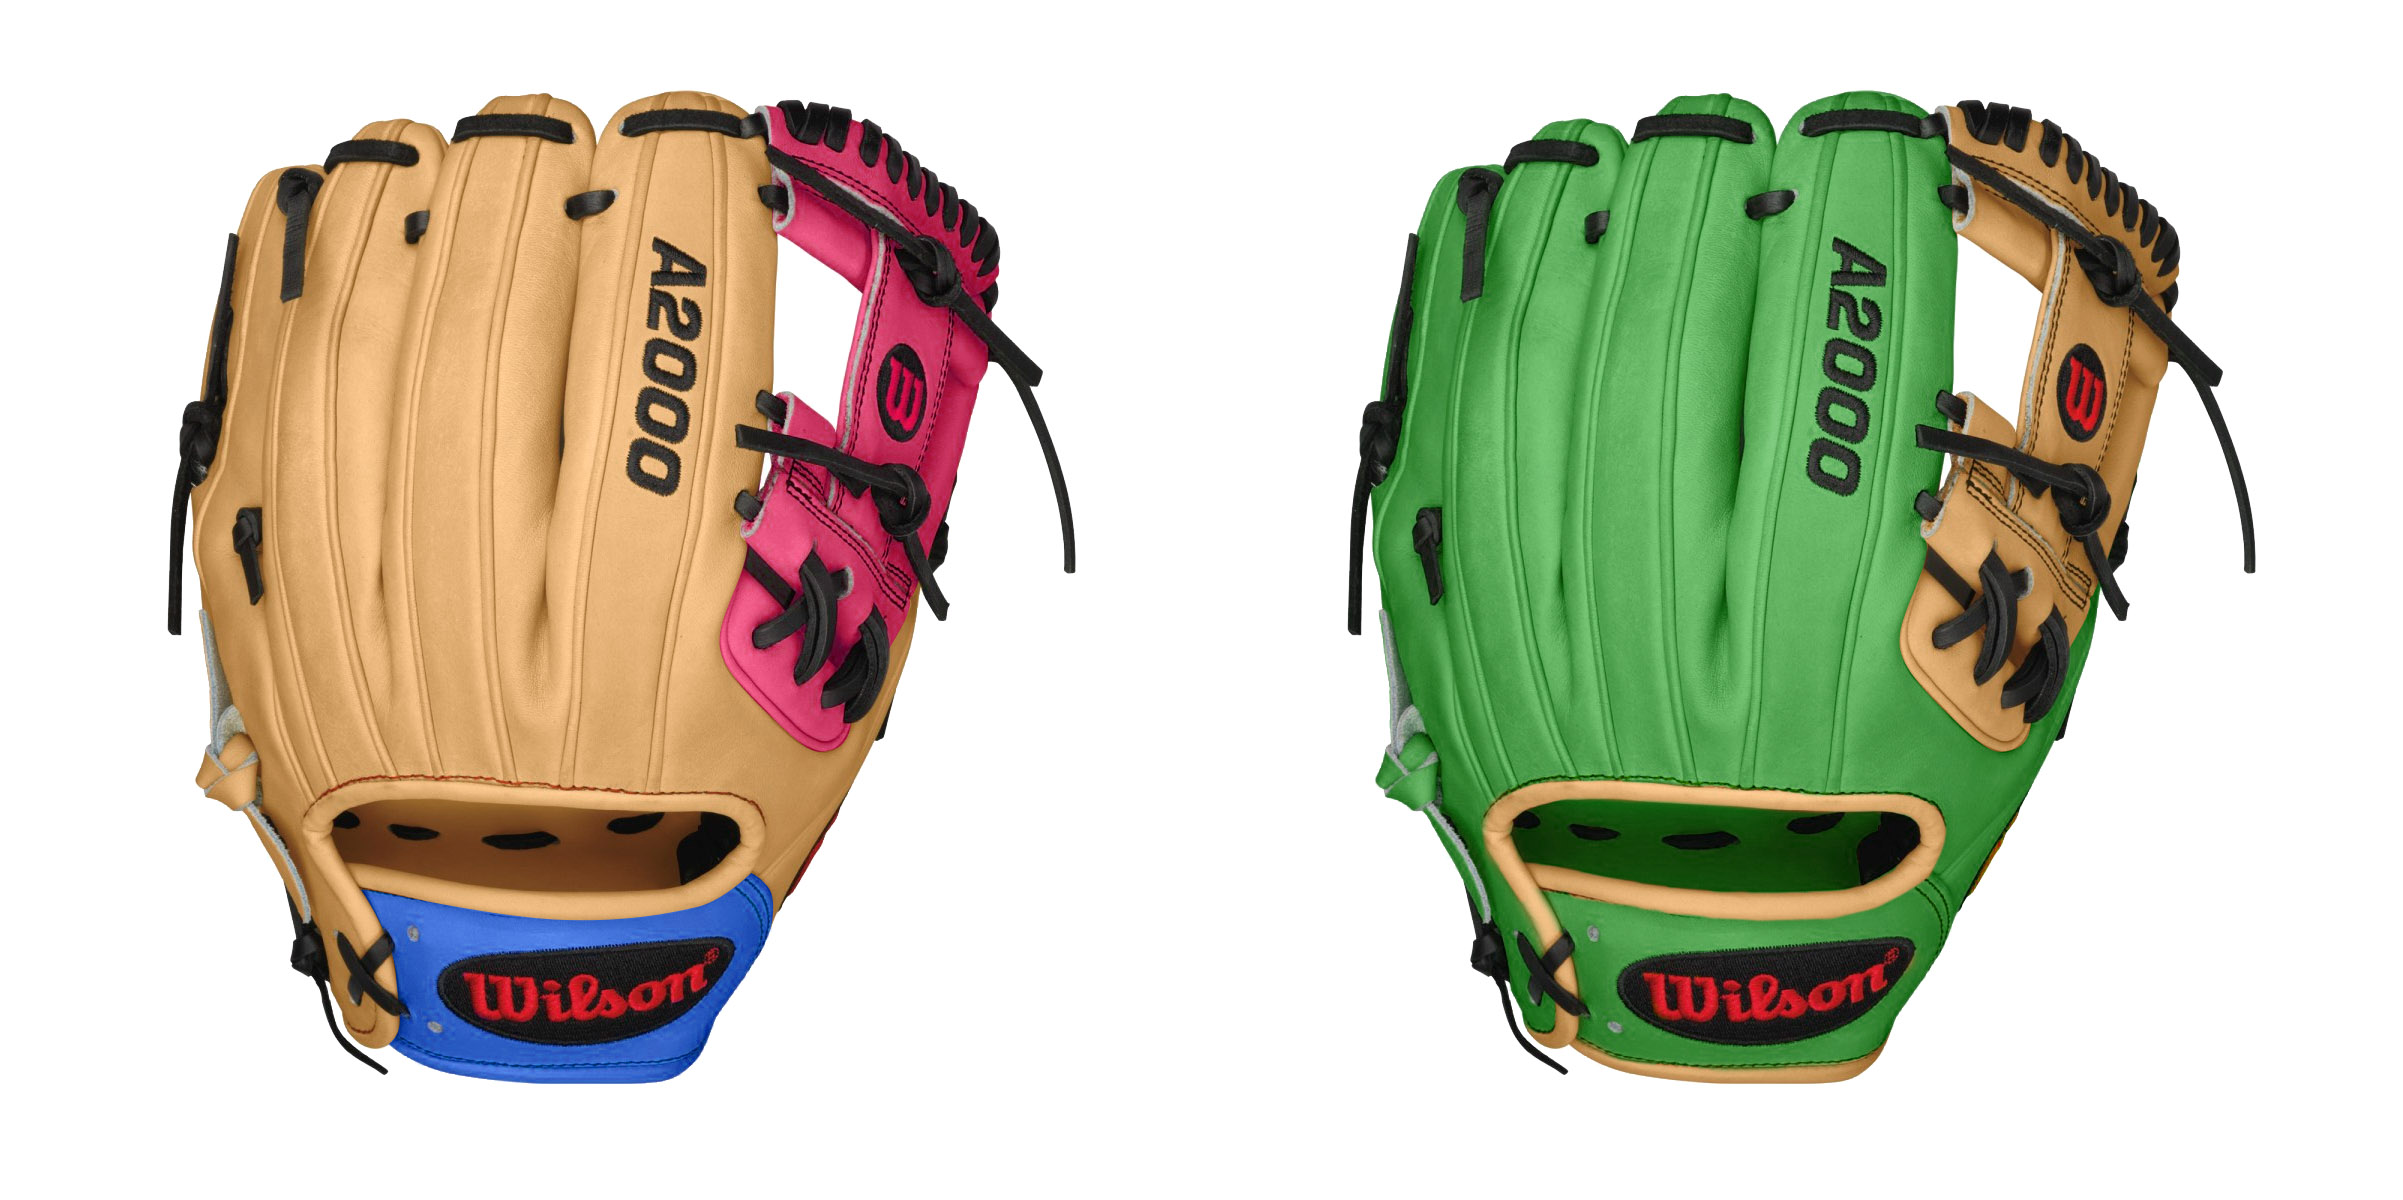
I did some testing and before working on this solution.. I did the same thing but put the image on the lower layer and applied fill to svg's on top of, with a blend mode of multiply and cut the opacity a bit.. It looks good, looking at and looks like the glove, but comparing the brand competitors outcome to mine is a not a contest. The originating image is to the right, and removing the color to the grayscale image. I need to take my images and shadows and noise to give it some umph when customers see it..
Copy link to clipboard
Copied
Wait, so I think I misunderstood your original request.
You just want to make a more "realistic" recoloring of segments of the product?
Why not just do that with Hue & Saturation after selecting the area?

So here you can just make a selection of the area you want to edit.
Add a Hue & Saturation Adjustment layer.
Then at the top where it says "Master" as the pull down menu, change it to a color nearest to the product surface color you want to change. In this case, I chose "Yellows" because that's closest to the tan leather color.
Using the eye dropper on the far left, sample the color of the area you want to change. This aligns the hue value more accurately for changing it from the source.
Now slide the Hue value to a new color, adjust saturation and brightness to preference.
Any areas that you don't want changed, or need to clean up. Just paint black into the mask of the Hue & Saturation adjustment layer and clean up. But it looks more realistic that way. And, it's way easier.
is that what you're looking for?
Copy link to clipboard
Copied
Thanks Again..
Mark your contribution is valid, and I've done this before as I explained, swapping in files on demand..
The problem is the programming involved. You can agree that 1 image, svg drawing and manipulating the fill is simple.
The branded company is able to do this. Figuring how to set this up 1x, I can duplicate quickly..
Plus, someone in the future will be able read this and do the same.