Link in Zwischenablage kopieren
Kopiert
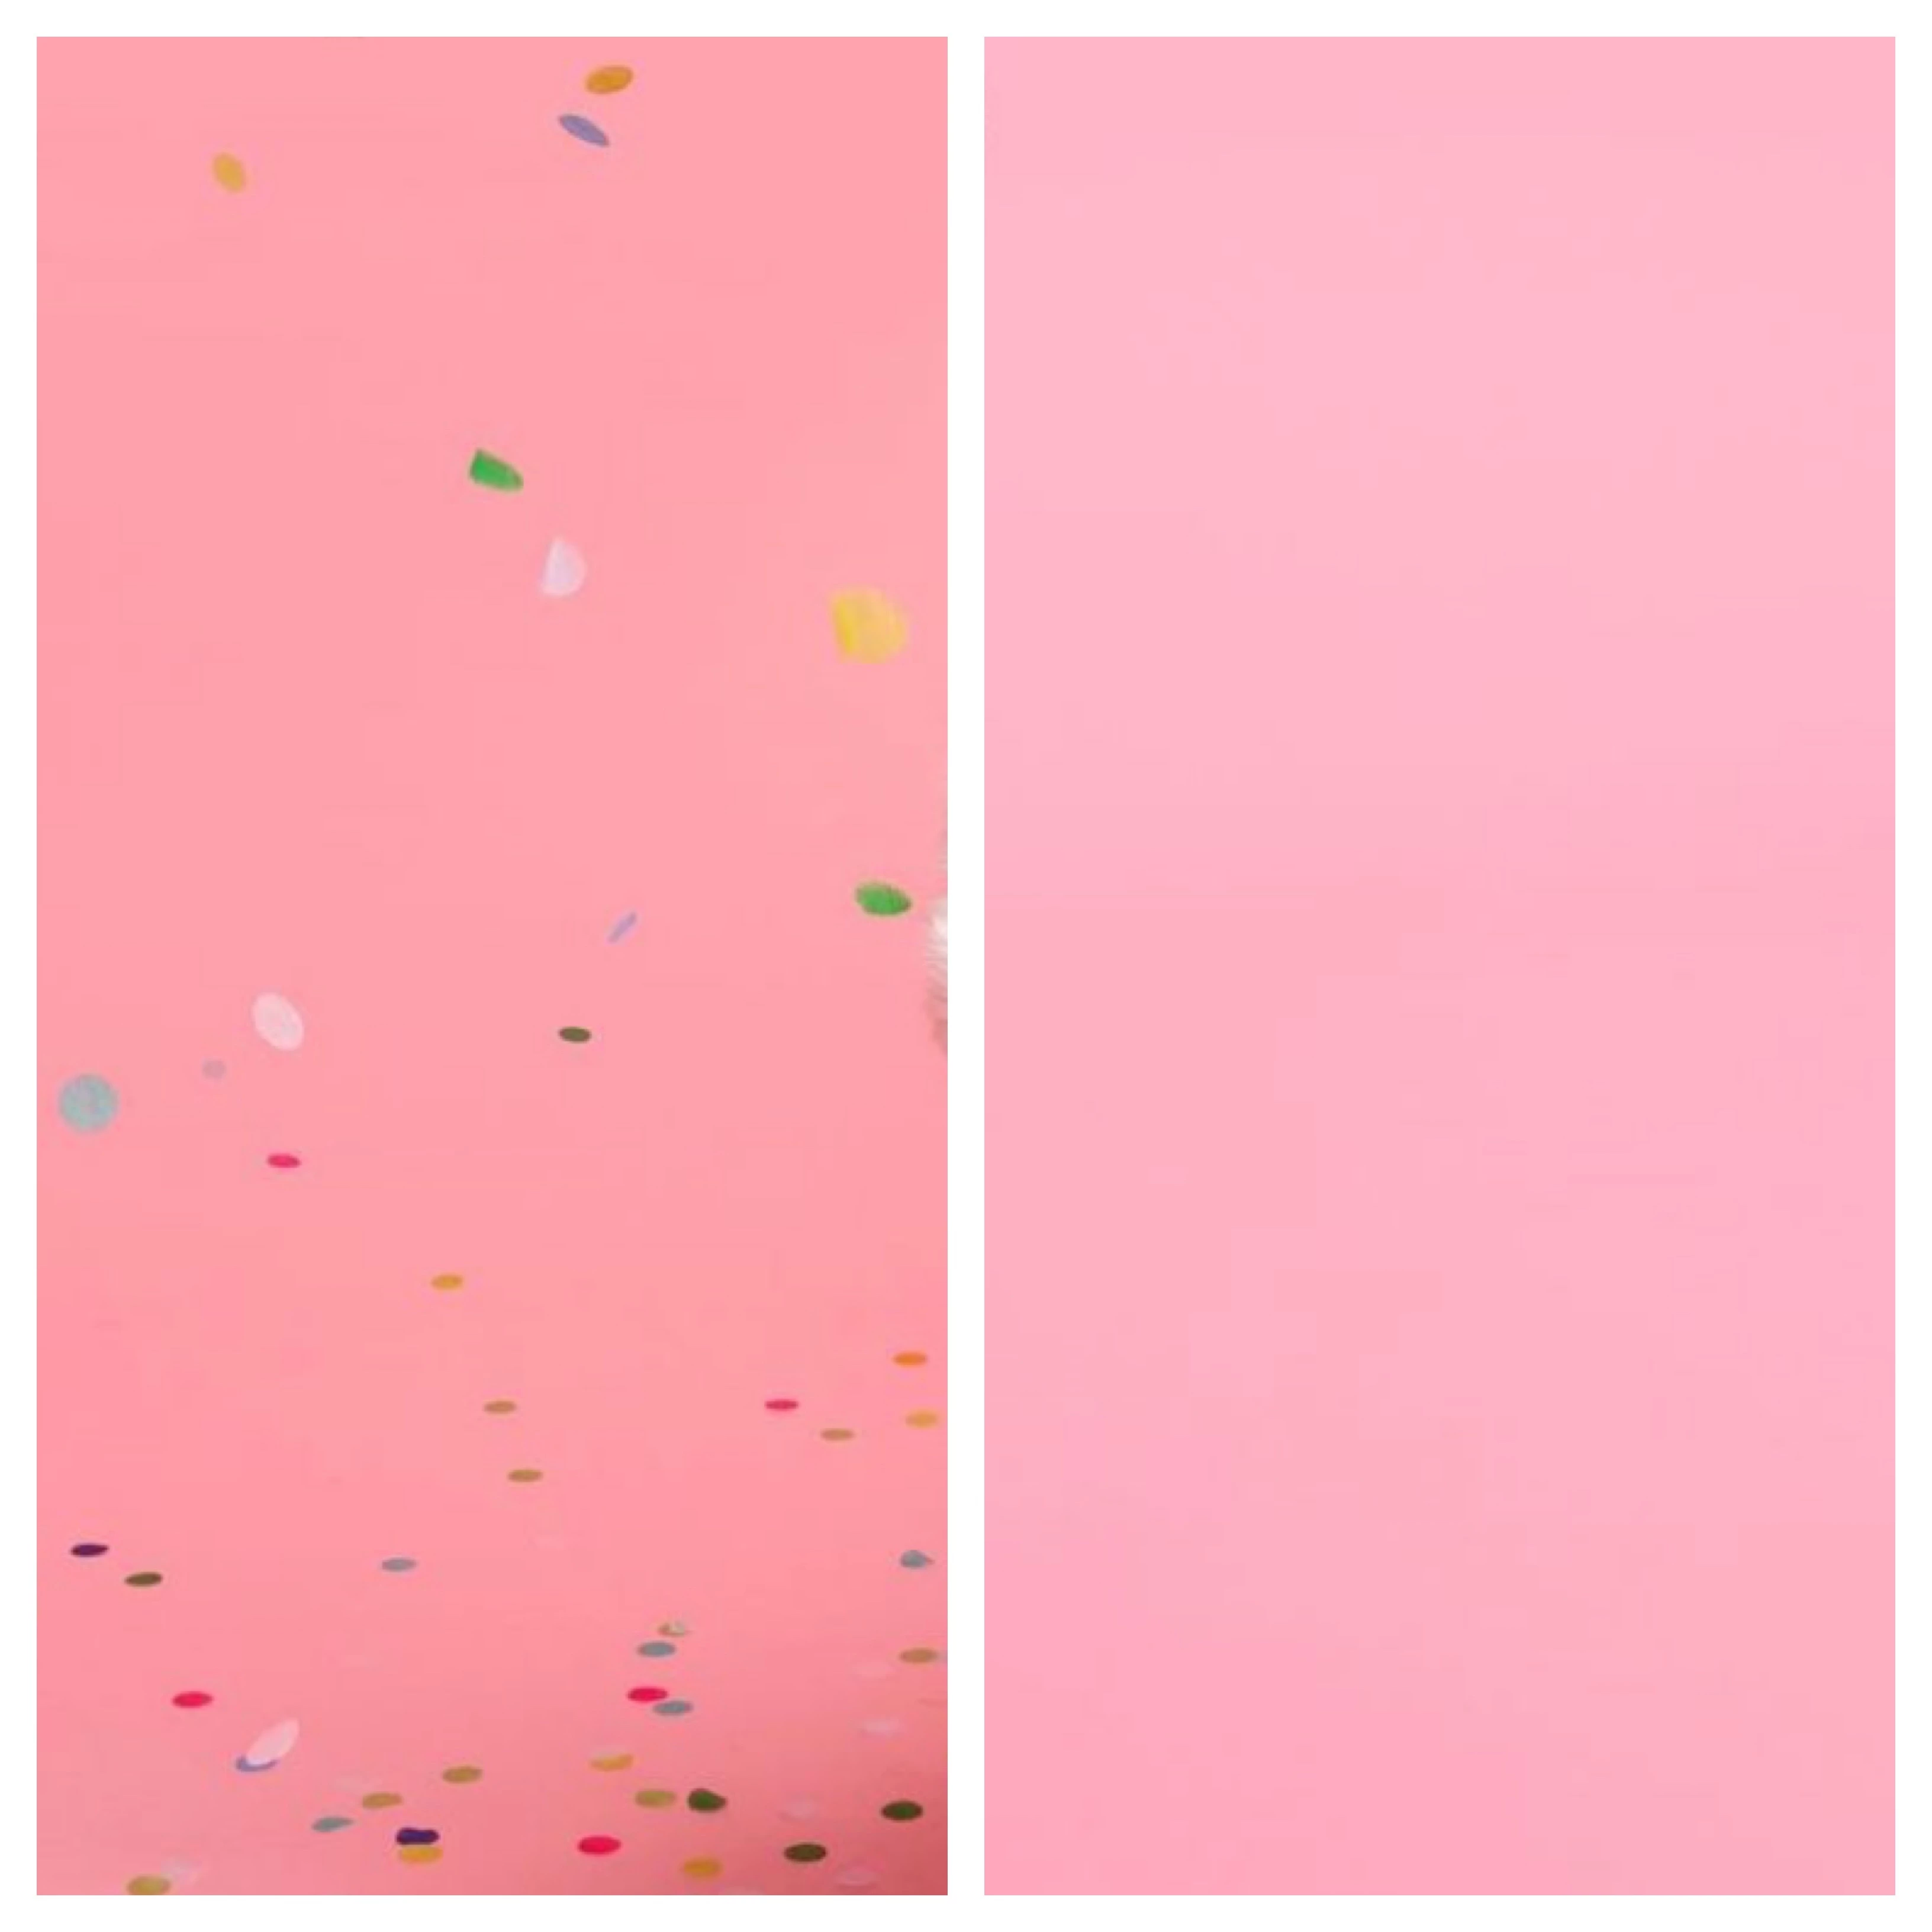
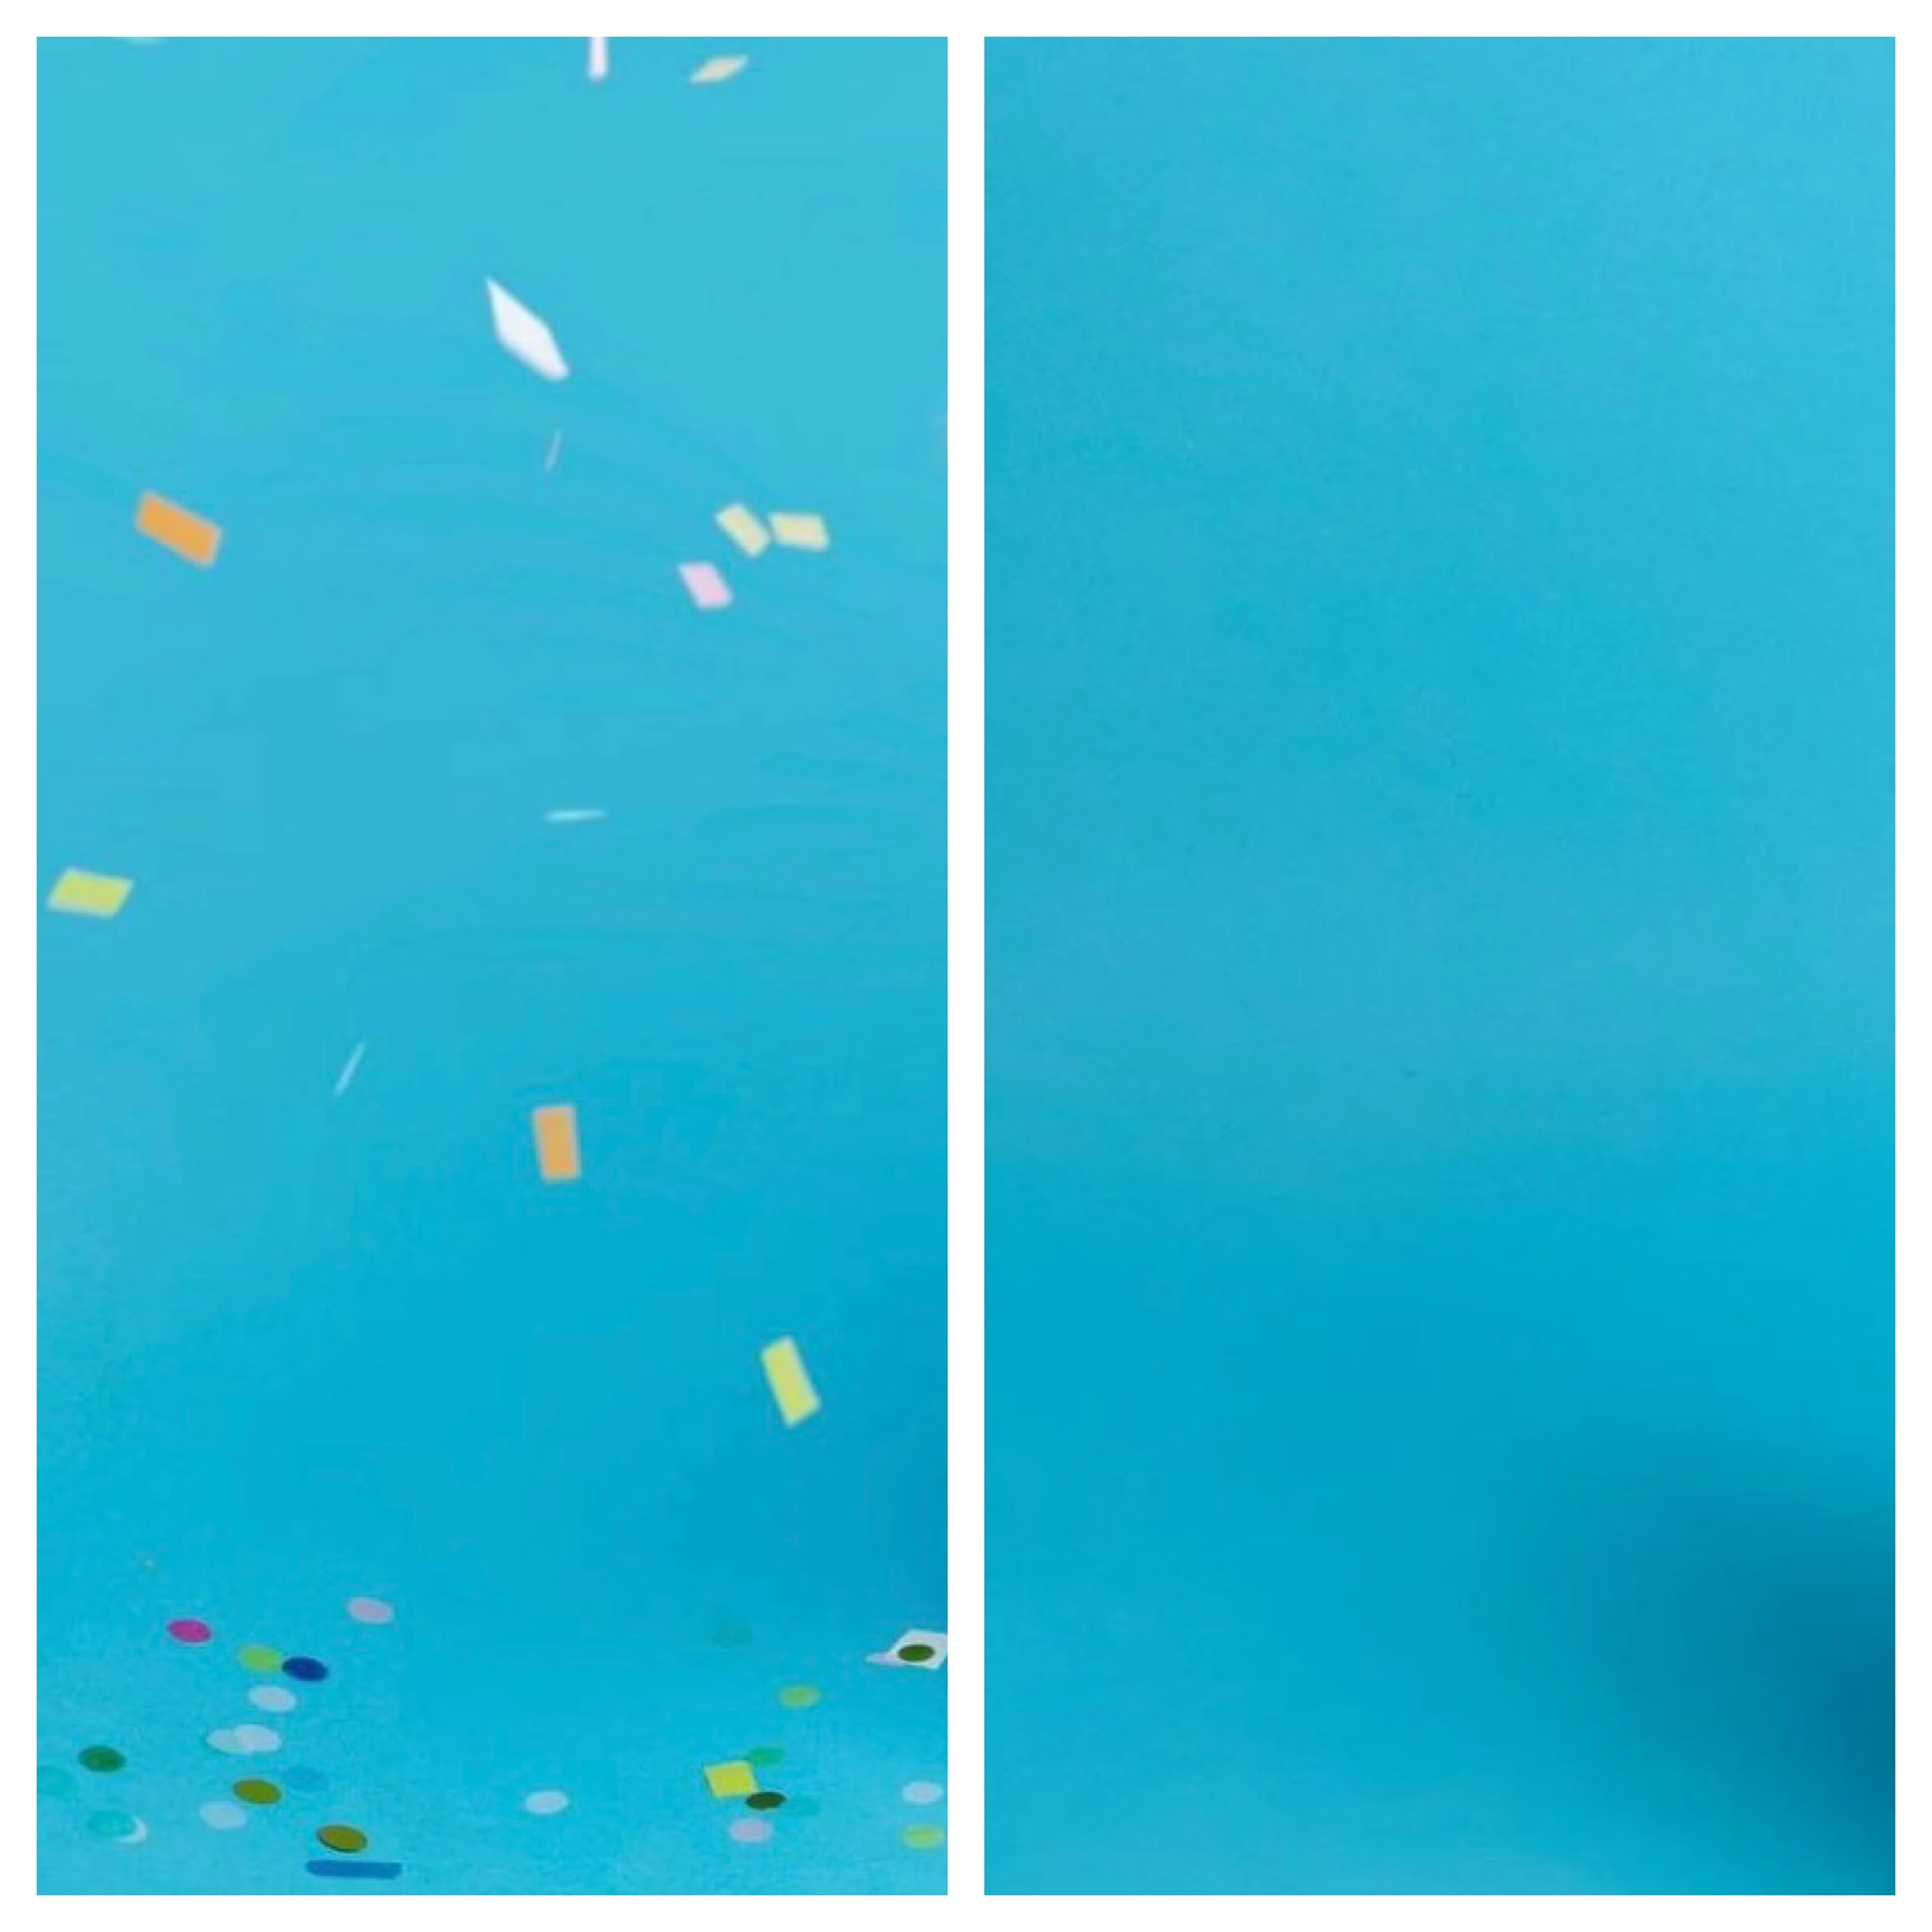
Hi guys, i am intending to create my own confetti transparent overlay layer as im unable to find any natural and realistics ones, but how do i go about doing it?
Would it be better practise if i a) shot the confetti on a empty background without subject, and add that to my photos with the subject instead or would using and creating a confetti overlay layer be better?
Link in Zwischenablage kopieren
Kopiert
I would definitely shoot the confetti on a neutral or white background, then create a transparency mask in Photoshop to use as an overlay. That way you can control the placement and intensity of the confetti. The only time I'd have a subject in the shot is if they are interacting with the confetti (throwing it, catching it, etc). Otherwise you can put some on their shoulders, clothes, hair as a separate shot and combine.
Link in Zwischenablage kopieren
Kopiert
What you mean is you would recommend creating my own transparent confetti overlay from shooting the confetti on a neutral or white background and once I've created that, I use it on my separate photos that has the subject in it, putting some on the backdrop etc to make it more realistic.
what do I search to learn how to make my own transparency layer from a white backdrop?
Link in Zwischenablage kopieren
Kopiert
You would use a layer mask to hide the background.
Here is how you can make a layer mask, changing the white/neutral background to transparent non-destructively.
Link in Zwischenablage kopieren
Kopiert
I have shot my confetti on a white background and have watched tthe video, does it mean i have tto paint the white background off to transparent in between each and every confetti?
Link in Zwischenablage kopieren
Kopiert
carefully paint the white background off to transparent.
Link in Zwischenablage kopieren
Kopiert
first color balance your white background - its coming through as pink.
Then make a selection using the magic wand or other smart selection tool and then click the mask button to start.
You would paint in the mask to cleanup, not for the initial mask.
If the mask is reversed (showing the background and hiding the confetti) then while the mask is selected, go to Image/Invert to reverse the selection.
Link in Zwischenablage kopieren
Kopiert
May i know How do i select and deselect the other confettis as well?
Link in Zwischenablage kopieren
Kopiert
https://helpx.adobe.com/photoshop/how-to/selection-tools-basics.html
This tutorial will get you started with making selections.
Your tolerance is set too high in the options. That is the default. I'm a little concerned that your background still looks pink and not white.
Link in Zwischenablage kopieren
Kopiert
I have color balanced it already already though, how do i ensure that it doesnt have a tint?
I tried export as-> jpg but the background is no longer transparent. how do i save it as an overlay to use it another image?
Link in Zwischenablage kopieren
Kopiert
How do you know the recommended tolerance on what you're working on? What's a good tolerance to be at?
Link in Zwischenablage kopieren
Kopiert
I have tried searching for how to save it as a transparent layer mask (it says binary layer mask) but my background keeps turning white insttead of remianing rtansparent. any tips?
Link in Zwischenablage kopieren
Kopiert
jpgs do not save transparency. Save this as a PSD (Photoshop Document) and build your image with layers.
Link in Zwischenablage kopieren
Kopiert
That tutorial is highly helpful and I have that same concern as well
Link in Zwischenablage kopieren
Kopiert
If you insist on using a photograph then you naturally need to create the corresponding Mask, though you may get a lot of mileage from Channels before resorting to painting.
And, depending on the background, you may have to decide whether to decontaminate the edges or simply shrink the Mask/Selection until the »blended« pixels become invisible.
Link in Zwischenablage kopieren
Kopiert
Can i just feather the layer mask selection so the edges are blended? That way i can add it to any background and it looks natural.
Link in Zwischenablage kopieren
Kopiert
@default8p9e891pnzjm wrote:
Can i just feather the layer mask selection so the edges are blended? That way i can add it to any background and it looks natural.
Have you tested that assumption?
Does the light background become visible and cause a noticable fringe when the image is set against a dark background?
Link in Zwischenablage kopieren
Kopiert
Yes i have tested that assumption and it looks particularly unnatuaral on a colored background.. do you have any tips on that?
Link in Zwischenablage kopieren
Kopiert
Yes i have tested that assumption and it looks particularly unnatuaral on a colored background.. do you have any tips on that?
You may have to decontaminate the edges or shrink the Selection.
If the decontamination in the »Select and Mask«-space does not suffice then some manual input may be hard to avoid.
Link in Zwischenablage kopieren
Kopiert
How realistic does it have to be?
Very simple confetti could be achieved with a Brush.
Link in Zwischenablage kopieren
Kopiert
This is the actual confetti on the paper backdrop, you can see it's quite realistic and the edges are all blurred and blended..
Link in Zwischenablage kopieren
Kopiert
This took me about five minutes to create
I used this as the template, but you can use the shapes that work for you. This is actual pixel size.
Edit > Define New Brush Preset
Spacing 60% Note: You can't get an accurate fix on this until you have made the other settings, so you will probably need to come back to it.
Try these settings, but others may work better for your starting shape/template.
I would still tend to keep Angle jitter at 100% to randomise the preset.
Roundness Jitter will have the effect of creating perspective as if some of the confetti is on its side.
The Preview window will be giving a good indication by this stage, so be guided by it. Scatter at 200% was working for me
This is where the magic begins. Definitely goe with a Spinal Tap Eleven for colour dynamics. I've added some Brightness jitter to see if it creates depth but I might turn that off. It's all part of the fun of using ht eBrush Engine.
Note: Apply Per Tip. If that is not enabled the colours won't change.
Lets try it out. I am using Green and yellow for foreground Background colours.
Weitere Inspirationen, Events und Ressourcen finden Sie in der neuen Adobe Community
Jetzt ansehen