

- Home
- Photoshop ecosystem
- Discussions
- Re: How to edit an image to match a hexadecimal va...
- Re: How to edit an image to match a hexadecimal va...
Copy link to clipboard
Copied
Using :
Photoshop CC 2018
Mac OS 10.13.4
MacBook Pro
I can use the color picker tools to see the hexadecimal value of a color in an image, but don't know how to edit an image to match a desired hexadecimal value.
Thanks!
Diane


 1 Correct answer

The background of your image is not one colour, it is many different colours. Use the Info tool to see this. If it didn't change it, maybe you didn't correctly select the target area.
Explore related tutorials & articles
 14
Replies
14
14
Replies
14

Copy link to clipboard
Copied
The current hex specification (which must be based on a specific color space, sRGB, for example) in the Color Picker also displays the equivalent RGB values for your color space. Clicking ok after entering the desired hex value, it becomes the Foreground color in the Tools panel. To replace an area in an image with that color, make a Selection of the image area. Choose Edit > Fill with the Foreground Color and the Fill Blending mode set to Color.
The luminosity of both the current and replacement colors should be similar for this to be successful. For example, it will fail if the current color of the Selection is almost black and you want to replace it with pink. That change would require a more advanced technique.
If you have a problem, post the image and the RGB original and replacement color values.

Copy link to clipboard
Copied

Copy link to clipboard
Copied
Thanks Norman,
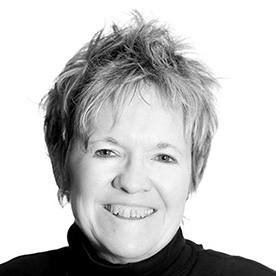
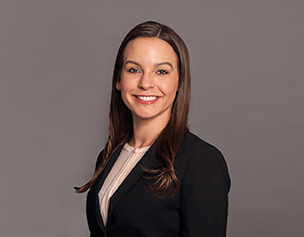
The left, before headshot appears to be the same color value as the after the fill.
The desired output hexadecimal value is #52464a
picchic
Copy link to clipboard
Copied
Norman,
Forgot to mention the backdrop is the area of the image that I am sampling.
picchic
Copy link to clipboard
Copied
The background of your image is not one colour, it is many different colours. Use the Info tool to see this. If it didn't change it, maybe you didn't correctly select the target area.
Copy link to clipboard
Copied
Thanks, I see. I used the Select/Color Range to selection the backdrop.
Copy link to clipboard
Copied
Thank you for your answer. I didn't realize until just now that I was fortunate to have more than one MVP's helping me with this question.
The backdrop area of my example is part of the original image and not a graphic element of a single hexadecimal value.
The sample area is to the right side of the eyes in the backdrop.
Can you please tell me how you would select the target area correctly?
Copy link to clipboard
Copied
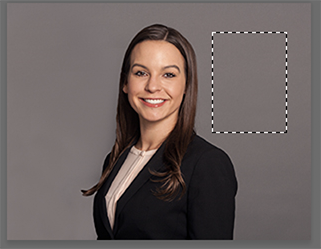
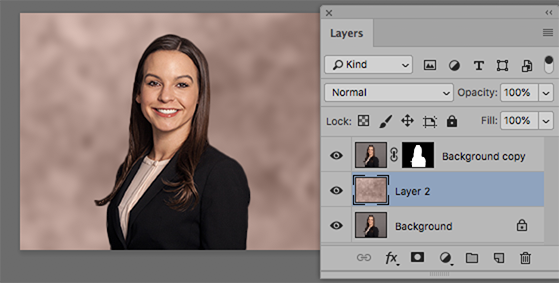
I am not sure I understand the question. Perhaps, rather than choosing the color value of a single point in the image, you would like to choose a small area and extend it over the entire image surface so that later it may then be used as a background layer the surrounds a person in a portrait. If this is what you have in mind: Make a duplicate layer of the background layes and use the Rectangular Marquee Tool to Select the reference area:
Then Edit > Transform > Distort and drag out the handles to cover the surface:
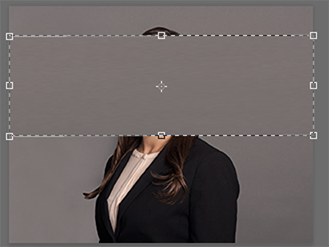

to produced this:

There is a very slight difference in luminosity between the top and bottom part of the panel (2 points). The color is unchanged.
Copy link to clipboard
Copied
Thank you again!!!
Actually my question reference was for the first forum person who had answered. They had suggested that perhaps I hadn't properly set the target selection. I had the follow up question to be sure I understood their question.
Your further steps are really helpful and I appreciate your thoroughness. Further about why I'm doing this - I have a national corporate client that has adopted specs for portraits that are to have a consistent look across the network of their offices. The hexadecimal value is part of that.
Can you recommend a great book about using selections?
Copy link to clipboard
Copied
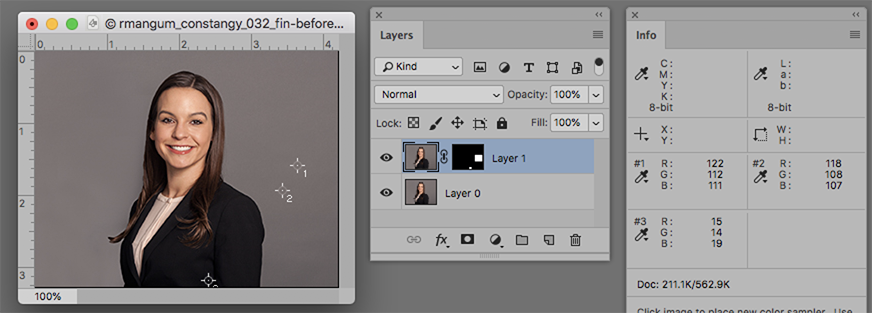
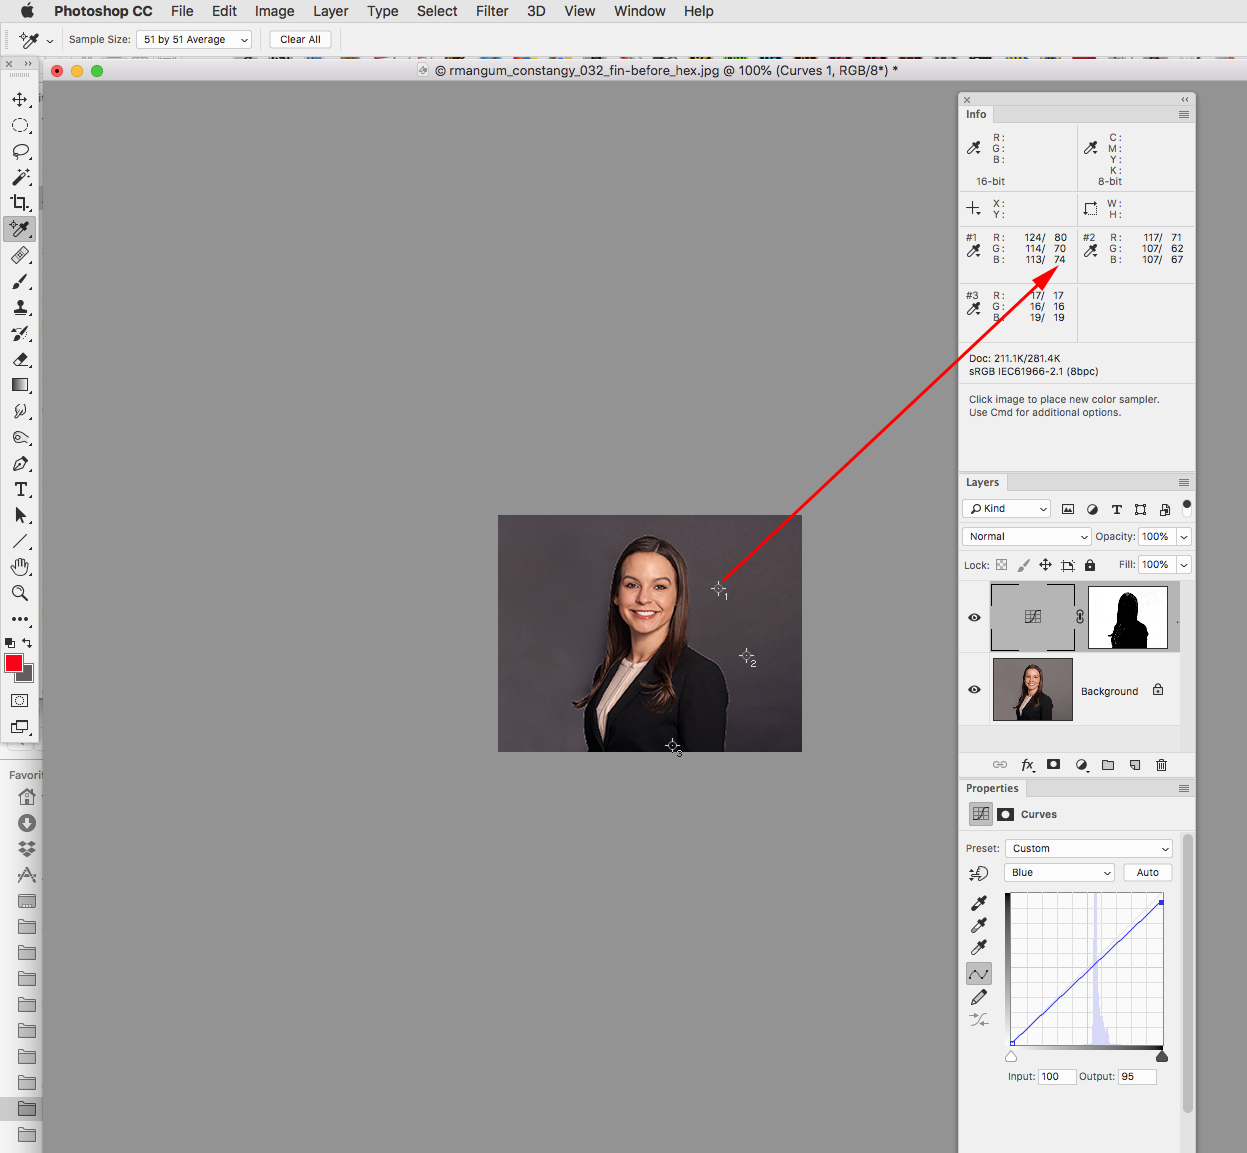
The image above shows the two portraits superimposed with a mask reveling your Color Sampler points.
By clicking the Mask on and off and watching the Info Panel you can confirm that both images have the same RGB values.
Oops! Just saw you marked someone else's response correct already. I'll leave this post up anyway for any value it may have.
Copy link to clipboard
Copied
Can you tell me the right way to make the backdrop selection for this purpose?
Copy link to clipboard
Copied
For this image:
1. Choose the Quick Selection Tool (but don't click on the image)
2. In the Options bar choose Select Subject
3. When you see the marching ants, in the Options bar choose Select and Mask
4. Use the sliders as necessary.
5. Near the bottom click on Decontaminate colors
6. In Output to choose New Layer with Layer Mask
7. In the Layers panel, place a background layer below the masked layer
and touch up the mask if necessary.

Copy link to clipboard
Copied
Can you tell me the right way to make the backdrop selection for this purpose?
When you are checking eyedropper values, you have to consider the Eyedropper Sample Size
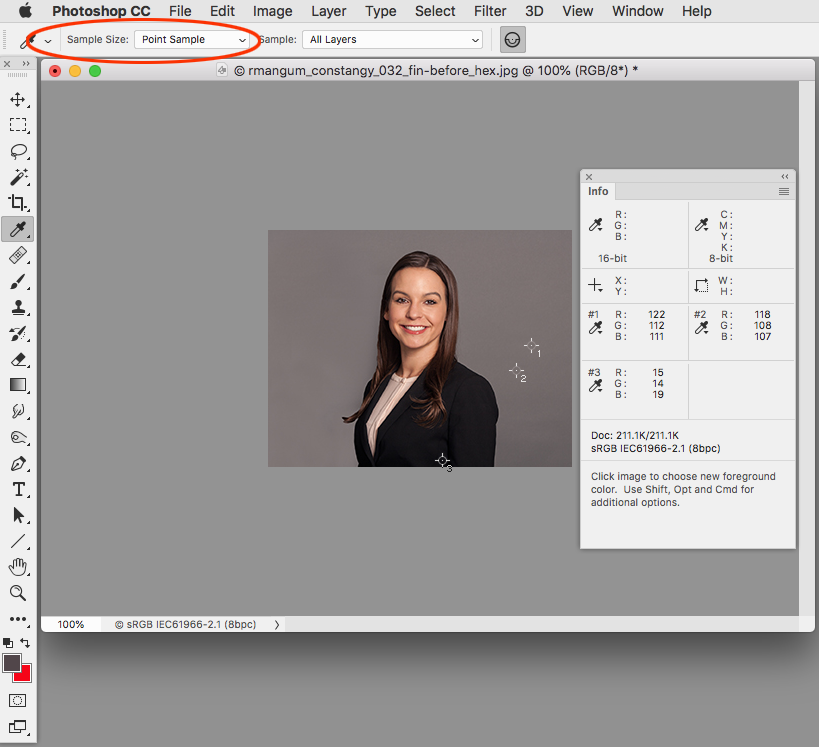

Hex values are simply another way of notating RGB values, so assuming your client's hex values are for sRGB, and your image's assigned profile is sRGB you can get the 0-255 notation to target in the Info panel (82|70|74)
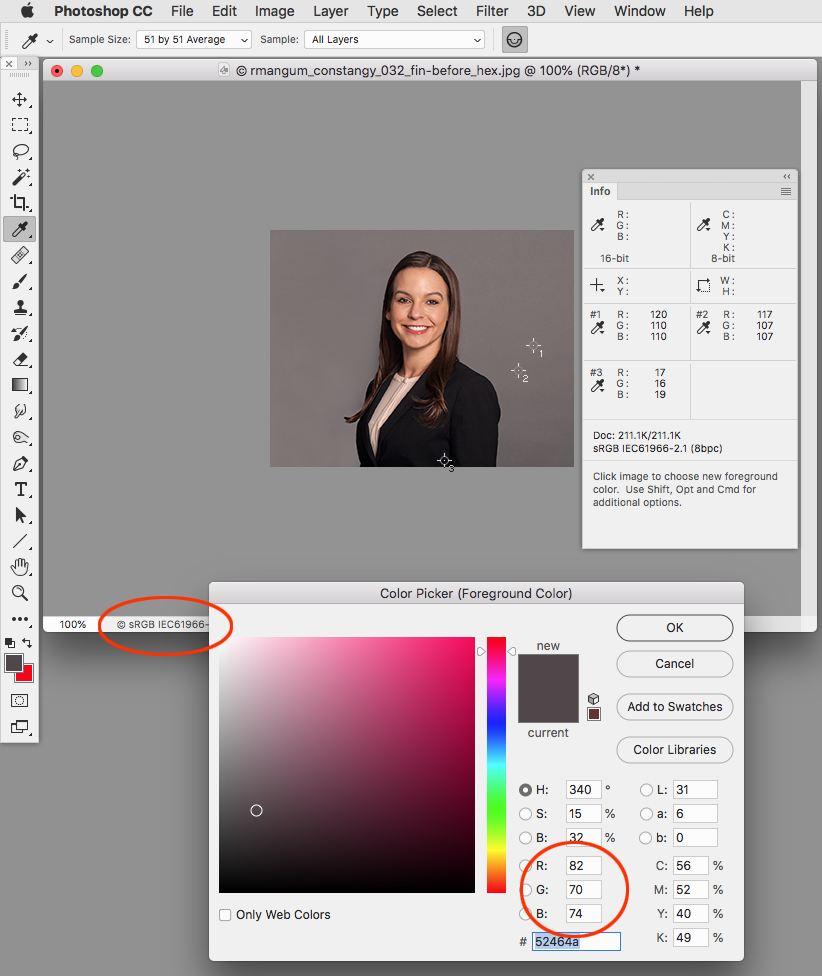
After selecting the background via Color Range I can make a Curve Layer mask and hit the desired RGB value. You don't want the Sample Size to be Point because you could be on an outlier pixel.
Copy link to clipboard
Copied
I also didn't realize until I just reviewed this thread, that the reply I marked correct wasn't yours.
I will try to ask a follow up question to that person, because I want to know that I got this.
Thank you for your answers!
I appreciate it so much.

Find more inspiration, events, and resources on the new Adobe Community
Explore Now
 AdChoices