How to edit images on eyewear frames...
Copy link to clipboard
Copied
Hi there - so someone might be able to help me. I used to easily be able to edit JPGs of eyewear frames that are shot with no lenses and drag and drop multiple colour lenses in (with varying opacity and also mirrors, gradients). However I now have PNGs with transparent background and trying to edit them is proving difficult. I usually use the quick slection tool, select the area and then insert new colour or treatment etc. However with the PNGs its almost as if it doesnt allow me to slect the whole lens area (and picks out the temple of the frames as separate). I have attached a sample image and then what I am looking to achieve... free eyewear for anyone who provides me the help / support i need (DEADLY SERIOUS). Many thanks, JE
Explore related tutorials & articles
Copy link to clipboard
Copied
The best and the most professional method in this case is to use the Pen Tool to draw a shape (or path to convert to selection) in new layer and do what you need with it.
Copy link to clipboard
Copied
Yep, use the pen tool!
Copy link to clipboard
Copied
Quick Select won't always figure out where you want the edge to be. Especially if there are multiple candidates or low contrast. Also I recommend you place a color fill layer beneath the glasses as you work (Photoshop uses the wrong gamma when blending with the transparency grid so semi-transparent areas look wrong).
I definitely recommend you use the Pen Tool here. Use it to create a Shape Layer (or vector mask). It is a manual process, but these are quite simple shapes, and it gives perfect edges.
Ps: Don't convert it to a selection as you lose the ability to easily tweak the shape.
Copy link to clipboard
Copied
Copy link to clipboard
Copied
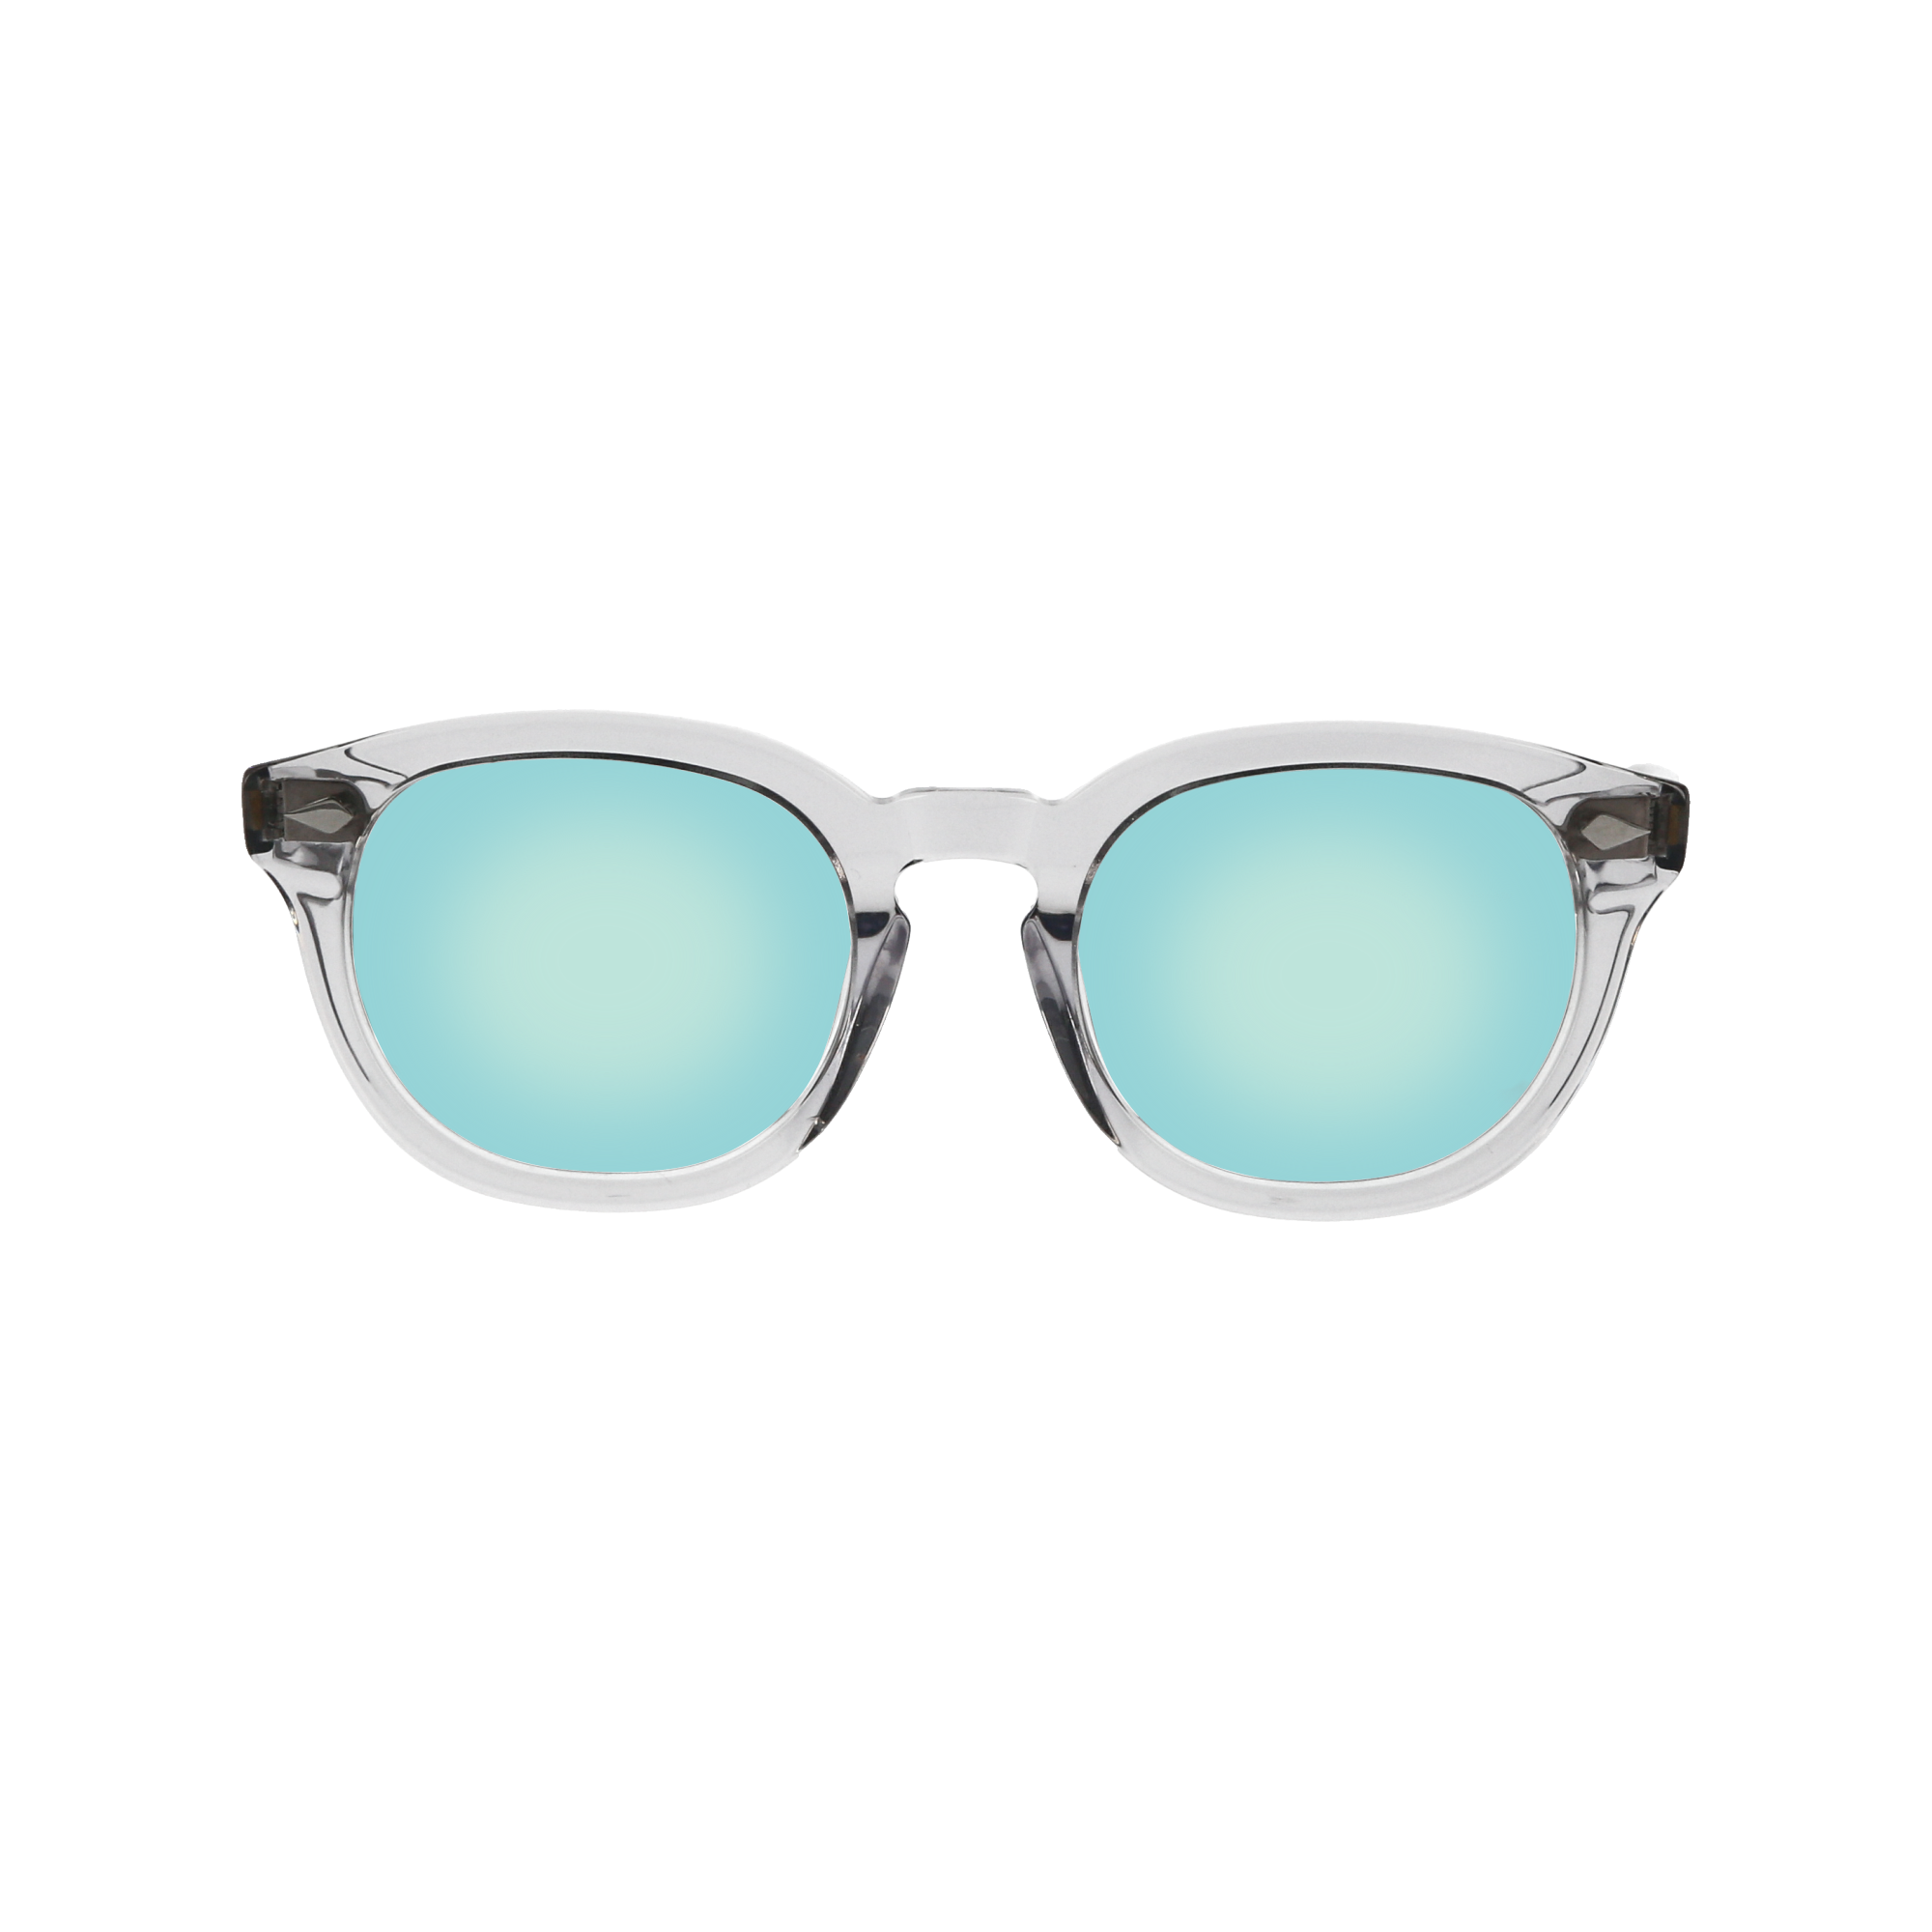
Automation would struggle on images like your sample since you can see those parts that go behind the ear visible through the glass. It is too similar to the rest of the frame. If multiple frames are *identical* in the photos, you could copy/reuse the mask(s), so those would be fine.
You could use actions to speed up the workflow, but you would have to make it stop and ask for some user input on the mask.
We mentioned the pen tool will give the best mask here, but a quicker way to mask these might be Magic Wand (perhaps refined using select and mask) then switch to Quick Mask, and paint in the missing bit with a large hard round brush.
Copy link to clipboard
Copied
As others have said - the pen tool is the right one for the job. This article describes its use and should help get you started.
https://helpx.adobe.com/uk/photoshop/using/drawing-pen-tools.html
Dave
Copy link to clipboard
Copied