How to fill text with an image

Use a clipping layer to create photo text with Ps on iPad
Are you at home with some extra time on your hands? Now is a great time to dig up your beautiful travel photos and get creative! Grab your iPad and a few photos and give this a try!
We've added several text features to Photoshop on the iPad in recent releases. You can create both point text and paragraph text. Point text is where you just tap and type, such as when you create a Title. Paragraph text is where you drag a bounding box and then type in it. You can, of course, select a color for your text and you can modify the character formatting options such as auto leading, all caps, small caps, superscript, subscript, underline, and strikethrough. You can also align and justify the text. If you want to get even more creative, you can use a clipping layer to allow images to show through selected text. This tutorial shows you how to create and edit your title, and then use a clipping layer to allow an image to show through it.
❶ Create a title in a large chunky font
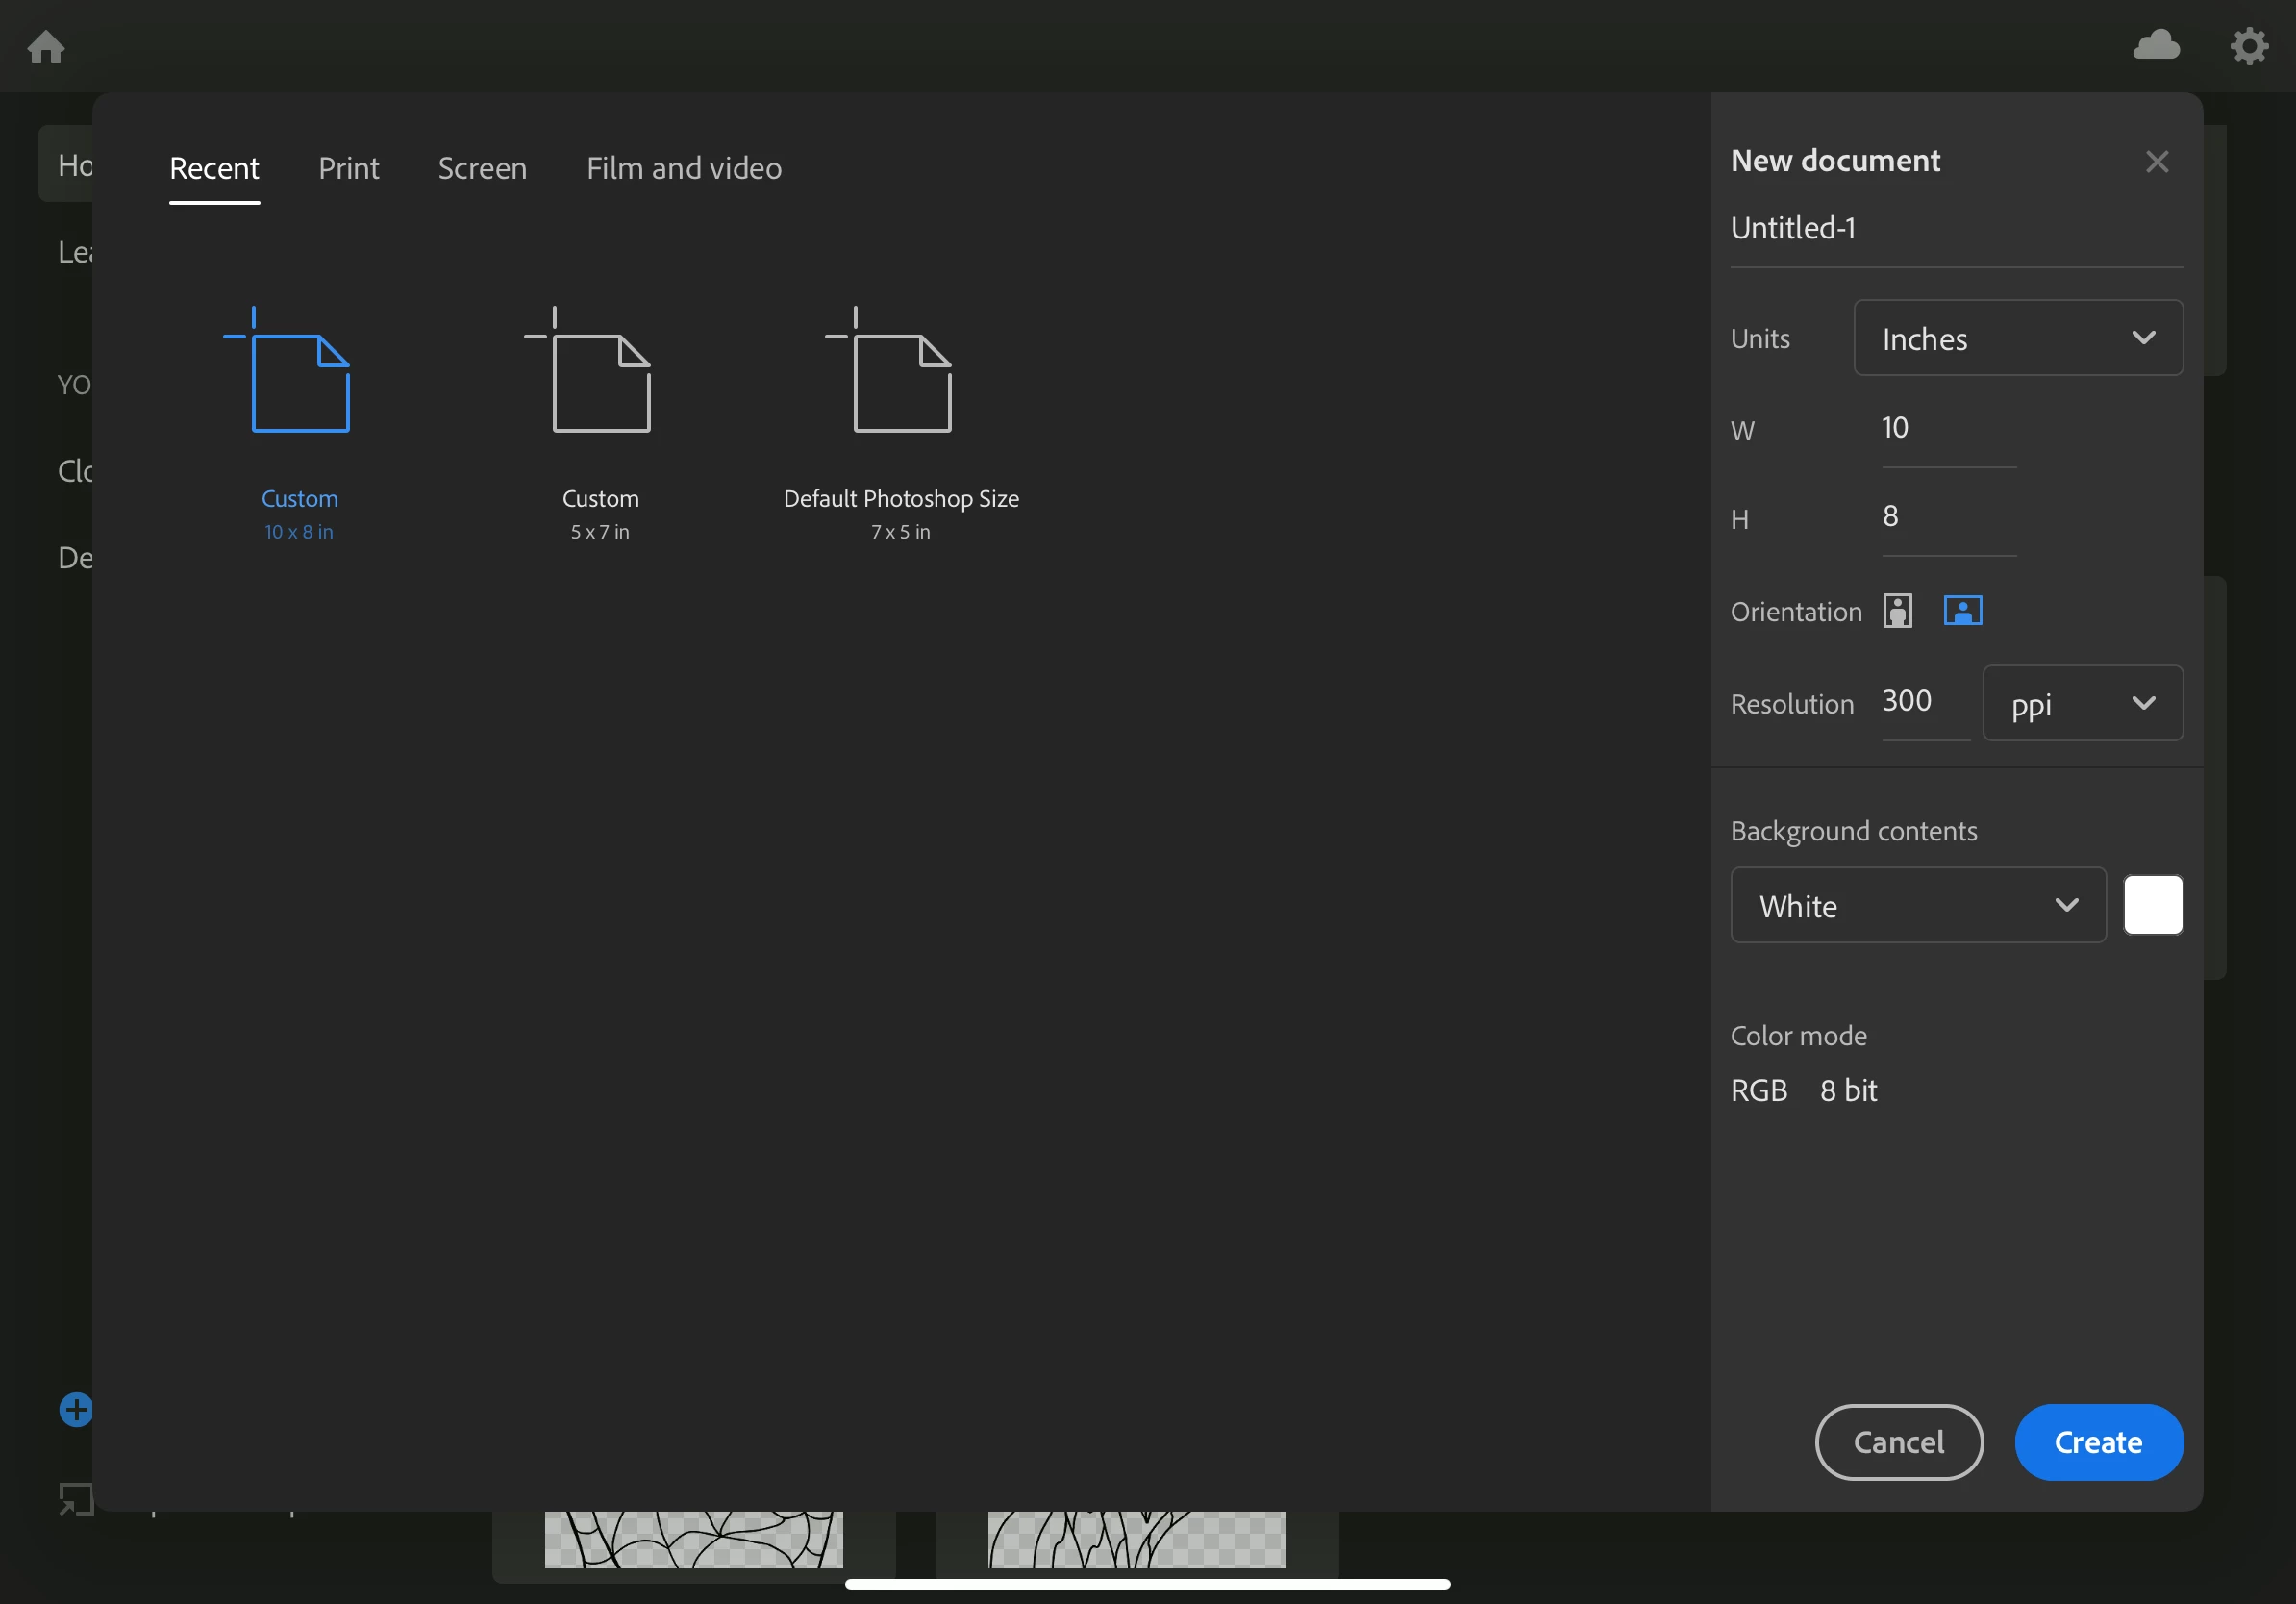
- First, create a new file by opening Photoshop on the iPad and tapping Create new in the bottom left corner
- Tap on the 'T' on the toolbar to select the type tool
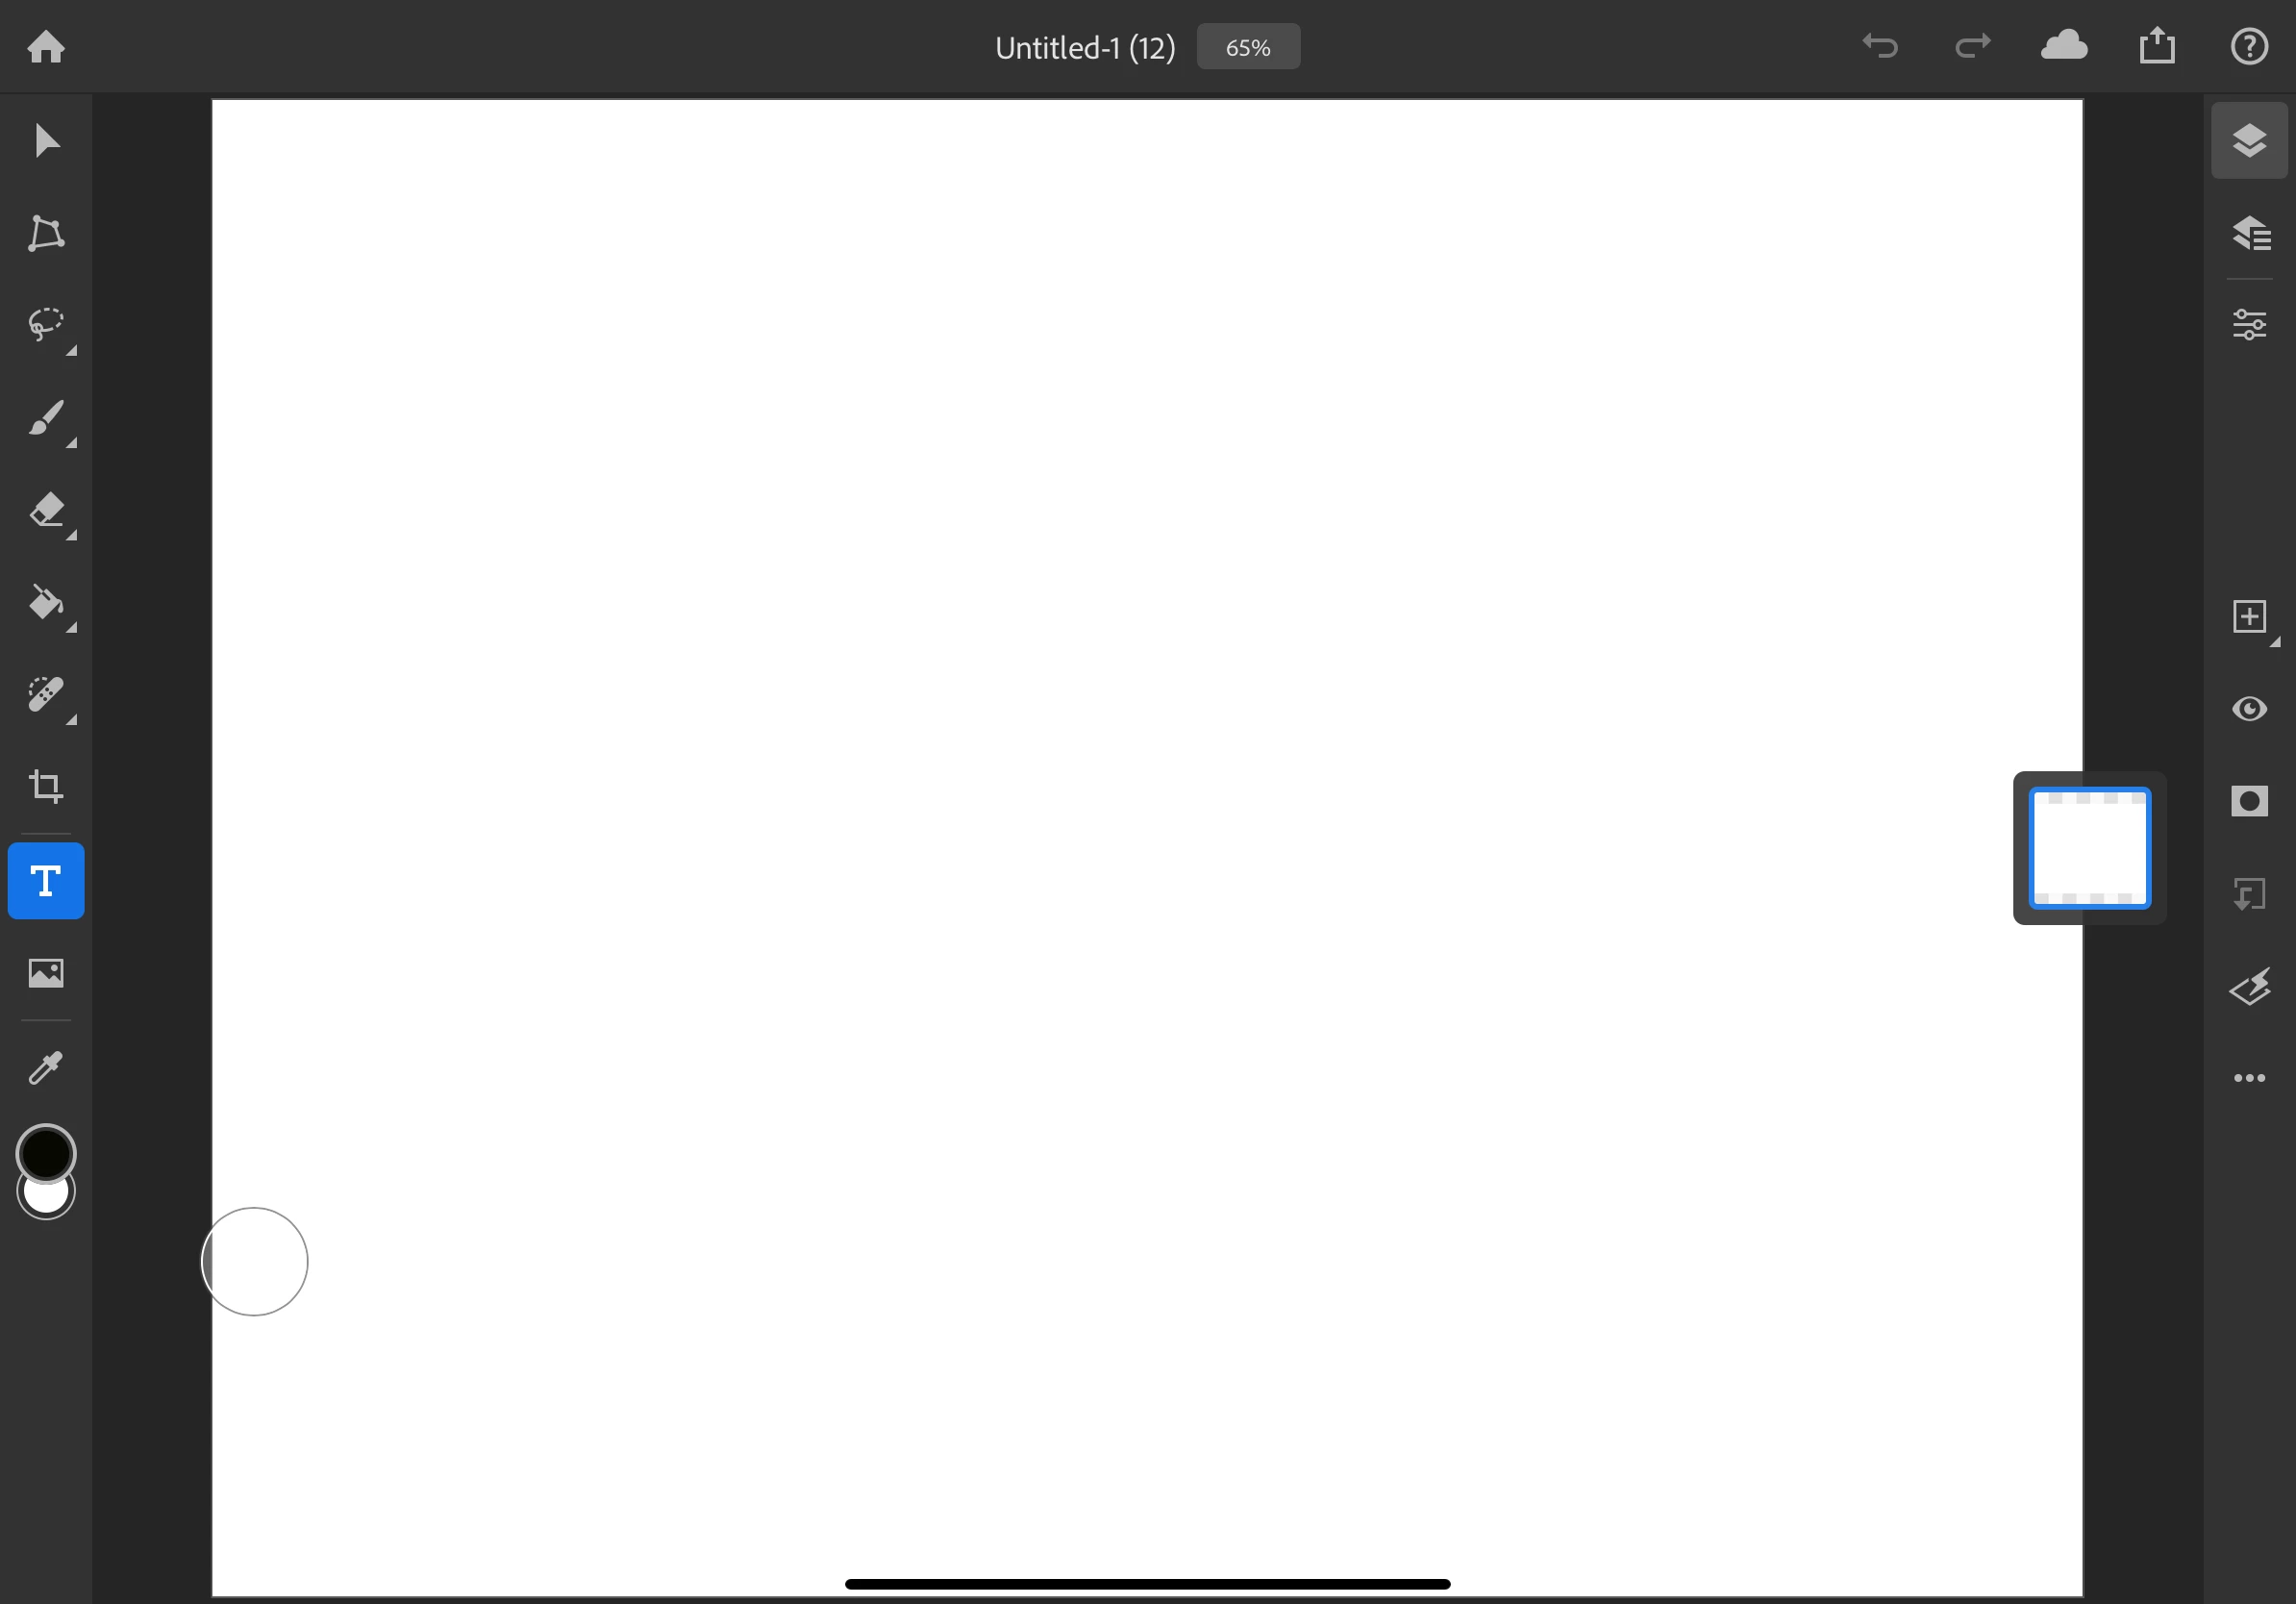
- Tap anywhere on the canvas to enter Type mode
- Some sample text will appear
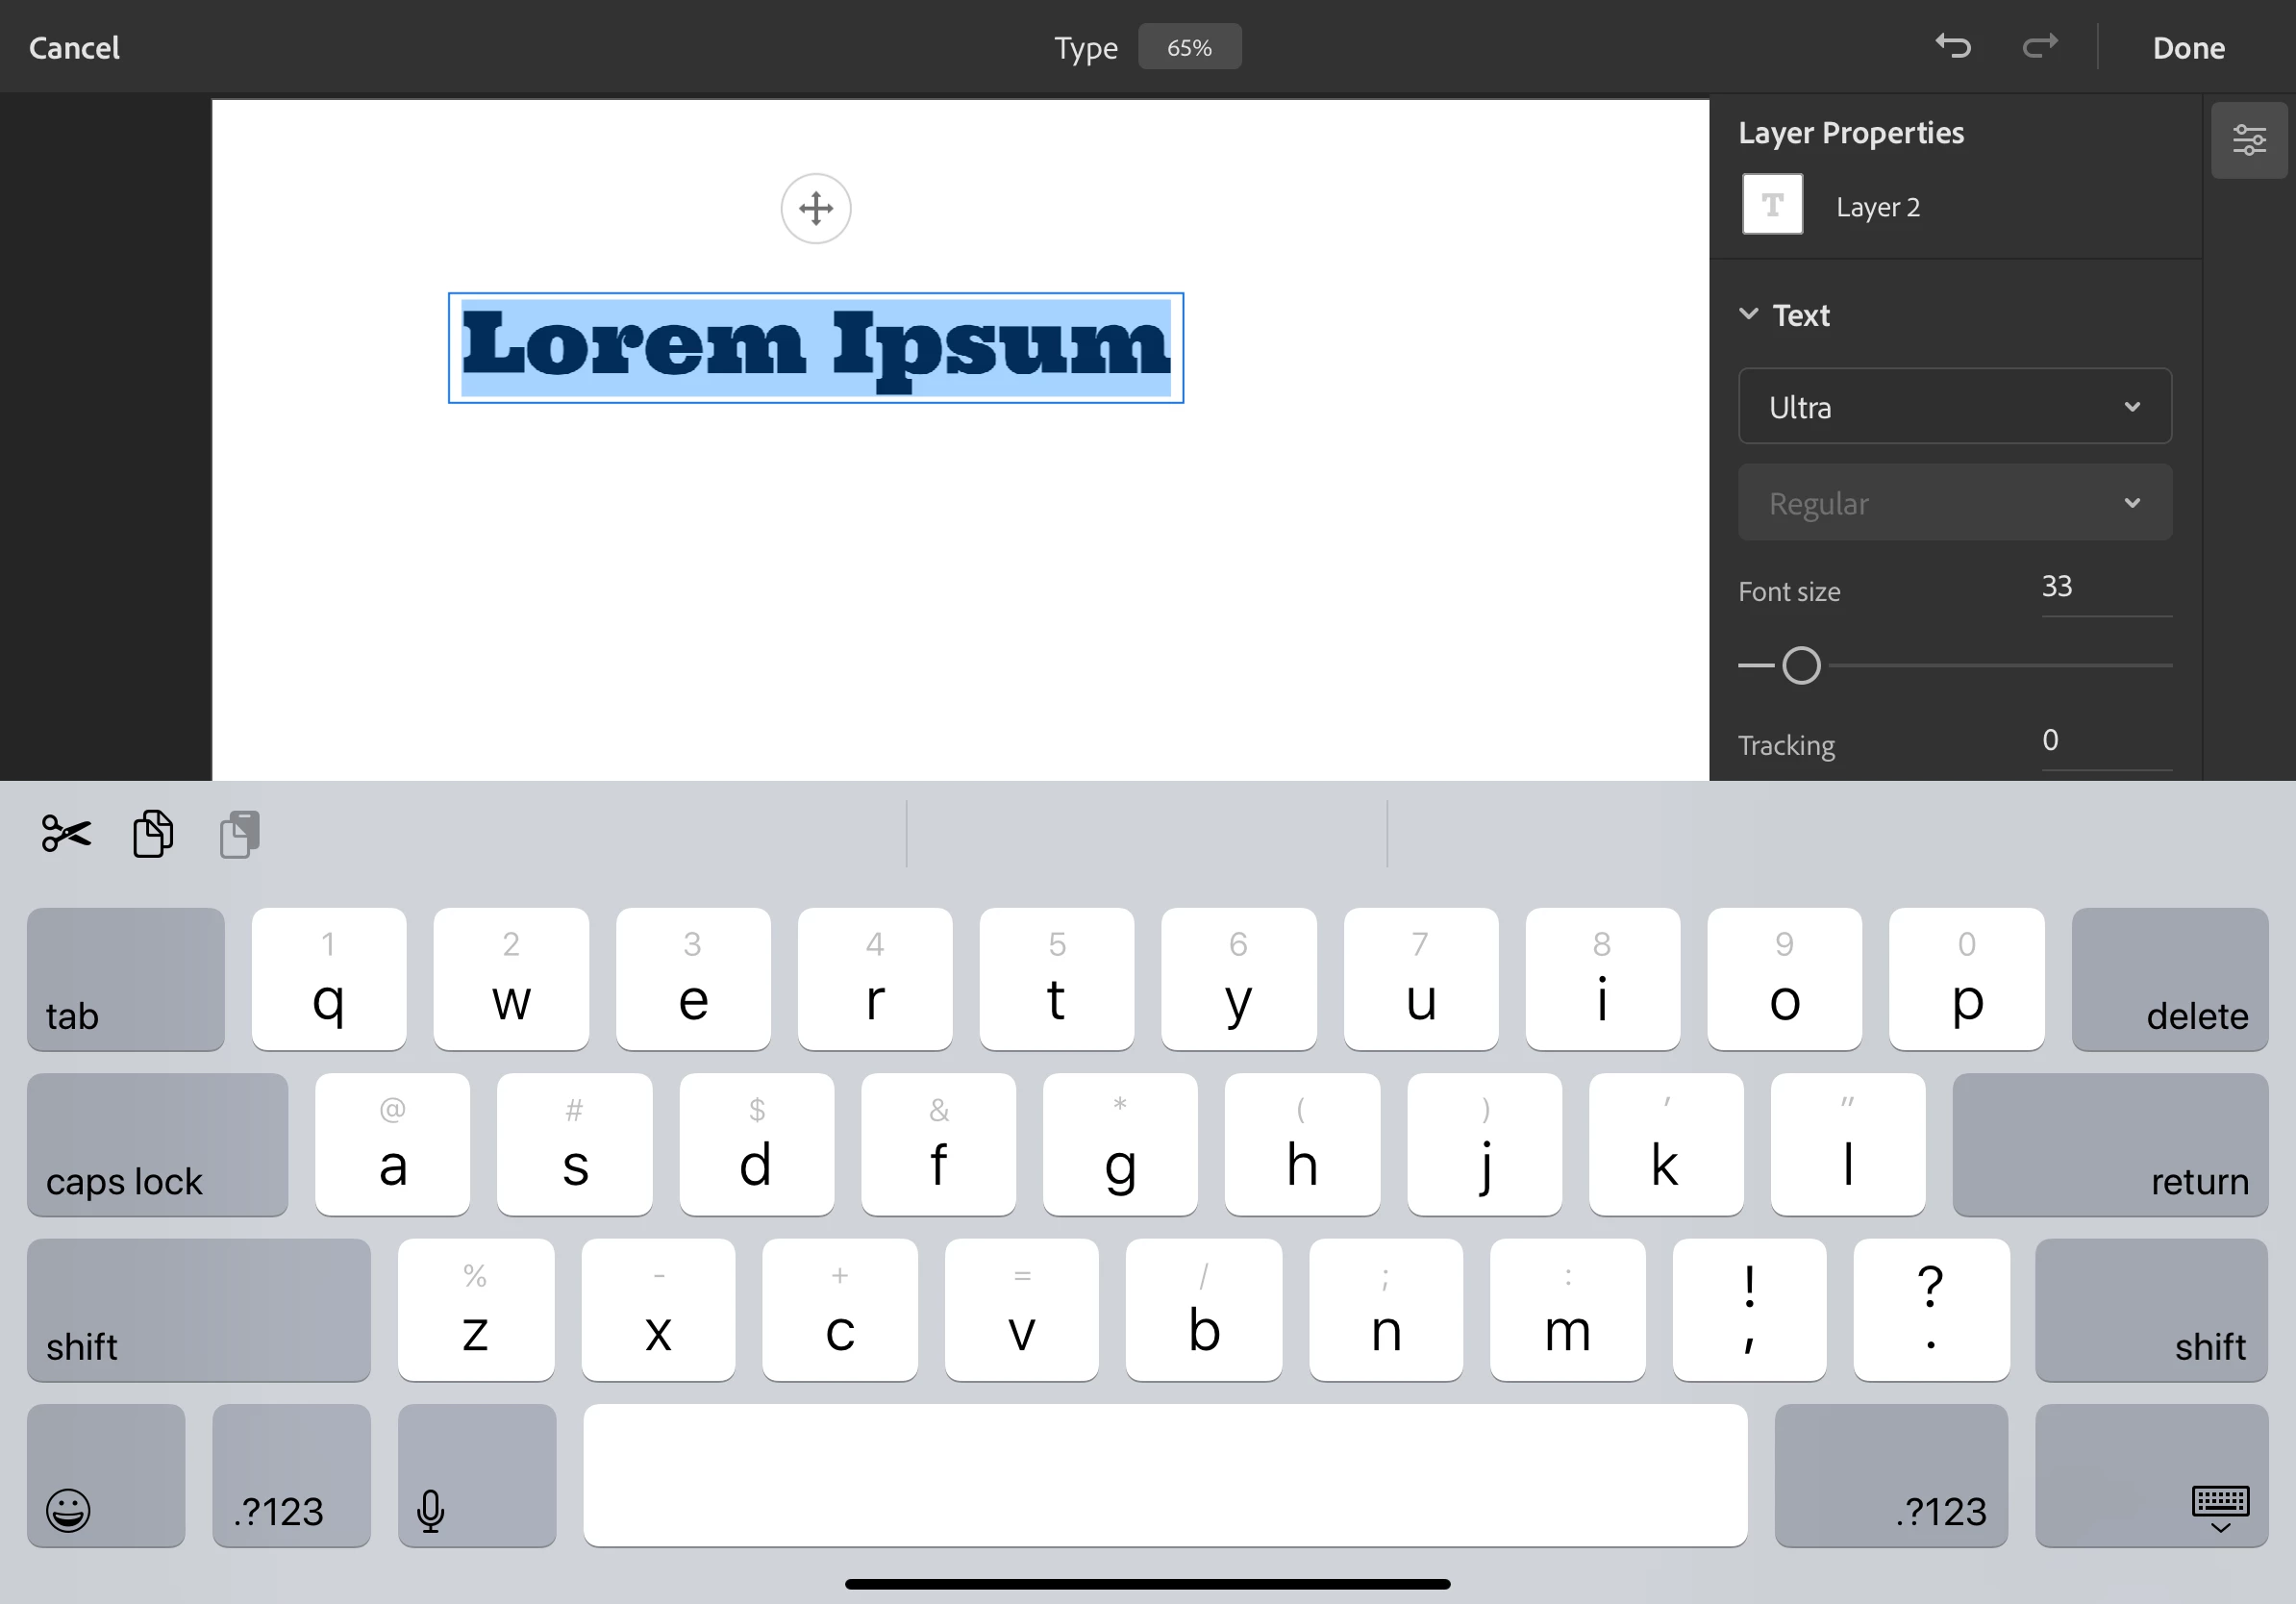
- Adjust the size of the text to make it large enough for a title
- Choose a font and a font size
- Type in your title
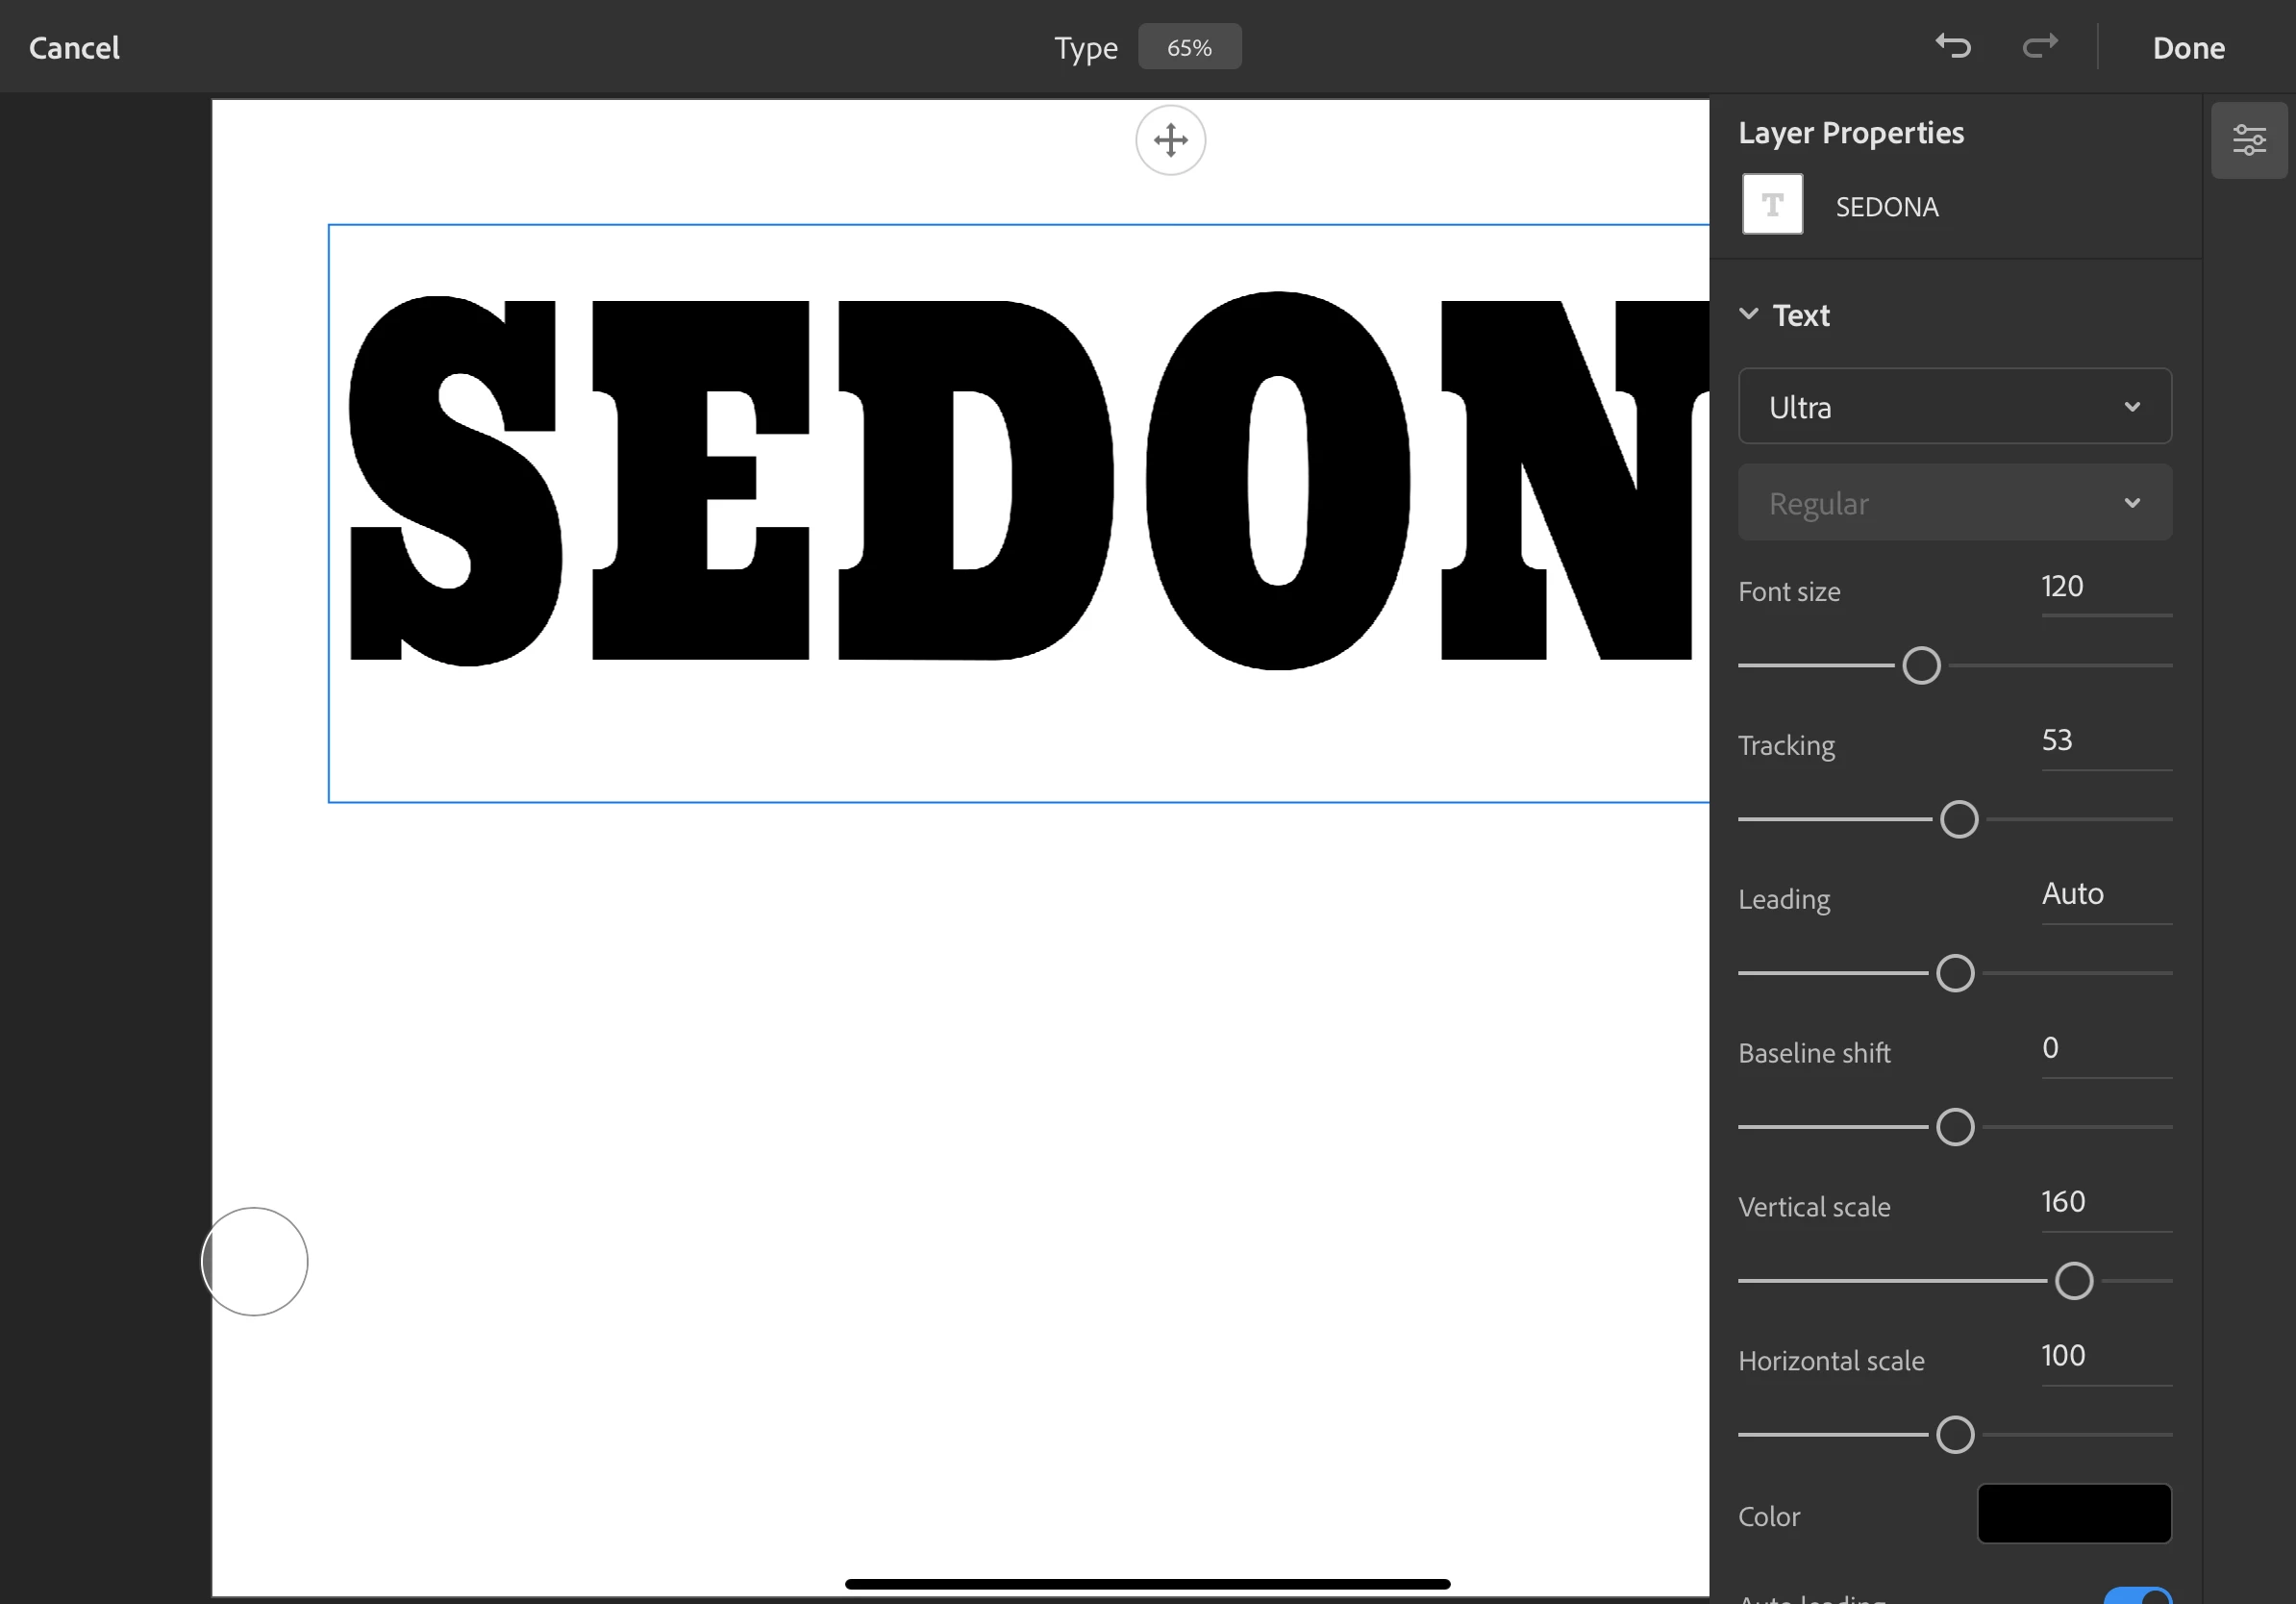
- You can use the '+' icon in the white circle above your text to move your type layer around the canvas
- When you are done with the settings, Tap Done in the top right corner
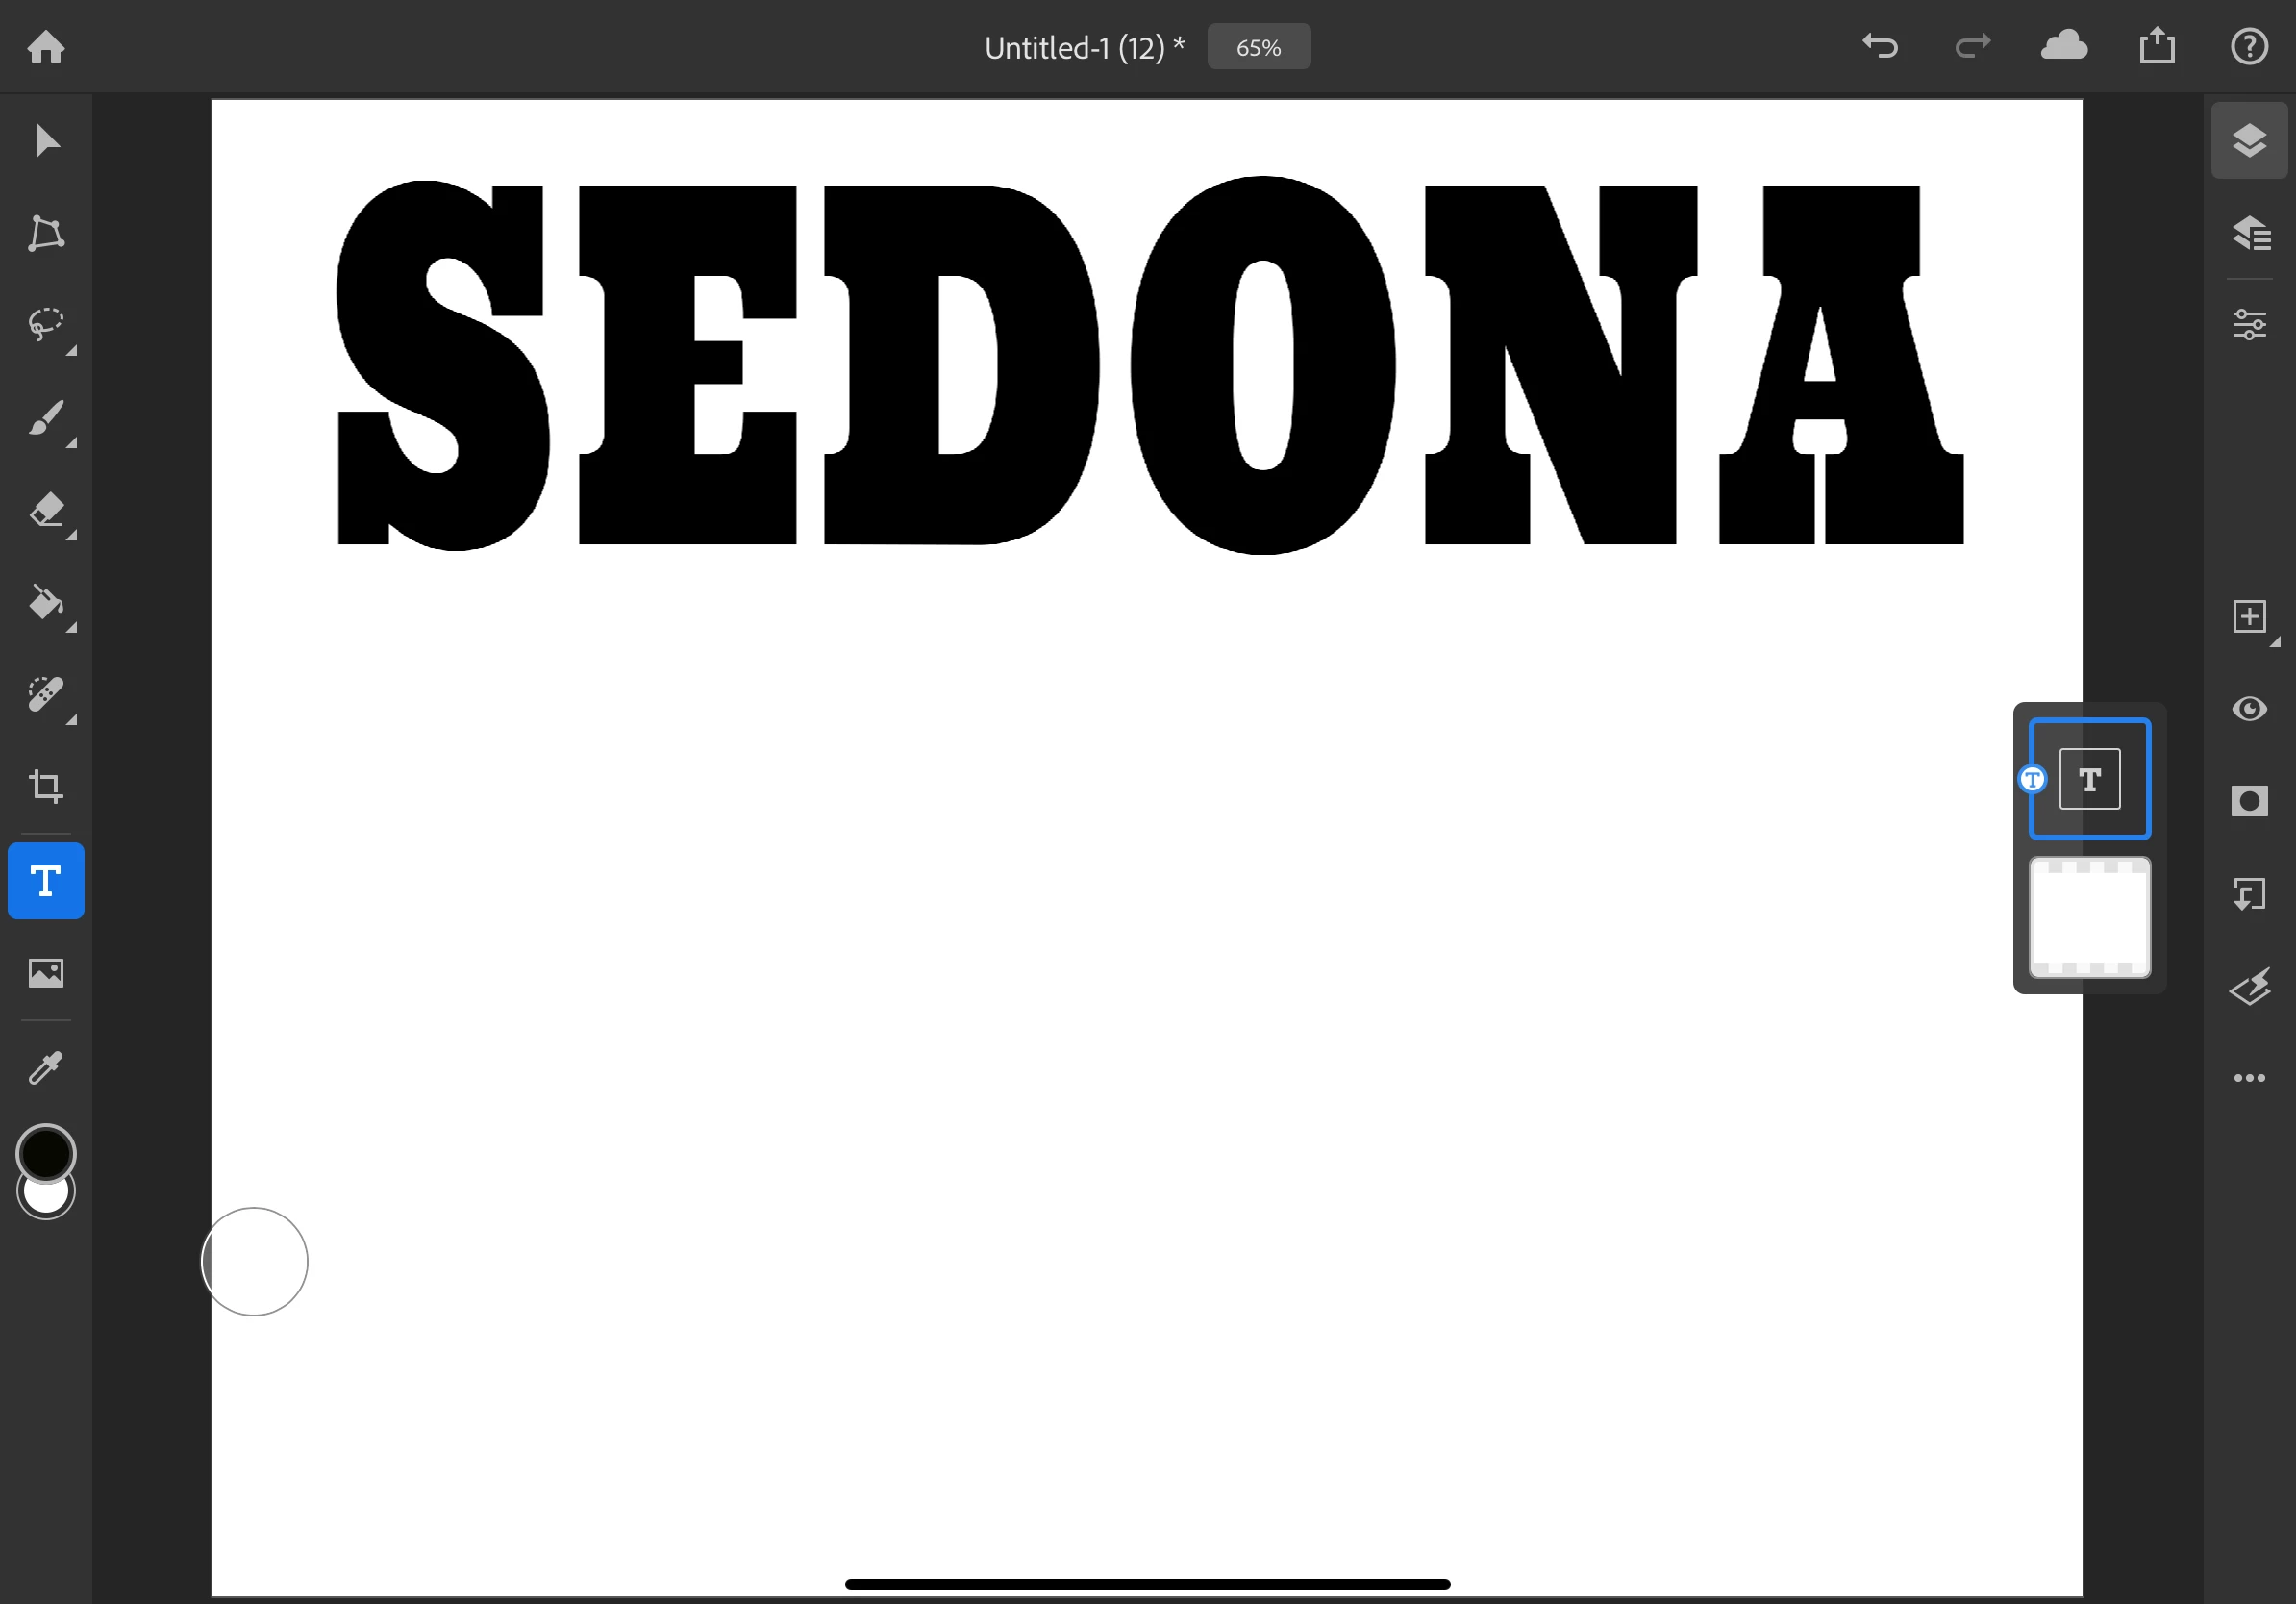
- I used a large font and increased the vertical scale to make my letters even taller
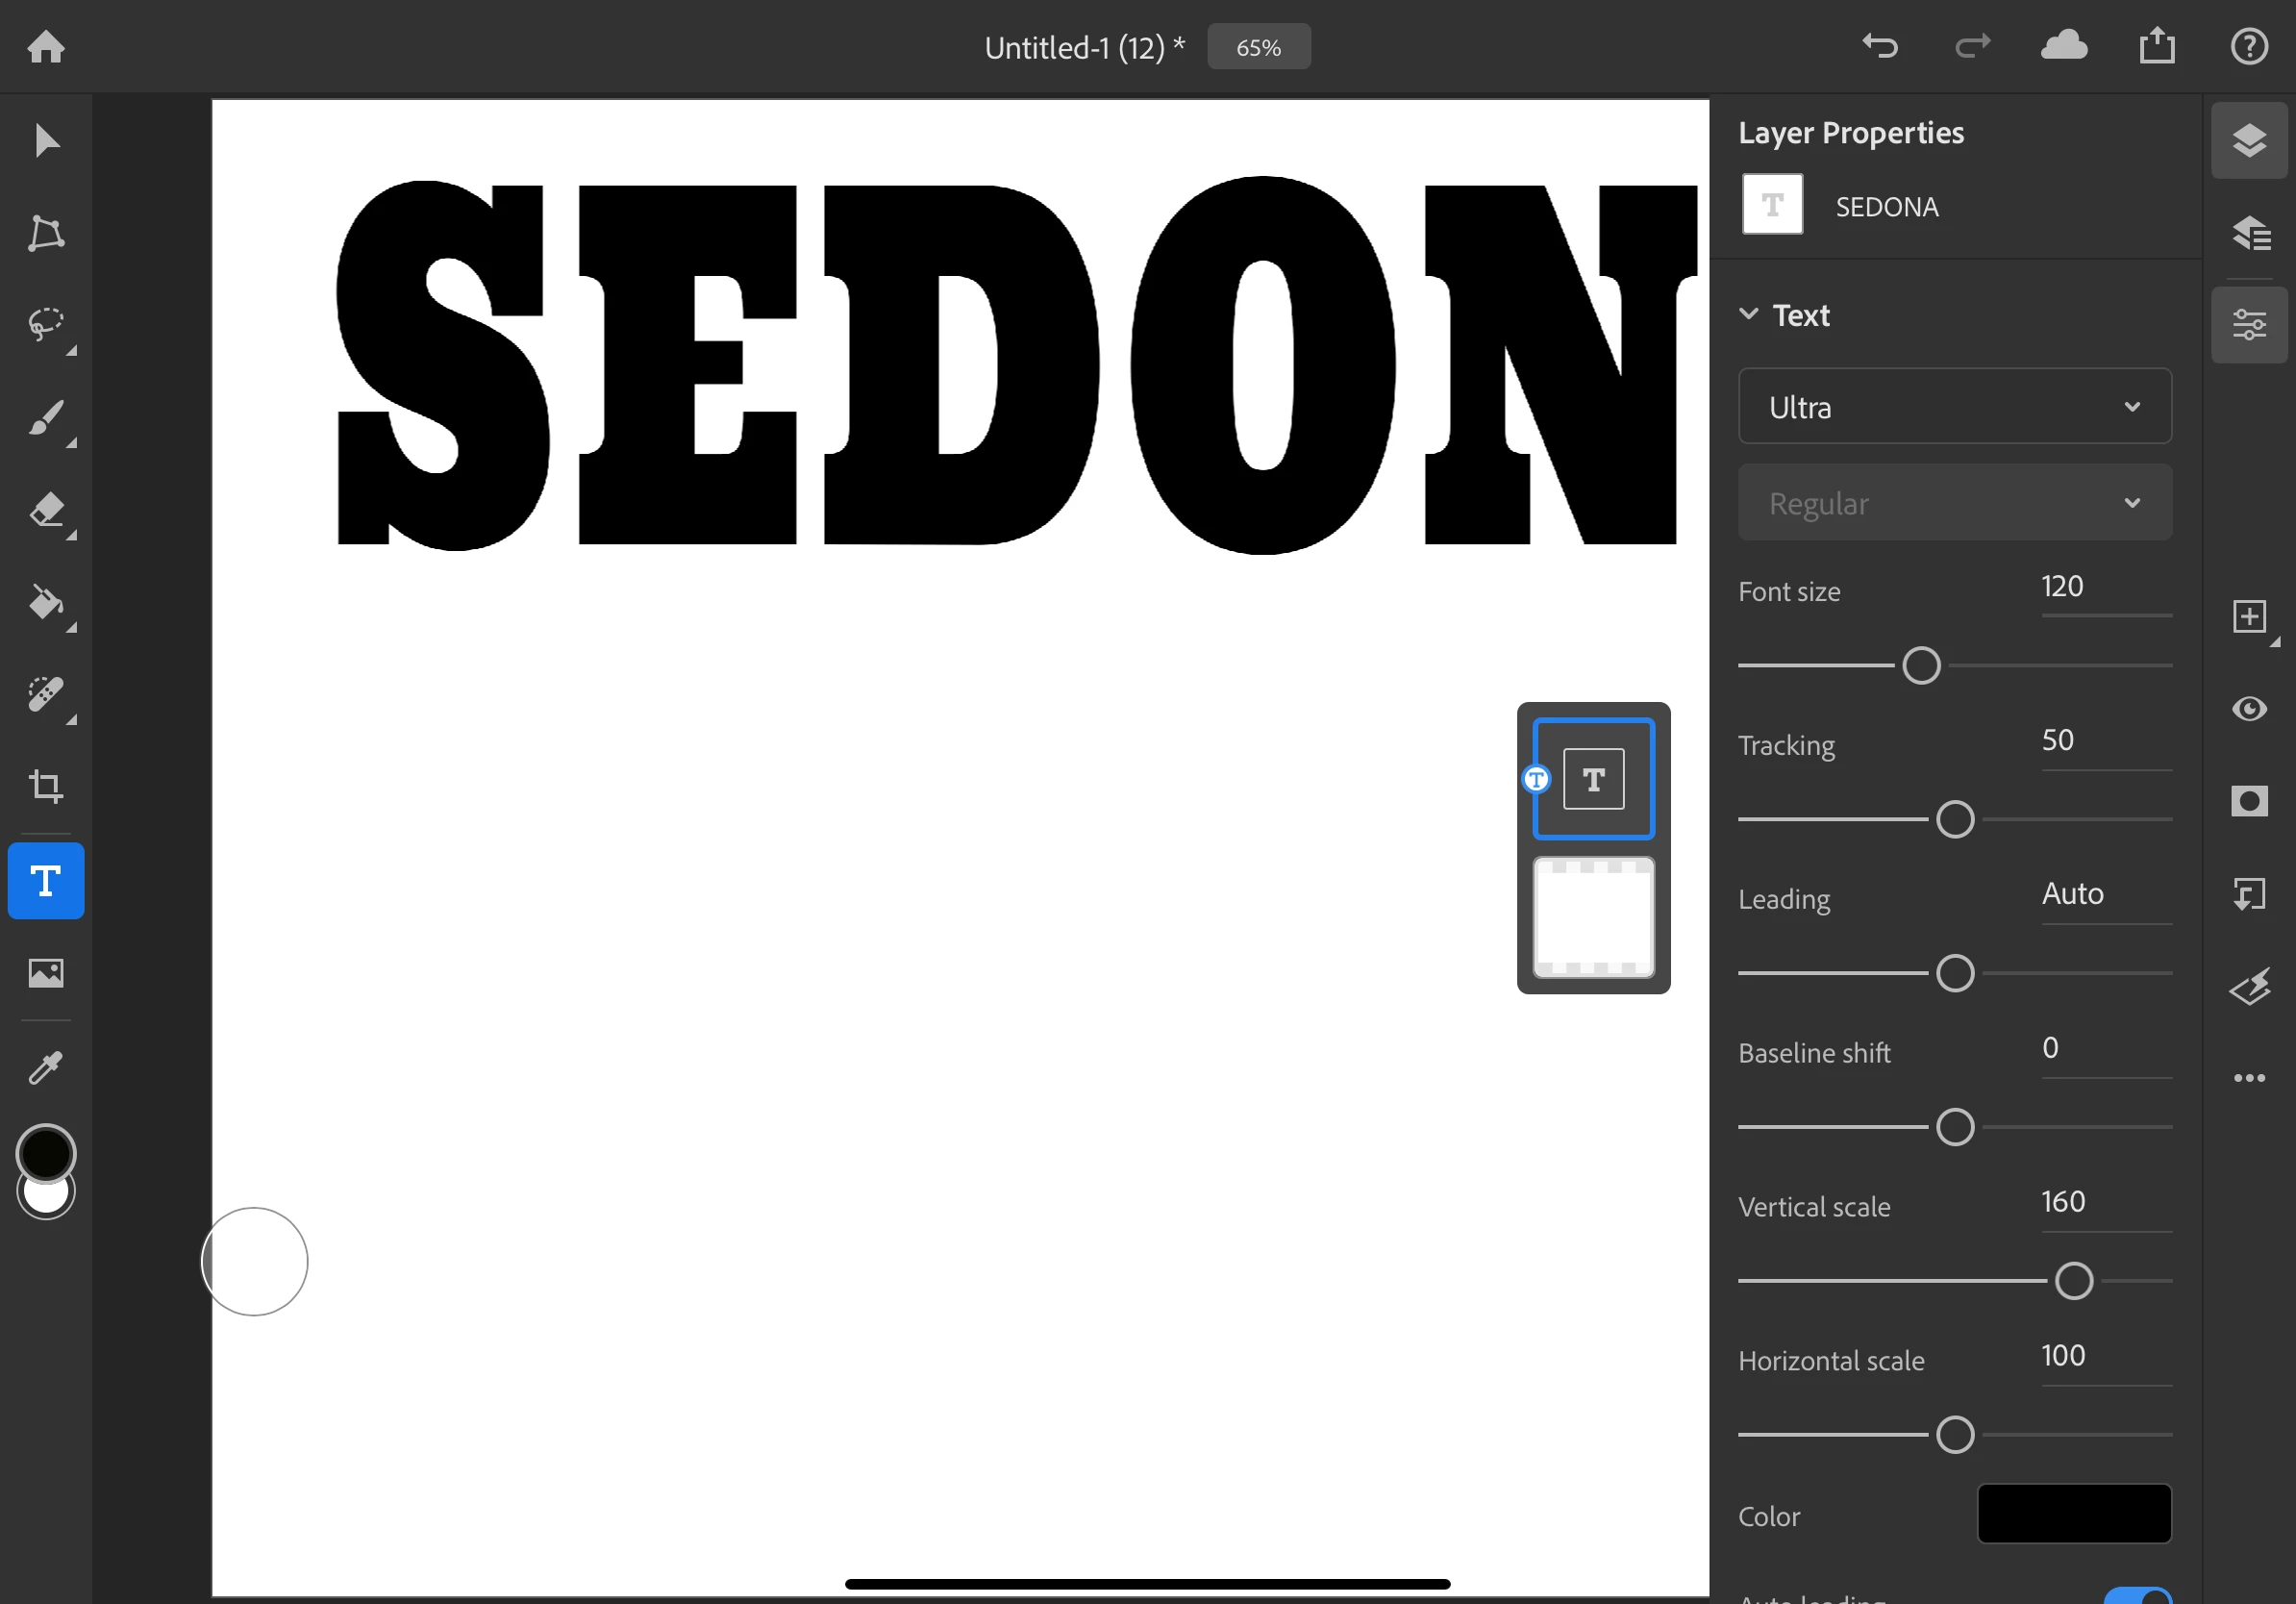
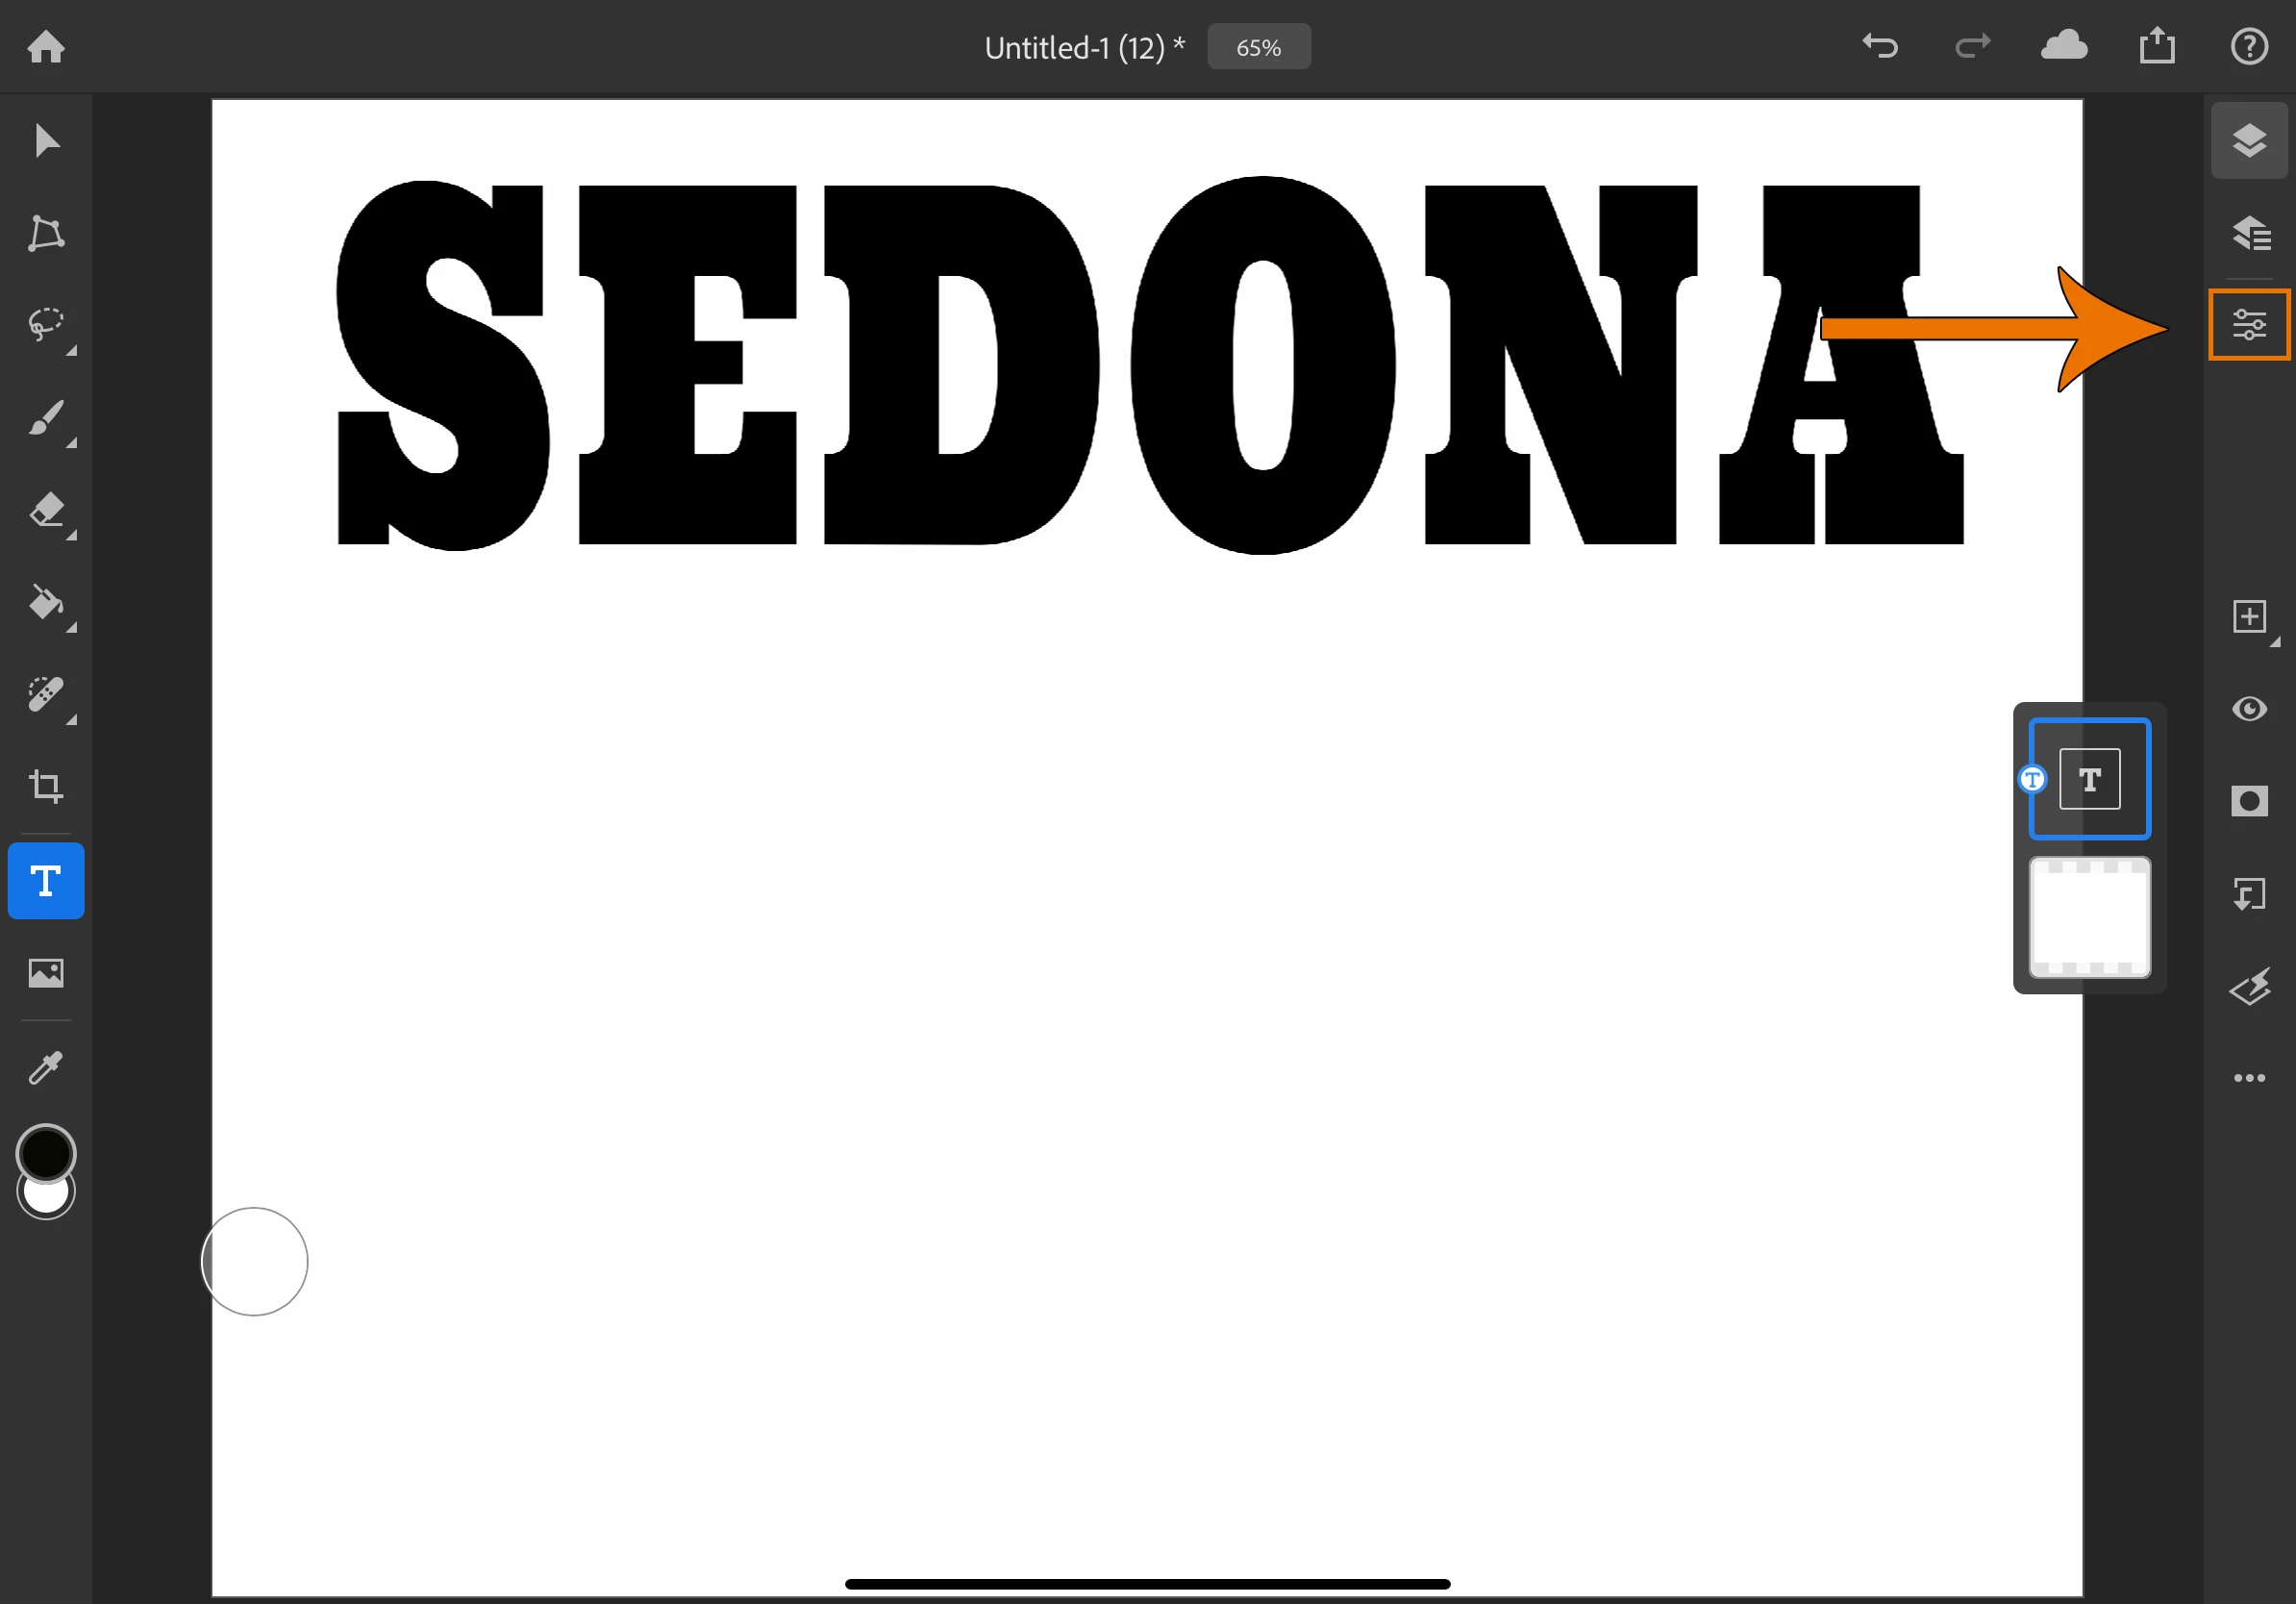
- Tap the layer properties icon if you want to review or edit your text layer later
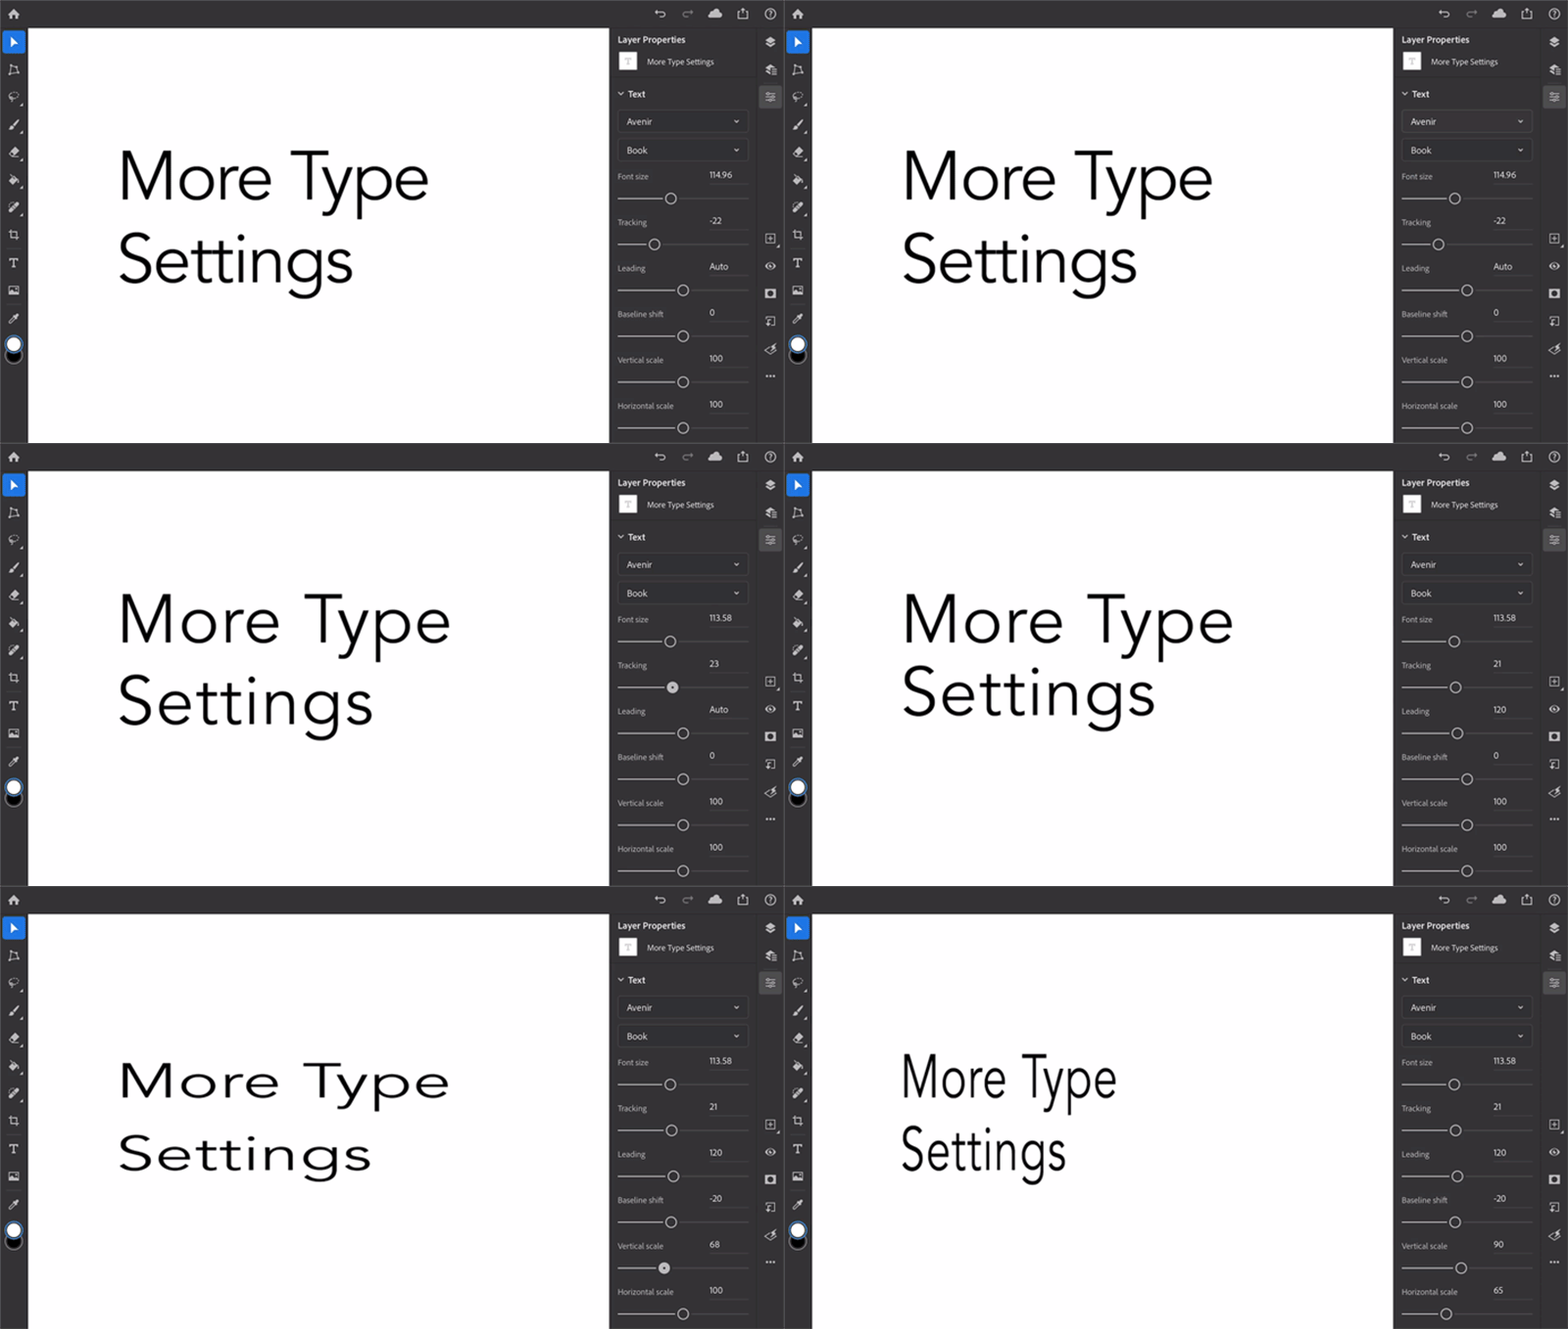
- You can modify the character formatting options such as auto leading, all caps, small caps, superscript, subscript, underline, and strikethrough.
❷ Create dimension behind your title
- Tap on the 3 dots (...) at the bottom of the taskbar to the right
- Choose duplicate layer from the list
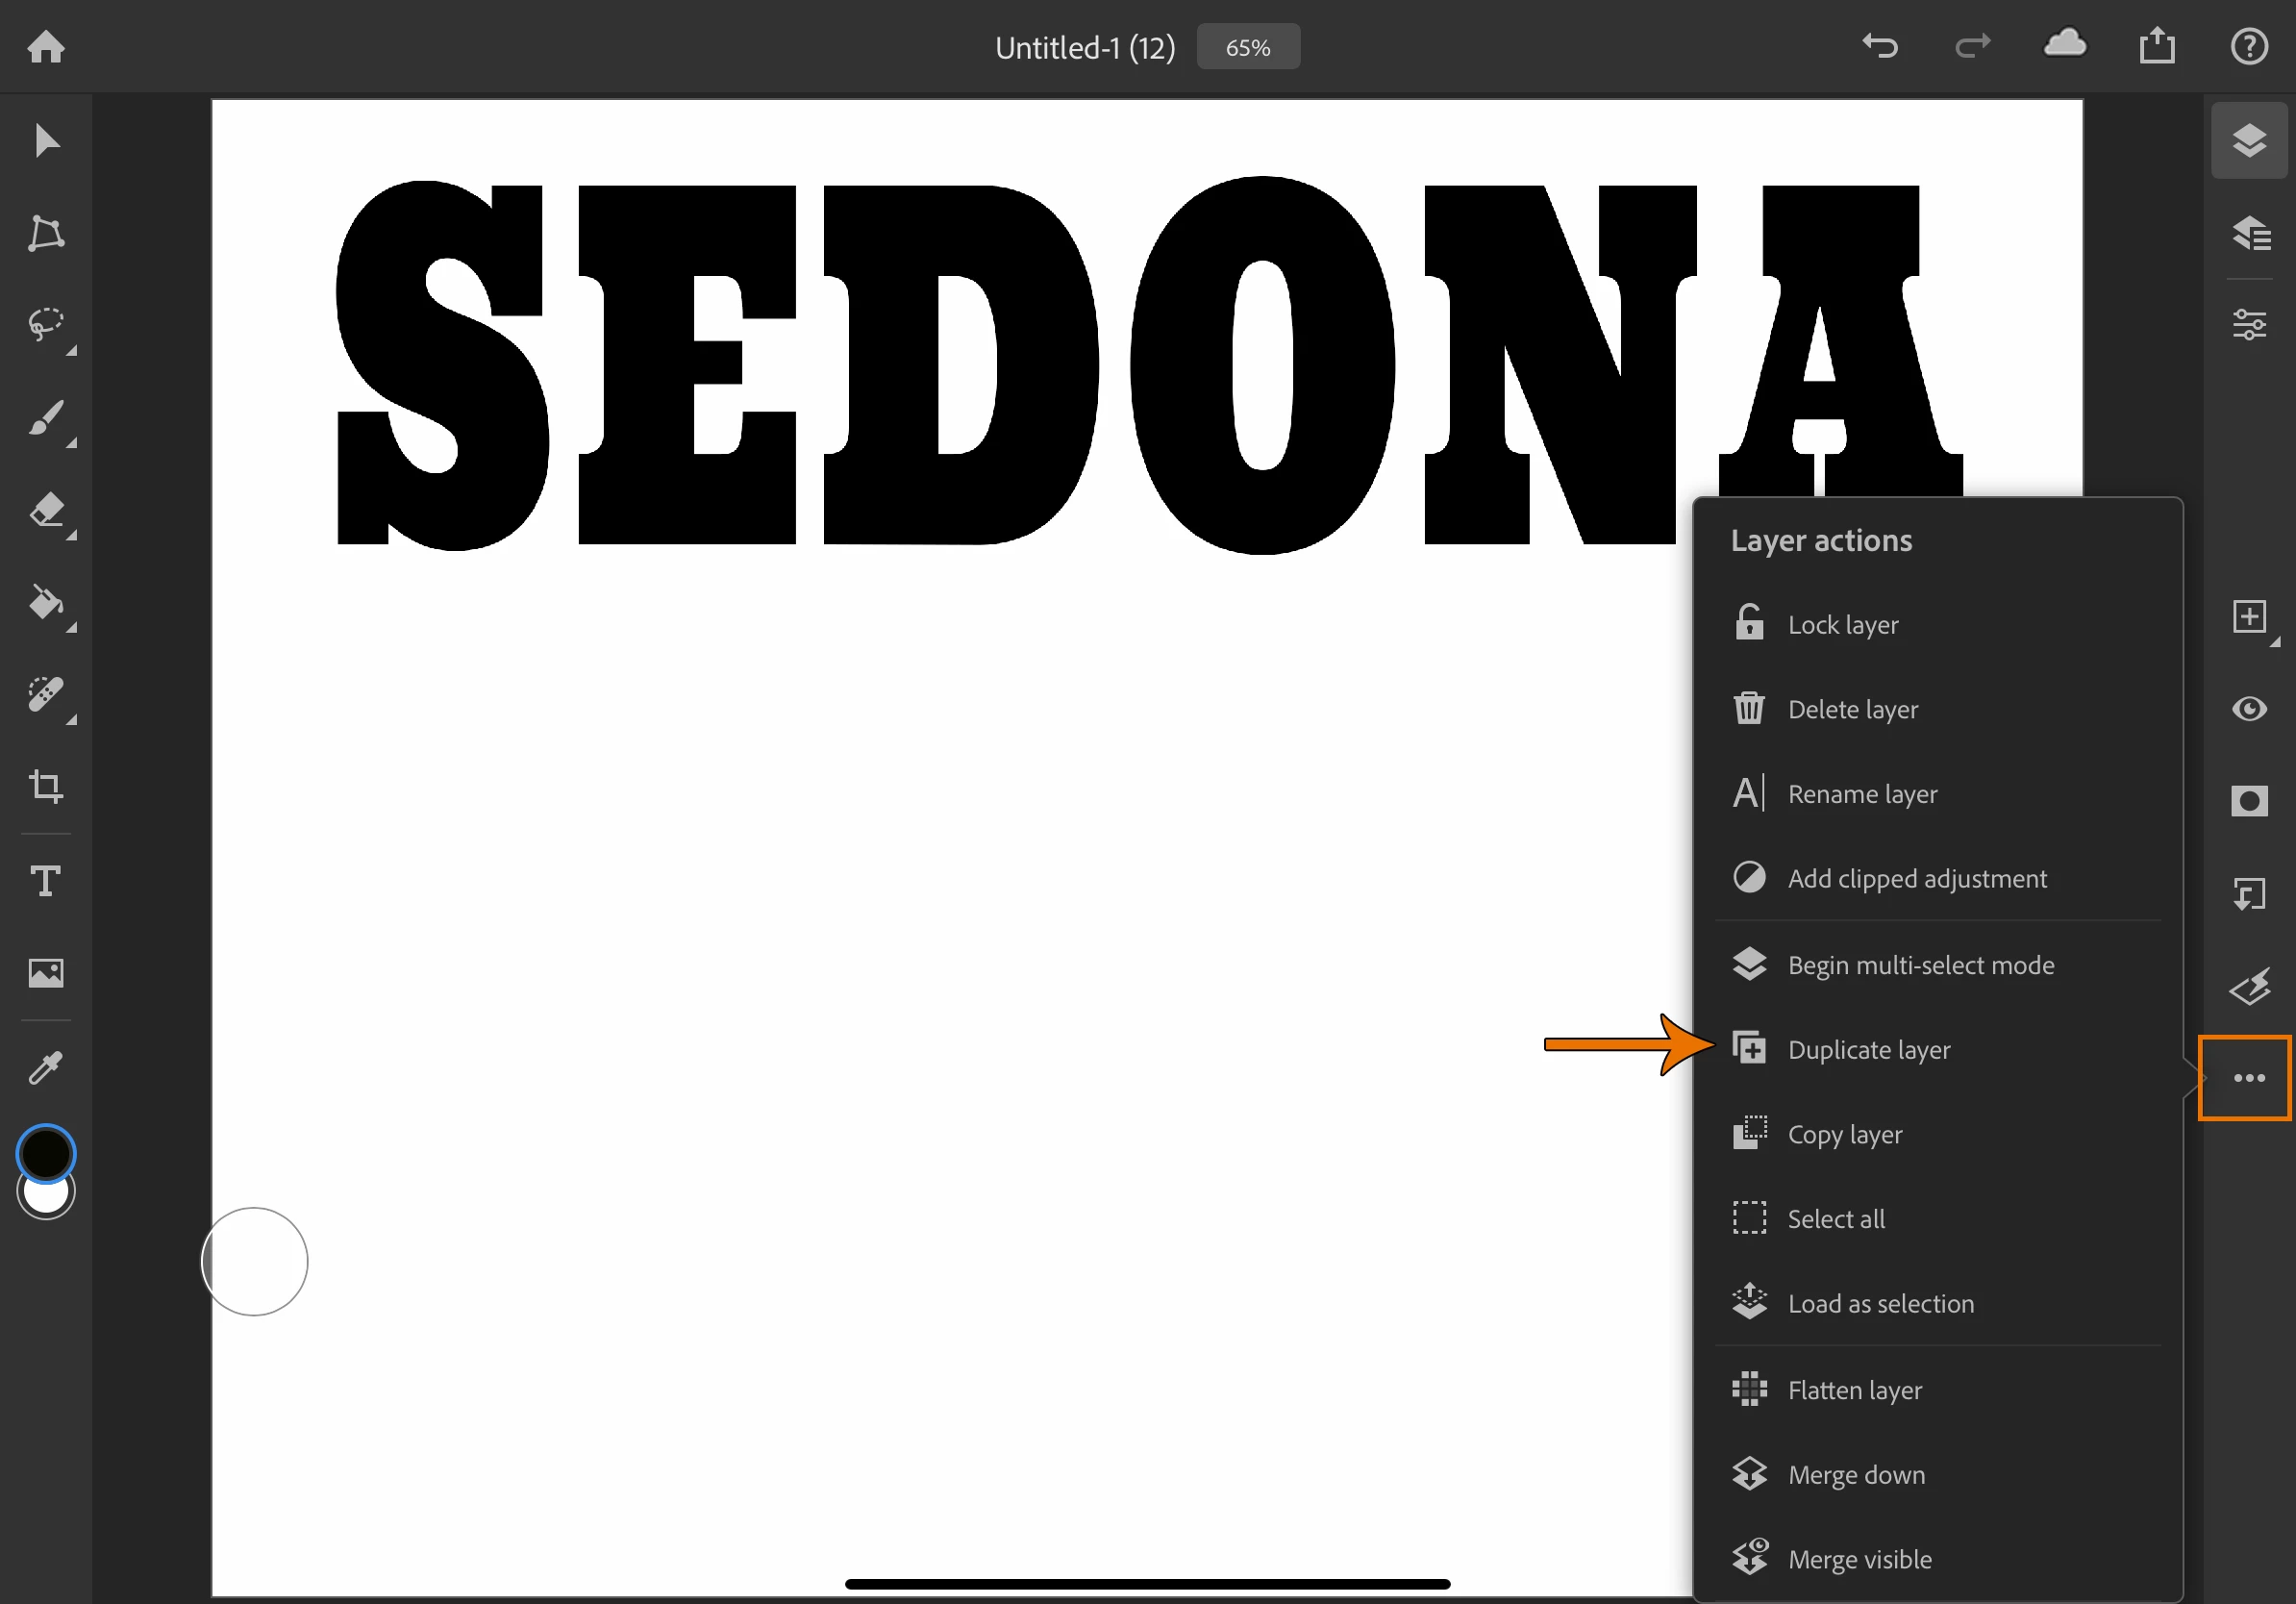
- Now you have a second layer of text behind the first one
- Tap on the lower text layer in the layers panel to select it
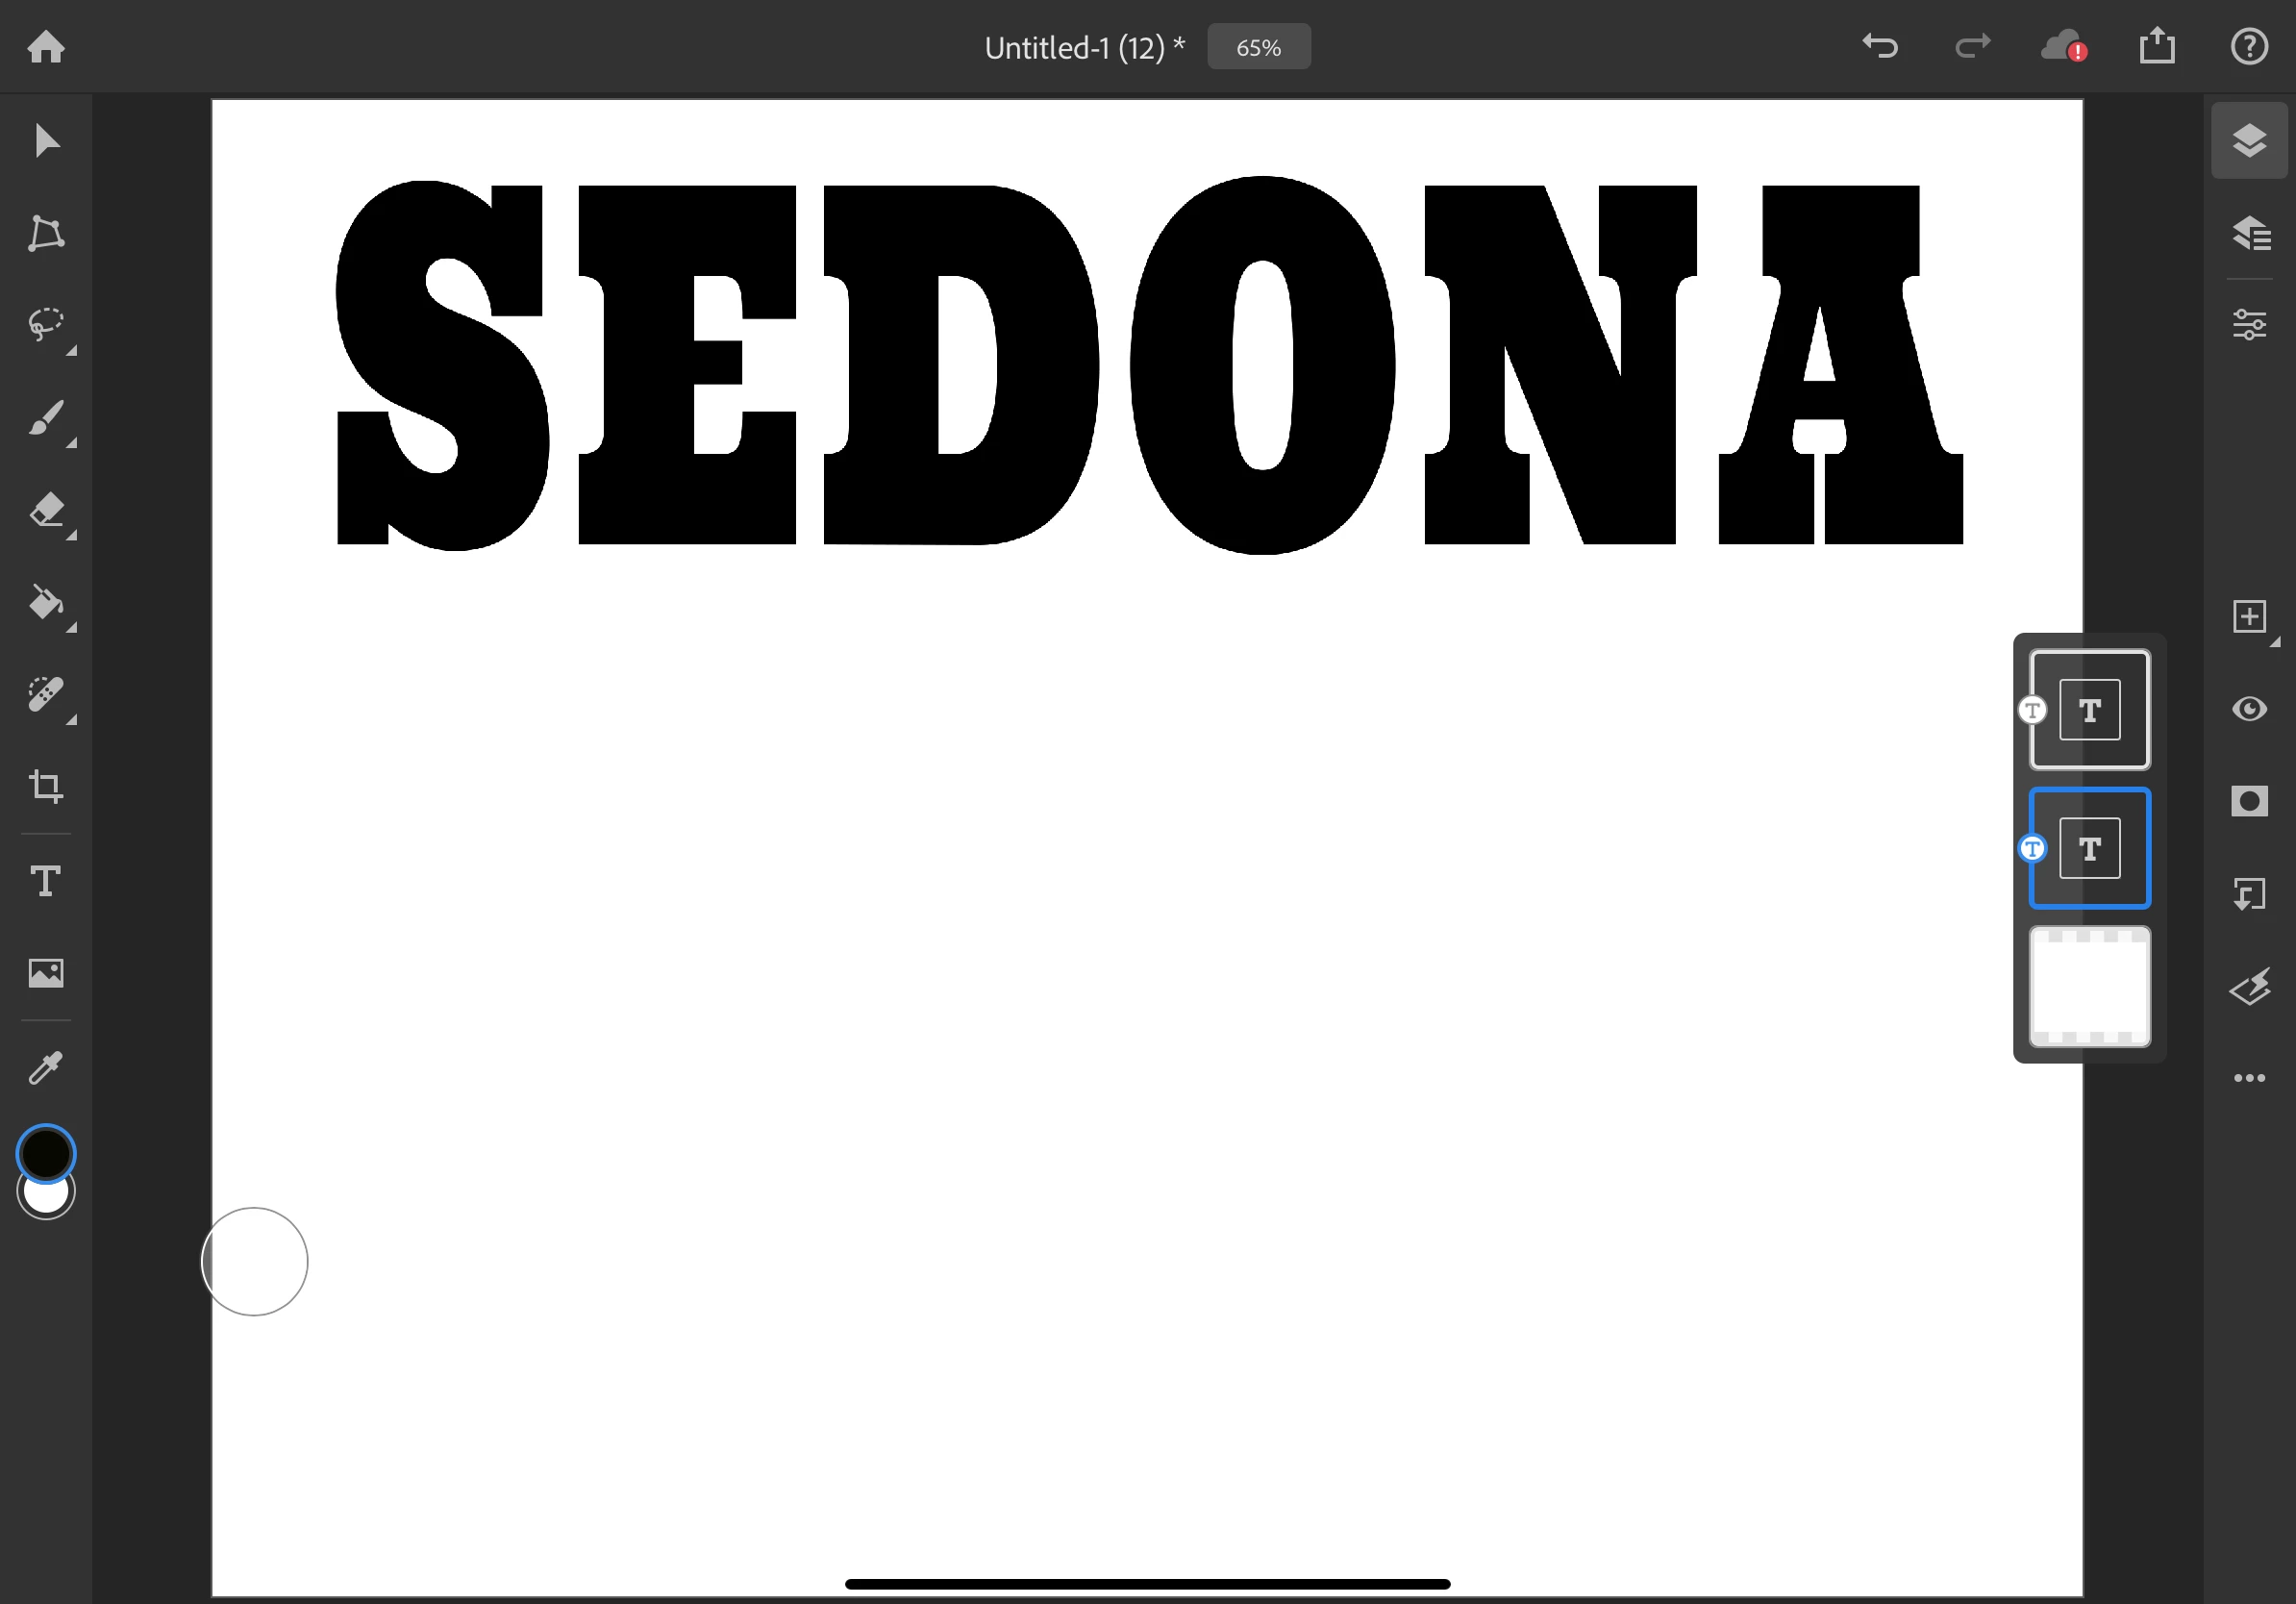
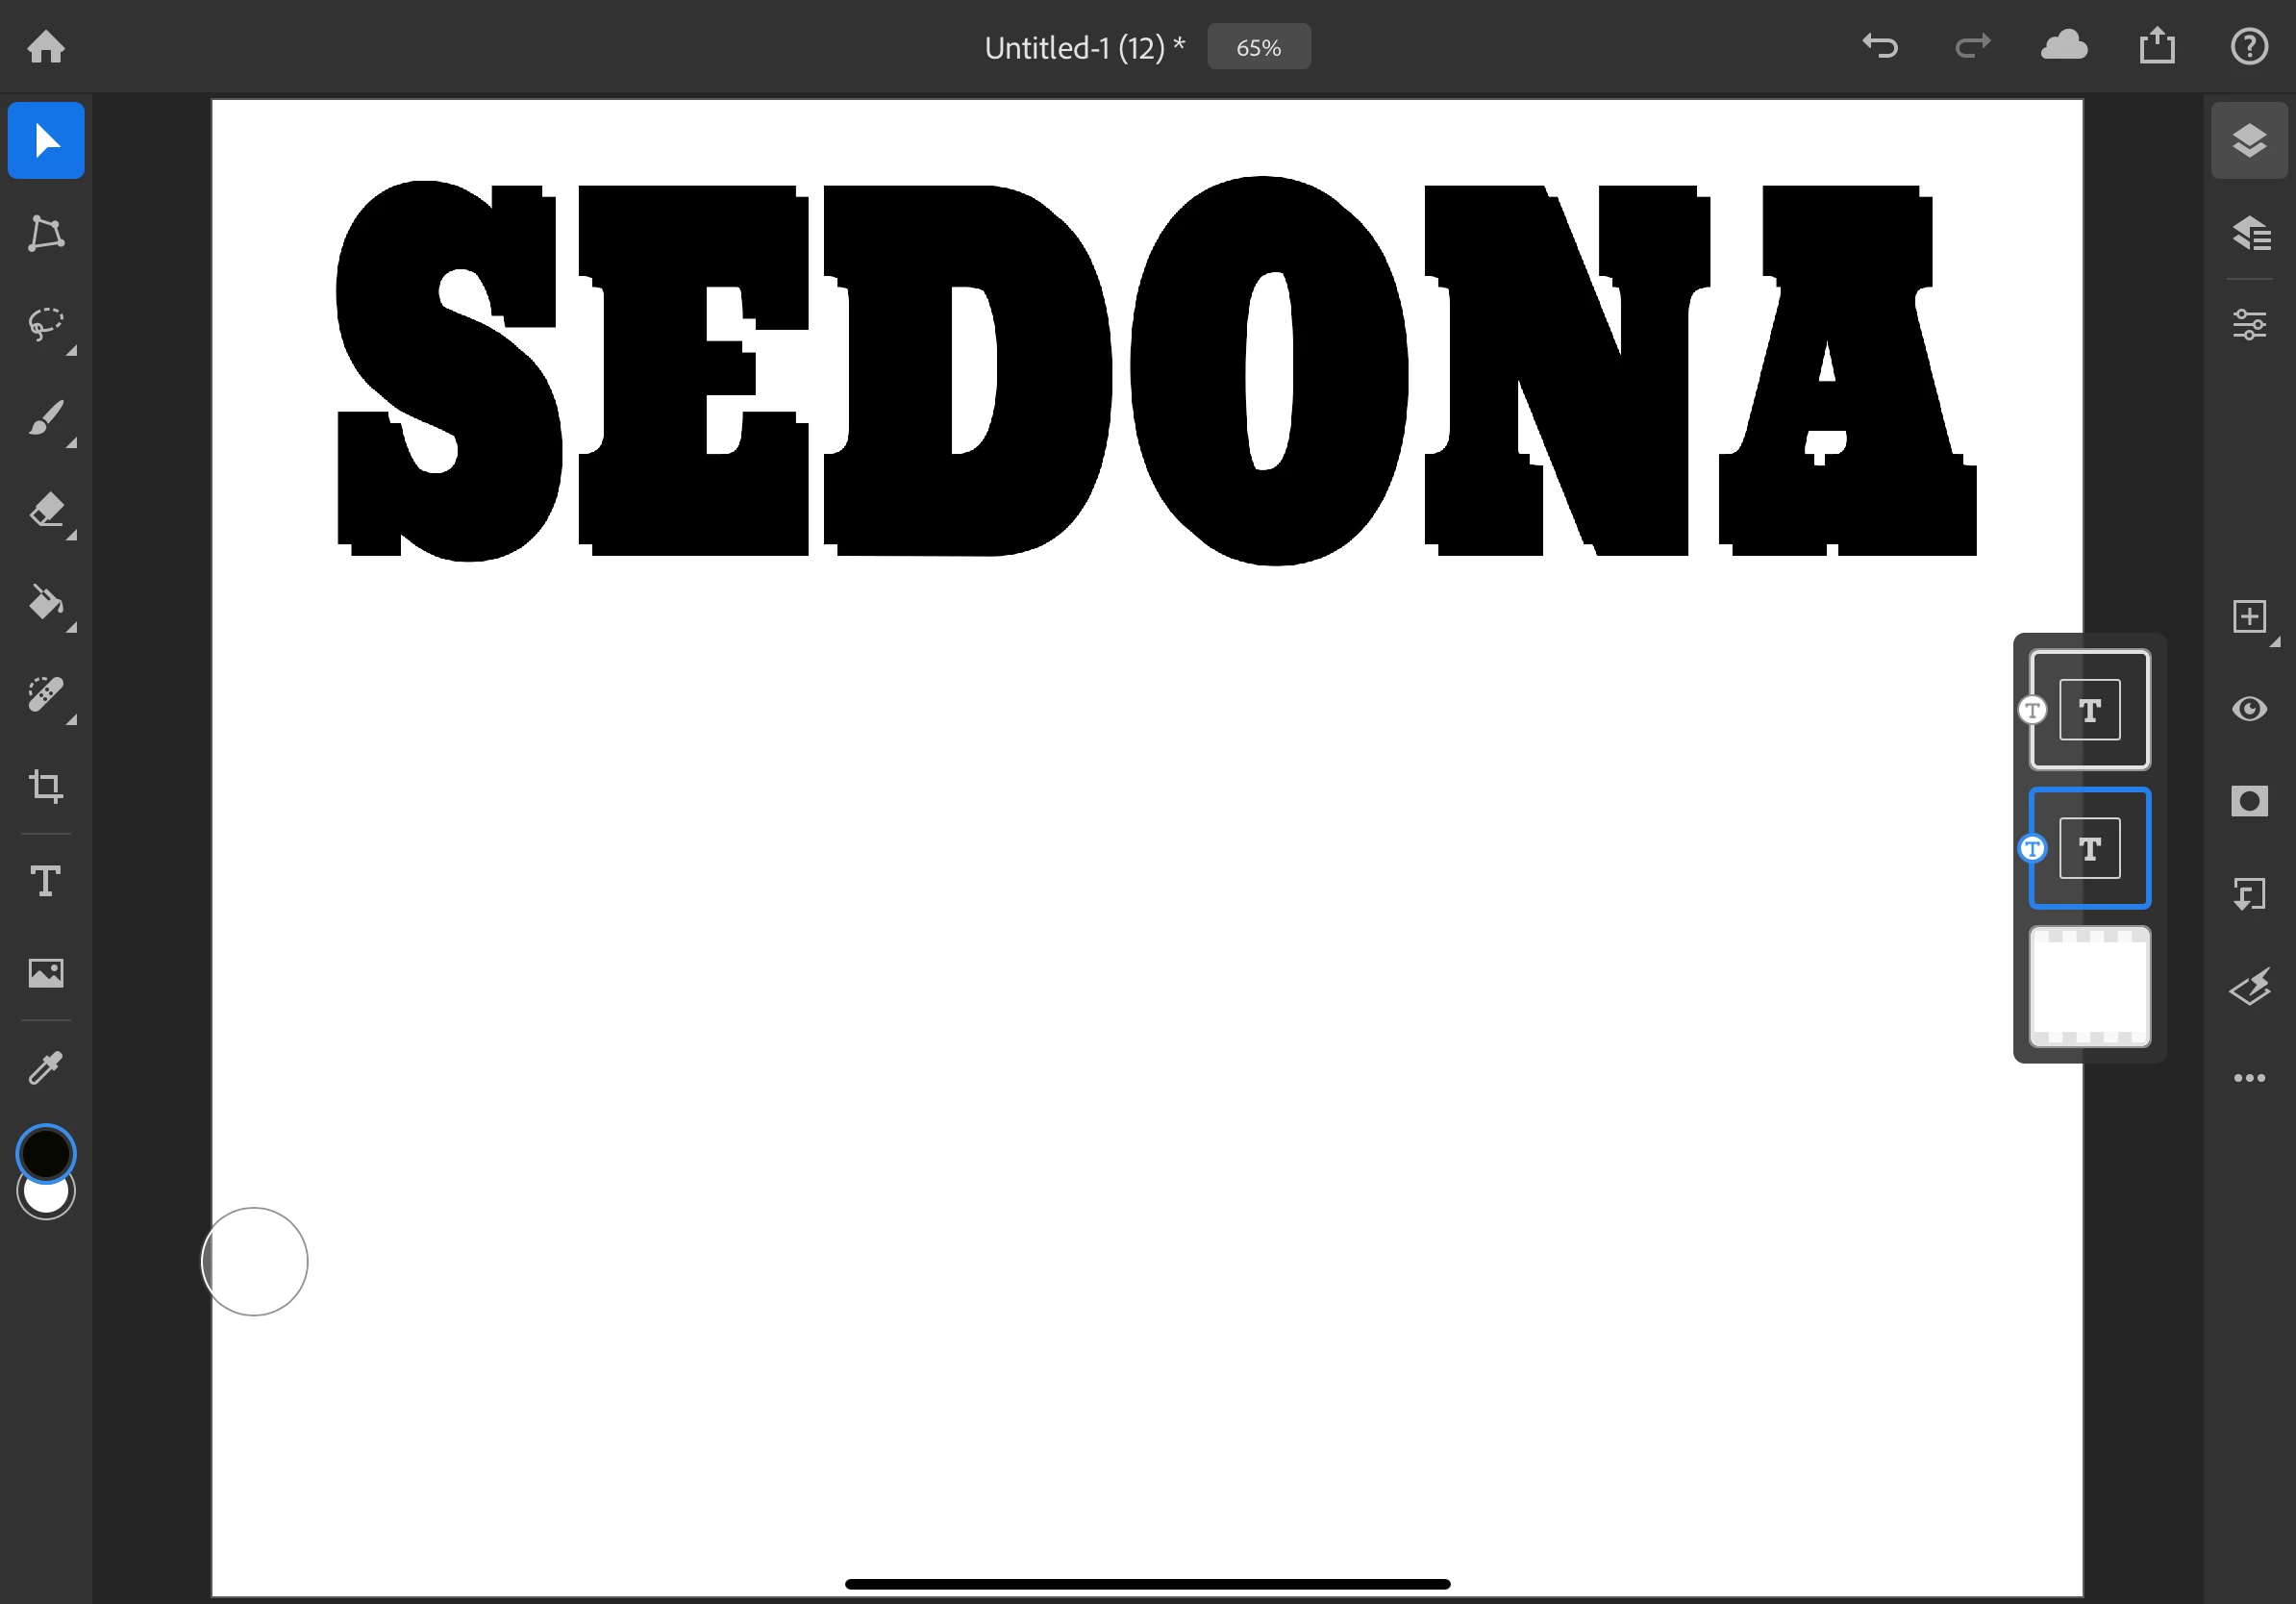
- Tap on the triangle on the top of the toolbar to select the move tool
- Touch and drag the text down and to the right just enough to make the text look like it has a dark shadow
❸ Add a photo and let it show through the title text
- Tap on the photo icon on the toolbar
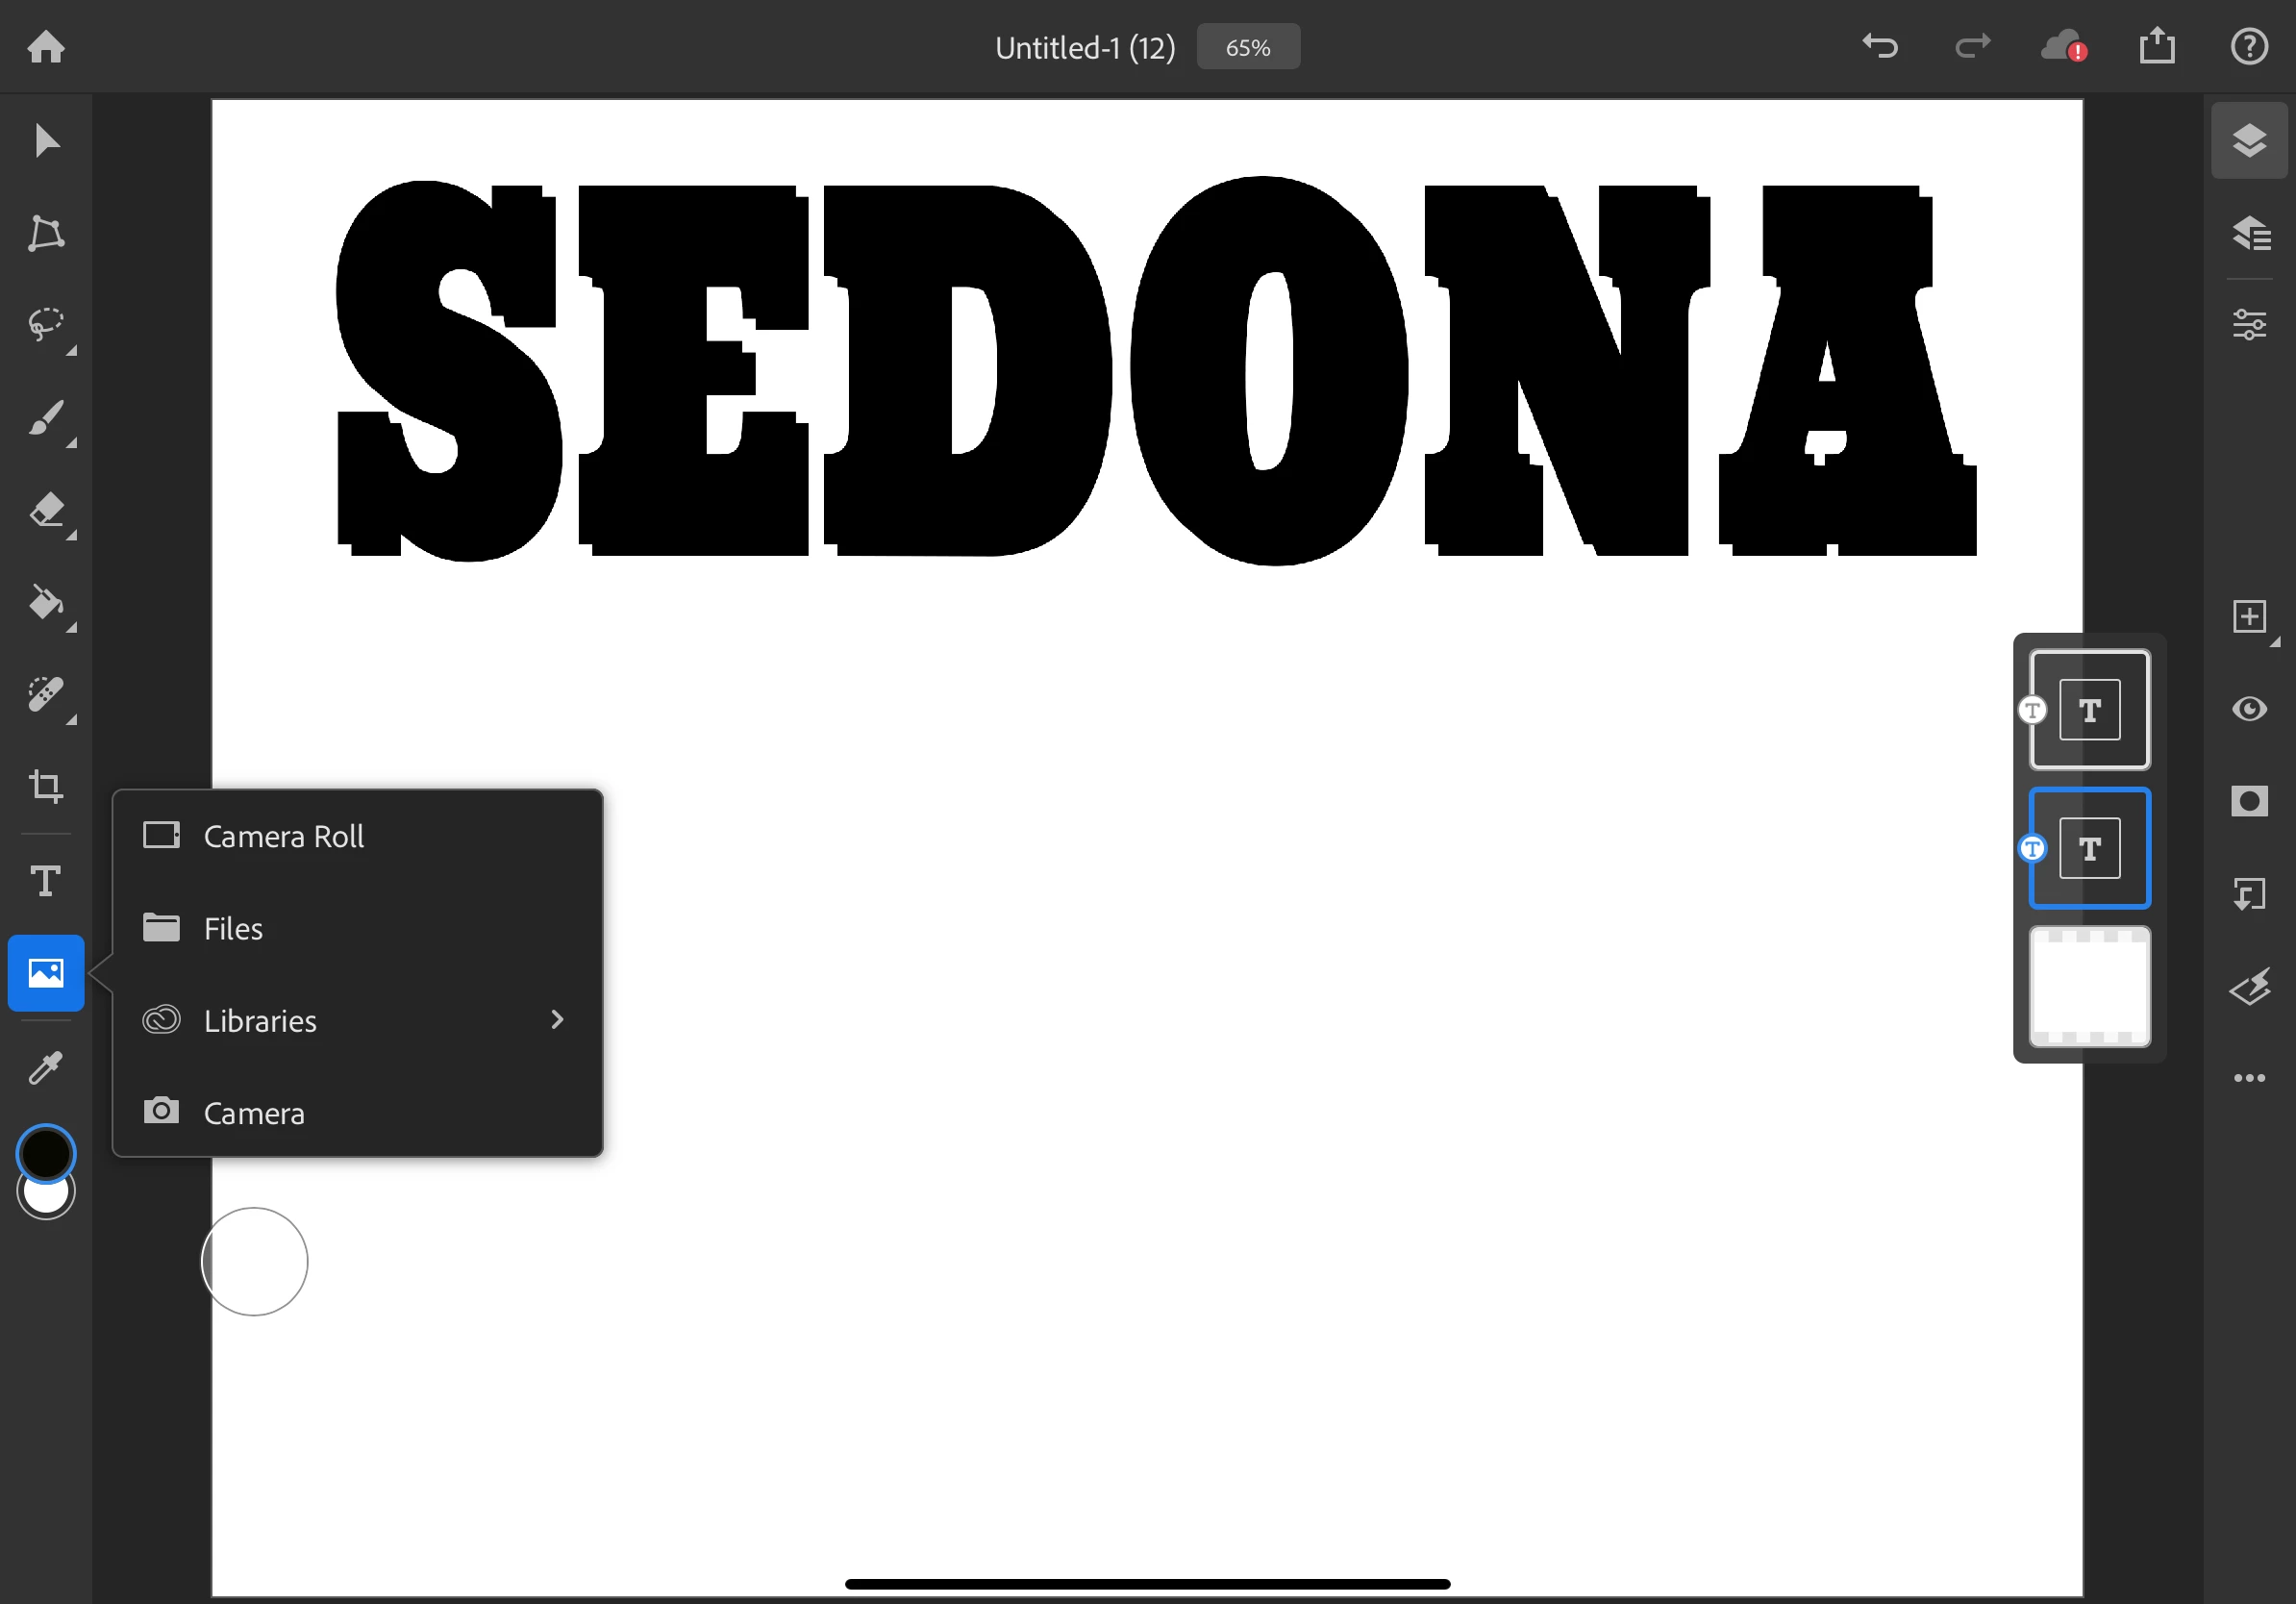
- Select the location of your photo and choose the photo you want to use
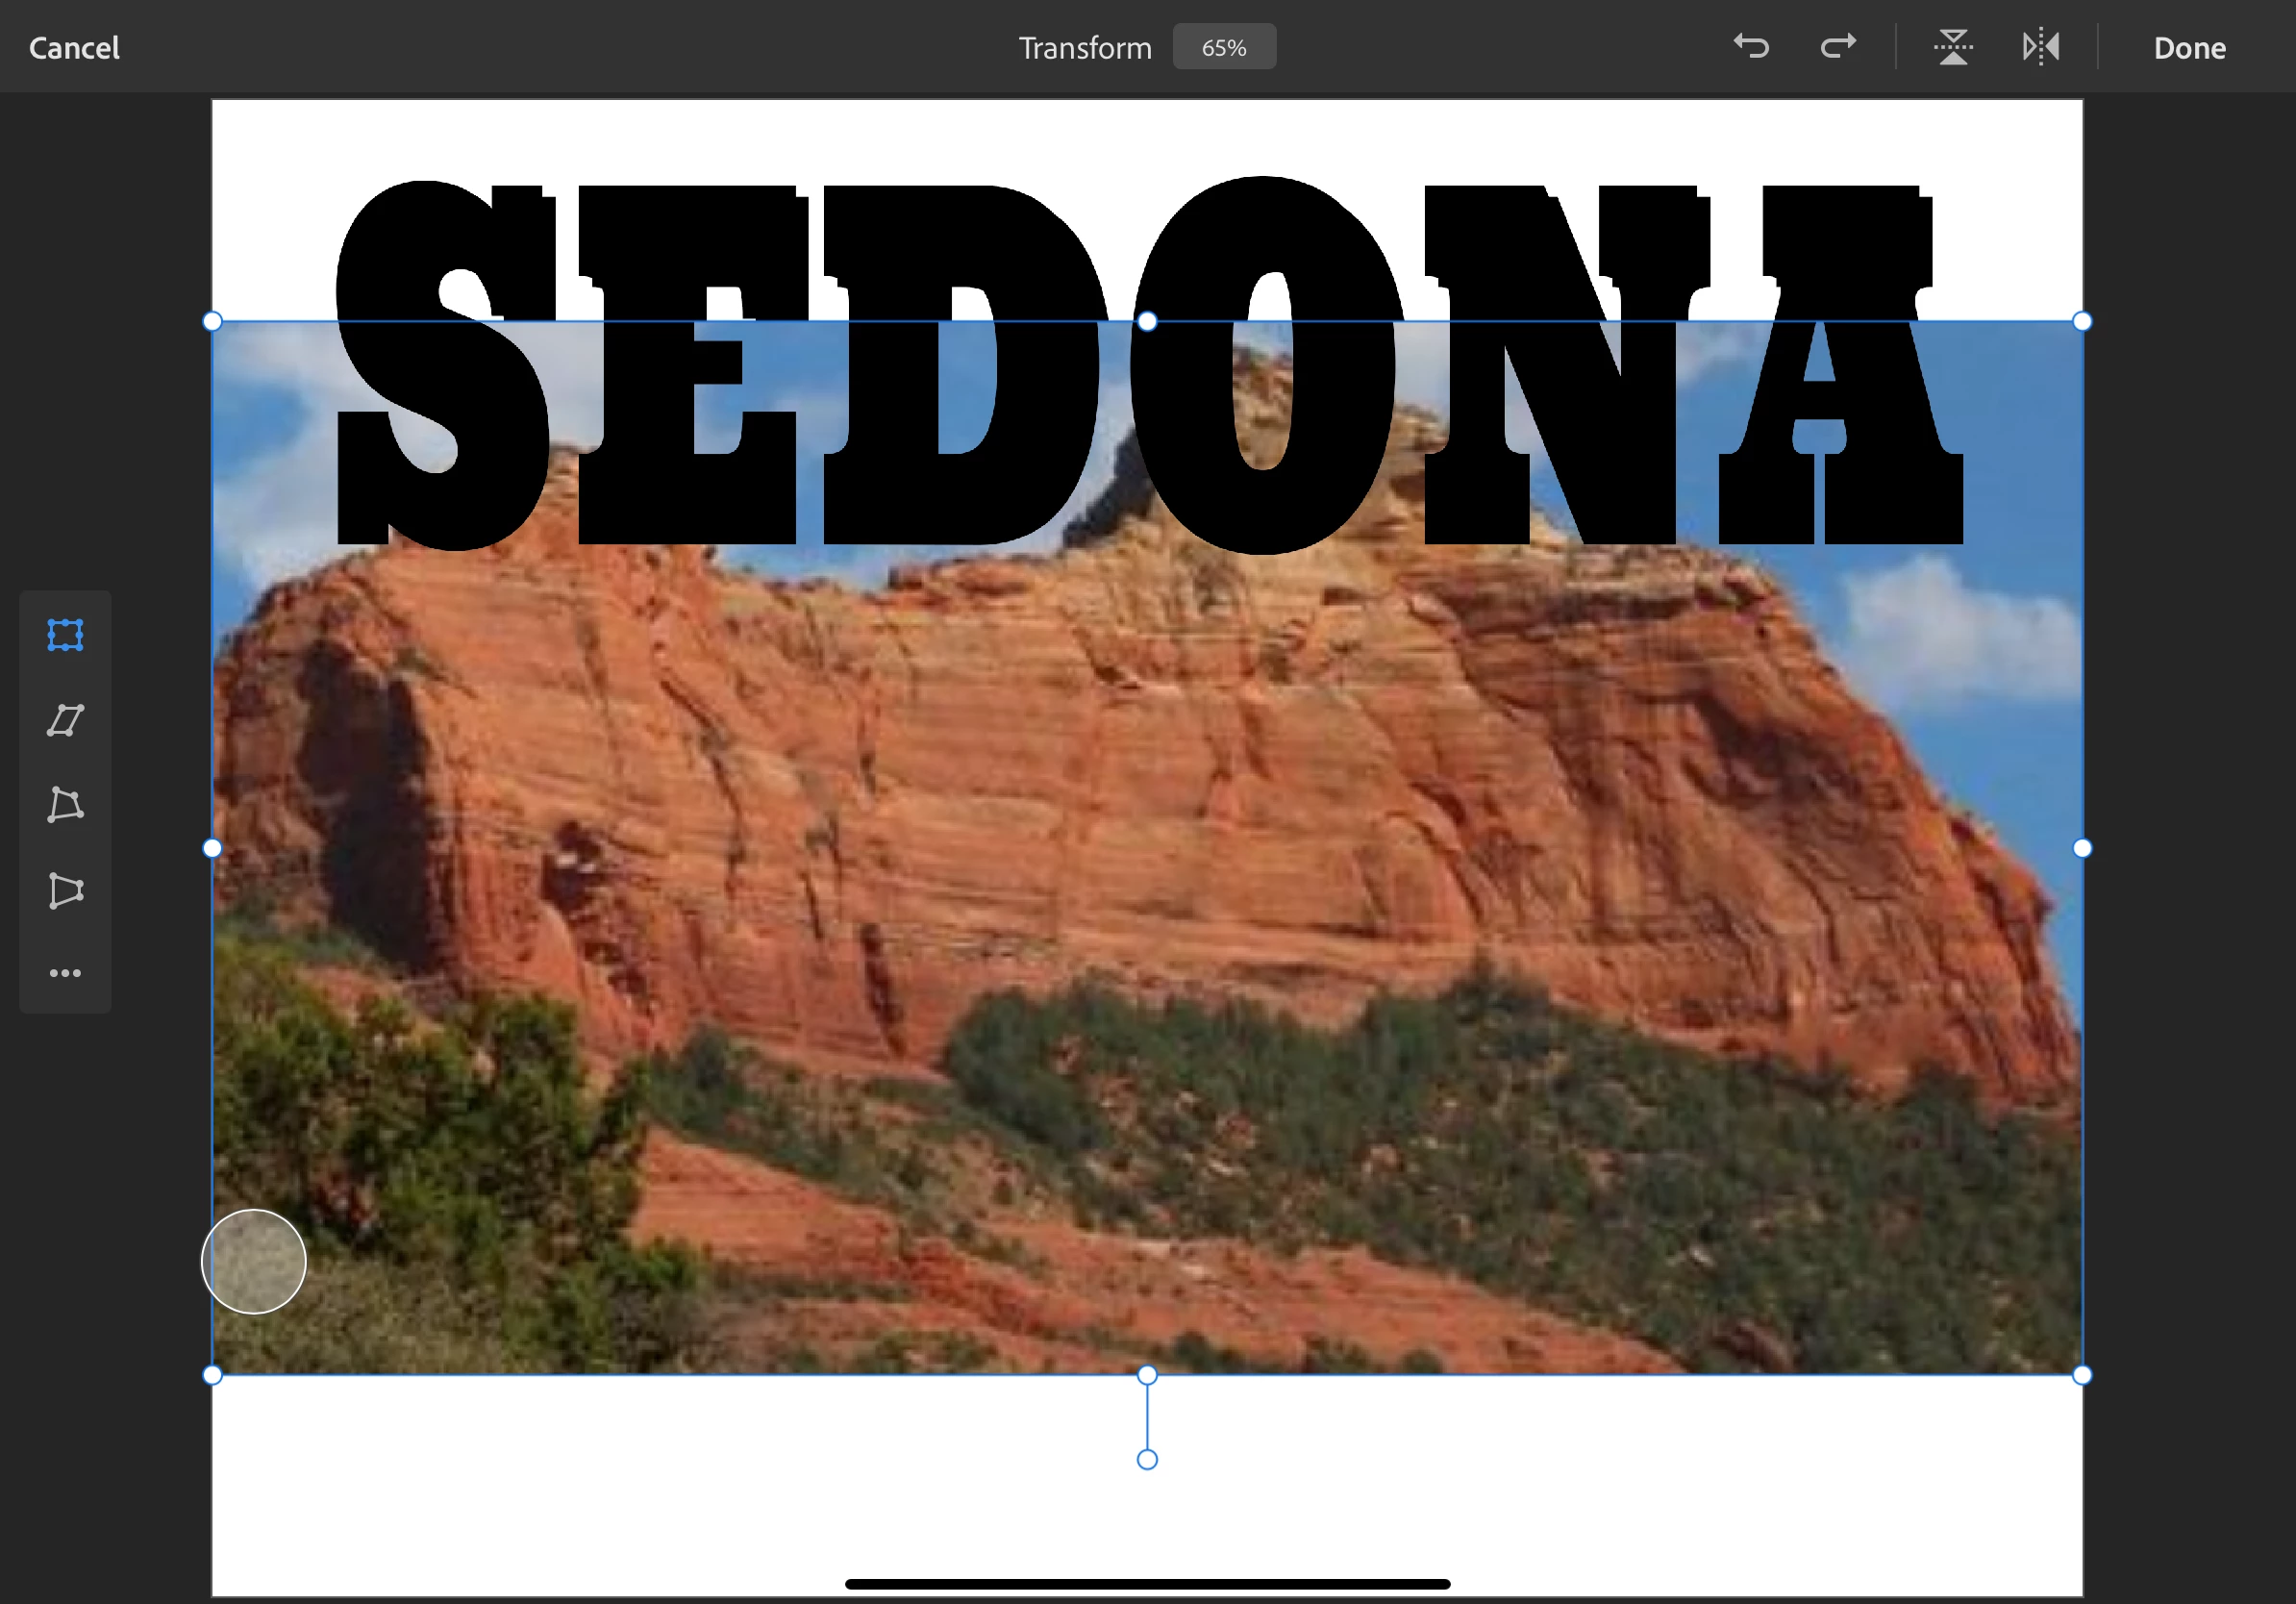
- Touch and drag the photo so that the part you want showing is behind the text
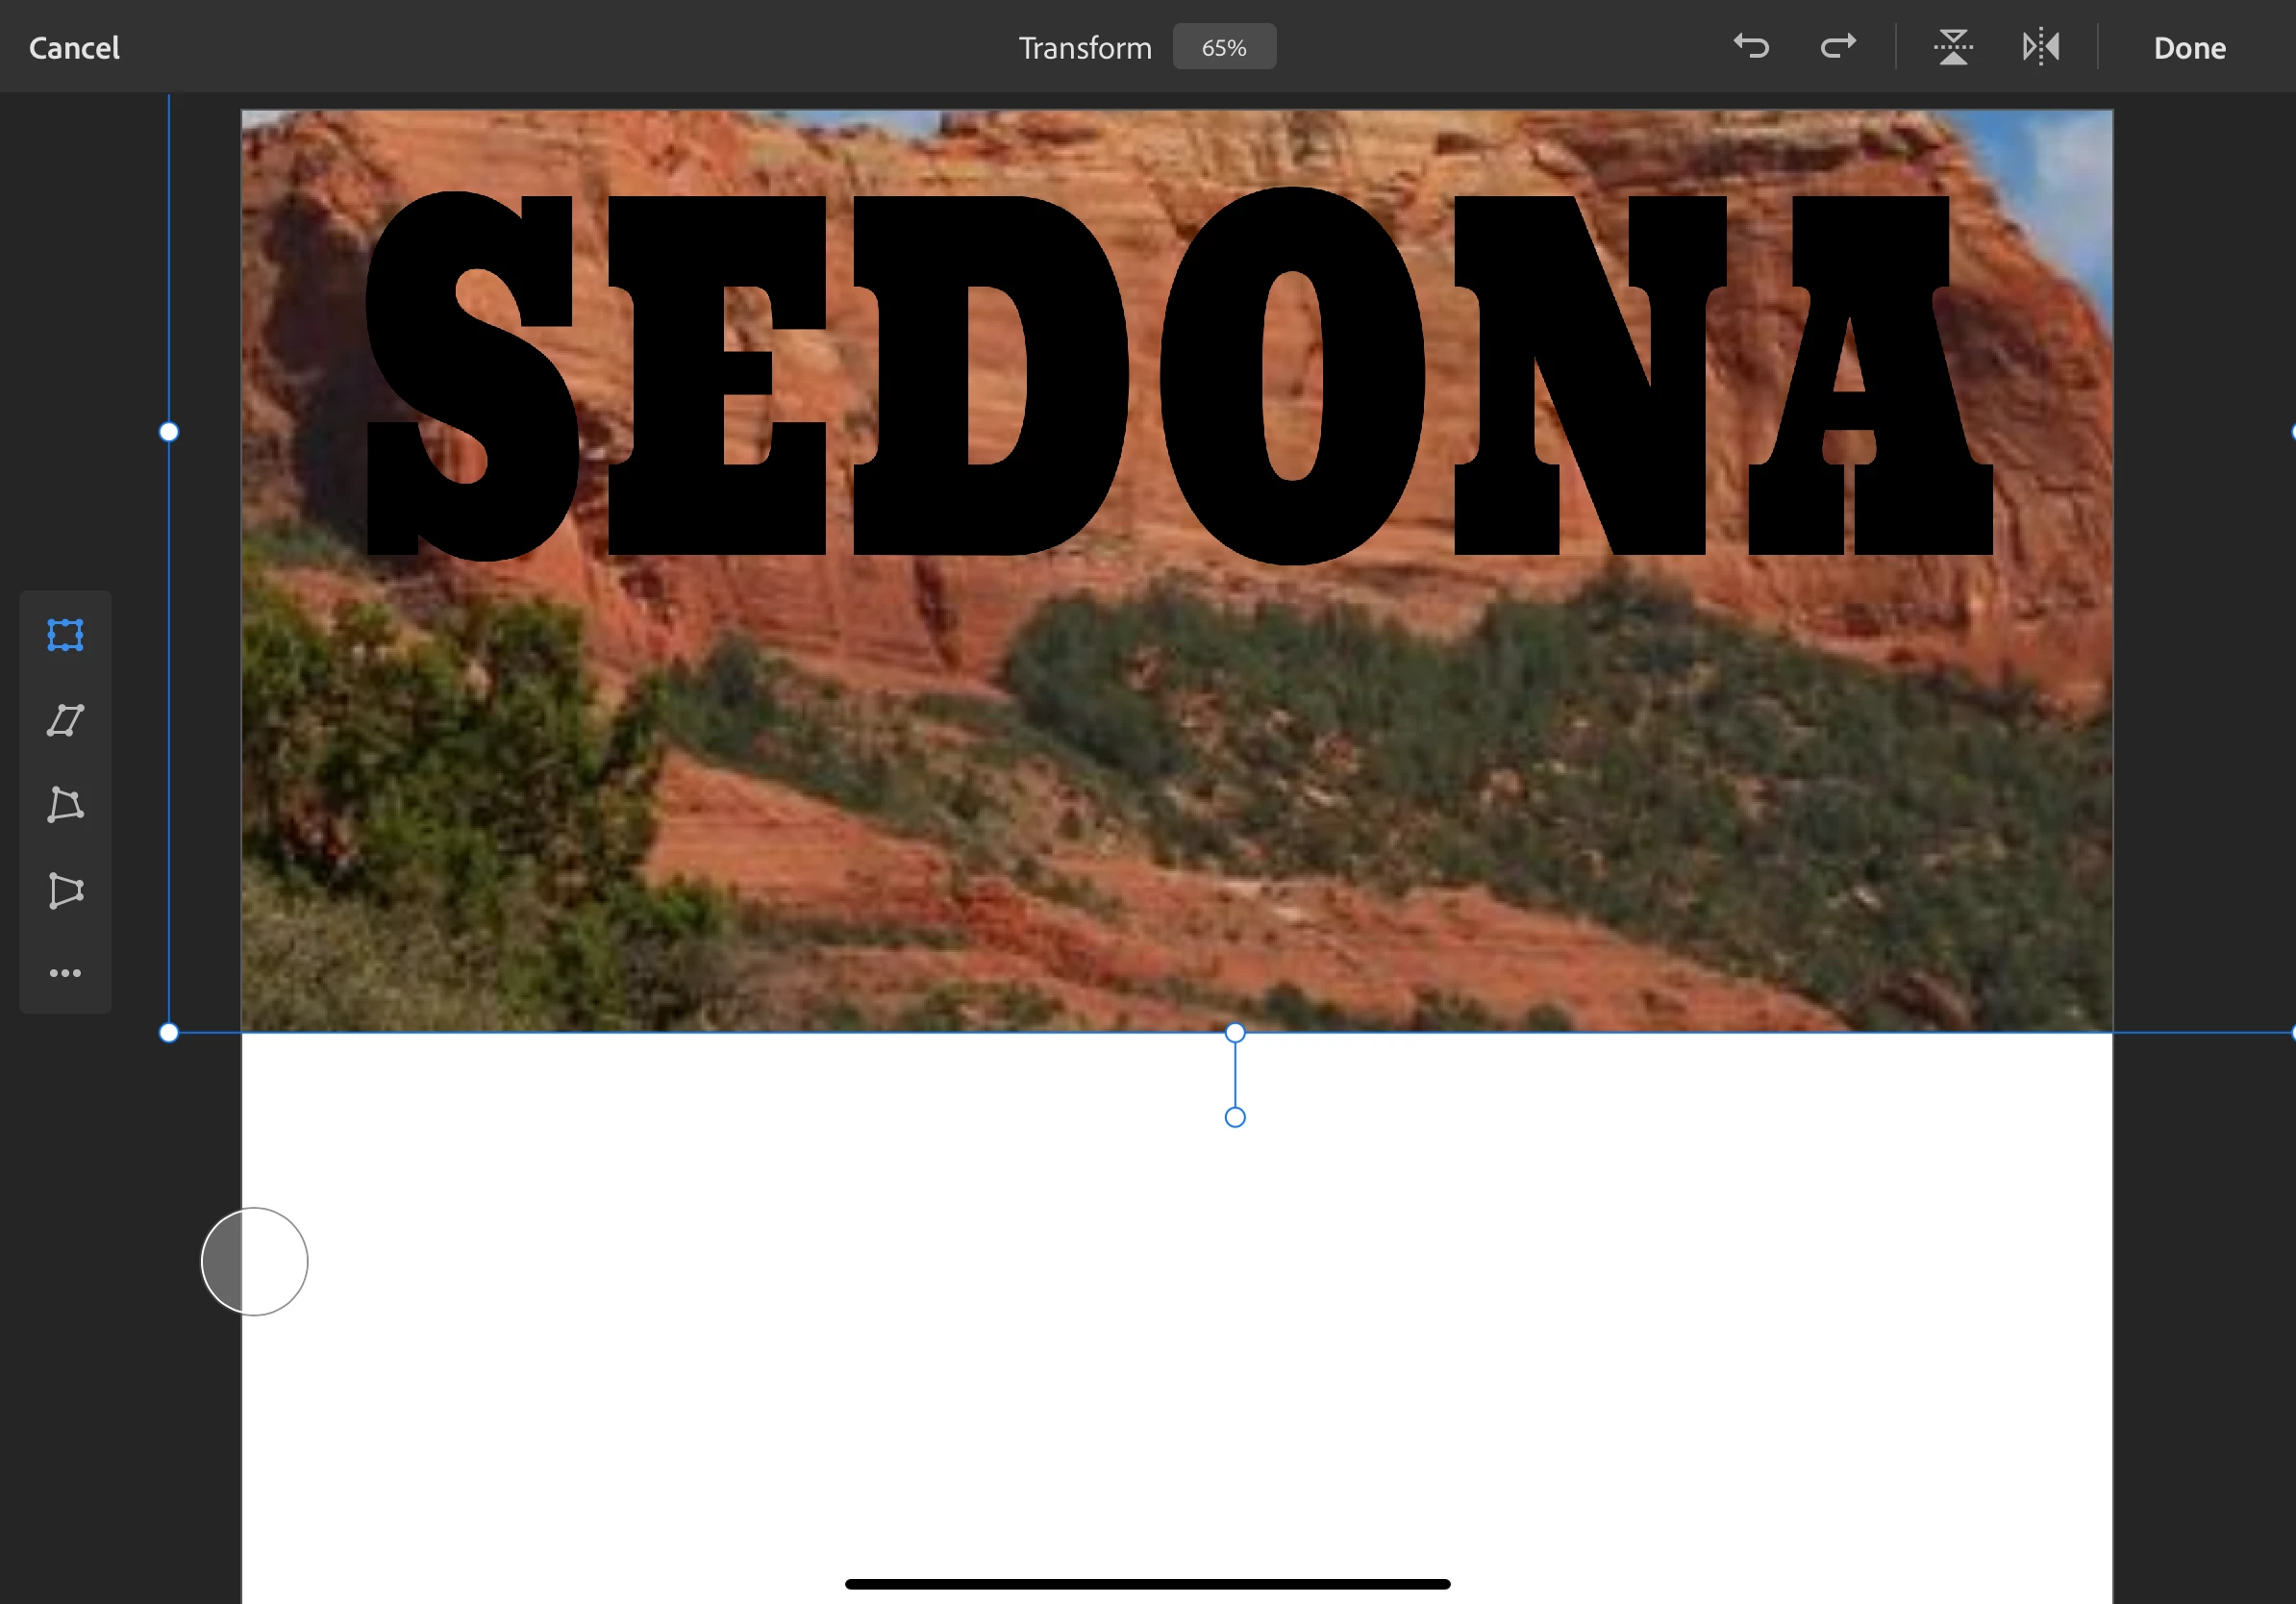
- Size the photo by touching it and spreading your finger and thumb to make it larger if desired
- Tap done in the top right corner
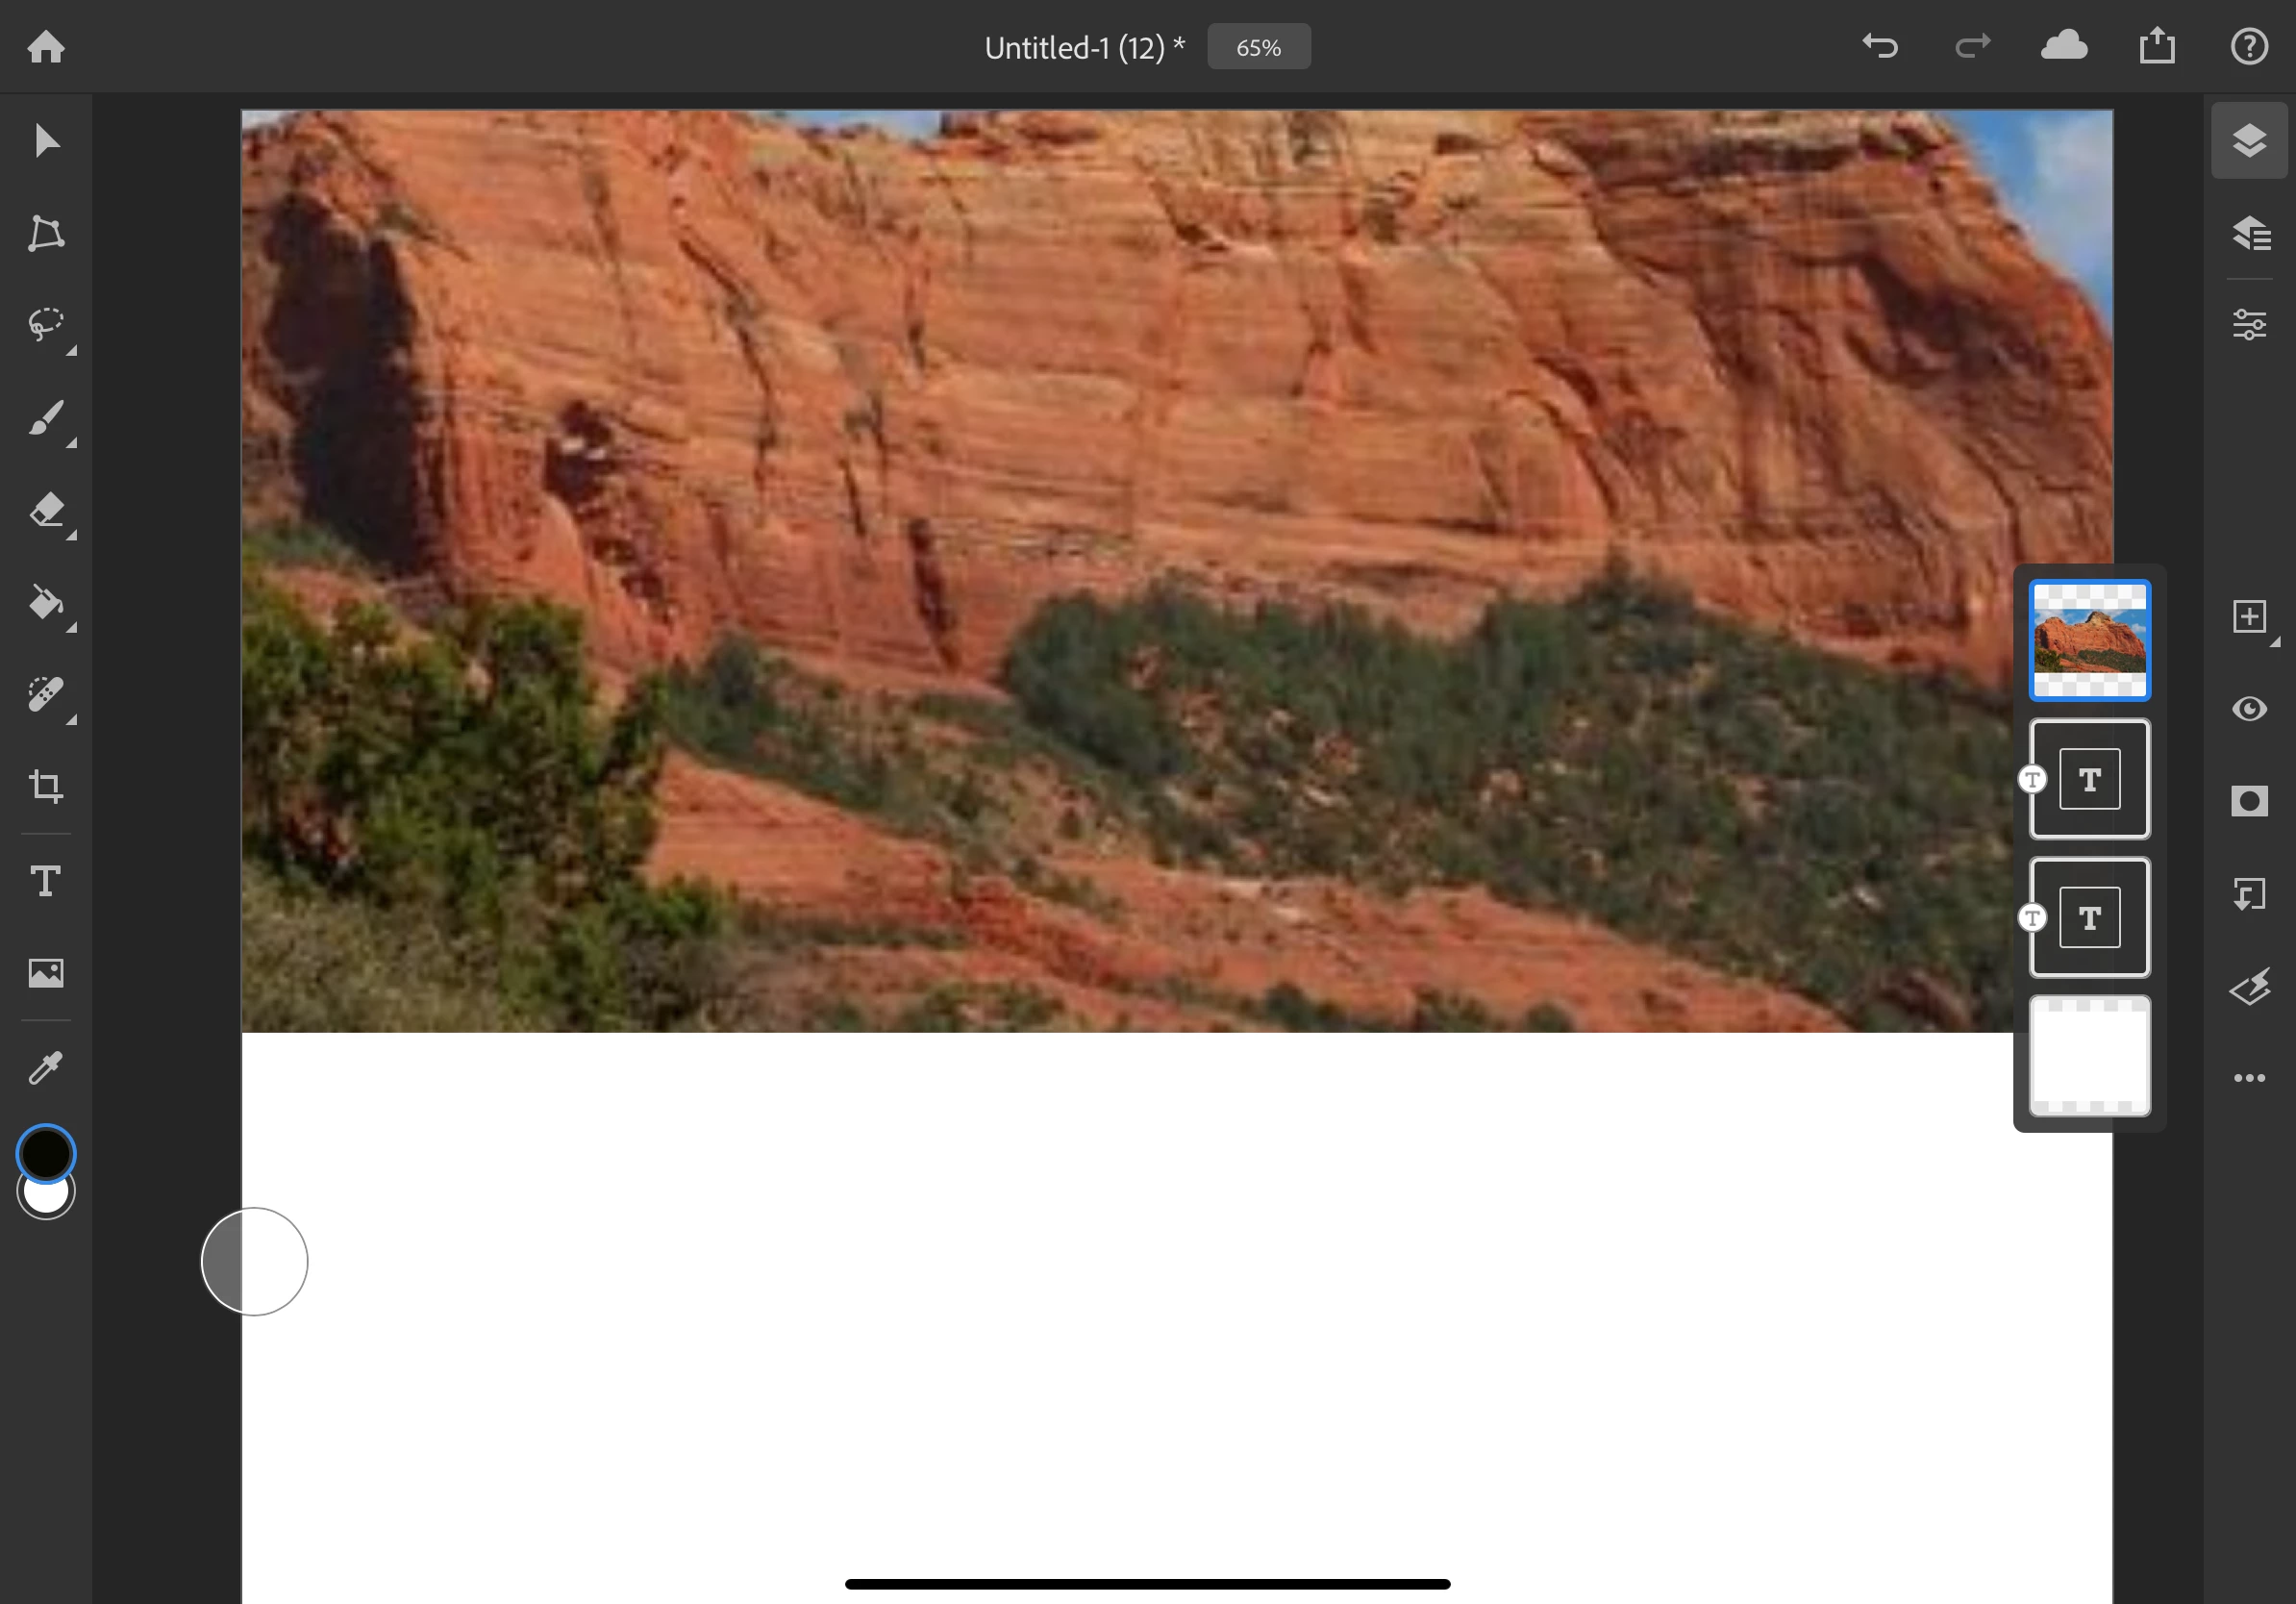
- If the image is not the top layer, long-press on the layer icon for the photo and move it above all the other layers
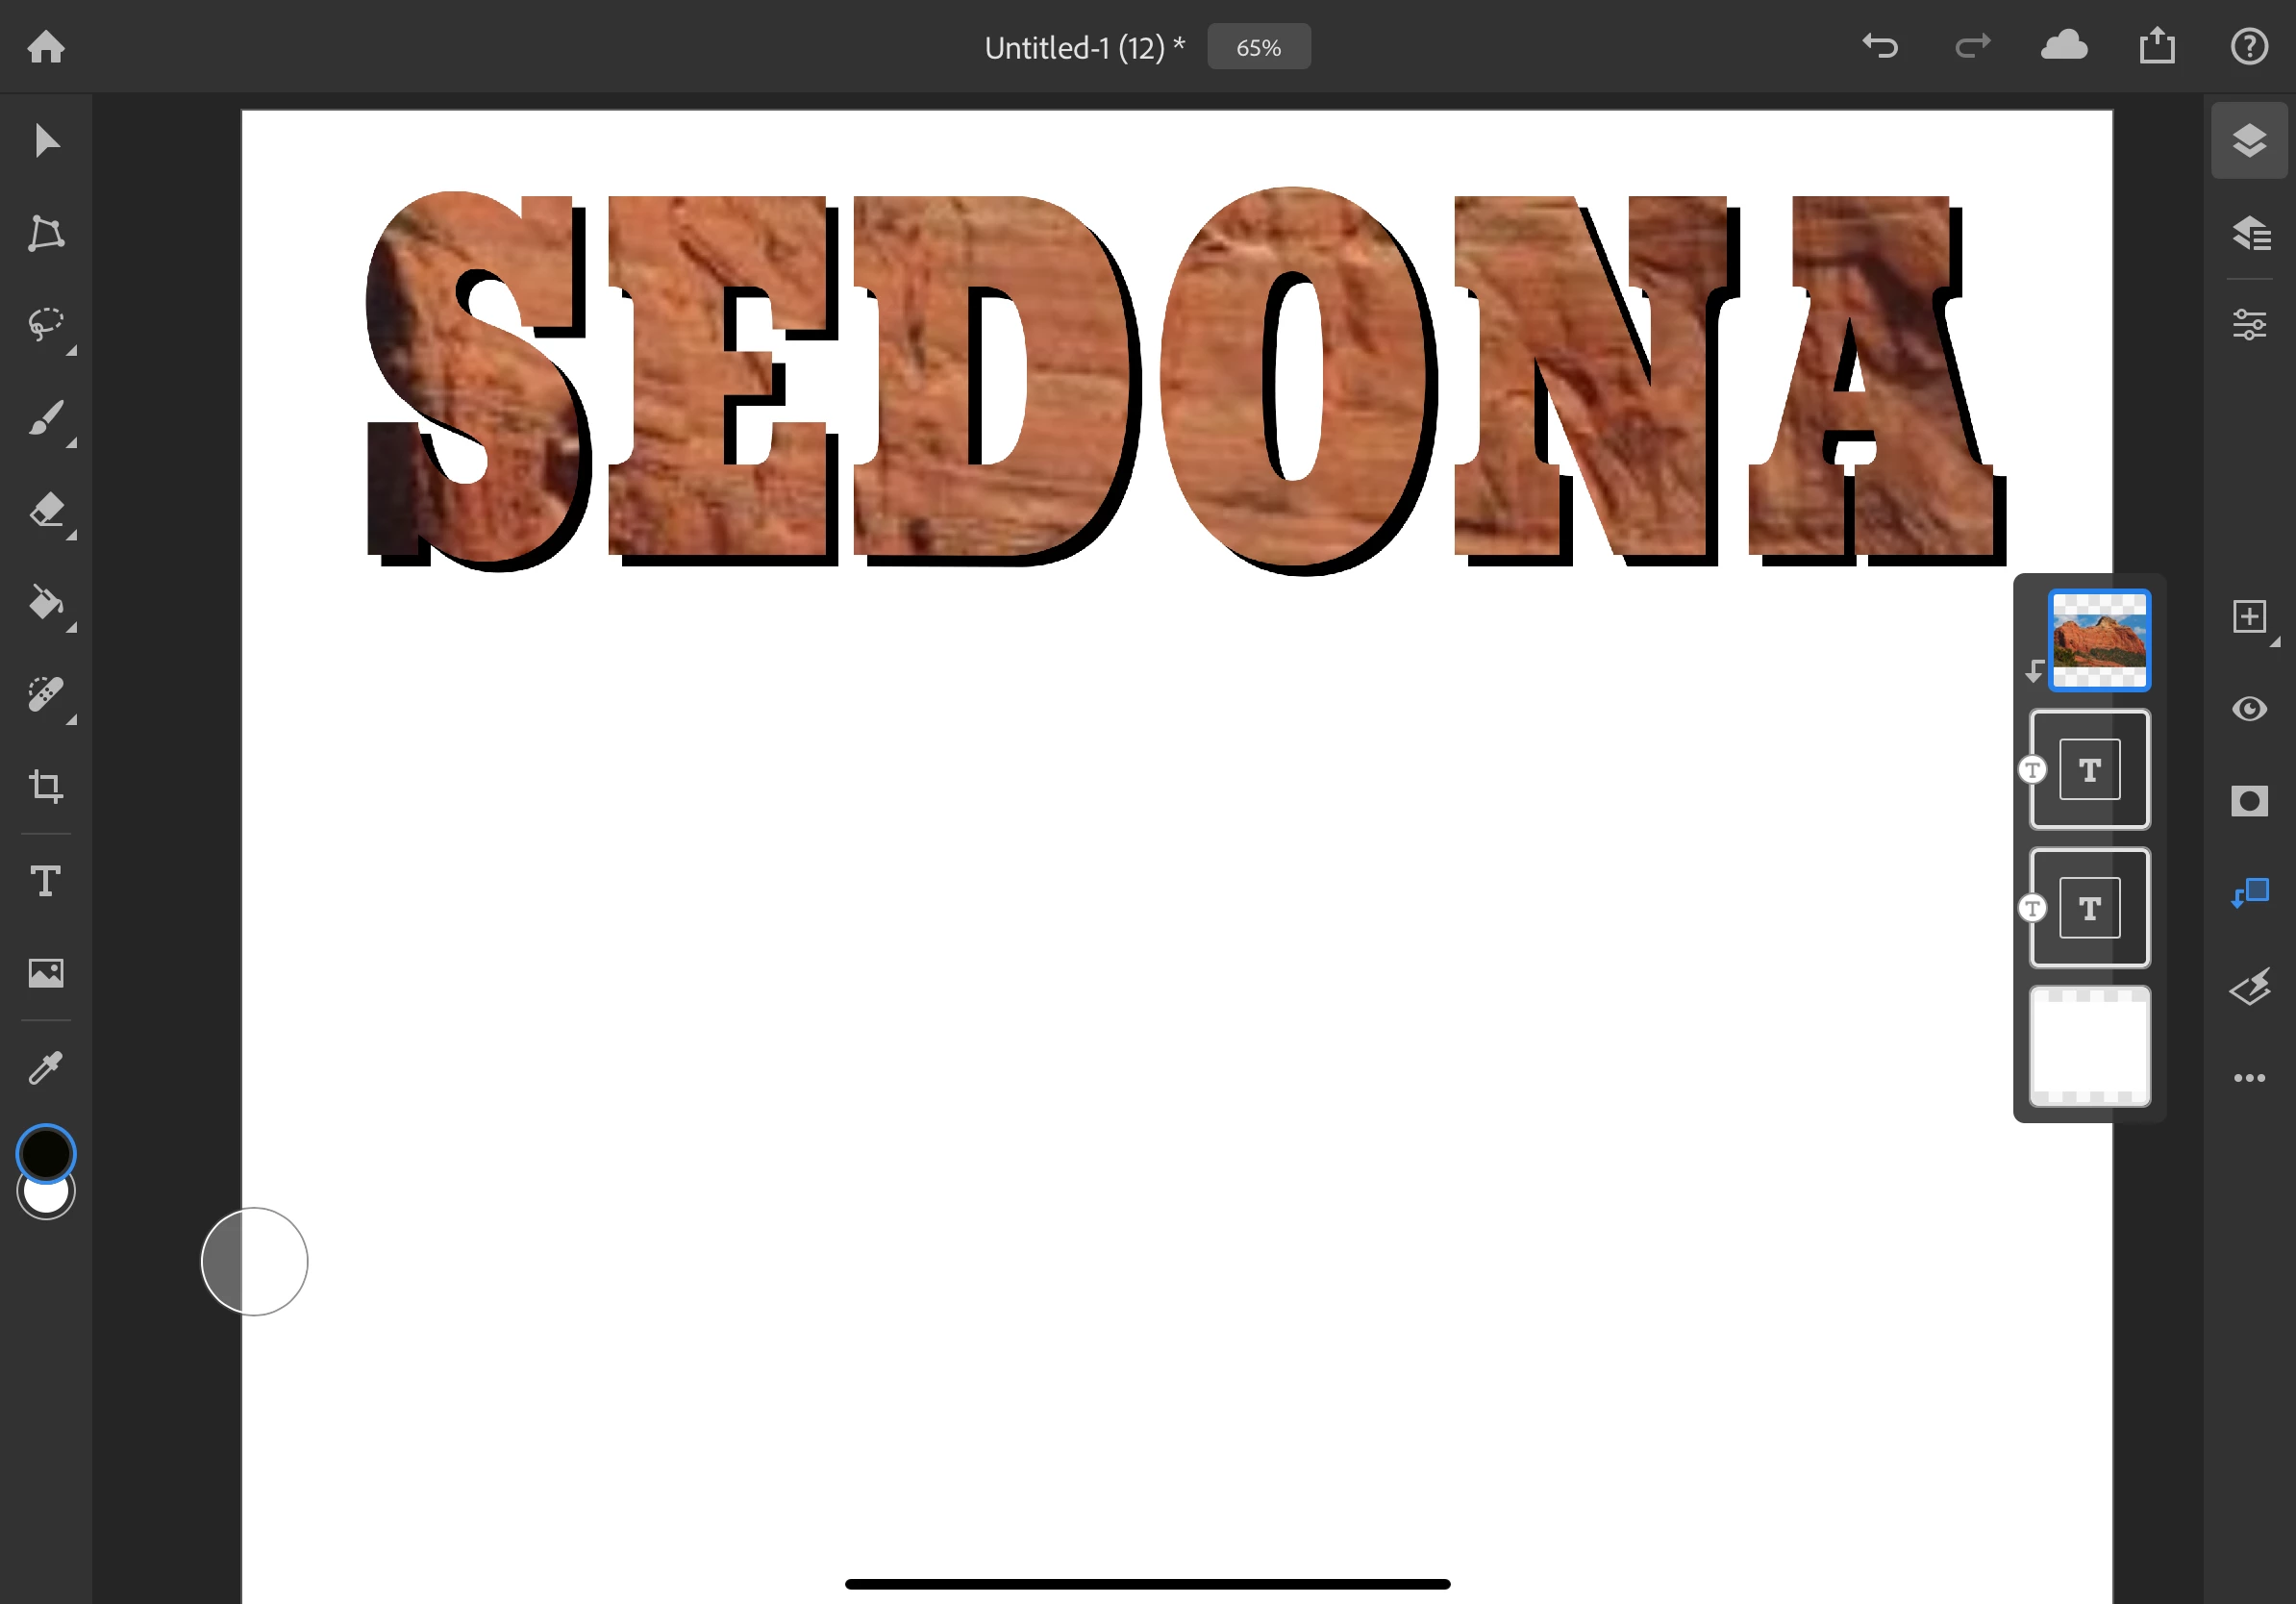
- Tap on the clipping layer icon (a box with an arrow next to it) from the taskbar bar on the right
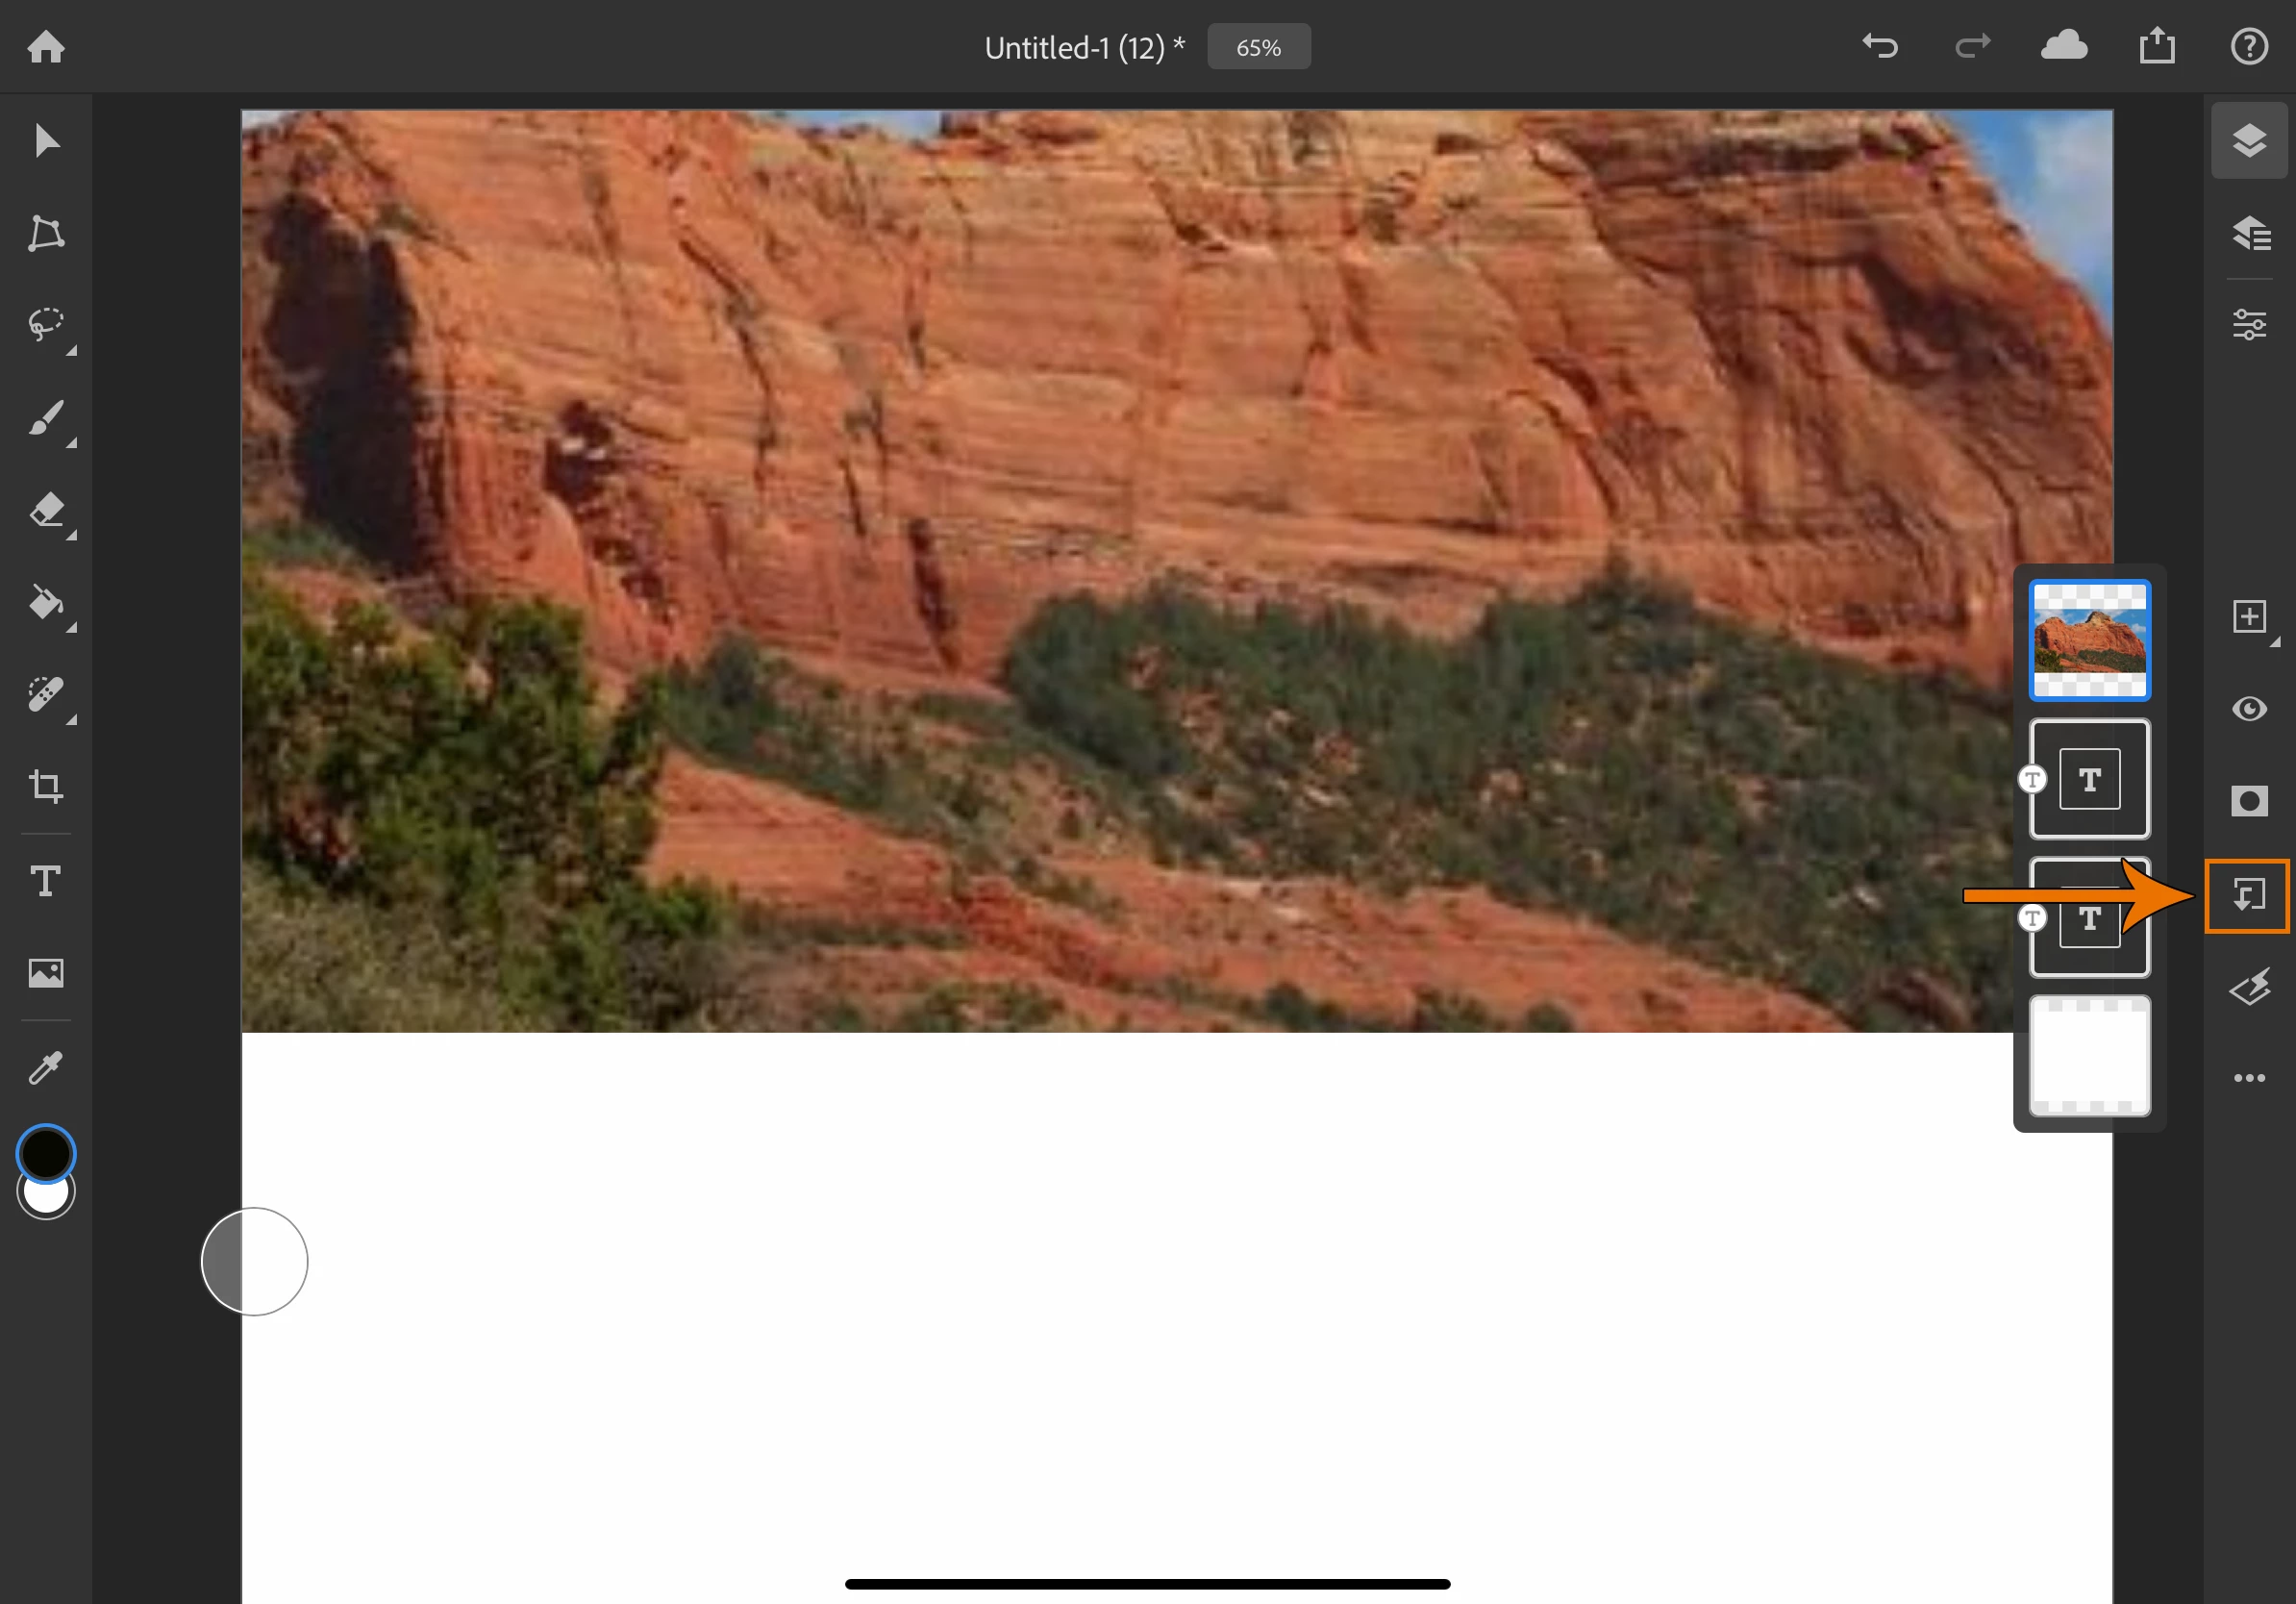
- You have just clipped the photo based on the text layer below it so the image now shows through the text
❹ Add a background photo
- Tap on the photo icon on the toolbar
- Select the location of your photo and choose the photo you want to use
- Touch and move the photo to the location you want it
- Size the photo by touching it and spreading your finger and thumb to make it larger if desired
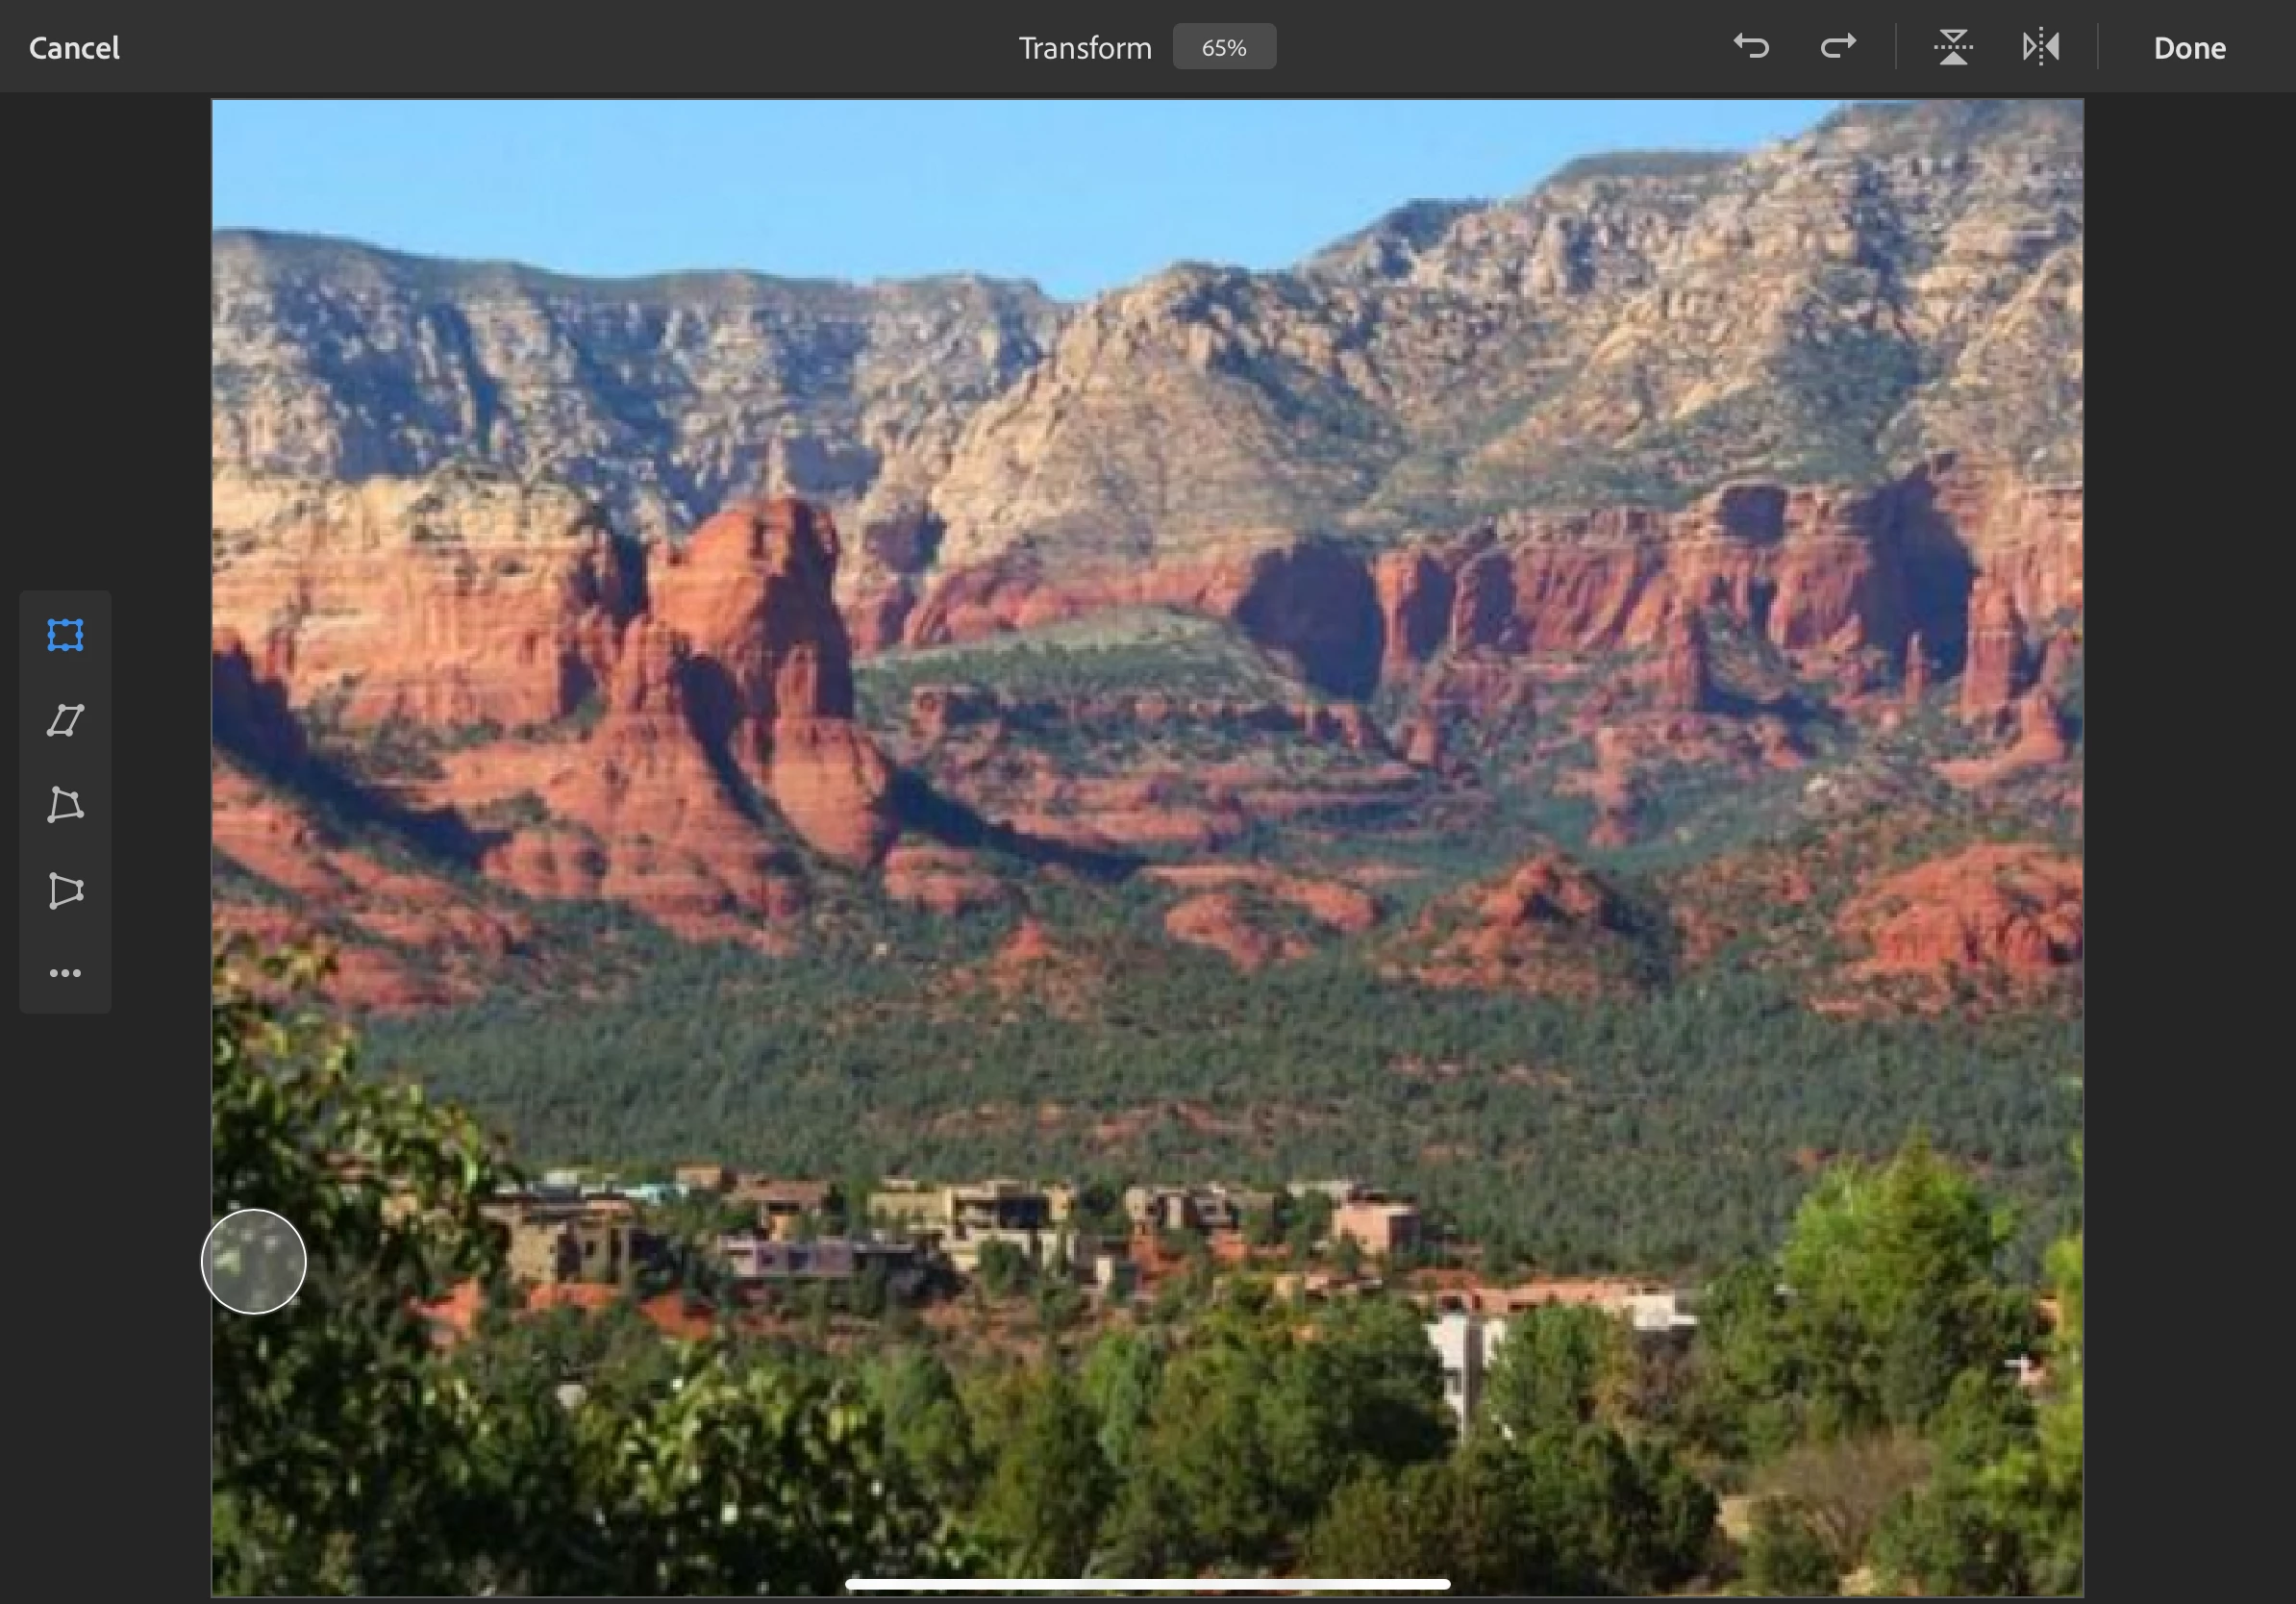
Photos by Pattie Foxhoven
- When you are satisfied with the size and location of the photo, tap done in the top right corner
- Long-press on the layer icon for the photo and move it below all the other type and photo layers
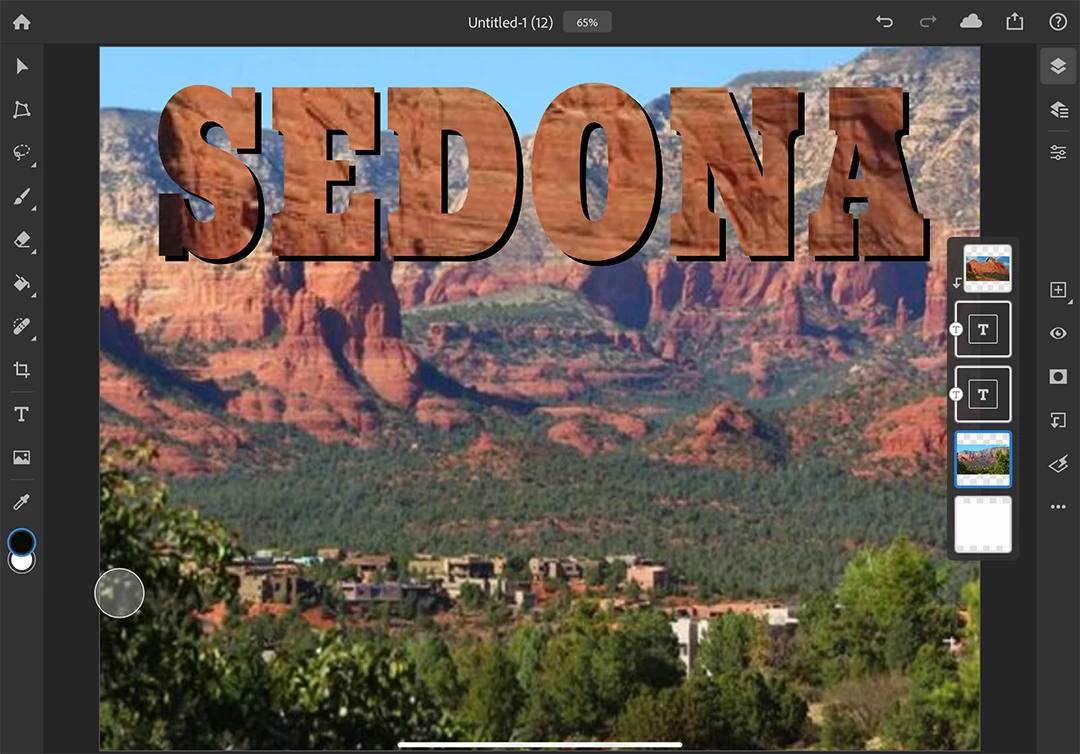
- If you have a solid background layer at the bottom, make sure the background photo is above it
- Tap on the layer properties icon on the right toolbar to expose the layer options
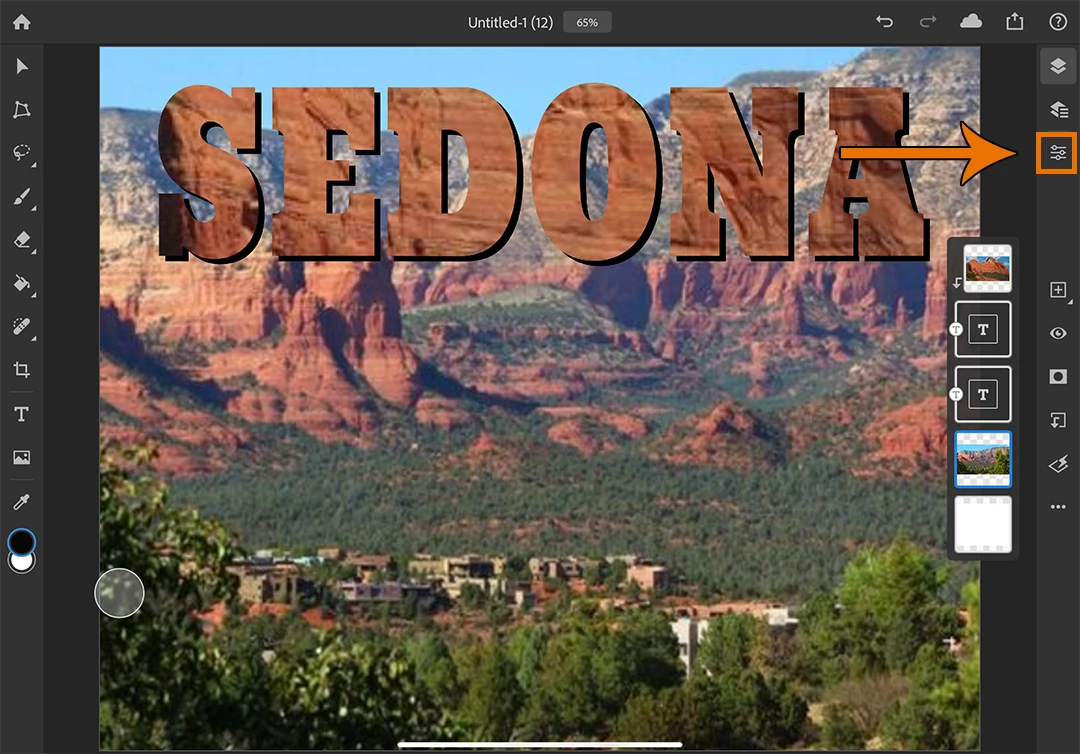
- Lower the opacity slider so the background photo is more faded and less distracting
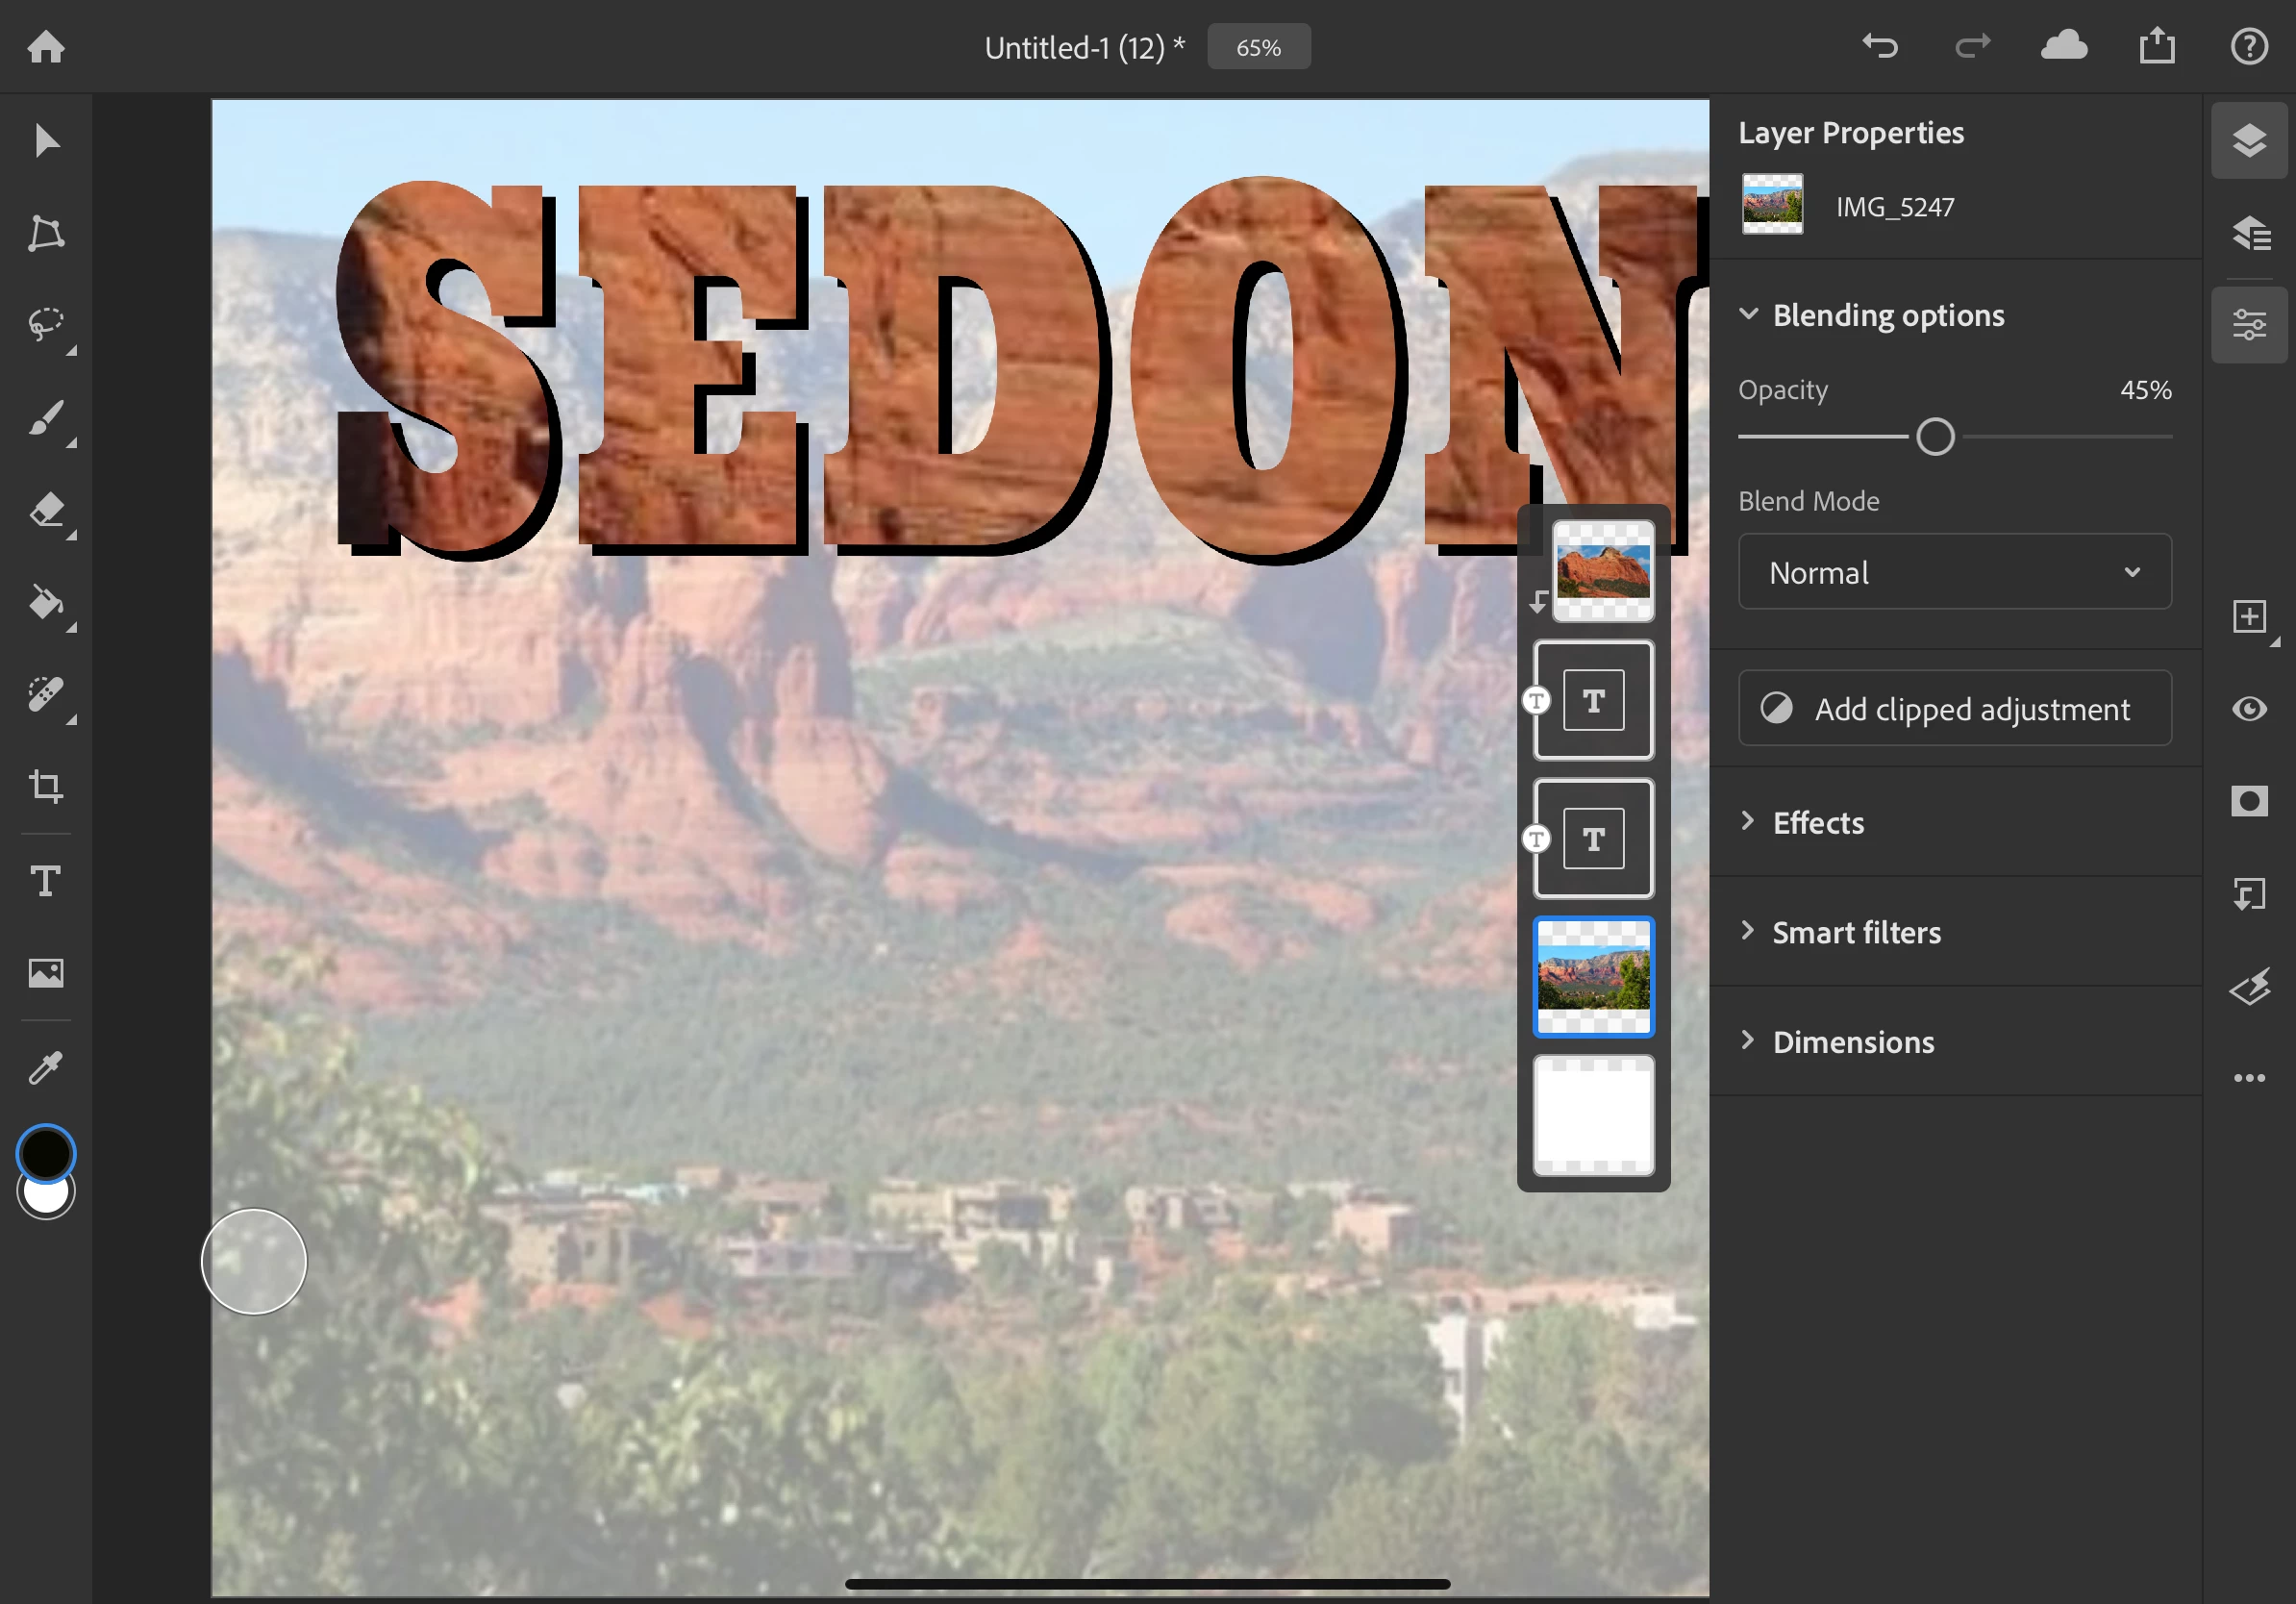
- Tap on the layer properties icon on the right toolbar to hide it again
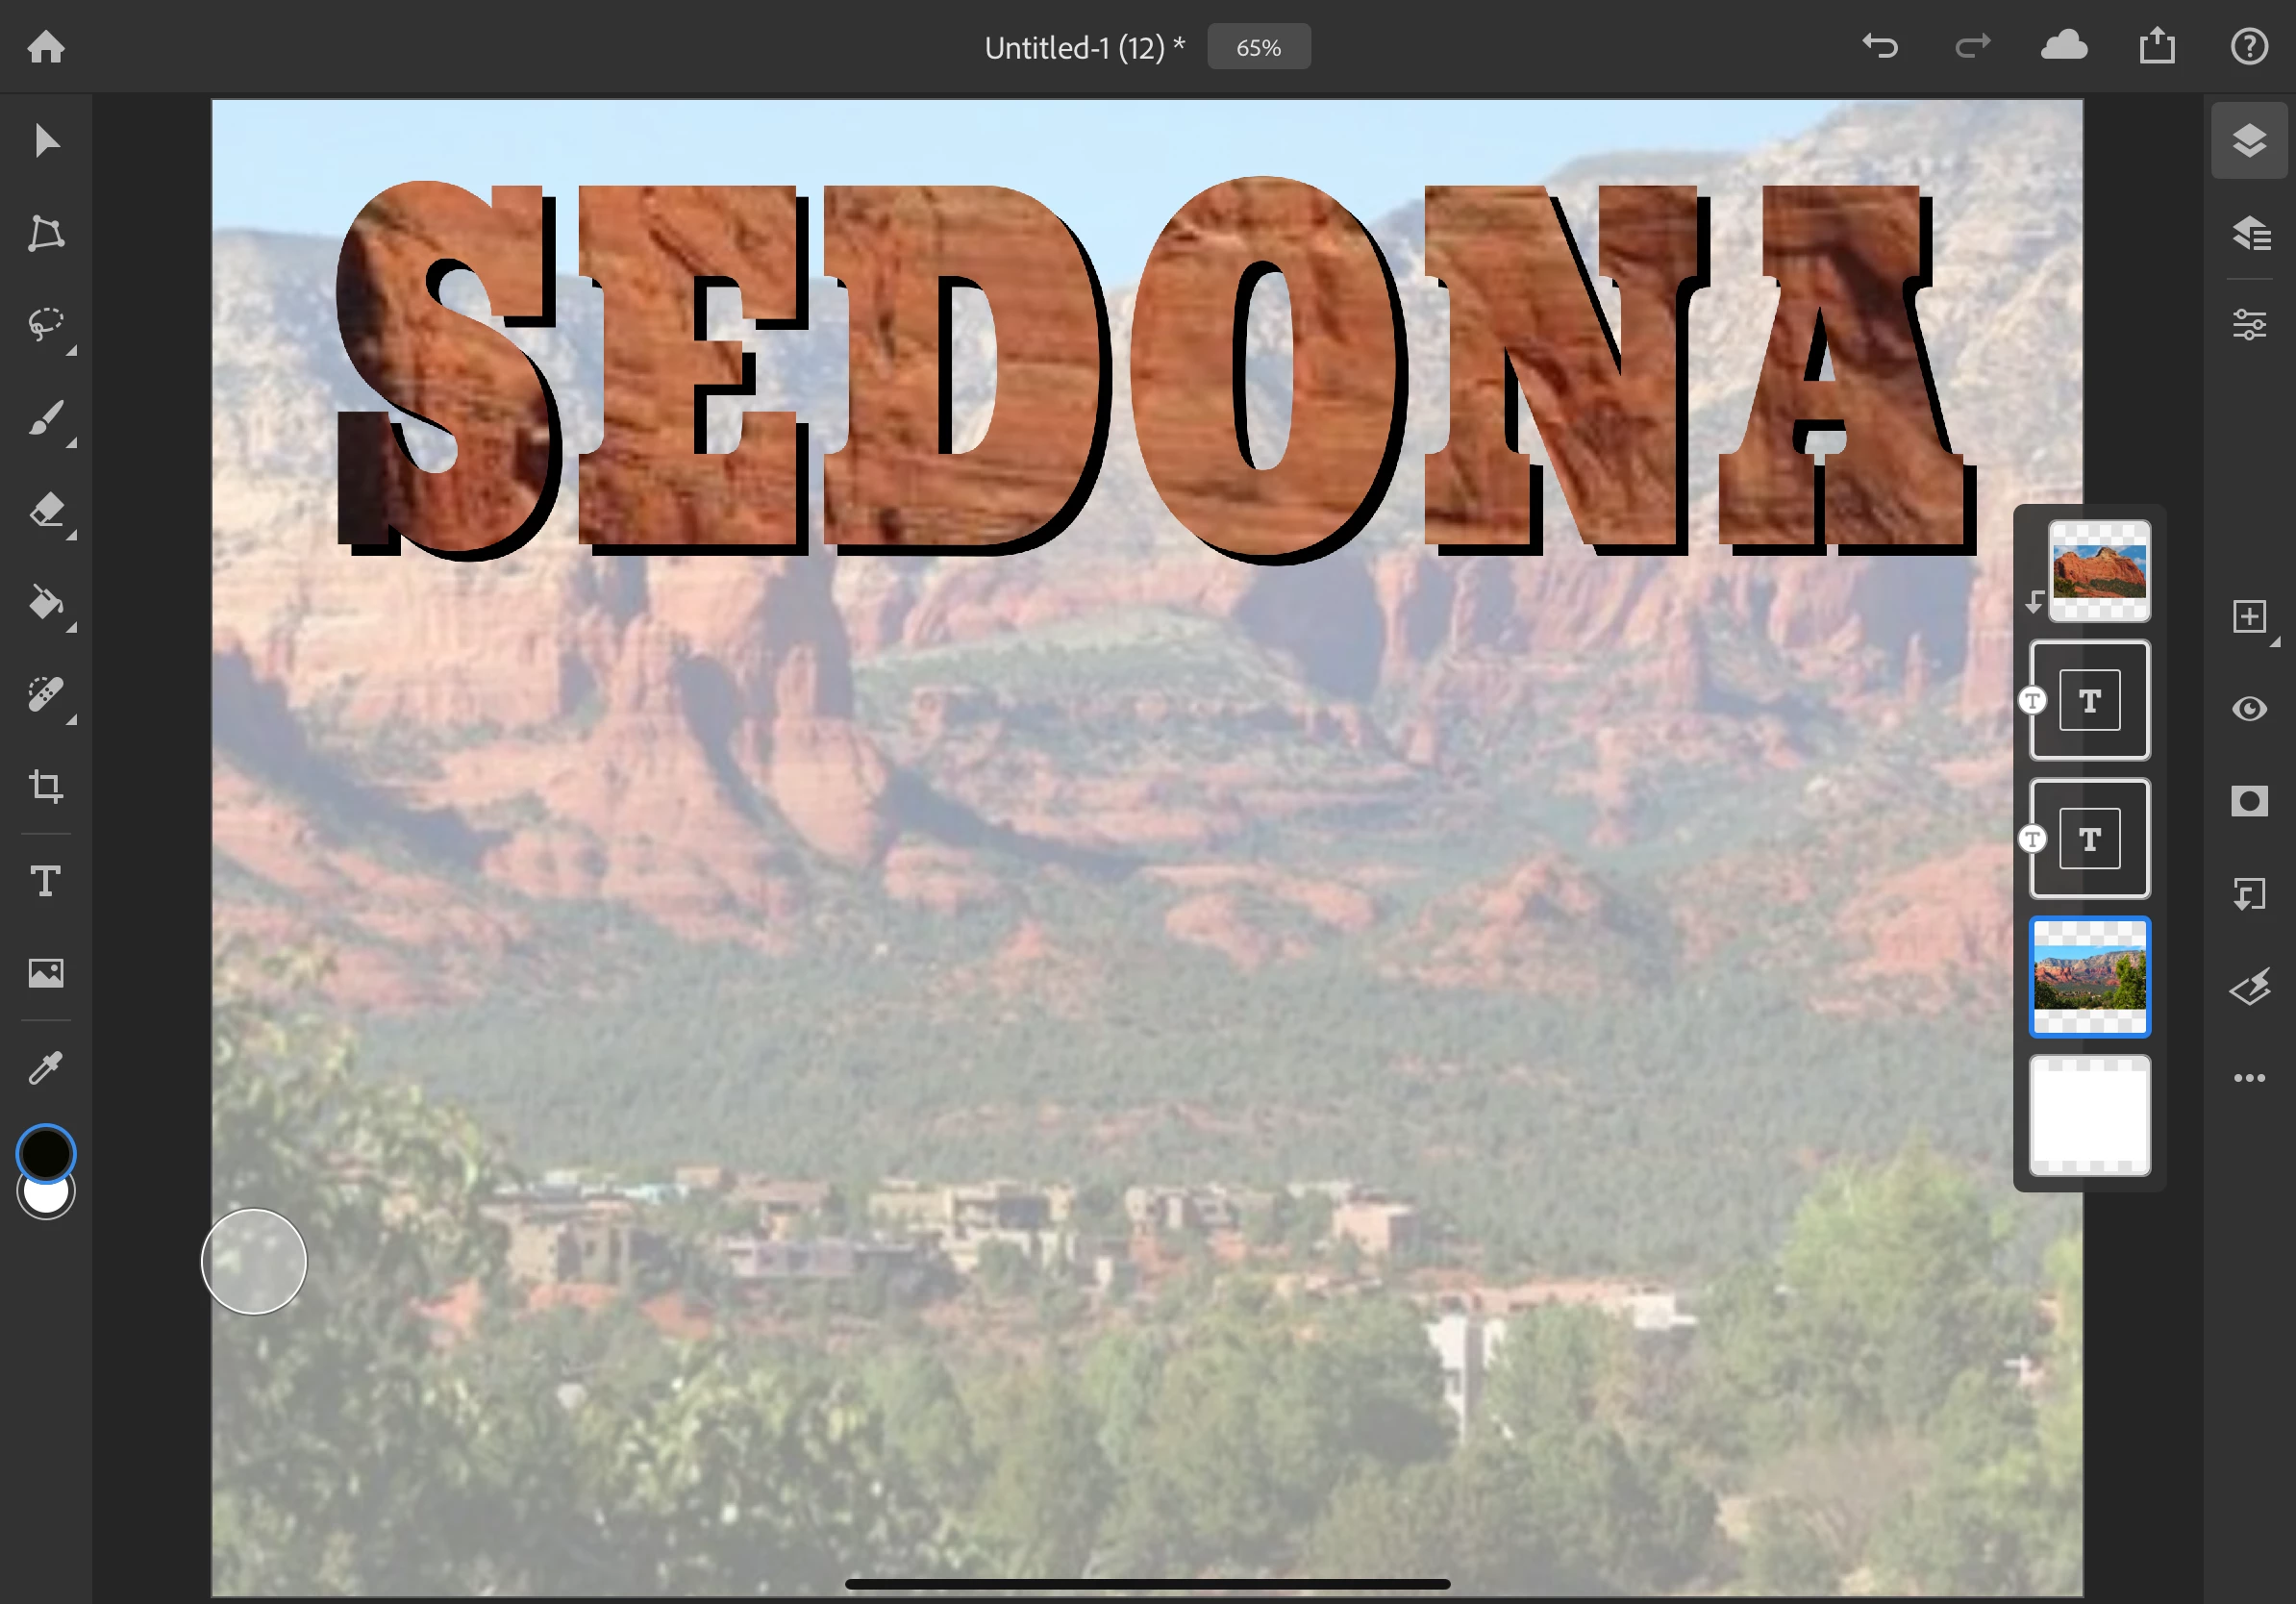
❺ Crop
- If you decide you want your canvas a different size, you can crop it.
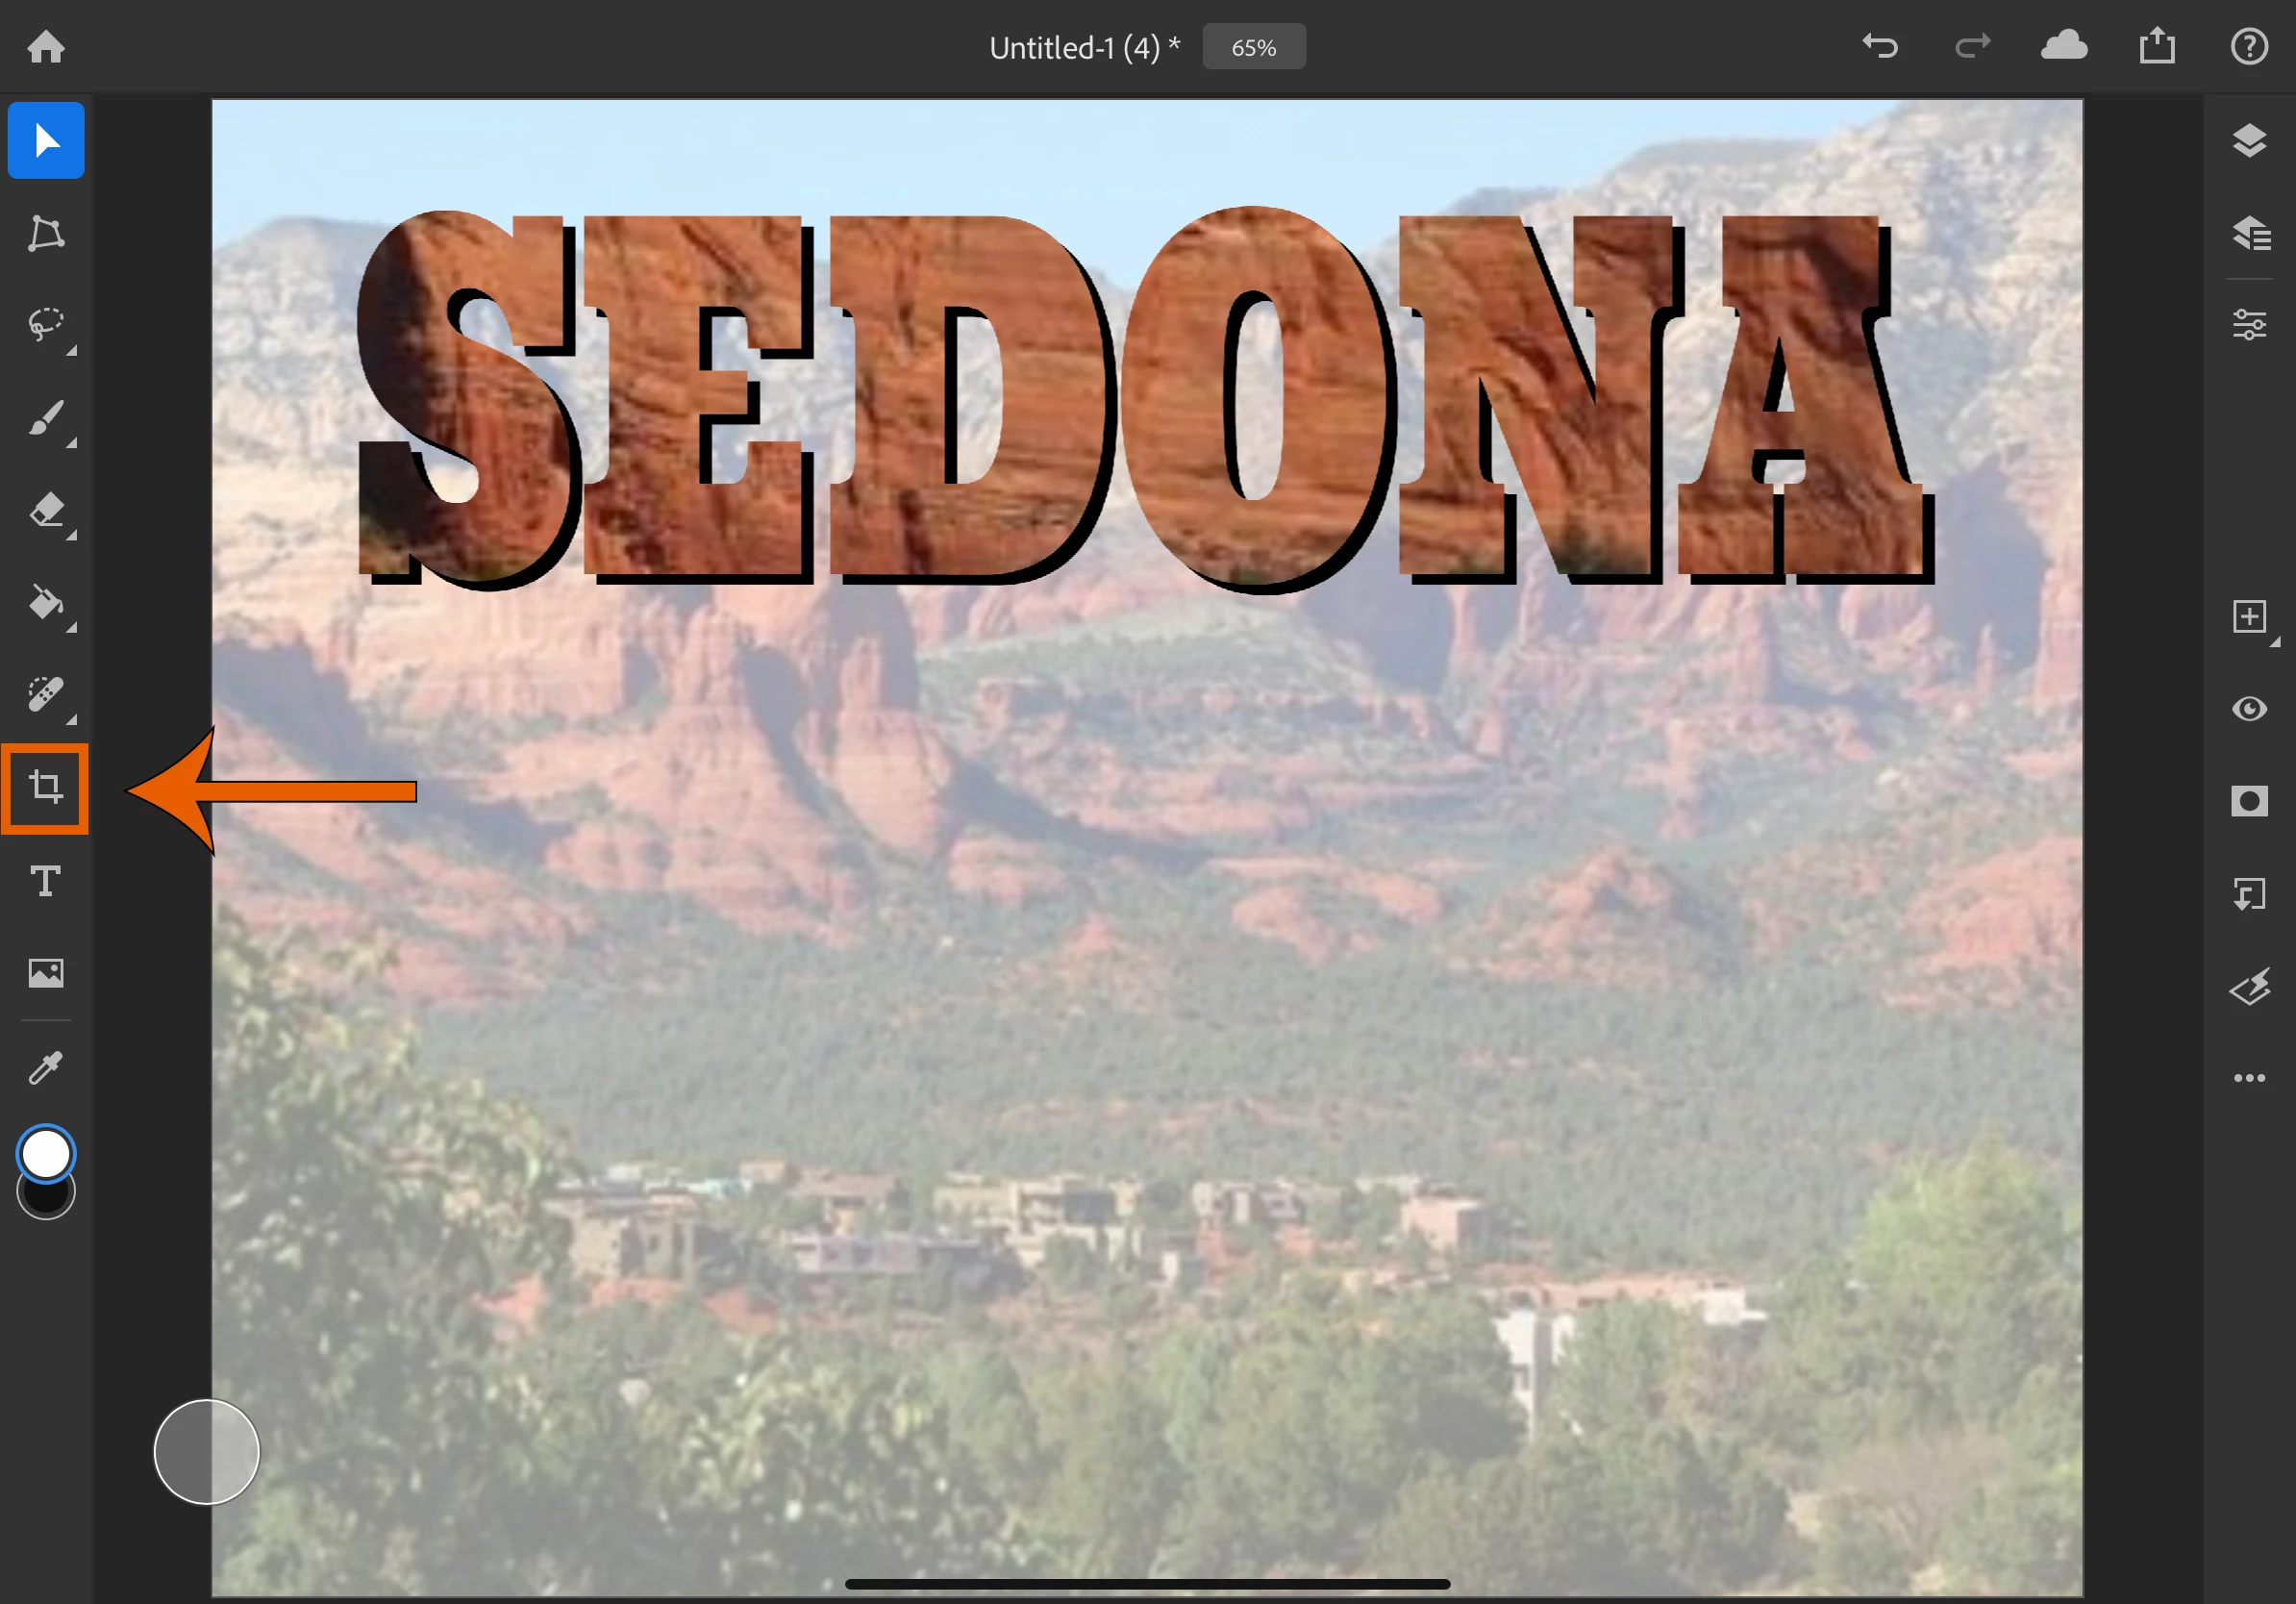
- Tap on the crop tool on the toolbar
- Touch and drag the sides or corners in to adjust the canvas size
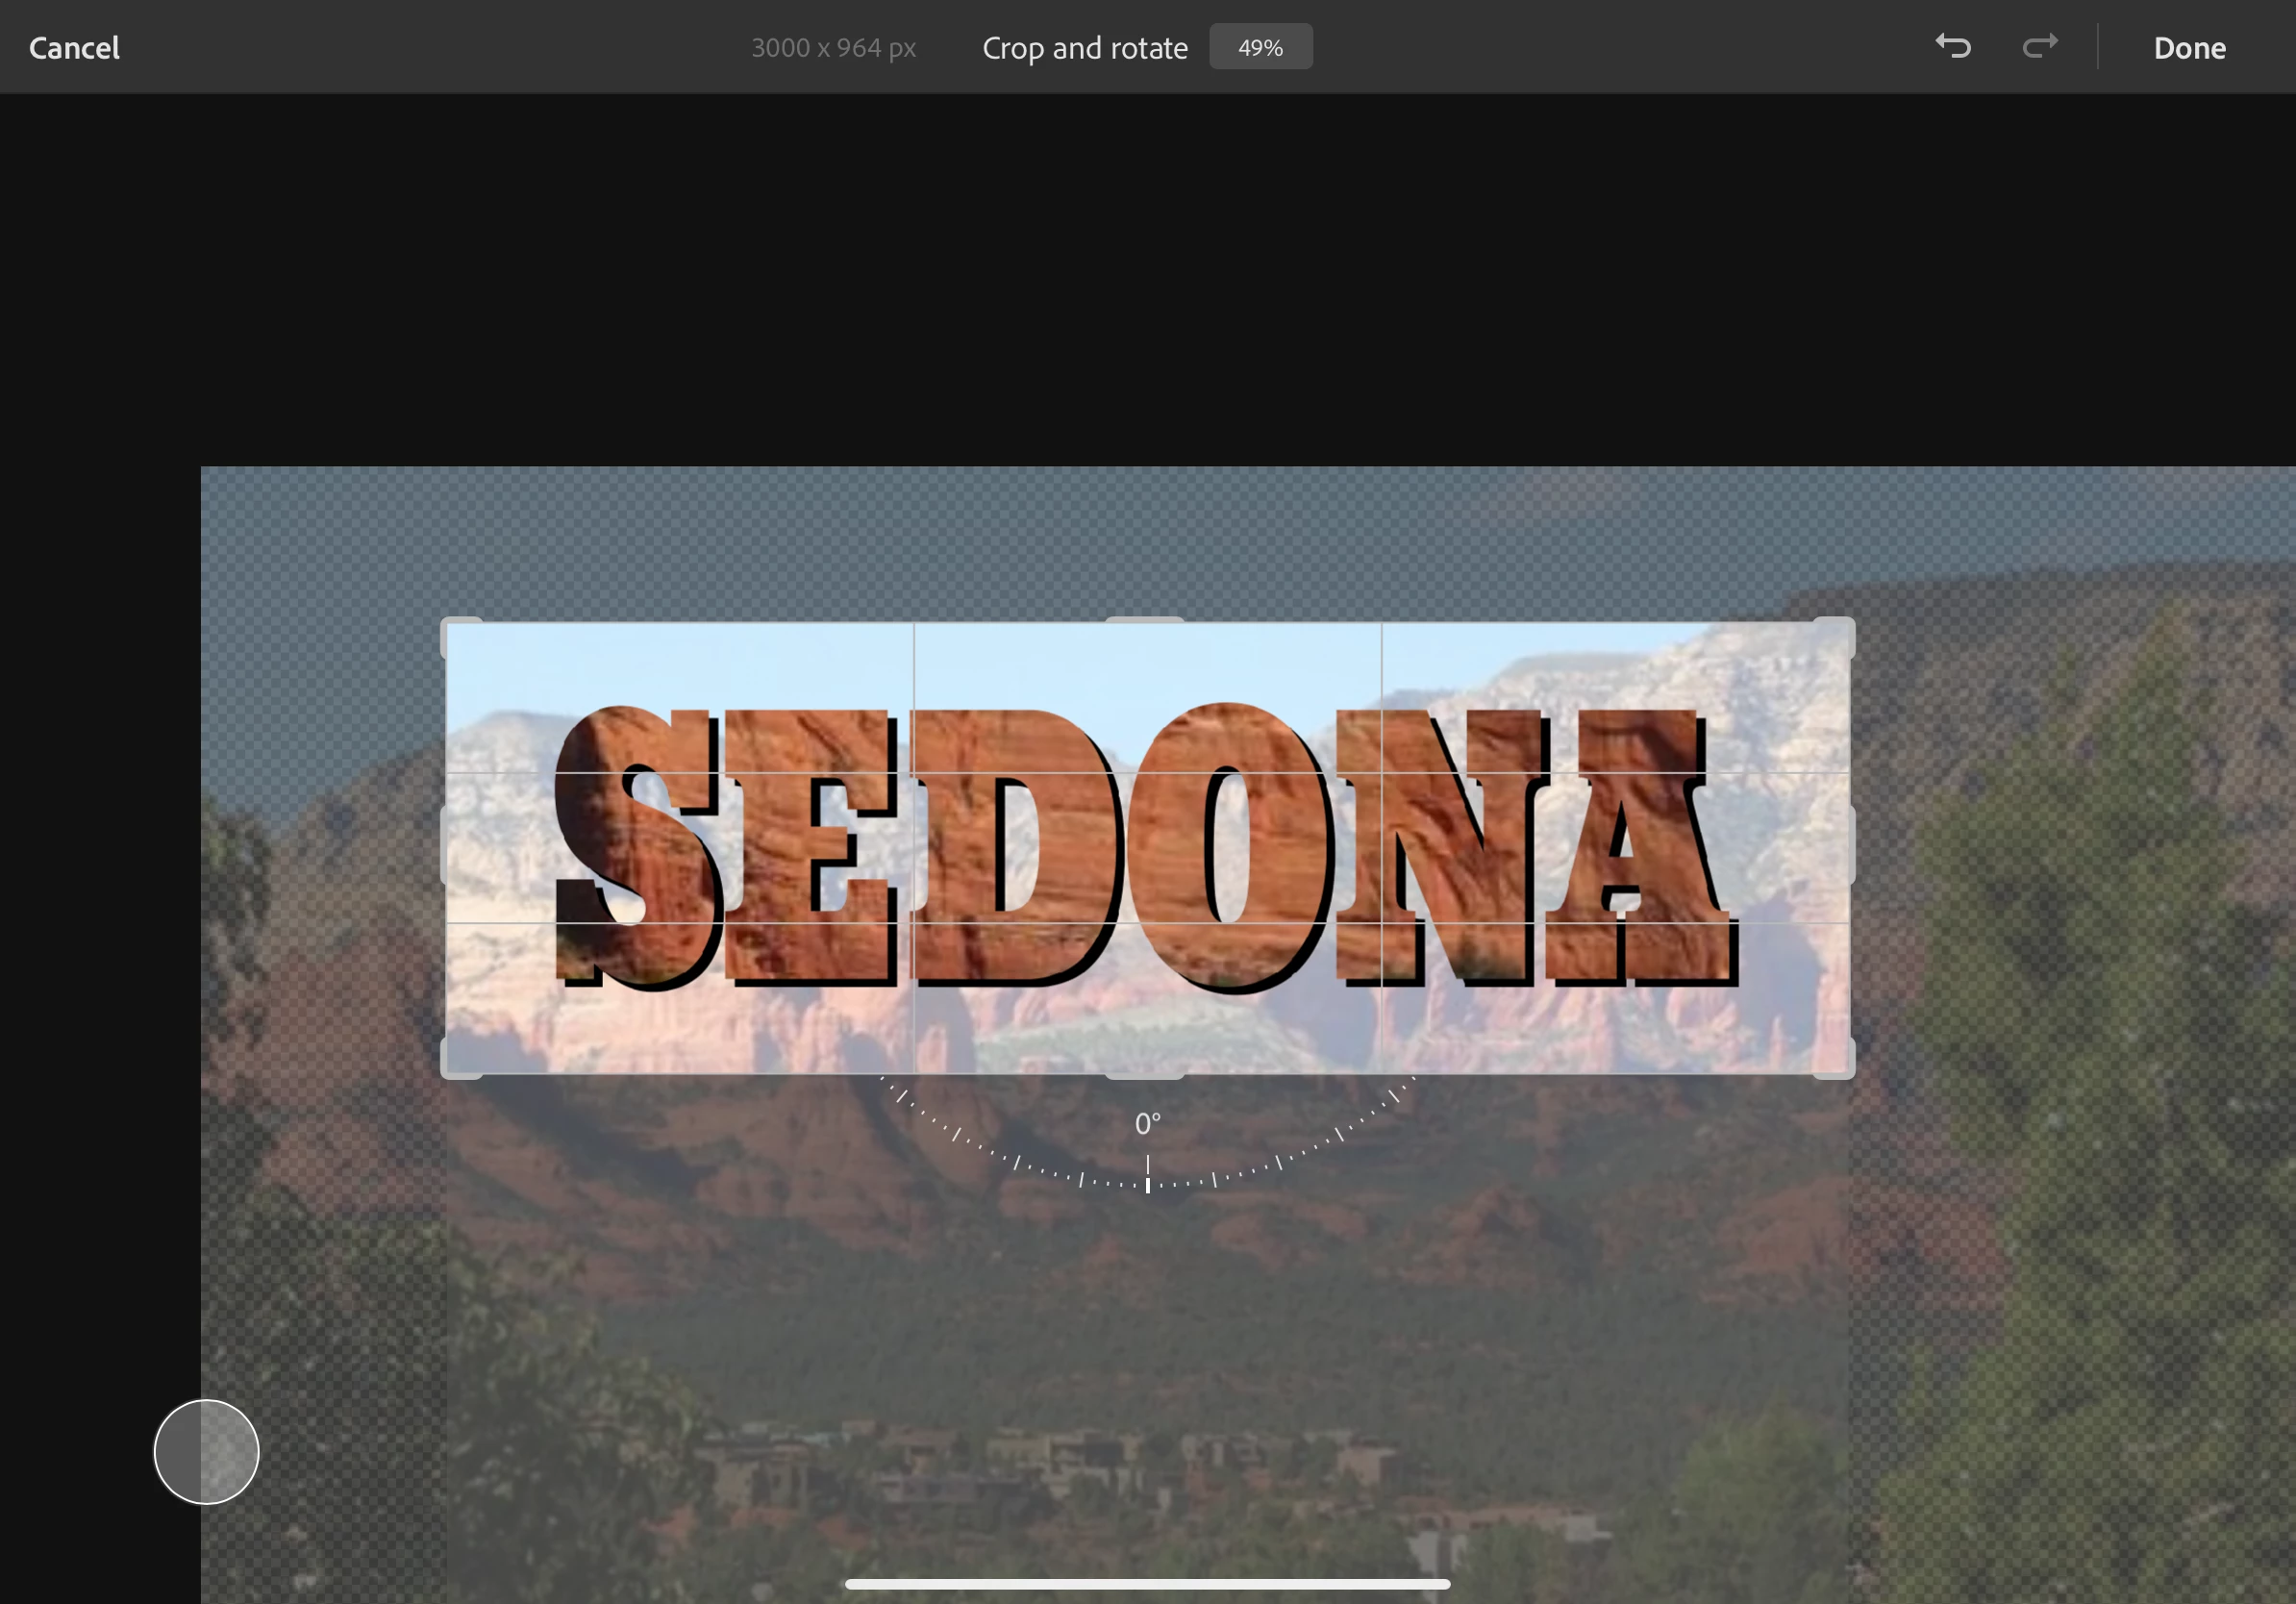
- Tap done in the top right corner
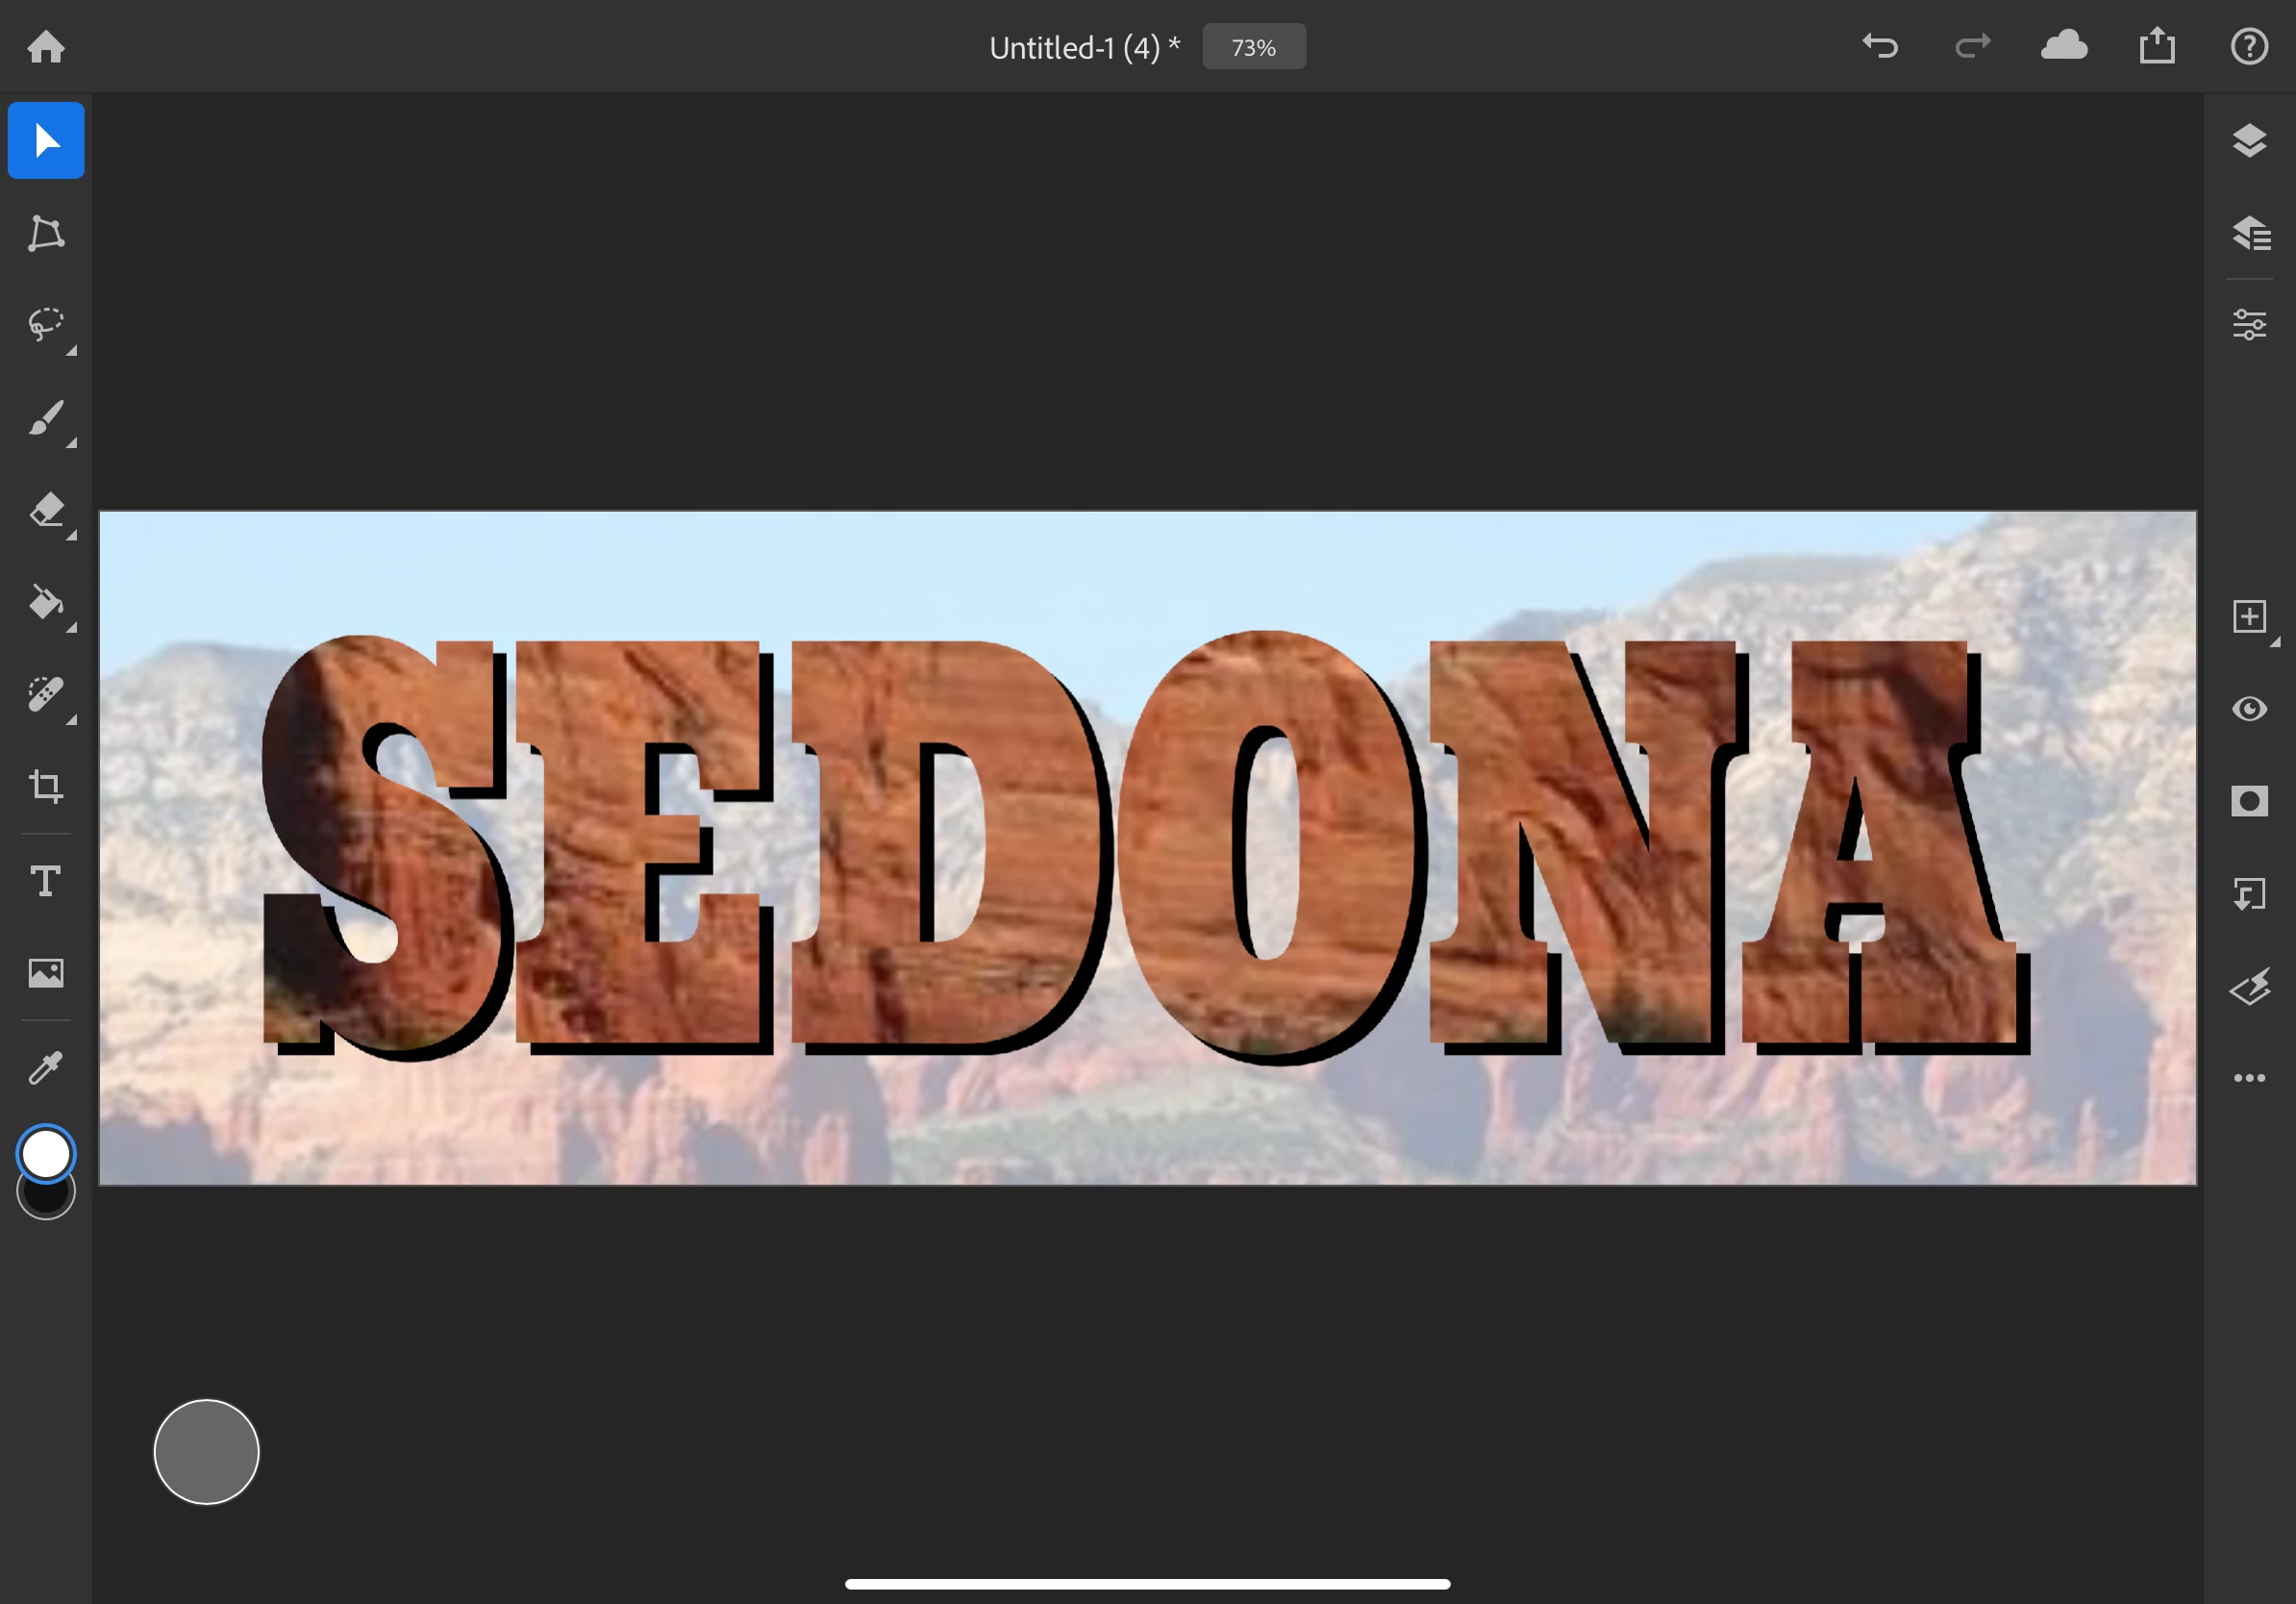
- And, there you have it! You can use this method for many types of projects
- Here is the final picture

- Here is another example

Related links:
Helpx: Work with type layers in Photoshop on the iPad
