claudiop42841845
Known Participant
July 11, 2018
Answered

How to fit image in particular frame?

  • July 11, 2018
  • 4 replies
  • 10316 views

Hi all, me again with a new trouble.

I'm trying to insert a photo inside a file, so I can standardize the rest of my collection.

I tested all the scripts I found and tips on FIT IMAGE TO FRAME but no success.

Where am I going wrong?

Below is the image I want and where I need to put it

My goal

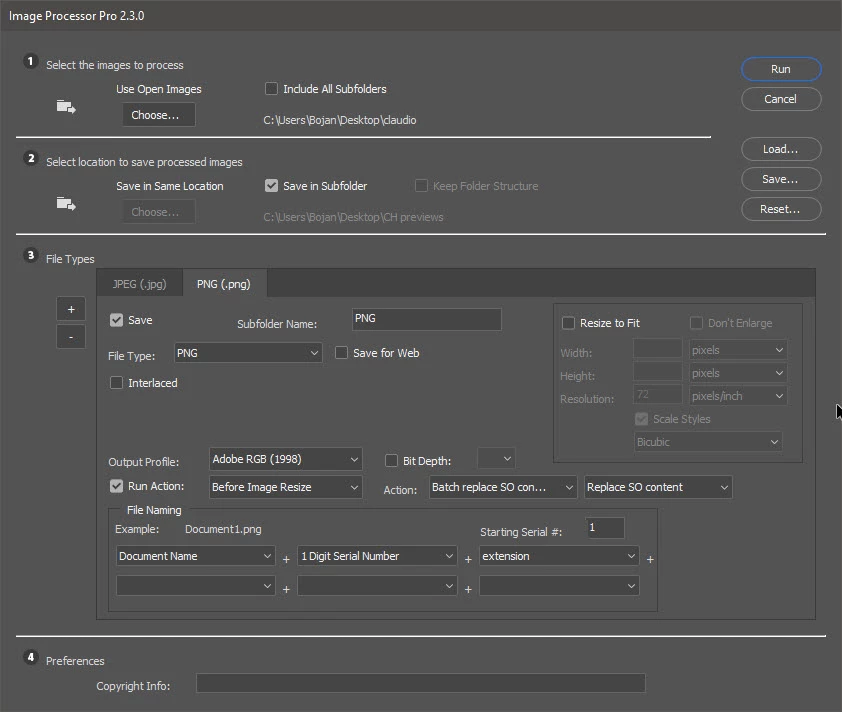
How to make this?? I have 320 images to make this, any Actions tip?

Thanks in advance.

Claudio

    This topic has been closed for replies.
    Correct answer Bojan Živković11378569

    I found some quick solution which seems to work. Requirement for action to work is template which must have image to be replaced as it is as starting point. The next step is to convert image to Smart Object layer and to transform it. If you do not understand then solution can be to upload frame and one of the images somewhere so I can access them to try things on my own and test process.


    I have created template and recorded action. Download it from here Claudio files.zip - Google Drive  You will need Image Processor Pro installed ps-scripts - Browse /Image Processor Pro at SourceForge.net . I am running 2.3.0 version while testing. Note: I will assume that all your images which you want to use for replacement are 940x842px with single layer present.

    • Open PSD template which I have prepared in Photoshop.
    • Load action Batch replace SO content (it is included with template)
    • With template with frame claudio.psd open in Photoshop (I am repeating just to ensure) evoke Image Processor Pro from File > Automate.
    • Choose folder with images at the top (section 1)
    • Choose where to save images (section 2)
    • In section 3 (File types) you should have 2 tabs: one to save JPEG and another to save PNG files. That's what I have understood, you want JPEG and PNG files saved. Important thing is to check Run Action. From the first drop down list choose Batch replace SO content and from the second choose: Replace SO content. That is action set name and action name which I sent you. Check Run Action on both tabs to run action for both: JPEG and PNG files.

    Test with a couple of images like 5 or 6 to see if everything works as you expect.

    Ensure that you have the second (latest version downloaded). In the first version, I forgot to merge layers in edited SO layer what will create a huge file when batch processing lots of images.

    4 replies

    bobsaidwzob
    Known Participant
    August 23, 2018

    I've been using this method for almost anything i can think of. I have run into an issue where I'm a little stumped on how to fix. Every image goes perfectly into place but there is a space in the middle where I would like to keep white. Instead, you see the previous images  from this batch. Is there a way to not show the previous images in the middle? I've attached an example so you can better see what I'm talking about. I've using the batch script you provided. If there is a way to adjust that script let me know.

    In the picture you can see the blue and yellow which I do not wan there. I have a bunch of images where the middle portion does not line up everytime but If there was a way to remove the previous image before the top layer pastes, that would probably solve my issue.

    Thanks.

    Bojan Živković11378569
    Community Expert
    Community Expert
    August 23, 2018

    I've been using this method for almost anything i can think of.

    Can you give us more details about method? Which particular method?

    bobsaidwzob
    Known Participant
    August 23, 2018

    I've attached a video showing what i'm doing. It's basically the same script you provided up abode in this thread.

    Untitled - YouTube

    claudiop42841845
    Known Participant
    July 11, 2018

    Hi Bojan, I make it but some step is missing on my mind.

    Here: 3DS.zip - Google Drive

    Its contain 2 files.

    Thanks,

    Claudio

    claudiop42841845
    Known Participant
    July 11, 2018

    Hummm, Yes iThis is what I need.

    How to? Using the script ?

    c.pfaffenbichler
    Community Expert
    Community Expert
    July 11, 2018

    Sorry, there seems to be a misunderstanding.

    First you need to set up the dummy file like this and then you can use a Script to automate switching in different content for the SO.

    claudiop42841845
    Known Participant
    July 11, 2018

    I have created template and recorded action. Download it from here Claudio files.zip - Google Drive  You will need Image Processor Pro installed ps-scripts - Browse /Image Processor Pro at SourceForge.net . I am running 2.3.0 version while testing. Note: I will assume that all your images which you want to use for replacement are 940x842px with single layer present.

    • Open PSD template which I have prepared in Photoshop.
    • Load action Batch replace SO content (it is included with template)
    • With template with frame claudio.psd open in Photoshop (I am repeating just to ensure) evoke Image Processor Pro from File > Automate.
    • Choose folder with images at the top (section 1)
    • Choose where to save images (section 2)
    • In section 3 (File types) you should have 2 tabs: one to save JPEG and another to save PNG files. That's what I have understood, you want JPEG and PNG files saved. Important thing is to check Run Action. From the first drop down list choose Batch replace SO content and from the second choose: Replace SO content. That is action set name and action name which I sent you. Check Run Action on both tabs to run action for both: JPEG and PNG files.

    Test with a couple of images like 5 or 6 to see if everything works as you expect.

    Ensure that you have the second (latest version downloaded). In the first version, I forgot to merge layers in edited SO layer what will create a huge file when batch processing lots of images.


    Sir Bojan Živković  you are my hero.

    Thank you very much for your help. English is not my native language, so I suffer from a few sentences.

    Thanks for the patience with me.

    I will now finalize my project and I will try to read and learn more about Photoshop.

    You have won a fan.

    Claudio

    c.pfaffenbichler
    Community Expert
    Community Expert
    July 11, 2018

    As perspectival foreshortening seems to be involved I would recommend creating a master file with a transformed Smart Object and switch in the images in turn.

    There have een several threads on the Photoshop Scripting Forum on automating such processes.

    But if the images do not all have the same relative dimensions you should set up a rule: clip or add white/black/… space?

    claudiop42841845
    Known Participant
    July 11, 2018

    Thanks c.pfaffenbichler .

    All imagers are same resolution and extension.

    I need transformation Ds model in Smart Object, correct? After this, how to insert a image?

    Claudio

    c.pfaffenbichler
    Community Expert
    Community Expert
    July 11, 2018
    I need transformation Ds model in Smart Object, correct?

    The translation may be off, but the transformation should be applied to the Smart Object in the containing document.

    Then replacing the Smart Object’s content with the other images would apply the same transformation to those.

    Check out these threads for example:

    Batch replace smart objects in mockup file

    Batch replace smart objects