

How to get printer output to match reality based on photo

Copy link to clipboard
Copied
I have a scratch in my hardwood floor. I'm wondering if if it's possible to take a photo of it, repair it with a Content-Aware Fill patch in Photoshop (I have CS5 on Windows 10), then print out the patch on laser decal paper (I have a color laser printer), apply it to the floor, and seal it with lacquer or polyurethane. I realize this may be a little far fetched. It seems to me the hardest part is getting the printer output to come anywhere close to matching the floor. I have a Datacolor Spyder I calibrate my monitor with, but it's a consumer monitor not made for color-matching, and that does nothing for calibrating the printer (which is hardly photo quality in any case; it's an HP Laser Jet Pro 400). I'm happy to send the file to a service, but I don't know what's involved in calibrating my output to their printer, though I assume I'm not the first person to need to do this sort of calibration remotely.
I'm not sure if this is the right place to post this, but I'm pretty sure someone here can point me in the right direction if it isn't. Thanks for any help.


Explore related tutorials & articles
 7
Replies
7
7
Replies
7

Copy link to clipboard
Copied
Why dont you take the picture of that part of the floor which is perfectly fine so that you can hide the part that is spoiled rather than using content aware tool.Check out the printing basics in photoshop.

Copy link to clipboard
Copied
i simply use walnuts, rubbed hard over scratch. the natural oil in them seems to infiltrate the raw wood and seal it up again... hey presto, scratch gone.
as for getting a consumer printer to match reality, screen, etc., even with careful calibration is a task that's beyond my, and many of my professional friends abilities ;-(
of course, with pro hardware and a careful workflow it's easily achieved, other than the cost of the pro equipment ;-(

Copy link to clipboard
Copied
Here's a strange thing. I googled how to fix a scratch in a hardwood floor, and out of the million plus answers, not one of them suggested hiding it with a photograph.  But to make sure, I asked my cat.

It's actually really easy to do with wood floors because you have the grain to disguise the fix. There are loads of videos on YouTube and the repair kits are available at DIY stores and eBay, and the fix is durable and you can even walk on it without it scrunching up.  They do similar kits for tiled floors that will fix fairly big chips and cracks.


Copy link to clipboard
Copied
Actually, Trevor, this goes into an honorable tradition. Salvador Dali once made a painting to conceal an obtrusive radiator. The painting was a realistic depiction of the radiator itself.
And then there's Rene Magritte, of course:
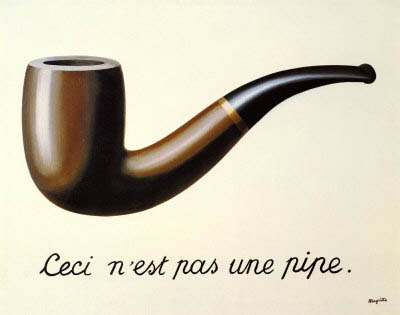
So I would suggest a photograph of the scratch, mounted slightly above the original scratch, with the inscription "this is not a scratch". If people aren't sufficiently convinced by that, you can always knock them in the head with not knowing their art history. That should shut them up.
Copy link to clipboard
Copied
So I would suggest a photograph of the scratch, mounted slightly above the original scratch, with the inscription "this is not a scratch".
Or set the blend mode to difference and it will cancel out the original scratch.
I actually owe you an apology Dagg, because when I opened the thread and saw you were the last poster, I scrolled down expecting to see technical duff about calibrated monitors, ICC profiles (whatever they are) and archival quality, two part epoxy printer ink.

Copy link to clipboard
Copied
Who, me? 
(btw, just one g there...)
Copy link to clipboard
Copied
Just use the patch tool on the floor...that's always my go-to tool when I get up in the morning and look at myself in the mirror. I tried Liquify once, but I overdid it and eventually had to hit File > Revert. Luckily I had enough History states to get away with it...


 AdChoices