- Home
- Photoshop ecosystem
- Discussions
- Re: How to keep depth from another layer
- Re: How to keep depth from another layer
How to keep depth from another layer
Copy link to clipboard
Copied
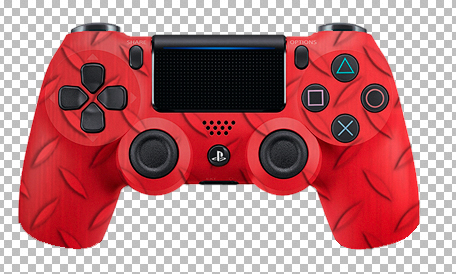
Is there a way to be able to keep the "depth" from a layer underneath. I am using the paste into option for the image you see below and I would like to be able to keep those lines that you see around the joysticks, buttons, dpad on the controller so it looks more realistic instead of just pasted into. Is this possible?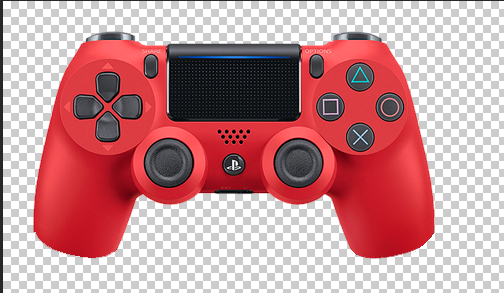
Explore related tutorials & articles
Copy link to clipboard
Copied
I am not certain whether this is the effect you are aiming for. If it is:
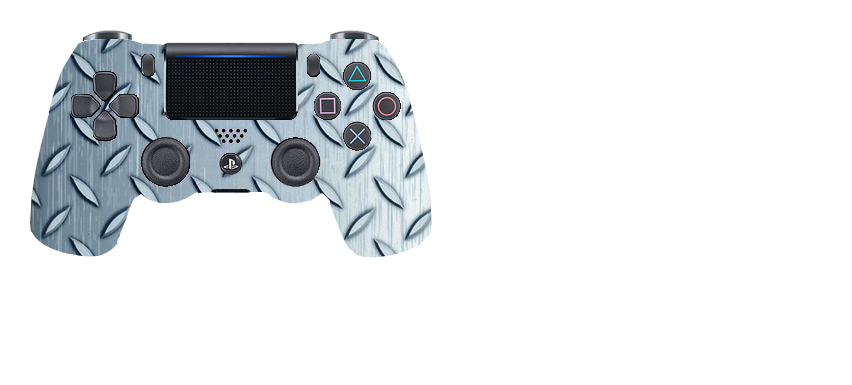
Drag the diamond plate version over the color image.
Choose both Layers, then Edit > Auto-Align Layers
Change the Mode to Lab Color and with the diamond plate layer chosen, create a new L channel.
It will read Lightness Copy
Select the entire new channel and Edit > Copy
Return to RGB, Layers panel and Paste the Lightness channel copy
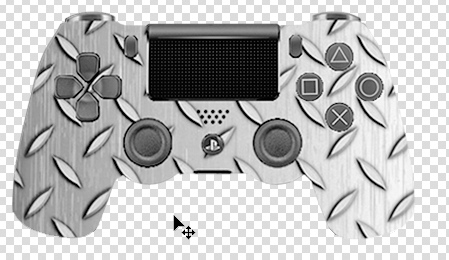
Change its Opacity to 50% and the Blending Mode to Multiply. (Or adjust Opacity level if desired.)
This is the L channel
This is the Layers panel
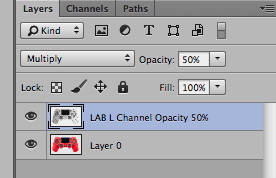
This is the result
Copy link to clipboard
Copied
I omitted a step. After returning to RGB you may delete the diamond plate layer.
Copy link to clipboard
Copied
Hi norman,
that is exactly what I want however I need it to show the original color of the diamond plate that I pasted over the read. Is that possible?
Copy link to clipboard
Copied
You may want to give this a try. Note that image contrast is controlled most by the layer.
Choose a blue from the diamond plate file. Choose another if you prefer or adjust the Saturation of the chosen color.

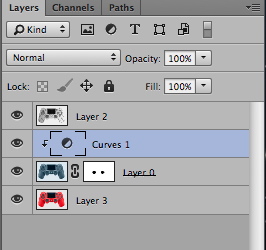
As shown in the Layers panel below, Edit > Fill with the Foreground color and its blending mode set to Color. It will produce a dark image.
Add a Curves Adjustment Layer, as shown to increase the contrast of the image.
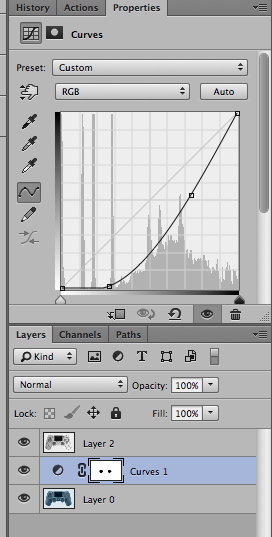
This is one result:
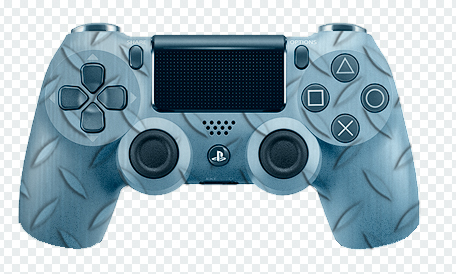
Note that you must mask the Curve so that the buttons maintain their original colors. I showed two, as an example.
Copy link to clipboard
Copied
In my rush to get back to you before closing down for the evening, I erred. You must drop in the controller buttons from the original -- the red version of the image. Ignore the work on the curve mask. Whew!
Copy link to clipboard
Copied
Yeah I have a layer set up with all the trim to drop back over the top. If I have any other questions are you on Skype at all?
Sent from my iPhone
Copy link to clipboard
Copied
I understood all the way up to the fill layer that produces the dark image. I filled it and got the dark image now how do o make it look like your final product with the diamond plate so I can drop the parts layer back over it and get a finished image?
Thanks for all your help btw!
Sent from my iPhone
Copy link to clipboard
Copied
This alternate and more efficient setup will allow you to return the buttons to their original color with a mask instead of out copying. Regarding the dark version you see: apply the curve and it will do the lightening. Note that my curve setup goes from light to dark. To duplicate that, before you begin, go to Image > Adjustment > Curves and choose Pigment Ink % radio button,
