Copy link to clipboard
Copied
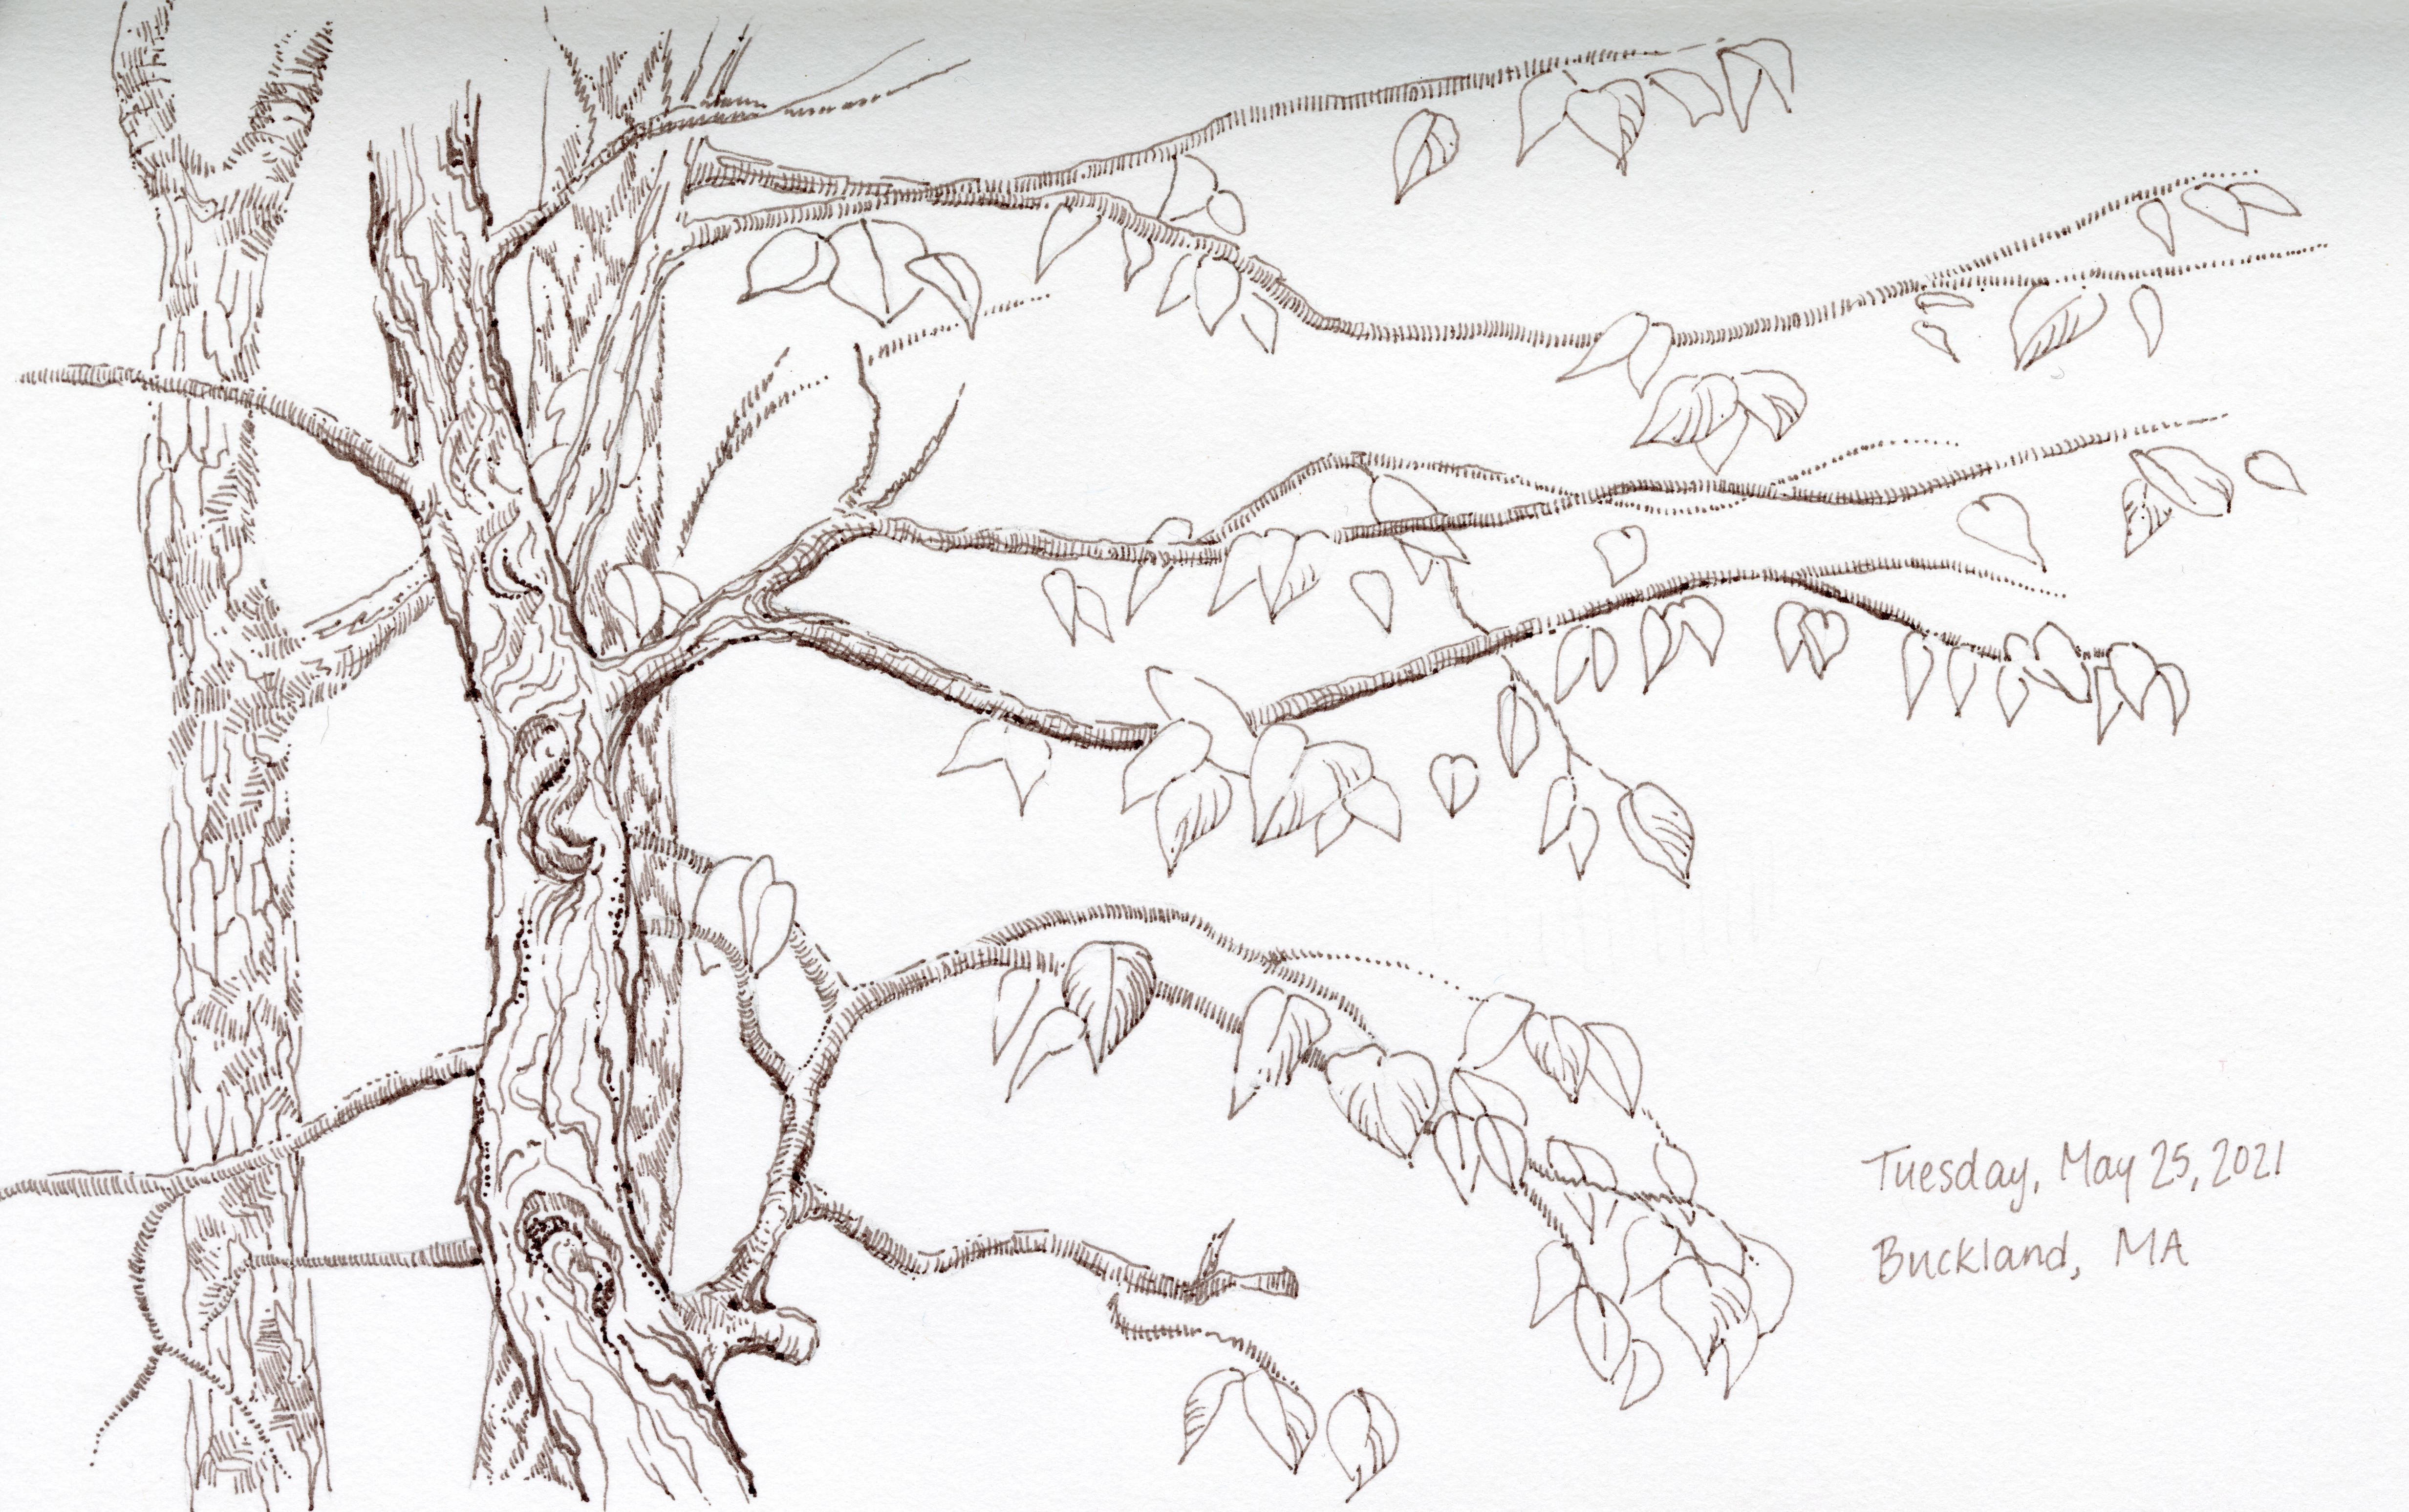
I'm have a scanned image from a bound sketchbook and the area near the gutter appears gray due to the curve of the paper. I would like to learn how to make the background of the image (the paper) be the same color throughout. I tried to lighten it in levels, but then the rest of the image became overexposed and much of the detail was lost. Would anyone be able to point me in the right direction for how to do this? I'm sure there is a way. I attached the image so you have an idea of what I am talking about. Thanks in advance.
Copy link to clipboard
Copied
Hi
You could add a curves adjustment layer with a mask, and use the gradient tool on the mask so that it only affects the top edge
Dave
Copy link to clipboard
Copied
Create a new Layer above the image and fill it with 50% grey (Edit > Fill) then select the Overlay blending mode for the this grey layer . You can then paint using the Dodge tool, to lighten those areas you want lightened (adjusting the exposure and size of the Dodge tool to suit the image) the Burn Toll to darken the areas you want darken. Use the opacity slider to fine tune, then merge into one layer.
Copy link to clipboard
Copied
Thank you so much! The curves adjustment with gradient worked beautifully. I will have to experiment more with the dodge and burn technique. I am so excited to have figured this out. It has bothered me for years!
Copy link to clipboard
Copied
You're welcome 🙂
Dave
Find more inspiration, events, and resources on the new Adobe Community
Explore Now