Copy link to clipboard
Copied
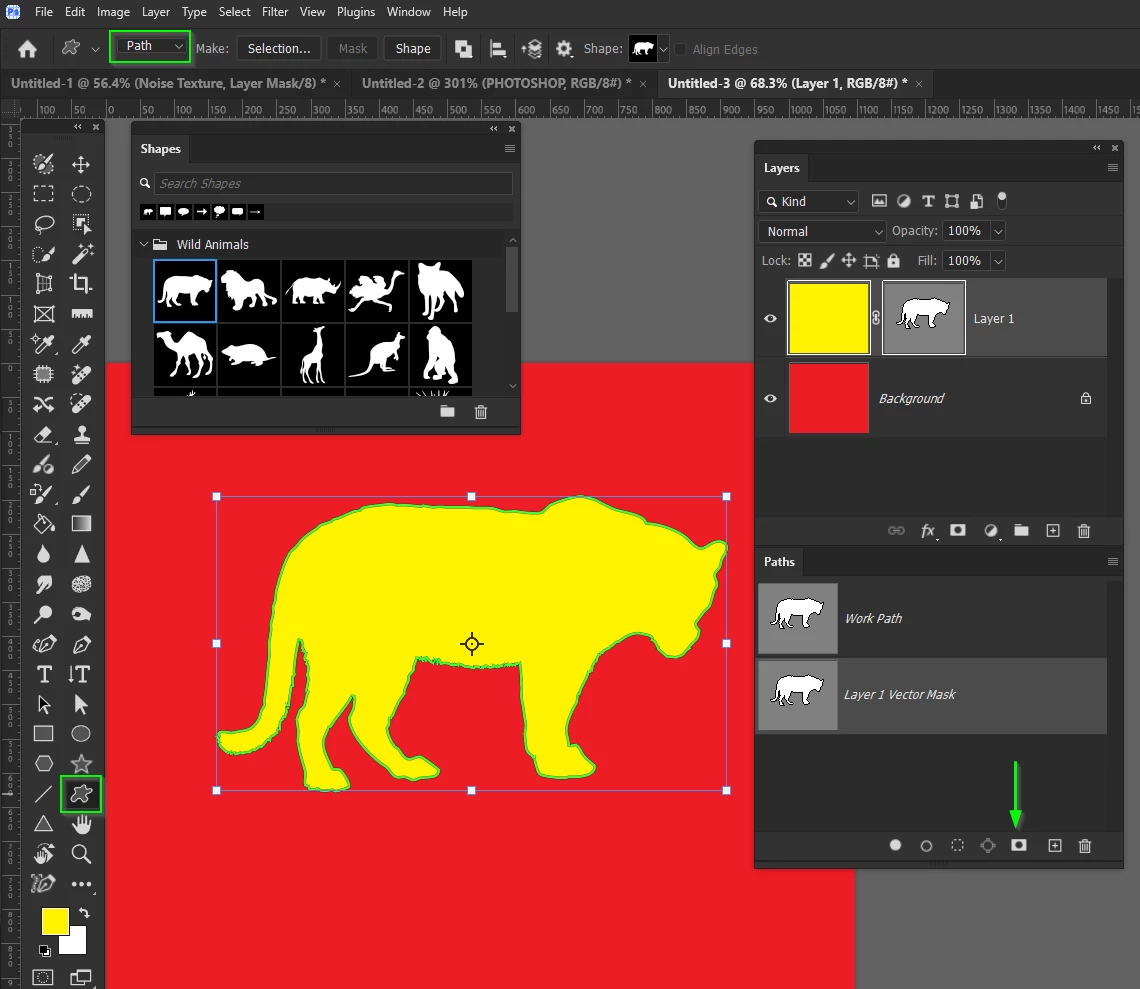
I finally figured this out so I thought I'd share. If you'd like a layer mask that follows specific measurements or a shape, follow these steps.
Let me know if this was helpful! Posting so I also don't forget lol.
Copy link to clipboard
Copied
Hey @troiv26204078,
Thank you for sharing this tutorial. Although I must admit that I got a little lost. I think it would be helpful to include images or a video. Can you share more about when you would use this in your work flow and what type of project?
^CM
Copy link to clipboard
Copied
When you use the term 'Shape' you imply a vector mask.
If you have an active path, which you might create with any of the shape tools, or the pen tool.
And if you Ctrl click the layer mask icon at the bottom of the Paths panel, it will add a vector mask as opposed to the usual raster mask.
The advantage is that you have a fully sharp and scalable mask that can be edited with the Direct Selection or Pen tool.
You can even use Mask properties to feather the mask or change its density.
The disadvantage is that you can't use filters on the mask, or Alt click the mask to view it full screen. Not that you'd want to with a vector mask.
Copy link to clipboard
Copied
Hey @tv26204078,
Nice walkthrough — it’s always great when users share solutions like this! 🙌
Another quick way to turn a shape into a mask is to simply Ctrl/Cmd + click the shape layer’s thumbnail to load it as a selection, then select your target layer and hit the “Add Layer Mask” icon.
This keeps your mask perfectly aligned to the shape and saves a few steps. You can also convert that mask to a vector mask later if you need scalability or sharper edges.
Thanks for sharing — it’s always cool to see different workflows for achieving the same result.
Find more inspiration, events, and resources on the new Adobe Community
Explore Now