- Home
- Photoshop ecosystem
- Discussions
- Re: How to make background invisible after cutting...
- Re: How to make background invisible after cutting...
Copy link to clipboard
Copied
Hi,
I downloaded a 3D book cover and successfully placed the image of my book on the 3D book cover template.
The problem is, the book image now is against a white background.
I wanted to remove the white background, so I use the Magnetic Lasso tool to get the marching ants around the book.
This is probably wrong, but I then chose "Inverse", but to my surprise, at least then I had marching ants not only around the book, but also around the outer perimeter of the white box that I'm trying to remove.
I then chose "Clear" and I got the transparent checkerboard where the white box used to be and I thought I was good, but when I export the .jpg, the white box is back.
Any help would be appreciated.
Thank you.
 1 Correct answer
A jpg can't save transparency. If you need a transparent background, save as png.
Explore related tutorials & articles
Copy link to clipboard
Copied
Once you have your [non-inverted] selection, click on the Add Mask icon at the bottom of the Layers panel:
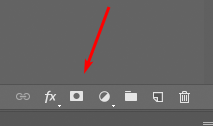
Copy link to clipboard
Copied
A jpg can't save transparency. If you need a transparent background, save as png.
Copy link to clipboard
Copied
You beat me to it Melissa ![]()
Dave
Copy link to clipboard
Copied
Depending on the colour and tonal value of the cover, you might be able to simply use a blend mode. I have added a small stroke so you can see the outline of the picture, which has a white background.
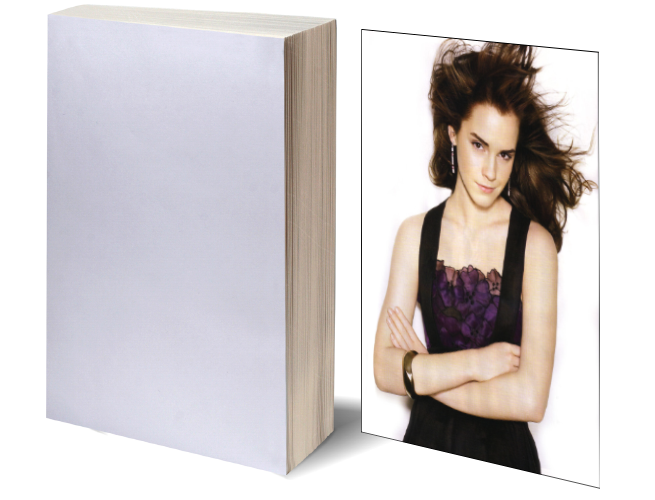
If I align the image and set its blend mode to Multiply, the white becomes transparent
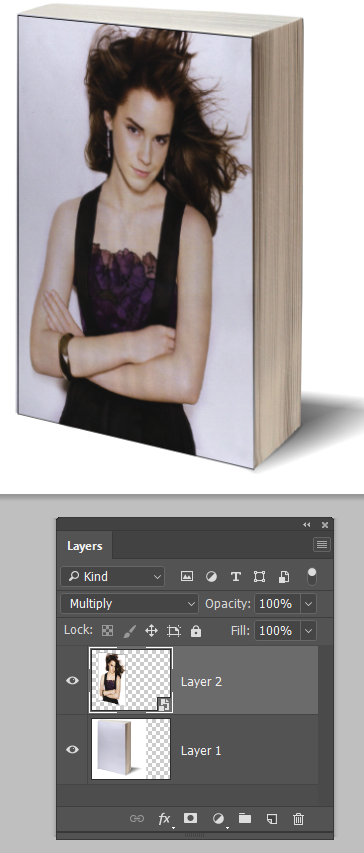
Blend If is another way, but I am not a fan of it as you too often end up with edge artefacts.
Copy link to clipboard
Copied
The key words you posted were "........when I export the .jpg, ............."
The jpeg file format does not support transparency. To retain it you will need to use a file format that does - such as export to PNG or save as TIFF or PSD.
Dave
Copy link to clipboard
Copied
Thanks everyone. You've been very helpful.
Copy link to clipboard
Copied
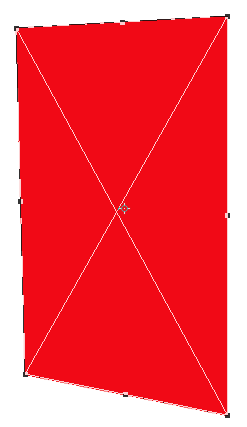
A wee tip when aligning rectangles to 3D faces like a parallelogram with perspective. It always pays to make the layer you are Free Transforming a Smart Object. The reason is that if you need to fine tune the alignment, the next time you start the Free Transform process, the box and handles will form a new rectangle perpendicular to the document boundaries.
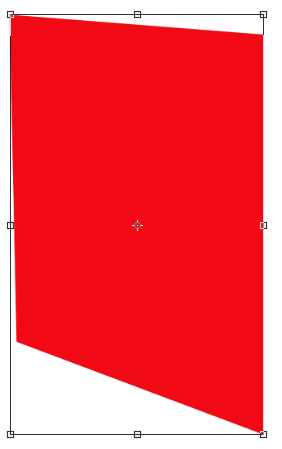
With a Smart Object, no matter how many times you repeat the Free Transform, the handles will always remain on the original corners. This makes it a lot easier to align the corners and sides to any perspective aids you might have used.
Find more inspiration, events, and resources on the new Adobe Community
Explore Now
