• Global community
    • Language:
      • Deutsch
      • English
      • Español
      • Français
      • Português
  • 日本語コミュニティ
    Dedicated community for Japanese speakers
  • 한국 커뮤니티
    Dedicated community for Korean speakers
Exit
2

How to replace a singe color background with a new image

Community Beginner ,
Sep 12, 2023 Sep 12, 2023

Copy link to clipboard

Copied

I have some black and white photos where the subject is all black and the background is all white. I would like to replace the white background with some other images I have of the same size. As an example, I would like to replace the white background of this image with this chalk background. 
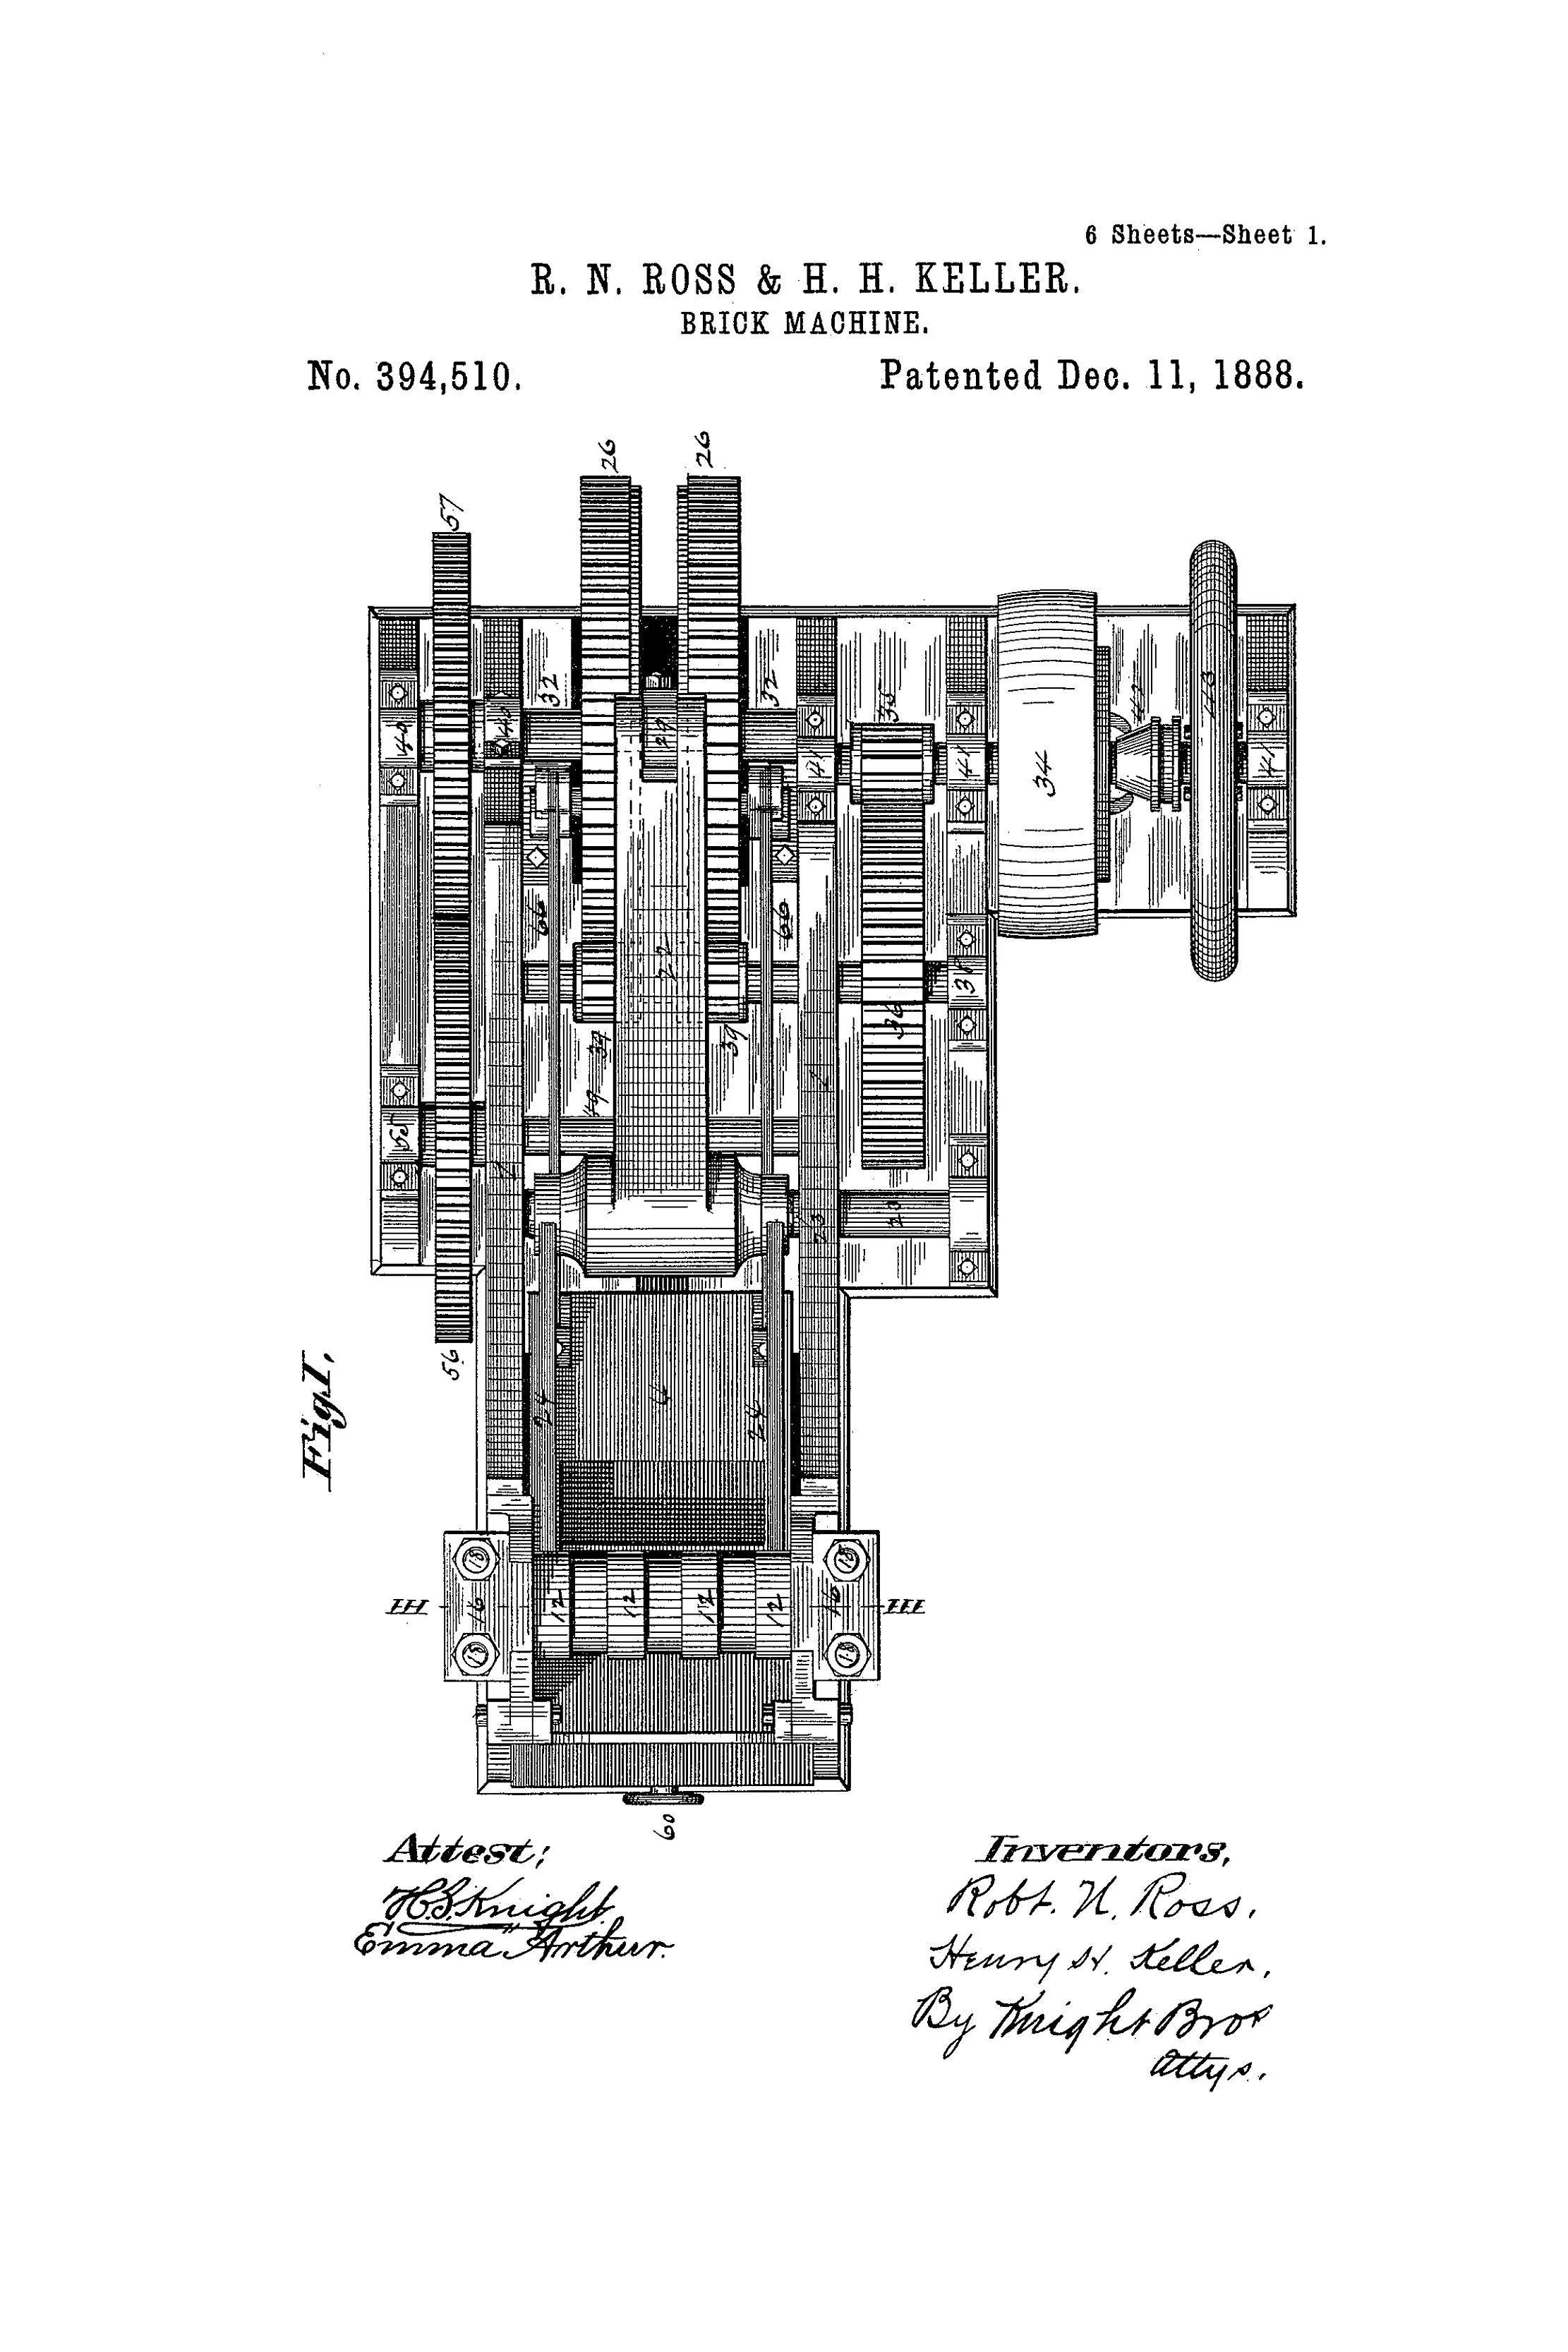
Tb_18386.jpgchalk.jpg


This is how it is supposed to look:


Tb_18386 (chalk).jpg


Unfortunately, the person who made this last image can no longer do so for the rest. 

I have tried using   Select > Color Range   to make a layer mask only out of the white color which somewhat works, but it turns quite grey and isn't as sharp. 

TOPICS
Windows

Views

207

Translate

Translate

Report

Report
Community guidelines
Be kind and respectful, give credit to the original source of content, and search for duplicates before posting. Learn more
community guidelines

correct answers 1 Correct answer

Community Expert , Sep 12, 2023 Sep 12, 2023

Alternatively, you could invert the artwork and use a different Blend Mode.

  1. Open the background
  2. Place the artwork in a layer above the background
  3. With the artwork layer selected, go to Image > Adjustments > Invert
  4. Change the Blend Mode to Screen.

Votes

Translate

Translate
Adobe
Community Expert ,
Sep 12, 2023 Sep 12, 2023

Copy link to clipboard

Copied

Instead of making a selection, use a Blend Mode. Here's how:

  1. Open the background
  2. Place the artwork in a layer above the background
  3. With the artwork layer selected, change the Blend Mode (the dropdown menu that by default is set to Normal in the Layers panel) to Divide.

Votes

Translate

Translate

Report

Report
Community guidelines
Be kind and respectful, give credit to the original source of content, and search for duplicates before posting. Learn more
community guidelines
Community Expert ,
Sep 12, 2023 Sep 12, 2023

Copy link to clipboard

Copied

Alternatively, you could invert the artwork and use a different Blend Mode.

  1. Open the background
  2. Place the artwork in a layer above the background
  3. With the artwork layer selected, go to Image > Adjustments > Invert
  4. Change the Blend Mode to Screen.

Votes

Translate

Translate

Report

Report
Community guidelines
Be kind and respectful, give credit to the original source of content, and search for duplicates before posting. Learn more
community guidelines
Community Beginner ,
Sep 13, 2023 Sep 13, 2023

Copy link to clipboard

Copied

Thank you so much! I am fairly new to Photoshop so I haven't learned what all the different buttons and options do yet. But your reply was exactly what I needed. Thank you for such a quick response! 

Votes

Translate

Translate

Report

Report
Community guidelines
Be kind and respectful, give credit to the original source of content, and search for duplicates before posting. Learn more
community guidelines
Community Expert ,
Sep 13, 2023 Sep 13, 2023

Copy link to clipboard

Copied

LATEST

You're very welcome. 🙂


Would you mind marking either or both of my replies as a Correct Answer so that others with the same question can find the solution? Thank you!

Votes

Translate

Translate

Report

Report
Community guidelines
Be kind and respectful, give credit to the original source of content, and search for duplicates before posting. Learn more
community guidelines
Community Expert ,
Sep 12, 2023 Sep 12, 2023

Copy link to clipboard

Copied

How close is this? It doesn’t use a mask, instead:

  • The drawing is inverted using a clipped Invert adjustment layer so that it becomes white on black. 
  • Because the drawing background is more or less a small range of tones, the drawing layer is double-clicked to open the Layer Style dialog box, then the BlendIf control is set to drop out the background tonal range, revealing the chalk layer.

I’m not saying this might be the best way, but it was a quick way.


Edit: I hadn’t seen Myra’s solution before I posted mine, but her suggestions seem to work and are even simpler!


Photoshop-Patrik-Jahrner-sketch-1.jpgPhotoshop-Patrik-Jahrner-sketch-2-Layer-Style.jpg

Votes

Translate

Translate

Report

Report
Community guidelines
Be kind and respectful, give credit to the original source of content, and search for duplicates before posting. Learn more
community guidelines