Answered
How to take off white background and add white outline


I'm trying to figure out how to take an image and remove the white background and then add a white outline. Like above. I'm trying to go from the left to the right.

I'm trying to figure out how to take an image and remove the white background and then add a white outline. Like above. I'm trying to go from the left to the right.
Click on the lock in the Layers panel to make it a Floating Layer.
Go to Image > Canvas Size, checkmark Relative and enter 5 in both fields to give you extra space.
Use the Magic Wand set at a Tolerance of 50 and press Delete to remove the white outside the logo to where you see the checkerboard.
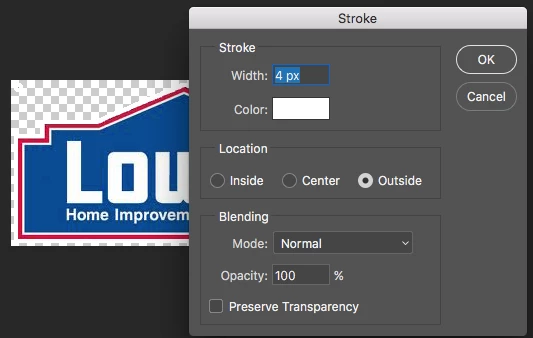
Now lets go to Edit > Stroke to apply a 4 pixel Outside stroke (So it doesn't cover the red part of the image). Save the image as a png.
Already have an account? Login
Enter your E-mail address. We'll send you an e-mail with instructions to reset your password.