Thanks for posting an image. That is helpful.
As far as technique, similar idea.
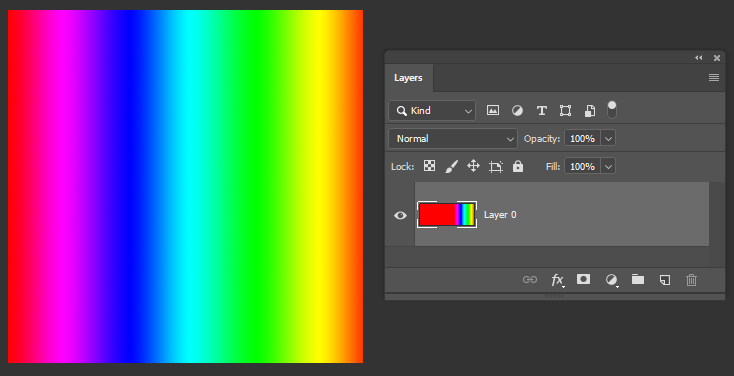
You need a layer with the image and a layer with the gradient. The gradient layer needs a layer mask the shows only the area you want to change. On the Gradient layer, click the chain icon between the layer thumbnail and the mask so that the gradient and mask can move independently.
Change the color blend mode for the gradient layer to Color (instead of Normal).

In the Layers panel, the gradient layer thumbnail should be targeted, not the layer mask.

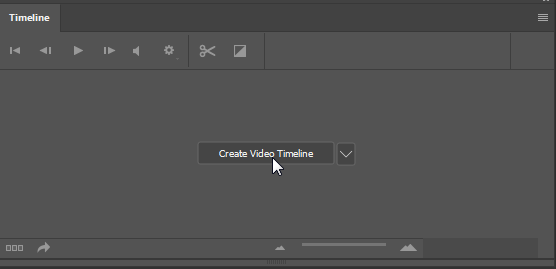
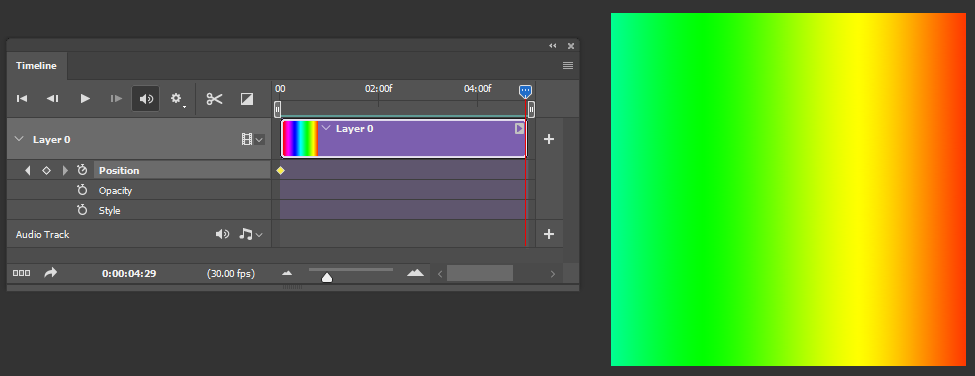
Click Create Video Timeline button.
Expand the layer with the gradient
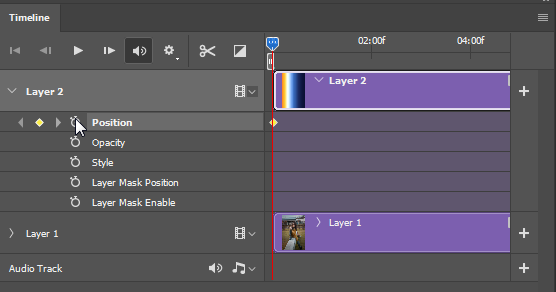
Play the video to the end.
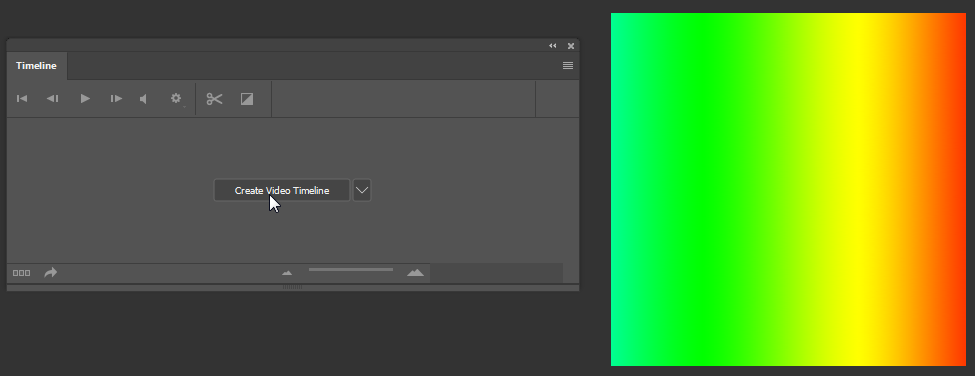
In the Layers panel, move the gradient so that the opposite color appears inside the masked area.


 3
Replies
3
Replies


 AdChoices