- Home
- Photoshop ecosystem
- Discussions
- Re: I need help by making a screen design with an ...
- Re: I need help by making a screen design with an ...
Copy link to clipboard
Copied
Hi guys,
for my assignment next week we need a little bit of photoshop. Unfortunately I'm very bad with photoshop and couldnt find a guide for the thing I need.
So I need help at following:
We get a template from a website (a website) and then we have to snip out piece by piece and paste it into photoshop. So that we have the whole site in photoshop. So far no problems. But then we should cut out things and replace things. One thing I absolutely do not know how it works is this:
I have a slider in the photoshop document. Now I need to cut this picture out make this box (where I cut the image out) have rounded edges and then --> Pull in a picture behind it so when I drag and drop the picture just the parts which are inside the "box" are visible.
I hope you know what I mean. I think I will need a mask for this.
Played around with this but it's not working.
Is there a specific tutorial outside for that?
Thank you!
 1 Correct answer
Hi
Eternal Warrior and norman.sanders have both given you sound advice that will work for you.
Just to give you an alternative approach which can sometimes be useful, and is very quick:
Use the rounded rectangle tool and set it to shape and fill (the colour does not matter I used black)


You can adjust the corner radius in the property panel

Now add your picture layer above the rectangle layer and Alt-Click )option click on Mac) on the border between the picture layer and the rectangle. A small downw
...Explore related tutorials & articles
Copy link to clipboard
Copied
Can you post a screenshot so we can give you instructions?
Copy link to clipboard
Copied
Hi of course:
Where the arrow is pointing: Take out this picture and put in another one but make it so that when I move the picture it does not exceed the boundaries from the size of the original picture. So I could make the picture very big but I just can see the content in the box and not outside. (in my example you can see there is a dog in another layer). It should now display the bit from the dog that is within this picture box.
Don't know how I should better describe it it's hard to describe ![]()
Copy link to clipboard
Copied
Ok you should be able to do it like this:
Make a selection with the rectangle marquee tool (M) and then go Select > Inverse - before clicking on make layer mask highlighted in the screenshot below:
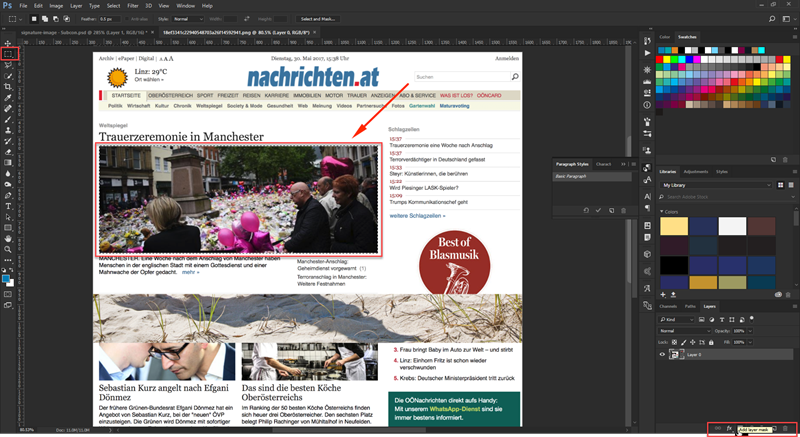
This should give you something like this:
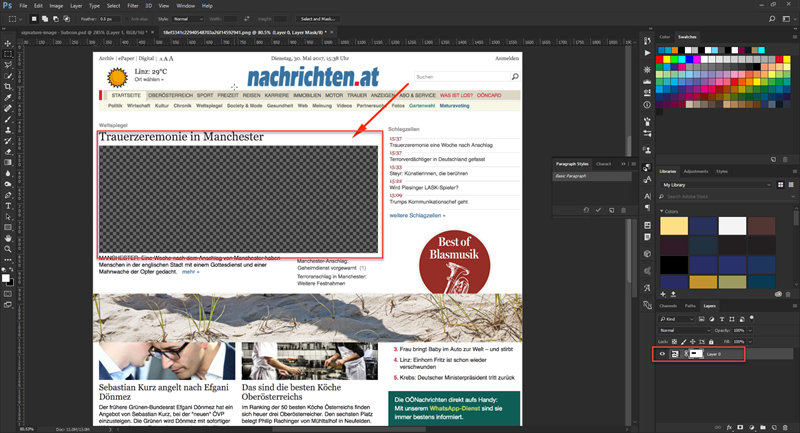
Now after placing your image - In the layers panel > simply click and drag your new image below the layer you have masked like so:
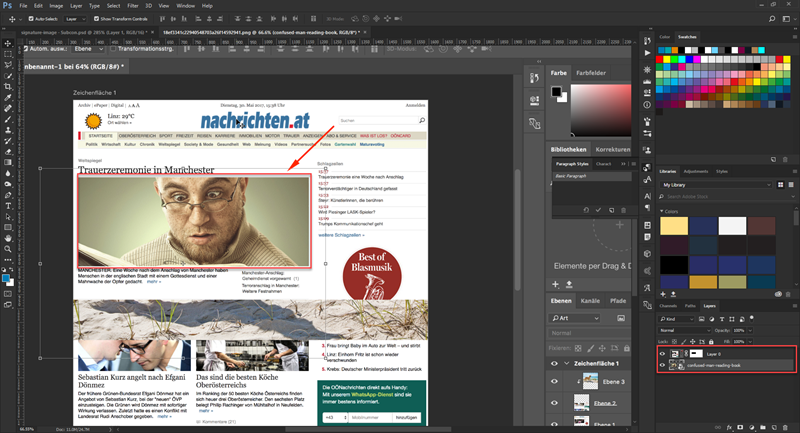
Et voila!
Best,
EW
Copy link to clipboard
Copied
Also since you asked how to make a rounded edge mask:
We approach this slightly differently by using the Rounded Rectangle Tool (U) Set to Path with a desired corner radius set as per the below screenshots.
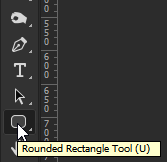
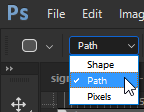
Then we drag our desired area we want to mask out and with the Rounded Rectangle tool still selected we tell it to convert this to a selection:
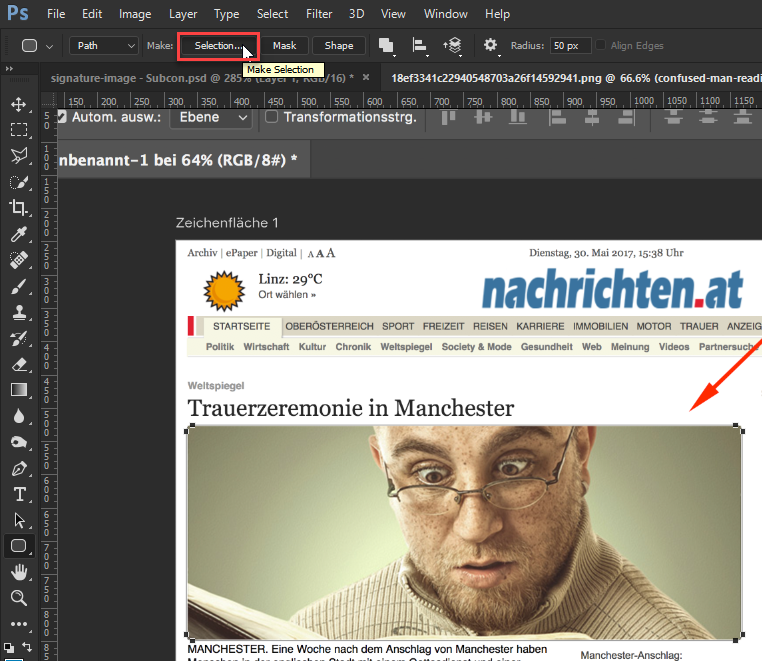
Then we simply inverse our selection > create a layer mask > and repeat the steps in my first answer.
Best,
EW
![]()
Copy link to clipboard
Copied
Thank you for all your help. I get it now and it works ![]()
Copy link to clipboard
Copied
1. In template image, choose Rounded Rectangle tool set to Path in the Options bar and draw rectangle over existing image to be replaced.
2, Path panel: Click on Load Path as Selection, then return to Layers panel
3. Open replacement image. Select > All followed by Edit > Copy
4. Return to template image. Edit > Paste Special > Paste Into
If desired, choose Transform tool options to size, move and/or rotate replaced image
Copy link to clipboard
Copied
Hi
Eternal Warrior and norman.sanders have both given you sound advice that will work for you.
Just to give you an alternative approach which can sometimes be useful, and is very quick:
Use the rounded rectangle tool and set it to shape and fill (the colour does not matter I used black)


You can adjust the corner radius in the property panel

Now add your picture layer above the rectangle layer and Alt-Click )option click on Mac) on the border between the picture layer and the rectangle. A small downward arrow will appear in the layers panel. This will clip the picture to the shape of the rectangle.


You can go back and adjust the position of the image and the shape of the rectangle at any time
Dave
Copy link to clipboard
Copied
Thanks that worked like a charm!
