 Adobe Community
- Home
- Photoshop ecosystem
- Discussions
- Re: Insert image into png chip bag
- Re: Insert image into png chip bag

Copy link to clipboard
Copied
Hi I'm attempting to insert an image into a transparent chip bag but I get no result. I'm using a chip bag png file but after that I can't select it or do much with it. I wan't to be able to insert any image I create into it for future use. I thought its almost like drawing inside of the object like illustrator does but I don't think thats the correct rout. Can someone please point me in the right direction. Thank You.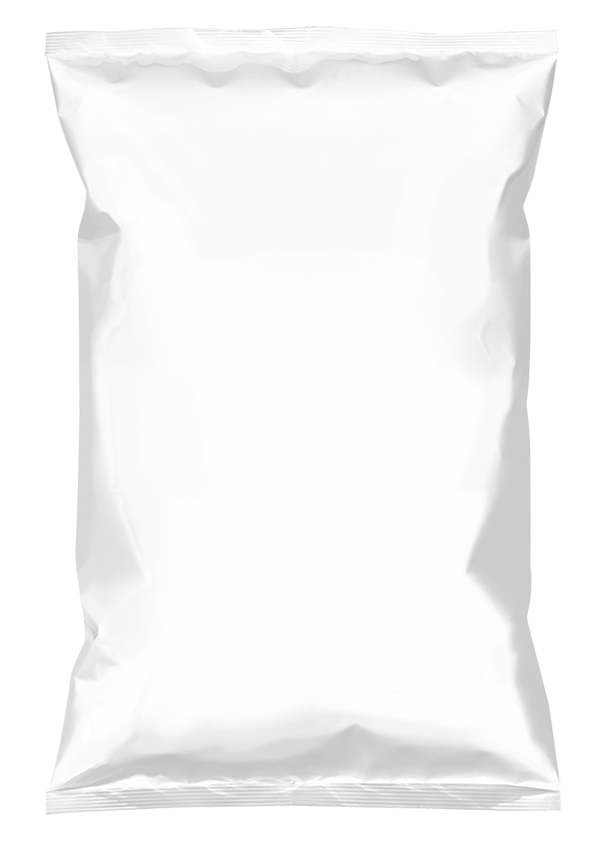


 1 Correct answer

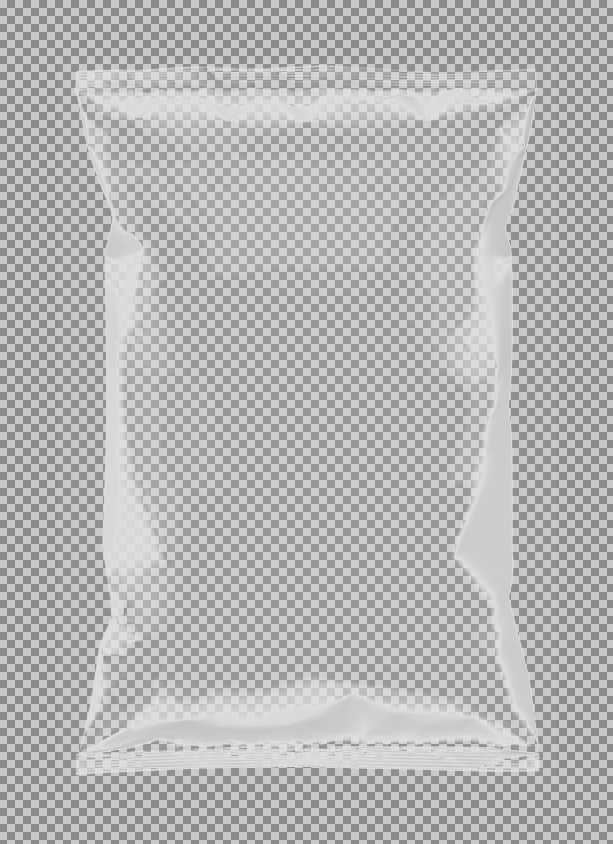
The bag in your screen capture does not look transparent. If it is transparent there would normally be a checkerboard pattern like this:
Or maybe like this: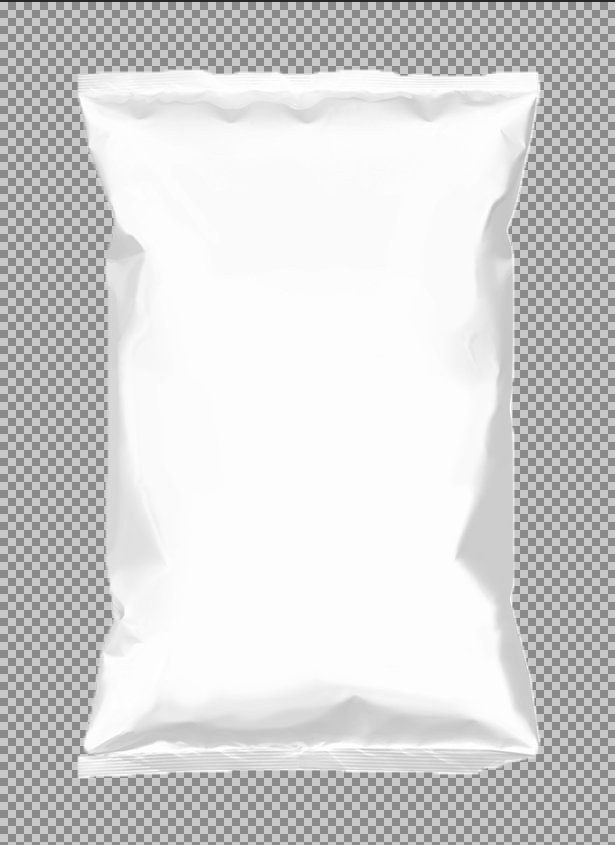
On the other hand, maybe it is on top of a white layer and that's why it doesn't look transparent.
Advice would be different, depending on whether it is transparent or not.
Since I can't see that it is transparent, I will assume that it isn't.
Photoshop does not have a "Draw Inside" mode but you can get similar results. Below I put the bag on on
...Explore related tutorials & articles
 7
Replies
7
7
Replies
7

Copy link to clipboard
Copied
You Bag look like it is opaque and white. If you actually want the image to be on the bag's surface the image would need to be distorted to the bag's shape and also need a distort Displacement map. Look for a Photoshop tutorials for Displacement Map.
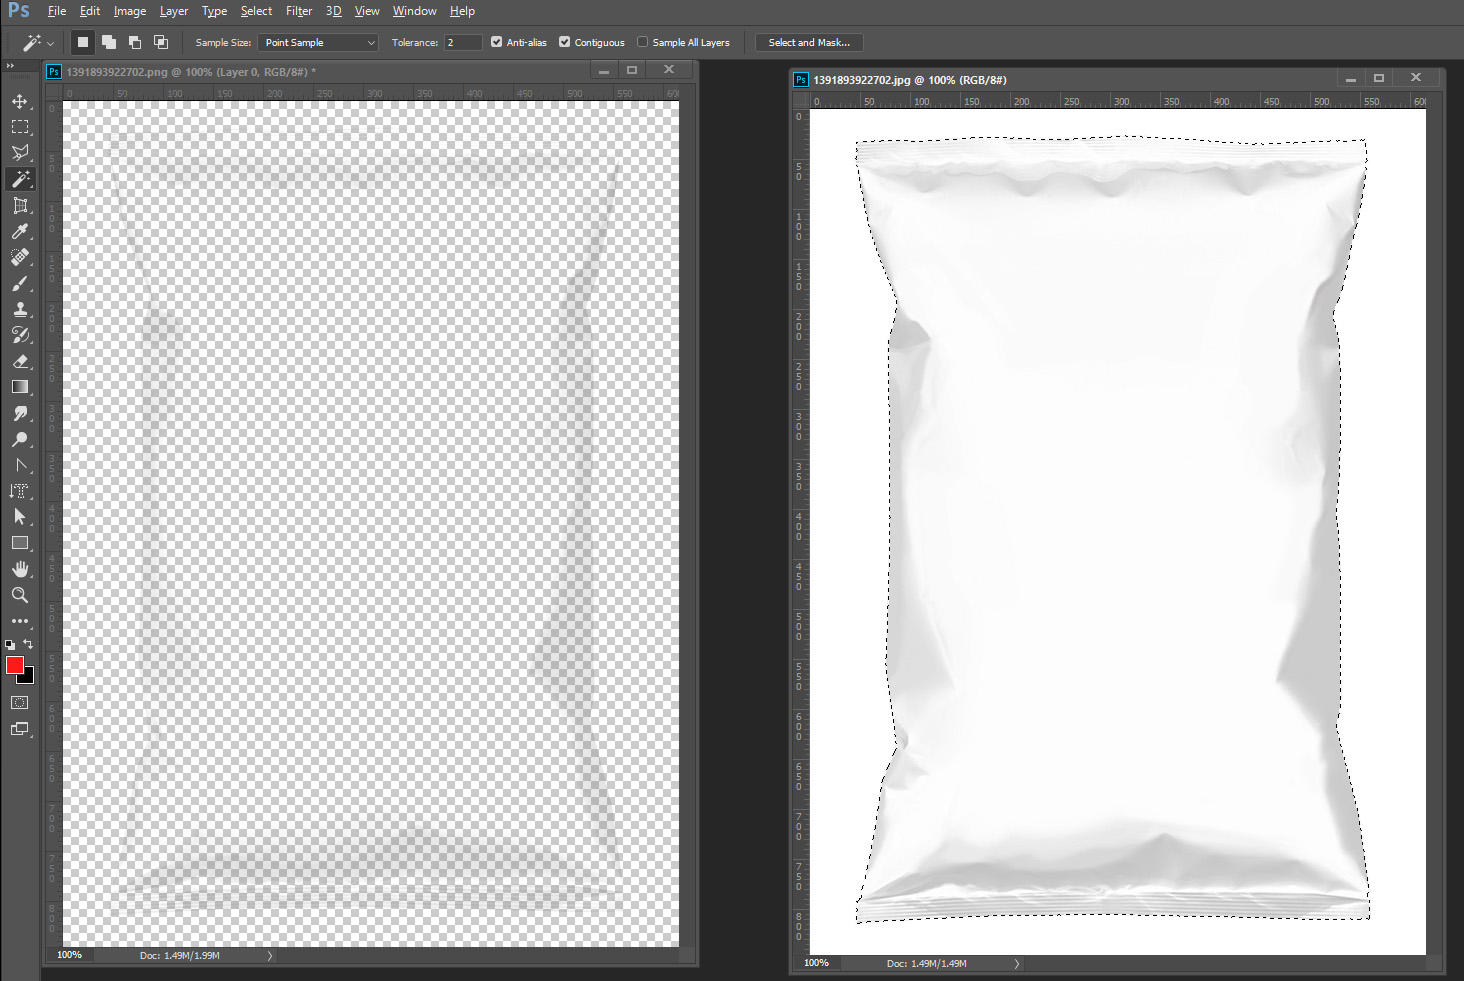
You png is mostly transparent you will no be able to select the bag in the png document. Is you save it also as a jpeg it will ne easy to select the bag in the jpeg version. That layer can also be duplicated into the png document and the bag selected.
All you need is the Jpg you can save as version as a displacement PSD. You can place an image in over the background bag image scale it for the bag mask it to the bag's shape. Displacement distort the image and blend in the bag's shading texture using multiply blend mode.
Copy link to clipboard
Copied
I made a template PSD file for your chip bag and also saved a PSD of the Chip Bag to be used for a displacement map for any picture populated over the bag. With my template design it is not possible to add a distort displacement filter for my template design has no image layer in them only mapping Alpha channels that are used to map image location size and shape. However, my populating scripts always save Populated templates as layered PSD files so they can be tweaked when needed. It is a simple matter to add the Smart distort Filter to add the displacement map to the populated image layer. Other things my populating scripts can not do is add perspective transforms or even tilt images. For some templates some hand tweaking may be required.
Photo Collage Toolkit
Photoshop scripting is powerful and I believe this package demonstrates this A video showing a 5 image collage PSD template being populated with images:
The package includes four simple rules to follow when making Photo Collage Template PSD files so they will be compatible with my Photoshop scripts.
- Size the photo collage templates for the print size you want - width, height and print DPI resolution.
- Photo collage templates must have a Photoshop background layer. The contents of this layer can be anything.
- Photo collage templates must have alpha channels named "Image 1", "Image 2", ... "Image n".
- Photo collage templates layers above the background layers must provide transparent areas to let the images that will be placed below them show through.
There are fifteen scripts in this package they provide the following functions:
- HelpPhotoCollageToolkit.jsx - Online Help
- TestCollageTemplate.jsx - Used to test a Photo Collage Template while you are making it with Photoshop.
- CollageTemplateBuilder.jsx - Can build Templates compatible with this toolkit's scripts.
- LayerToAlphaChan.jsx - Used to convert a Prototype Image Layer stack into a template document.
- InteractivePopulateCollage.jsx - Used to interactively populate Any Photo Collage template. Offers most user control inserting pictures and text.
- ReplaceCollageImage.jsx - use to replace a populated collage image Smart Object layer with an other image correctly resized and positioned.
- ChangeTextSize.jsx - This script can be used to change Image stamps text size when the size used by the populating did not work well.
- PopulateCollageTemplate.jsx - Used to Automatically populate a Photo Collage template and leave the populated copy open in Photoshop.
- BatchOneImageCollage.jsx - Used to Automatically Batch Populate Collage templates that only have one image inserted. The Collage or Image may be stamped with text.
- BatchMultiImageCollage.jsx - Used to Automatically Batch Populate Any Photo Collage template with images in a source image folder. Easier to use than the interactive script. Saved collages can be tweaked.
- PasteImageRoll.jsx - Paste Images into a document to be print on roll paper.
- BatchPicturePackage.jsx - Used to Automatically Batch Populate Any Photo Collage template with an image in a source image folder. Images Rotates for best fit.
- BatchPicturePackageNoRotate.jsx - Used to Automatically Batch Populate Any Photo Collage template with an image in a source image folder.
- PopulatePicturePackage.jsx - Used to Automatically populate a Photo Collage template Fill with the same single image and leave the populated copy open in Photoshop.
- PCTpreferences.jsx - Edit This File to Customize Collage Populating scripts default setting and add your own Layer styles.
Copy link to clipboard
Copied
JJMACK, My attempt to try this and this was my end results 
1) Clicked on channels and selected the one with most contrast which was red.
2) Duplicated the red channel and made a new one.
3)Added Gaussian blur of 1.0
4)Saved document as PSD
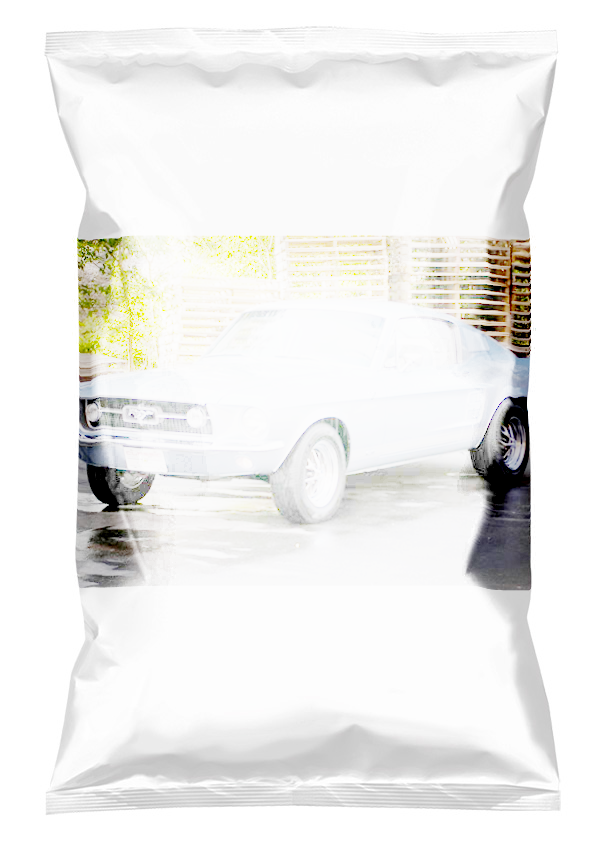
5)Added new layer with car image and applied disp map and I saw the edges twist.
6)Chose every type of overlay mode and the only one that looks semi good was the color burn. I tried the multiply and it did not wrap around the bag like the color burn.
Please help
Copy link to clipboard
Copied
adamr51692364 wrote
JJMACK, My attempt to try this and this was my end results
1) Clicked on channels and selected the one with most contrast which was red.
2) Duplicated the red channel and made a new one.
3)Added Gaussian blur of 1.0
4)Saved document as PSD]
5)Added new layer with car image and applied disp map and I saw the edges twist.
6)Chose every type of overlay mode and the only one that looks semi good was the color burn. I tried the multiply and it did not wrap around the bag like the color burn.
Please help
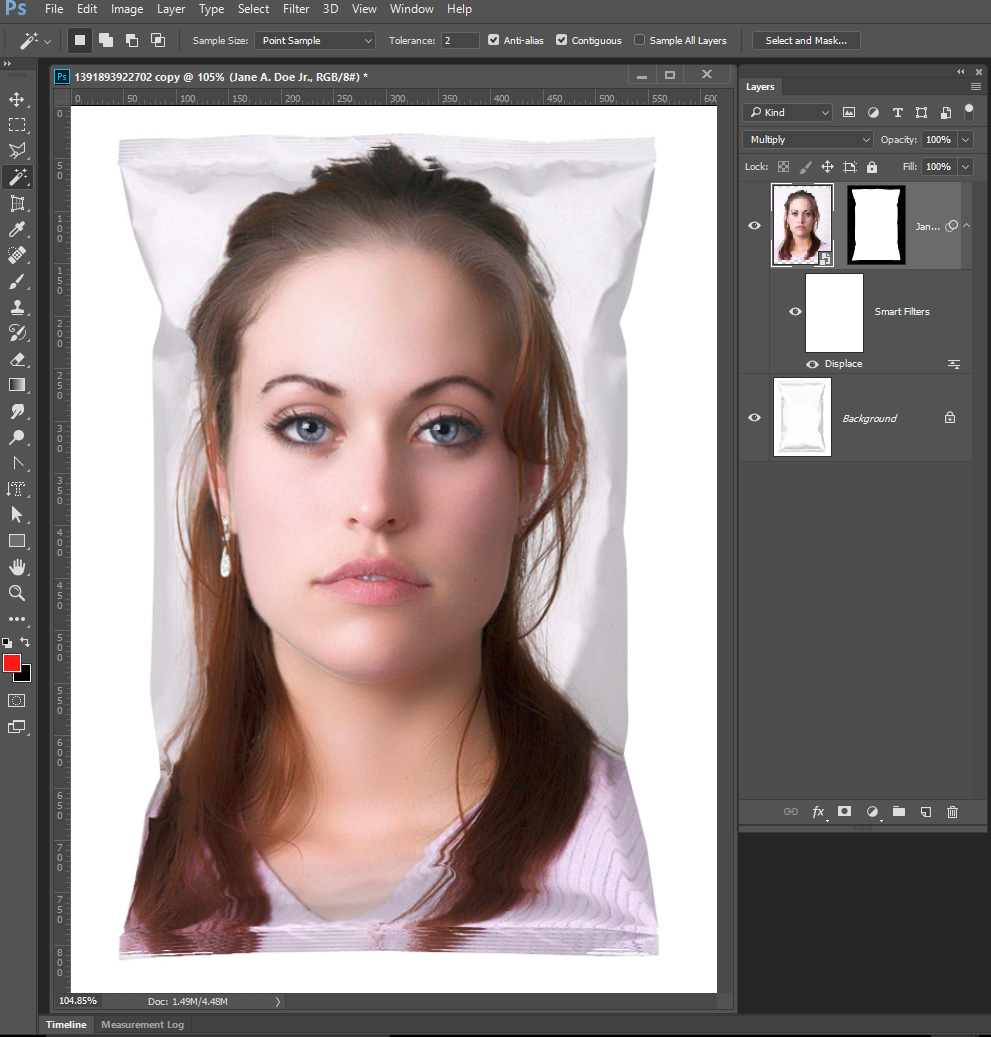
If steps 1 through 4 was to save a PSD for use with distort as a displacement map. I have no idea of how good of a displacement map it would be. All I did was to add a white background below your png and flatten. I would have added a temp Level adjustment layer that made the bag to have greater contrast by darkening the gray tones and saved a psd for use as a displacement map. I would have then deleted the level adjustment layer. So I just had the grayscale bag background layers. I may have darkened that a bit with a level adjustment for I would be placing in an image over it and blending in the bags shadow texture via multiply blending would help the effect. Before placing in the image I would have first have select the white background using the magic want tool in contiguous mode or used the quick selection tool. Then i would have invert the selection so I would have a good selections of the chip bag. I would save the selection as an Alpha channel name "Image 1". Then save the Document as a PSD template file. I would then populate the template via my Interactive Populate Collage script. which would place in the image I selected over the chip bag background layer where the image would be resized by the script to cover the bag and be masked to the shaped of the bag. The populated template would remain open in Photoshop where I would change the smart object layer blending mode to multiply and add a Smart Distort filter with the displacement map to distort the image to the bags contours more. You can see the distortion best in the bags seal stripes. You image did not cover all if the bag and your displacement map most likely did not have a good darkened grayscale need to be a good displacement map. Only by burning in the bag did you get some bag texture.
Copy link to clipboard
Copied
The bag in your screen capture does not look transparent. If it is transparent there would normally be a checkerboard pattern like this:

Or maybe like this:
On the other hand, maybe it is on top of a white layer and that's why it doesn't look transparent.
Advice would be different, depending on whether it is transparent or not.
Since I can't see that it is transparent, I will assume that it isn't.
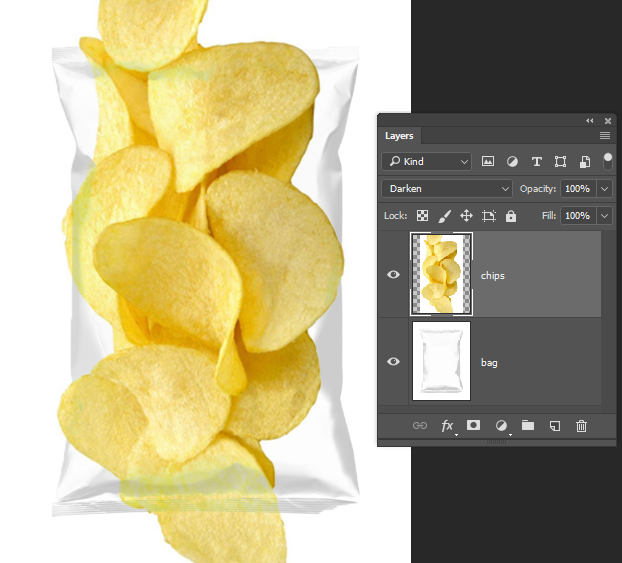
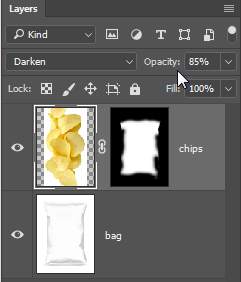
Photoshop does not have a "Draw Inside" mode but you can get similar results. Below I put the bag on one layer and the chips on a layer above it.
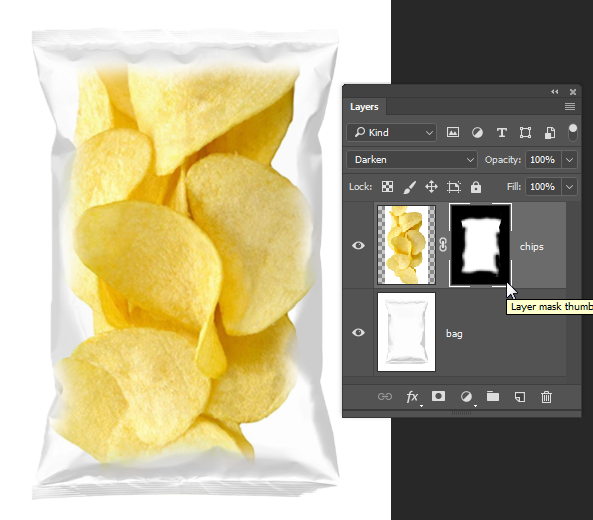
Next, add a Layer Mask by clicking the icon at the bottom of the Layers panel.

Select the brush tool, and use a soft feathered brush.

Click on the mask to make it active (it will get a thicker line around it in the Layers panel when it is active).
Paint in the mask with black where you want to hide the chips.
Copy link to clipboard
Copied
You may want to lower the layer opacity a bit to make it look more like the chips are inside the bag. I also changed the Layer Blend mode to Darken in the upper left corner of the Layers panel.

Copy link to clipboard
Copied
Thanks You !!!¡!!

 AdChoices