• Global community
    • Language:
      • Deutsch
      • English
      • Español
      • Français
      • Português
  • 日本語コミュニティ
    Dedicated community for Japanese speakers
  • 한국 커뮤니티
    Dedicated community for Korean speakers
Exit
2

Is it possible to trim(not crop) while maintaining aspect ratio.

Community Beginner ,
Mar 19, 2024 Mar 19, 2024

Copy link to clipboard

Copied

I have images that are 3 by 2 aspect ratio.  The images are of products.  I am removing the backgrounds and then replacing them with pure white.  What I would like to be able to do automatically is trim the edges of the images down to the top and bottom edges of the products but keep the aspect ratio.   I know I can crop down to the products manually but I have many many products to do and every little bit of time savings is important.  Thanks in advance for your help!!

Screenshot 2024-03-19 at 12.12.40 PM.pngScreenshot 2024-03-19 at 12.12.59 PM.png 

TOPICS
Actions and scripting

Views

453

Translate

Translate

Report

Report
Community guidelines
Be kind and respectful, give credit to the original source of content, and search for duplicates before posting. Learn more
community guidelines

correct answers 1 Correct answer

People's Champ , Mar 20, 2024 Mar 20, 2024

try this script

try {

// add levels

var d = new ActionDescriptor();
var r = new ActionReference();
r.putClass(stringIDToTypeID("adjustmentLayer"));
d.putReference(stringIDToTypeID("null"), r);
var d1 = new ActionDescriptor();
var d2 = new ActionDescriptor();
d2.putEnumerated(stringIDToTypeID("presetKind"), stringIDToTypeID("presetKindType"), stringIDToTypeID("presetKindDefault"));
var list = new ActionList();
var d3 = new ActionDescriptor();
var r1 = new ActionReference();
r1.putEnumerated(stri
...

Votes

Translate

Translate
Adobe
Community Expert ,
Mar 19, 2024 Mar 19, 2024

Copy link to clipboard

Copied

It's hard to test from a single screenshot, however, you can try this action:


<original content deleted due to an error>


You can use the Automate > Batch command to run this action over multiple files.

Votes

Translate

Translate

Report

Report
Community guidelines
Be kind and respectful, give credit to the original source of content, and search for duplicates before posting. Learn more
community guidelines
Community Beginner ,
Mar 19, 2024 Mar 19, 2024

Copy link to clipboard

Copied

Thanks for the action however it was unsuccessful.  It did not maintain the aspect ratio.  

Votes

Translate

Translate

Report

Report
Community guidelines
Be kind and respectful, give credit to the original source of content, and search for duplicates before posting. Learn more
community guidelines
Community Expert ,
Mar 19, 2024 Mar 19, 2024

Copy link to clipboard

Copied


@Daniel35488851bybz wrote:

Thanks for the action however it was unsuccessful.  It did not maintain the aspect ratio.  


It did in my test...


EDIT: I have now revised the original action and uploaded a new link.

Votes

Translate

Translate

Report

Report
Community guidelines
Be kind and respectful, give credit to the original source of content, and search for duplicates before posting. Learn more
community guidelines
Community Expert ,
Mar 19, 2024 Mar 19, 2024

Copy link to clipboard

Copied

@Daniel35488851bybz 


I believe that I found the issue. I have updated to a new version, please try this new action and trash the first one:


https://www.dropbox.com/scl/fi/dntmudrniv0rawf04lh53/Crop-to-Subject-Height-Retaining-3-to-2-Ratio.a...


2024-03-20_15-53-28.png


2024-03-20_15-45-12.png


Votes

Translate

Translate

Report

Report
Community guidelines
Be kind and respectful, give credit to the original source of content, and search for duplicates before posting. Learn more
community guidelines
Community Beginner ,
Mar 20, 2024 Mar 20, 2024

Copy link to clipboard

Copied

Once again thanks so much for all your time and effort!!!  The action works some times but not other.  Look at these screen shots.  In the first one it is perfect!! In the second one it does not crop down close enough to the image and it changes that aspect ratio.Screenshot 2024-03-20 at 8.23.23 AM copy.jpgScreenshot 2024-03-20 at 8.23.41 AM copy.jpgScreenshot 2024-03-20 at 8.24.05 AM copy.jpgScreenshot 2024-03-20 at 8.24.14 AM copy.jpgScreenshot 2024-03-20 at 8.24.22 AM copy.jpg

Votes

Translate

Translate

Report

Report
Community guidelines
Be kind and respectful, give credit to the original source of content, and search for duplicates before posting. Learn more
community guidelines
Community Expert ,
Mar 20, 2024 Mar 20, 2024

Copy link to clipboard

Copied

Yes, the second image doesn't have enough white space around it to crop down to 3:2 without adding extra canvas.


I was avoiding adding artificial white space and was using the existing background as the first example had ample captured white space. This new image doesn't have enough captured white space and requires extension.


I tried the script from @r-bin and it didn't crop down the image to the top and bottom but it did extend the canvas to maintain a 3:2 ratio.


So again, I would suggest that you supply a mixture of actual images, not screenshots for adequate development/testing as a sample set  of 1 or 2 may not be enough to accurately represent your varied products and variable captured white space.


Votes

Translate

Translate

Report

Report
Community guidelines
Be kind and respectful, give credit to the original source of content, and search for duplicates before posting. Learn more
community guidelines
Community Beginner ,
Mar 20, 2024 Mar 20, 2024

Copy link to clipboard

Copied

When I use @r-bin script if I select the subject first then run the script I works flawlessly.  If I don't select the subject first the script will sometimes crop in the the content slightly.  But I am all about finding different ways to do this.  Here are some sample images to test with.   3drlayer1.jpg3drlayer6.jpgIMG_2204.JPGIMG_2205.JPGIMG_3114.JPGIMG_3115.JPG 

Votes

Translate

Translate

Report

Report
Community guidelines
Be kind and respectful, give credit to the original source of content, and search for duplicates before posting. Learn more
community guidelines
People's Champ ,
Mar 20, 2024 Mar 20, 2024

Copy link to clipboard

Copied

Try removing the step of adding the Levels layer and then the step of removing this layer after the Trim procedure. The temporary correction was made because your background is not all white in the screenshots, artifacts are encountered. To eliminate them, temporary image correction is applied. But if the object is lighter than 128 levels, then its borders will suffer with such correction.

rbin_1-1710975839871.png


Votes

Translate

Translate

Report

Report
Community guidelines
Be kind and respectful, give credit to the original source of content, and search for duplicates before posting. Learn more
community guidelines
Community Beginner ,
Mar 20, 2024 Mar 20, 2024

Copy link to clipboard

Copied

Sounds good, I will give that a try.  Once again thanks!!!!


Votes

Translate

Translate

Report

Report
Community guidelines
Be kind and respectful, give credit to the original source of content, and search for duplicates before posting. Learn more
community guidelines
Community Beginner ,
Mar 20, 2024 Mar 20, 2024

Copy link to clipboard

Copied

That removeD the need to reselect the subject!  It is even better now!  r-bin FOR THE WIN!

Votes

Translate

Translate

Report

Report
Community guidelines
Be kind and respectful, give credit to the original source of content, and search for duplicates before posting. Learn more
community guidelines
Community Expert ,
Mar 20, 2024 Mar 20, 2024

Copy link to clipboard

Copied

It's still not cropping to the top/bottom for me using your screenshot of the second image, even with the changes suggested by r-bin. Can you upload that second image?

Votes

Translate

Translate

Report

Report
Community guidelines
Be kind and respectful, give credit to the original source of content, and search for duplicates before posting. Learn more
community guidelines
Community Expert ,
Mar 21, 2024 Mar 21, 2024

Copy link to clipboard

Copied

LATEST

@Daniel35488851bybz 


Thank you for the sample images, they do help over screenshots.


I can now see why some images work and others don't.  Some images are invalid for your rule of 3:2 landscape when the image is cropped top and bottom. It doesn't matter that they start 3:2 landscape, the issue is what ratio they become when cropped top and bottom...


You can see in the screenshots that some product portrait content is under a 3:2 landscape aspect ratio, so the width can be extended to 3:2 while cropping to the top and bottom of the product.


However, there are other images with landscape content widths greater than 3, which means that cropping the content would be required if you still wanted the white space cropped at the top and bottom. As you don't want the image content cropped away, the final image can't be 3:2 and also cropped at the top and bottom to the content! You have competing criteria.


This is why a simple action was inconsistent. A conditional action would be needed to use logic, processing portrait and landscape content differently.


ratio-1.png.pngratio-2.png.pngratio-3.png.pngratio-4.png.pngratio-5.png.pngratio-6.png.png


Votes

Translate

Translate

Report

Report
Community guidelines
Be kind and respectful, give credit to the original source of content, and search for duplicates before posting. Learn more
community guidelines
Community Expert ,
Mar 19, 2024 Mar 19, 2024

Copy link to clipboard

Copied

HI simply you can record yourself via actions and use it from batch process...regards

Ali Sajjad / Graphic Design Trainer / Freelancer / Adobe Certified Professional

Votes

Translate

Translate

Report

Report
Community guidelines
Be kind and respectful, give credit to the original source of content, and search for duplicates before posting. Learn more
community guidelines
Community Beginner ,
Mar 19, 2024 Mar 19, 2024

Copy link to clipboard

Copied

Each part is a different shape so the crop needs to be different each time.  


Votes

Translate

Translate

Report

Report
Community guidelines
Be kind and respectful, give credit to the original source of content, and search for duplicates before posting. Learn more
community guidelines
Community Expert ,
Mar 19, 2024 Mar 19, 2024

Copy link to clipboard

Copied

quote

Each part is a different shape so the crop needs to be different each time.  


By @Daniel35488851bybz


An appropriately composed action can account for the variable nature of each image.

Votes

Translate

Translate

Report

Report
Community guidelines
Be kind and respectful, give credit to the original source of content, and search for duplicates before posting. Learn more
community guidelines
People's Champ ,
Mar 20, 2024 Mar 20, 2024

Copy link to clipboard

Copied

Show me how you trim such an object yourself?

rbin_1-1710953278604.png


Votes

Translate

Translate

Report

Report
Community guidelines
Be kind and respectful, give credit to the original source of content, and search for duplicates before posting. Learn more
community guidelines
Community Beginner ,
Mar 20, 2024 Mar 20, 2024

Copy link to clipboard

Copied

I usually from within a few pixels. 

my crop.jpg

Votes

Translate

Translate

Report

Report
Community guidelines
Be kind and respectful, give credit to the original source of content, and search for duplicates before posting. Learn more
community guidelines
People's Champ ,
Mar 20, 2024 Mar 20, 2024

Copy link to clipboard

Copied

This violates your original condition:

"What I would like to be able to do automatically is trim the edges of the images down to the top and bottom edges of the products but keep the aspect ratio."


Votes

Translate

Translate

Report

Report
Community guidelines
Be kind and respectful, give credit to the original source of content, and search for duplicates before posting. Learn more
community guidelines
Community Beginner ,
Mar 20, 2024 Mar 20, 2024

Copy link to clipboard

Copied

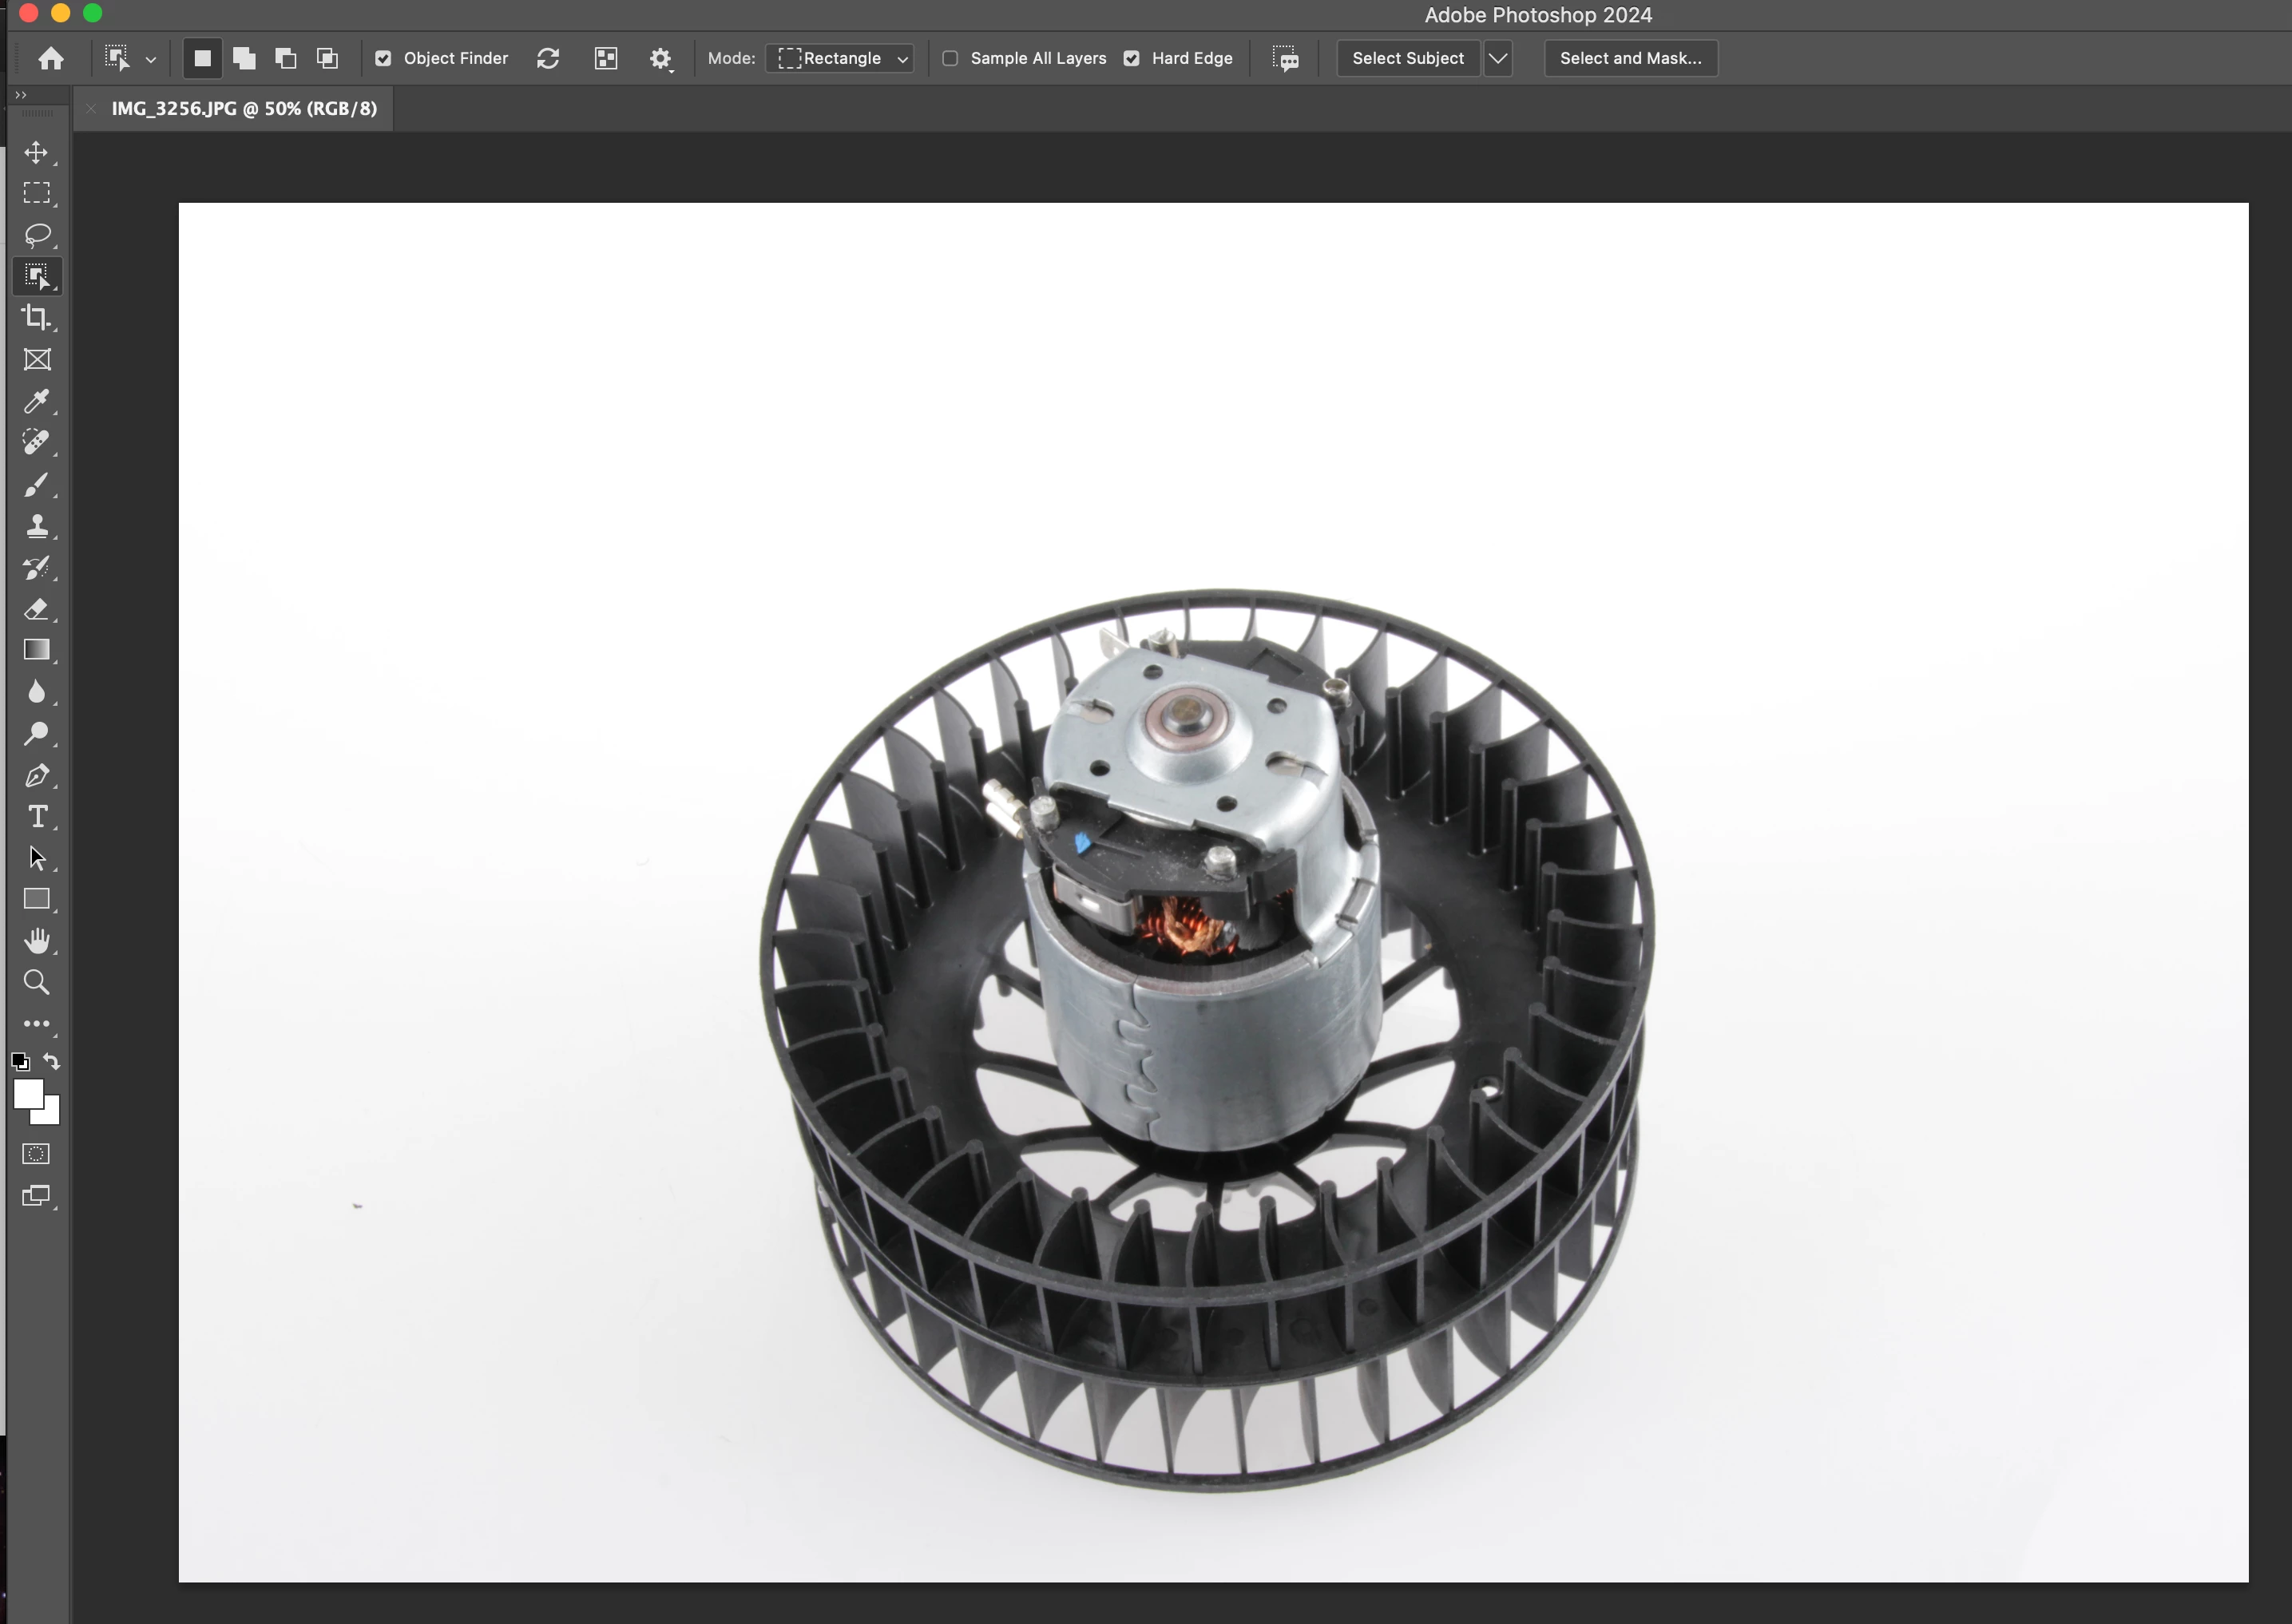
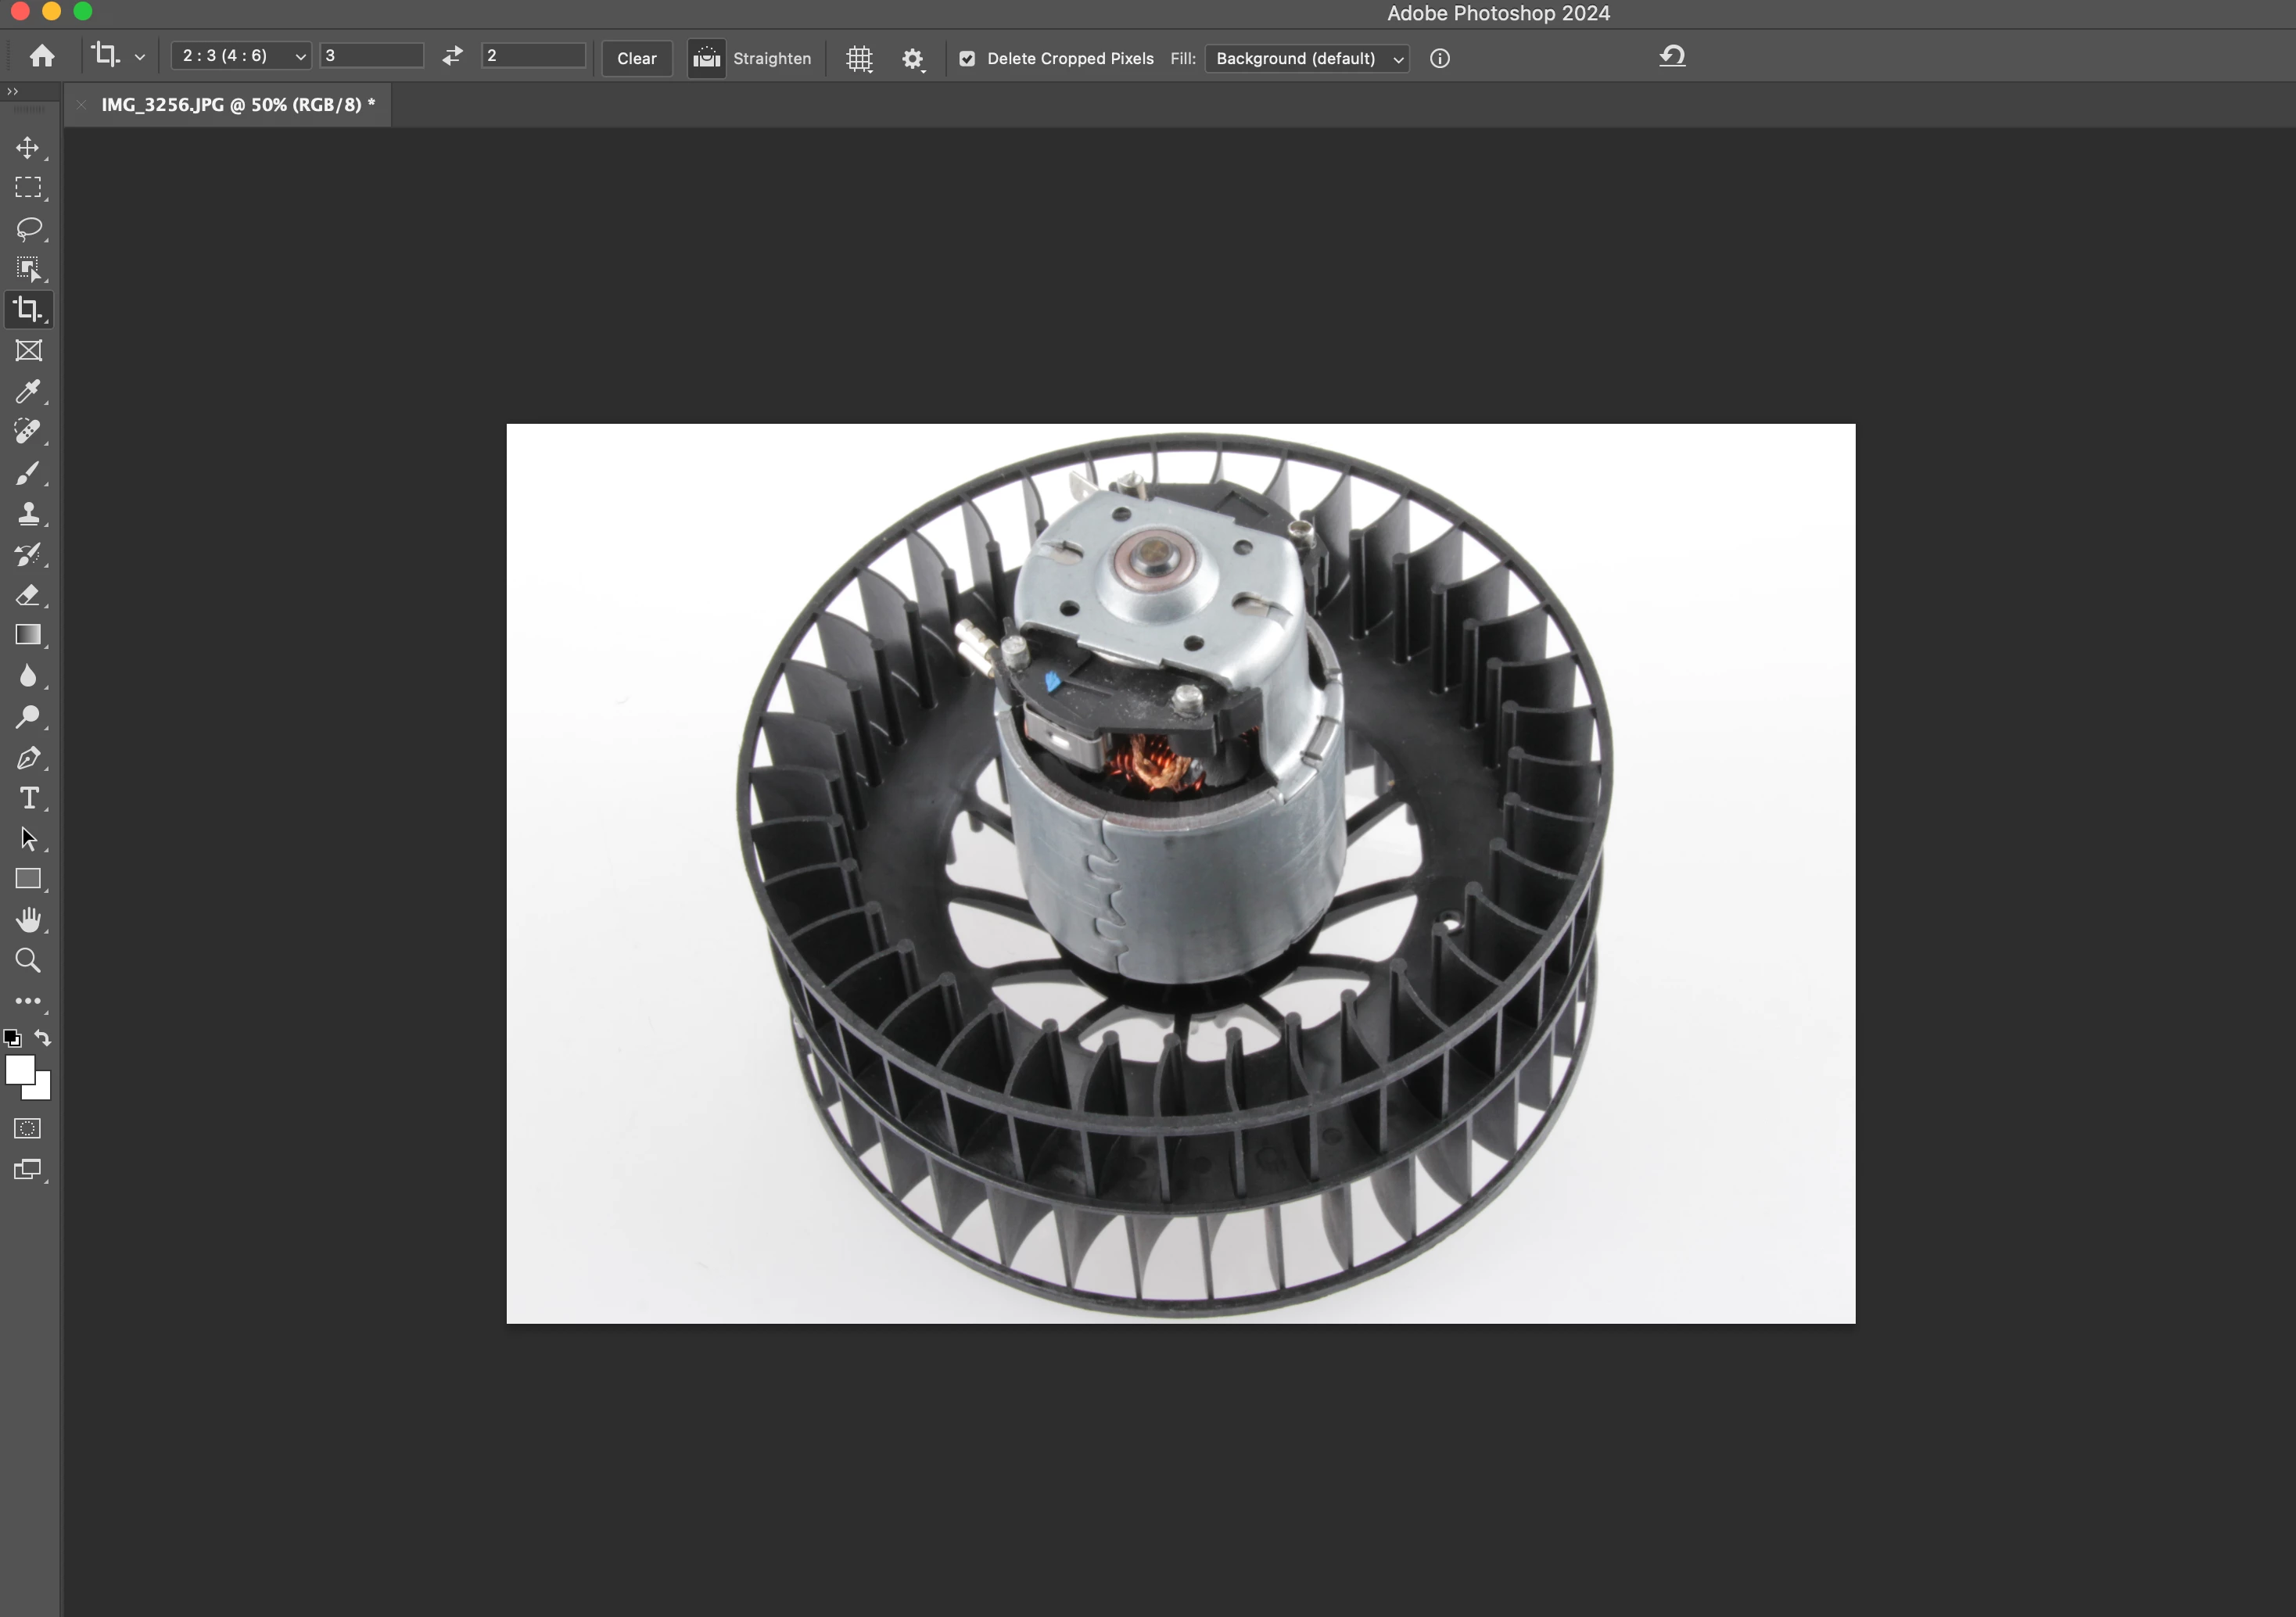
Sorry for the confusion.  I want to crop down to the content of the image within a few pixels.  If the product is taller that it is wide it will be with in a few pixels of the top and bottom, if the product is wider than it is tall this will put the crop with in a few pixels of the left and right.  

Votes

Translate

Translate

Report

Report
Community guidelines
Be kind and respectful, give credit to the original source of content, and search for duplicates before posting. Learn more
community guidelines
People's Champ ,
Mar 20, 2024 Mar 20, 2024

Copy link to clipboard

Copied

try this script

try {

// add levels

var d = new ActionDescriptor();
var r = new ActionReference();
r.putClass(stringIDToTypeID("adjustmentLayer"));
d.putReference(stringIDToTypeID("null"), r);
var d1 = new ActionDescriptor();
var d2 = new ActionDescriptor();
d2.putEnumerated(stringIDToTypeID("presetKind"), stringIDToTypeID("presetKindType"), stringIDToTypeID("presetKindDefault"));
var list = new ActionList();
var d3 = new ActionDescriptor();
var r1 = new ActionReference();
r1.putEnumerated(stringIDToTypeID("channel"), stringIDToTypeID("channel"), stringIDToTypeID("composite"));
d3.putReference(stringIDToTypeID("channel"), r1);
var list1 = new ActionList();
list1.putInteger(0);
list1.putInteger(128);
d3.putList(stringIDToTypeID("input"), list1);
list.putObject(stringIDToTypeID("levelsAdjustment"), d3);
d2.putList(stringIDToTypeID("adjustment"), list);
d1.putObject(stringIDToTypeID("type"), stringIDToTypeID("levels"), d2);
d.putObject(stringIDToTypeID("using"), stringIDToTypeID("adjustmentLayer"), d1);
executeAction(stringIDToTypeID("make"), d, DialogModes.NO);

// trim

var d = new ActionDescriptor();
d.putEnumerated(stringIDToTypeID("trimBasedOn"), stringIDToTypeID("trimBasedOn"), stringIDToTypeID("topLeftPixelColor"));
d.putBoolean(stringIDToTypeID("top"), true);
d.putBoolean(stringIDToTypeID("bottom"), true);
d.putBoolean(stringIDToTypeID("left"), true);
d.putBoolean(stringIDToTypeID("right"), true);
executeAction(stringIDToTypeID("trim"), d, DialogModes.NO);

// delete levels layer

var d = new ActionDescriptor();
var r = new ActionReference();
r.putEnumerated(stringIDToTypeID("layer"), stringIDToTypeID("ordinal"), stringIDToTypeID("targetEnum"));
d.putReference(stringIDToTypeID("null"), r);
executeAction(stringIDToTypeID("delete"), d, DialogModes.NO);

// expand canvas +3px, white color

var d = new ActionDescriptor();
d.putBoolean(stringIDToTypeID("relative"), true);
d.putUnitDouble(stringIDToTypeID("width"), stringIDToTypeID("pixelsUnit"), 6);
d.putUnitDouble(stringIDToTypeID("height"), stringIDToTypeID("pixelsUnit"), 6);
d.putEnumerated(stringIDToTypeID("horizontal"), stringIDToTypeID("horizontalLocation"), stringIDToTypeID("center"));
d.putEnumerated(stringIDToTypeID("vertical"), stringIDToTypeID("verticalLocation"), stringIDToTypeID("center"));
d.putEnumerated(stringIDToTypeID("canvasExtensionColorType"), stringIDToTypeID("canvasExtensionColorType"), stringIDToTypeID("white"));
executeAction(stringIDToTypeID("canvasSize"), d, DialogModes.NO);

app.preferences.rulerUnits = Units.PIXELS;

var w = activeDocument.width.value;
var h = activeDocument.height.value;

if (w/h > 1.5)
    {
    var d = new ActionDescriptor();
    d.putUnitDouble(stringIDToTypeID("height"), stringIDToTypeID("pixelsUnit"), Math.round(w/1.5));
    d.putEnumerated(stringIDToTypeID("horizontal"), stringIDToTypeID("horizontalLocation"), stringIDToTypeID("center"));
    d.putEnumerated(stringIDToTypeID("vertical"), stringIDToTypeID("verticalLocation"), stringIDToTypeID("center"));
    d.putEnumerated(stringIDToTypeID("canvasExtensionColorType"), stringIDToTypeID("canvasExtensionColorType"), stringIDToTypeID("white"));
    executeAction(stringIDToTypeID("canvasSize"), d, DialogModes.NO);
    }
else    
    {
    var d = new ActionDescriptor();
    d.putUnitDouble(stringIDToTypeID("width"), stringIDToTypeID("pixelsUnit"), Math.round(h*1.5));
    d.putEnumerated(stringIDToTypeID("horizontal"), stringIDToTypeID("horizontalLocation"), stringIDToTypeID("center"));
    d.putEnumerated(stringIDToTypeID("vertical"), stringIDToTypeID("verticalLocation"), stringIDToTypeID("center"));
    d.putEnumerated(stringIDToTypeID("canvasExtensionColorType"), stringIDToTypeID("canvasExtensionColorType"), stringIDToTypeID("white"));
    executeAction(stringIDToTypeID("canvasSize"), d, DialogModes.NO);
    }


} catch (e) { alert(e.line+ "\n\n" +e); }

Votes

Translate

Translate

Report

Report
Community guidelines
Be kind and respectful, give credit to the original source of content, and search for duplicates before posting. Learn more
community guidelines
Community Beginner ,
Mar 20, 2024 Mar 20, 2024

Copy link to clipboard

Copied

How do I run this in photoshop?

Votes

Translate

Translate

Report

Report
Community guidelines
Be kind and respectful, give credit to the original source of content, and search for duplicates before posting. Learn more
community guidelines
Community Beginner ,
Mar 20, 2024 Mar 20, 2024

Copy link to clipboard

Copied

NVM I figured out how to run it.  I giving it a try now.

Votes

Translate

Translate

Report

Report
Community guidelines
Be kind and respectful, give credit to the original source of content, and search for duplicates before posting. Learn more
community guidelines
Community Beginner ,
Mar 20, 2024 Mar 20, 2024

Copy link to clipboard

Copied

THIS IS MAGIC!!!!!   THANKS SO MUCH!!!!  

Votes

Translate

Translate

Report

Report
Community guidelines
Be kind and respectful, give credit to the original source of content, and search for duplicates before posting. Learn more
community guidelines