
is there a better auto level tool?
Hi
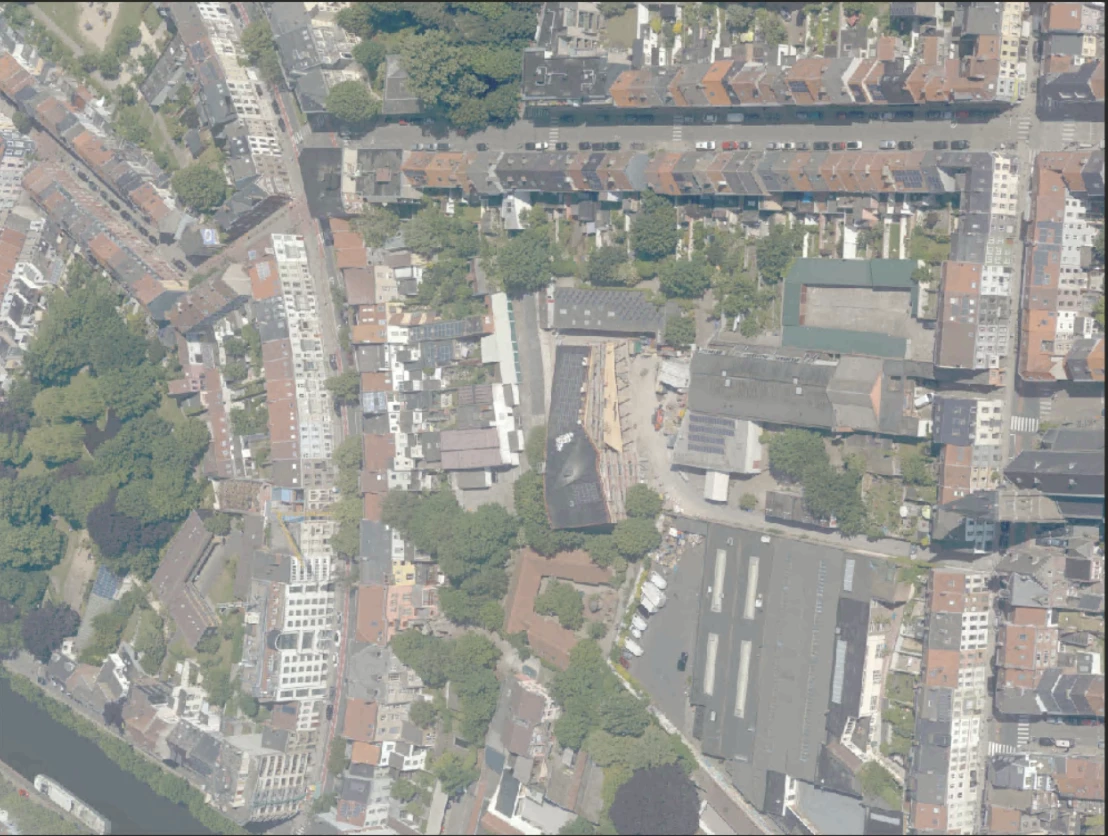
I'm working with aerial photo's. I'm currently working on a dataset of 46300 photos.
Some of the photos are good, some of them are washed out or suffer from haze.
This is normal as some of the photos are made towards the sun and other ones are made in the opposit direction. Also as time progresses the lighting changes. This was a rather long flight so the photos in the beginning are 'different' from the ones towards the end.
The good news is that the biggest problem with the photos can be corrected with just the levels adjustment tool.
The bad news is that I can only use the auto options to use in a batch operation, because I can not edit 46000 photos by hand.
In the pictures below you can see that the auto option in the levels tools is not as agressive as i would like it to be.
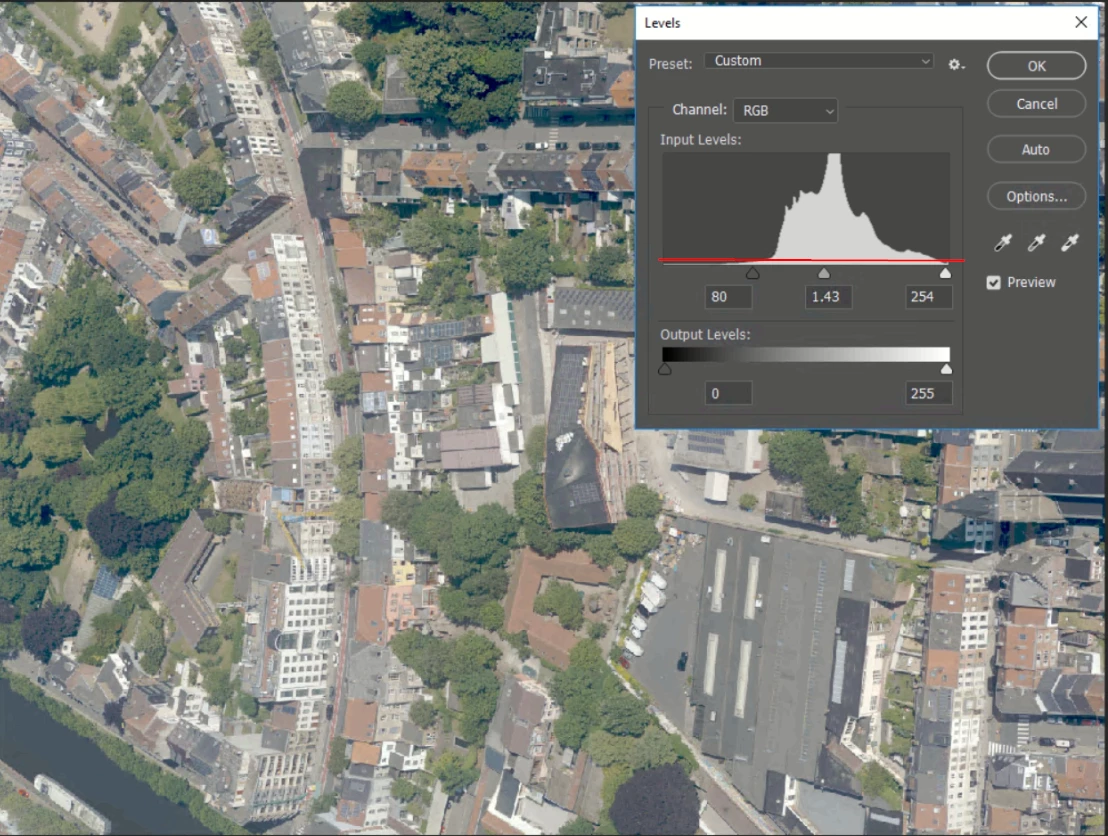
Ideal would be if you could set a level for the black pointer (red line in picture) and one for the white pointer. Photoshop moves the sliders towards the point where the level and the histogram meet...
original
auto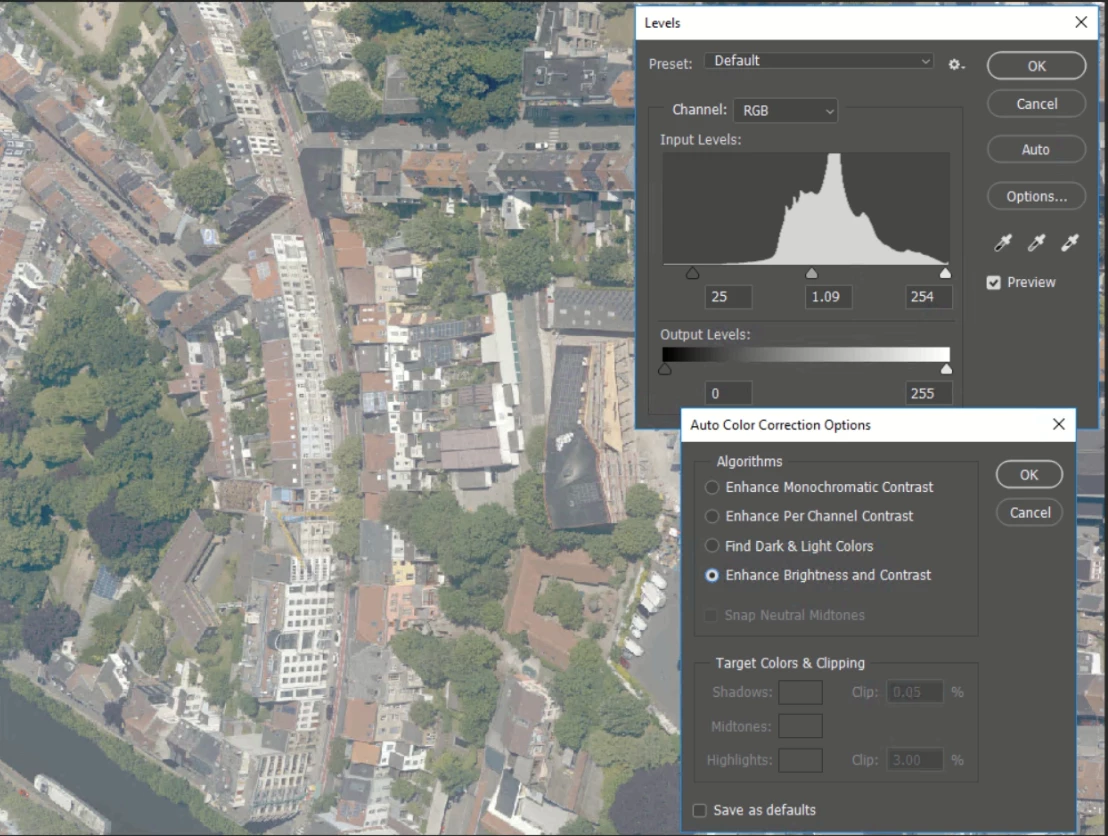
manual
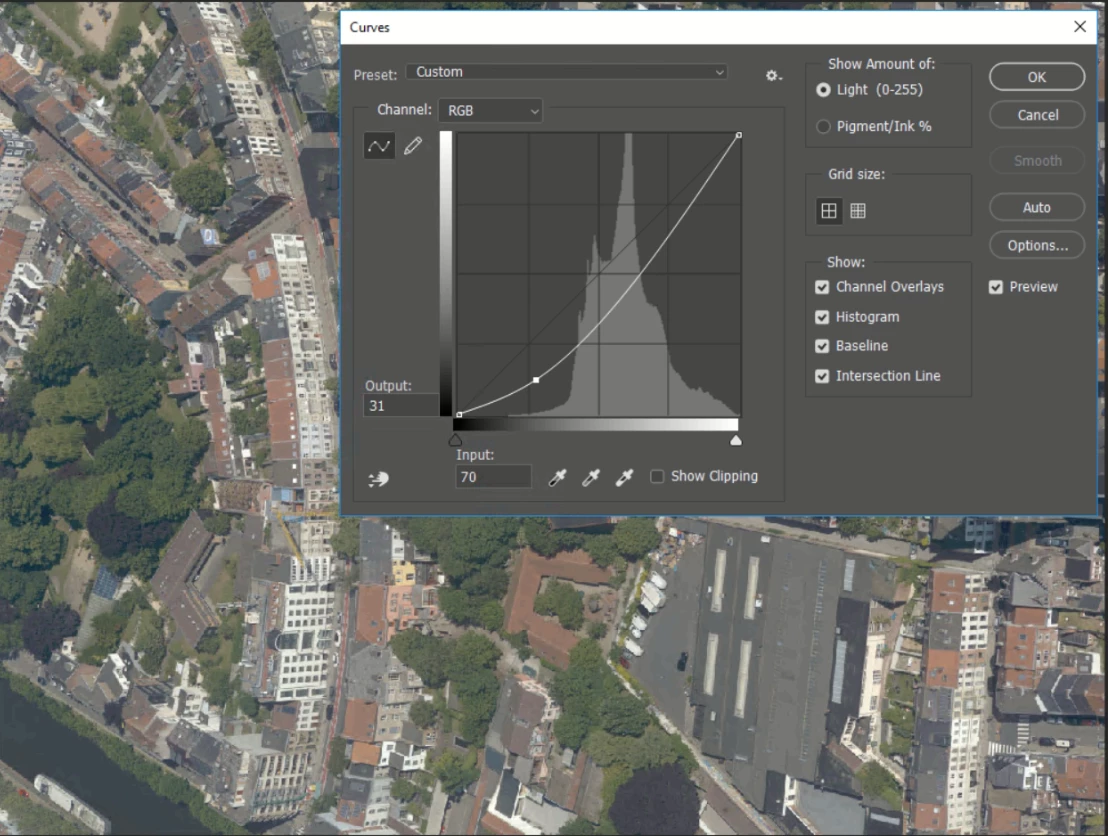
I can also do somewhat the same with the curves tool, but again this wont benefit foto's that are already good. It would make them to dark. So it's not usable in a batch operation.
Are there third party addones or plugins?
Is there another way? Am I missing something?
All tips are welcome and remember I can only use the auto options.
thx